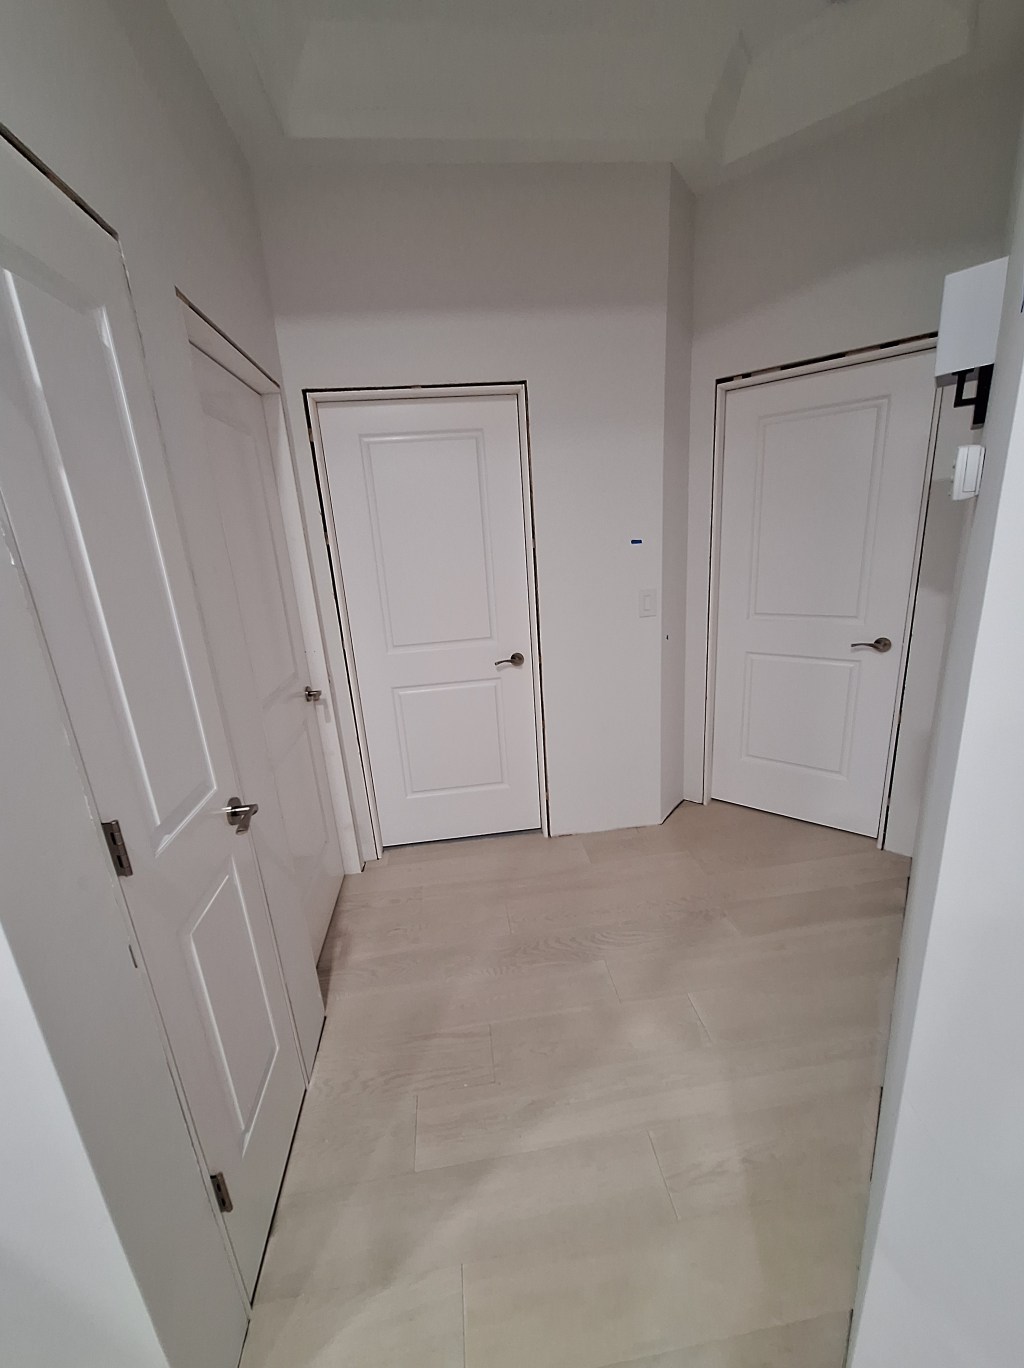
It’s been a while since my last post, but I have been doing stuff; lots of bits and pieces in conjunction with the three other doors needed in the guest hallway, which is the primary topic of this one.
After successfully hanging my first door in June, I went on vacation for most of July. When I returned I decided I should drill out the many holes required to turn my 4’x8′ melamine board into a Multi-function Table (MFT) top. The melamine board was used on top of my Festool STM 1800 mobile saw station to create a large and flat surface on which I could assemble my first door. My intent was to turn the top into an MFT top, but I didn’t have the toolkit required to do that at the time. It arrived while I was building the first door. So before pushing on with the other doors, I decided to get that sorted out.
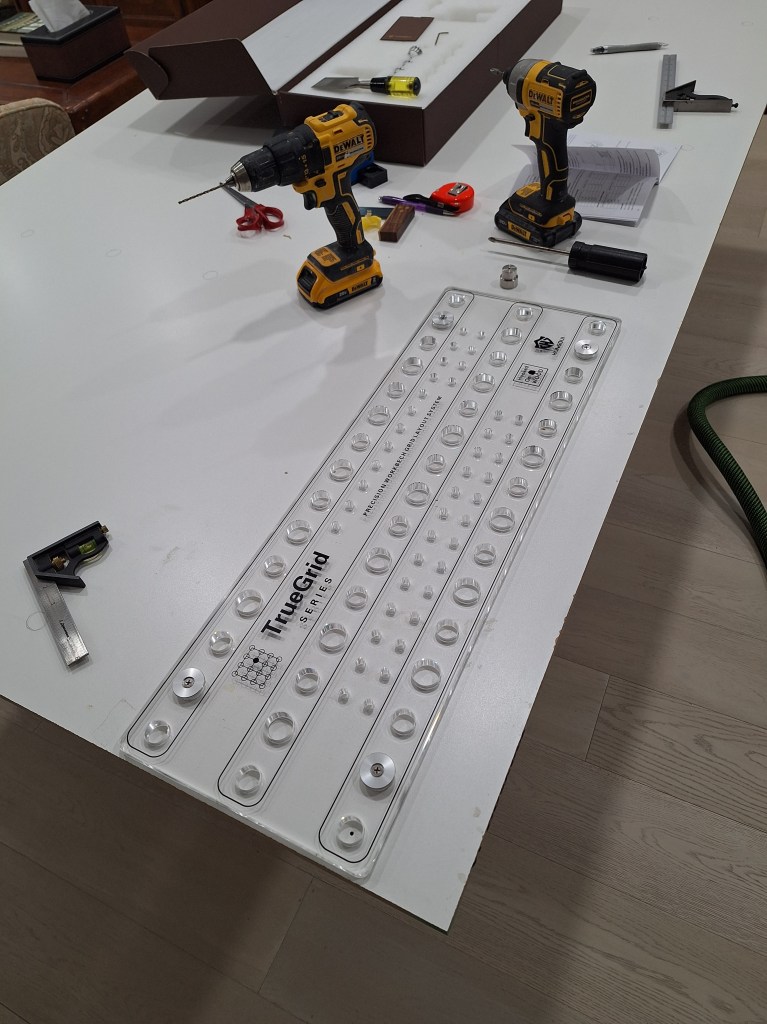
An MFT top provides a flat surface with a grid of holes into which you can insert “dogs”, clamps, straight edges, and other sorts of things that will hold work pieces securely and aligned relative to other work pieces or tools to ensure accurate cuts or assembly. For this to work, the holes must be drilled very precisely, and are usually created using a CNC machine. However, for the DIYer, there are a few kits available to allow one to set up the grid without the need for a CNC machine. I purchased the TrueGrid kit. I felt was the best for ensuring accuracy. Below I show the template, that comes with the kit, placed and secured, ready for the first holes to be drilled.
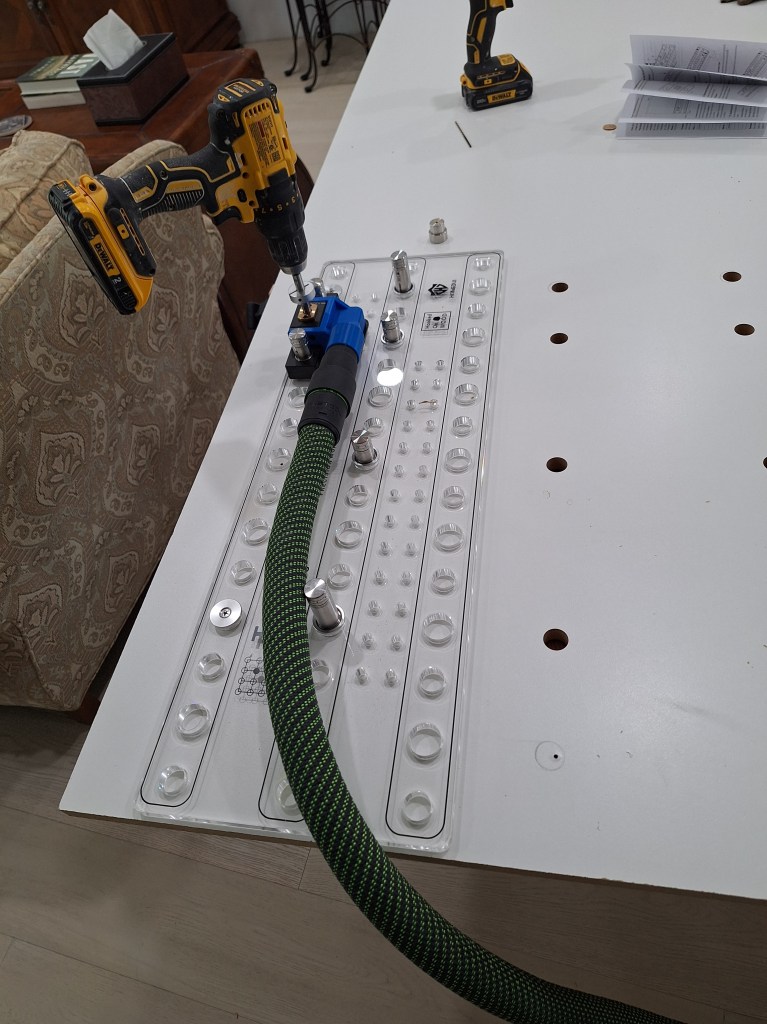
Next I show how the holes are drilled with the aid of a guide that ensures the holes are perfectly vertical. The guide also has a nice dust collection port, which was very good at keeping the dust down as I did this in my living room.
Once you have drilled the holes through the secured template, you detach it and advance it to the next location, overlapping the it with some of the holes just drilled, using dogs to secure it. This way, all holes are drilled relative to preexisting holes once the initial holes are established. After a lot of drilling, moving the template, then drilling again, you end up with this.
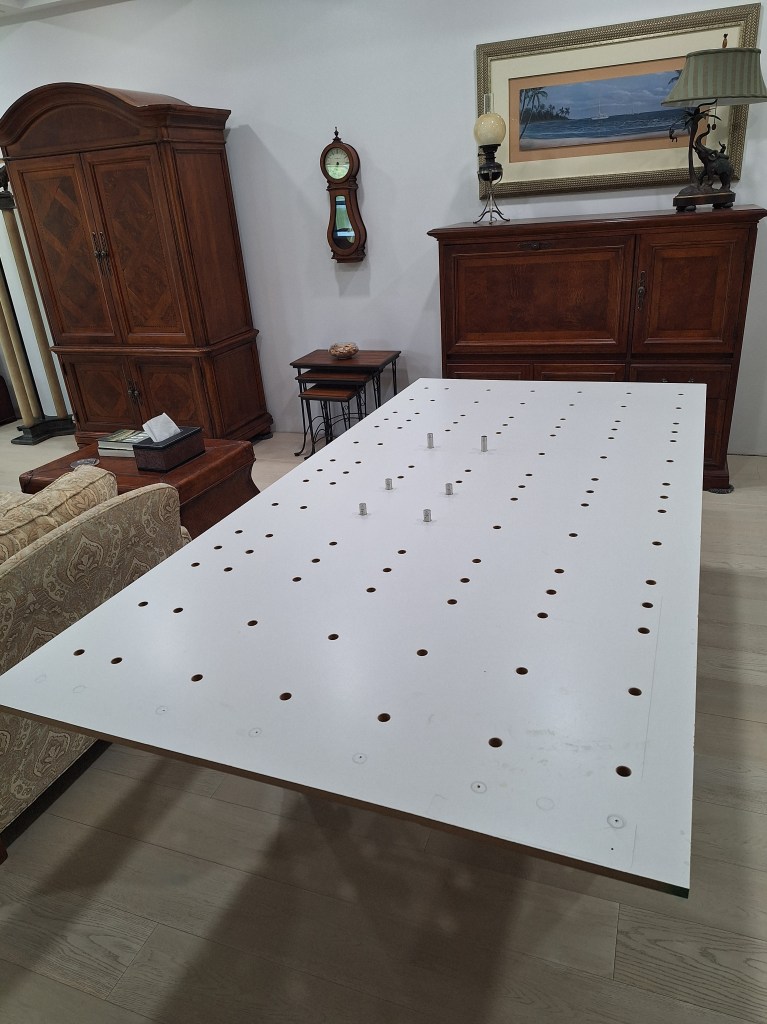
In the image above you can see the pattern of holes I decided on and four dogs inserted into some of them. The hole pattern I chose was not scientific. It just struck me as what would be useful. If in future I need more, then I can easily add them, but this is what I will start with.
With that job out of the way, I returned my attention to the remaining doors in the guest hallway. The first thing I did was raise the header in the opening of the linen closet to match that of the guest bedroom opening. In the image below I have drawn a line showing where the header should be to match that of the entrance to the guest bedroom. The opening you see below is what was made when the house was built. I thought it would look better if it aligned with its neighbor. I wish I had noticed that before I put up the drywall. Nevertheless, it wasn’t a big job to correct. Just a bit messy.
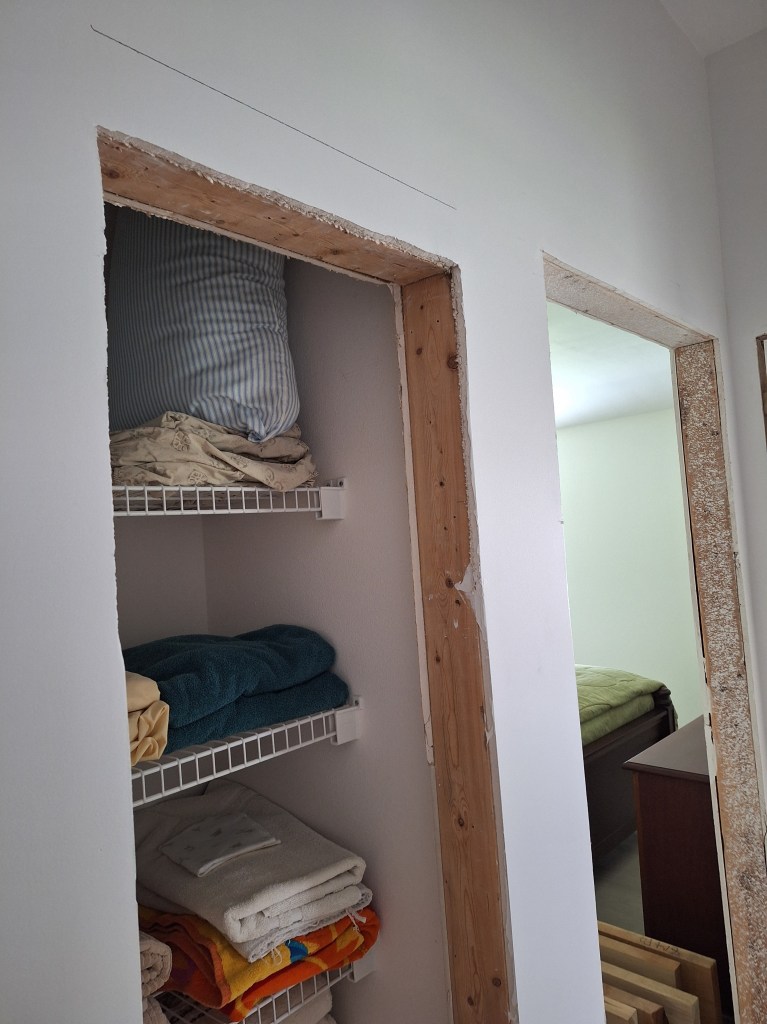
And here it is after I made the change.
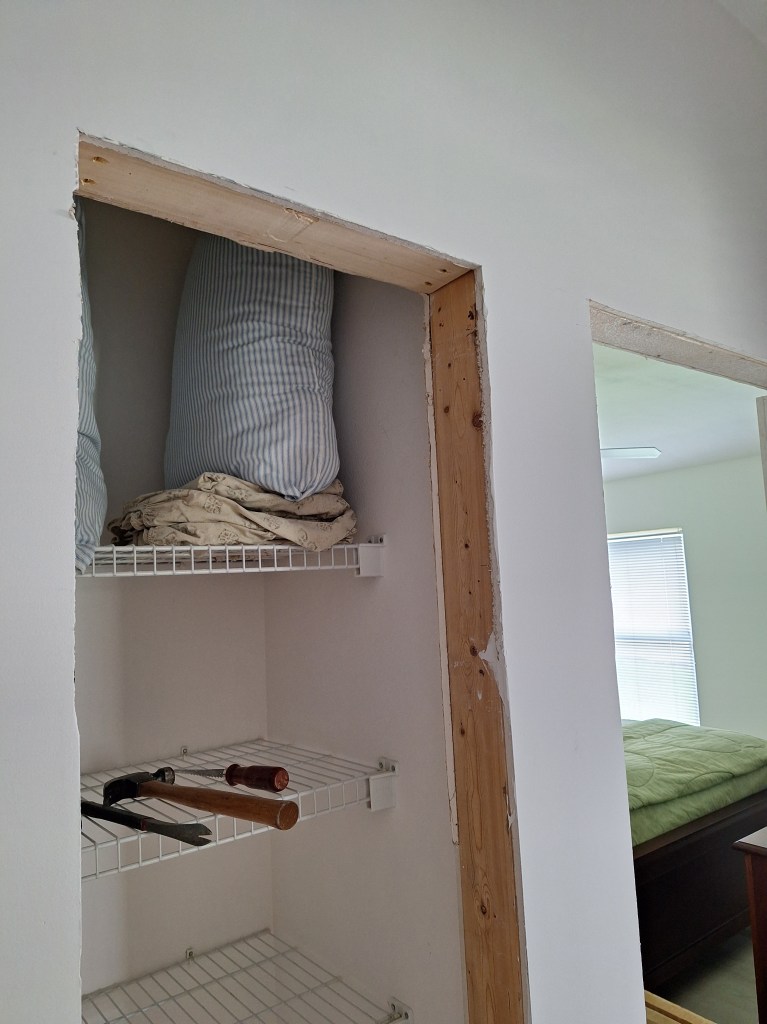
After that I installed the jamb. This took an indirect route. I had intended to use the Jambmaster, as I did with the guest bathroom, but the opening for the linen closet was just 19.5″. When I used Gemini AI, it told me that the Jambmaster could not be used over such a small span. So I started installing the jamb legs the old way, using shims and a level. Once installed I was not happy with the result. Both jamb legs were relatively plumb, but not sufficiently square to the adjacent walls. I pulled them off and quit for the day. Later that night I figured I could bring the Jambmaster into the equation, even if only partially assembled. The next day, while in the process of disassembling it, it looked like I could remove the horizontal spreaders and another piece to bring it to the width I needed. After doing this I queried Gemini again, and it confirmed that this was the way to do it to accommodate an 18 inch door. It just shows that you can’t always trust the output of the AI tools. So I installed the Jambmaster into the 19.5″ opening and I was in business.
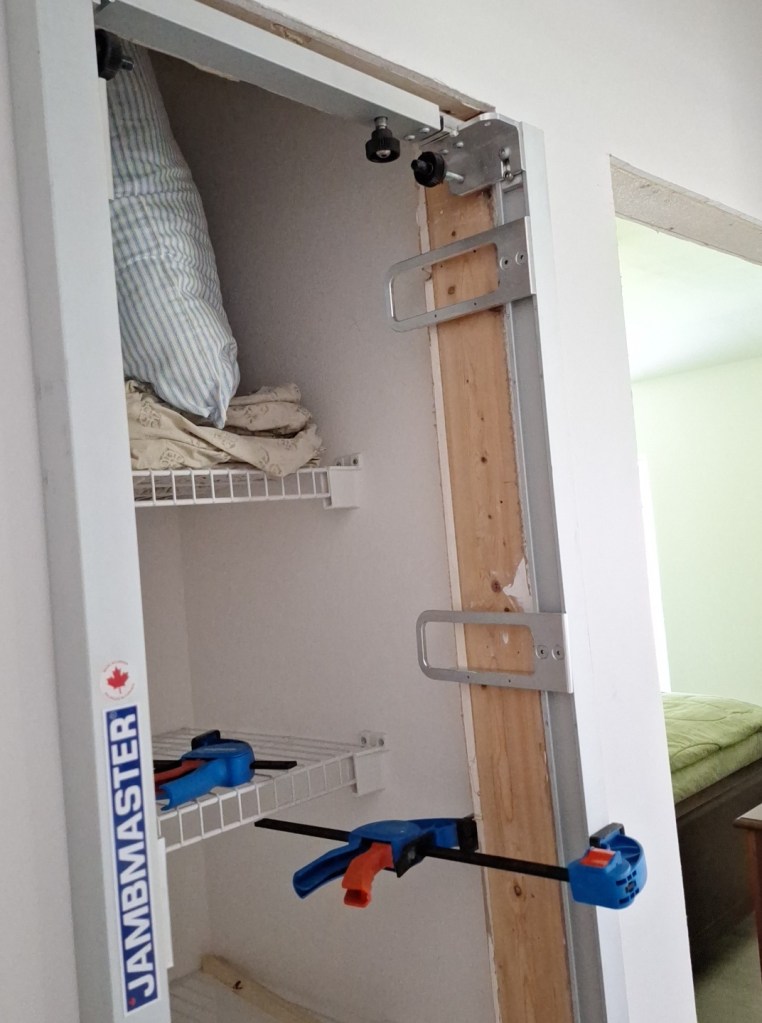
Once the blocks were routed out, I attached the jamb legs, then the header. It produced a nice square and plumb jamb, with an 18″ opening.
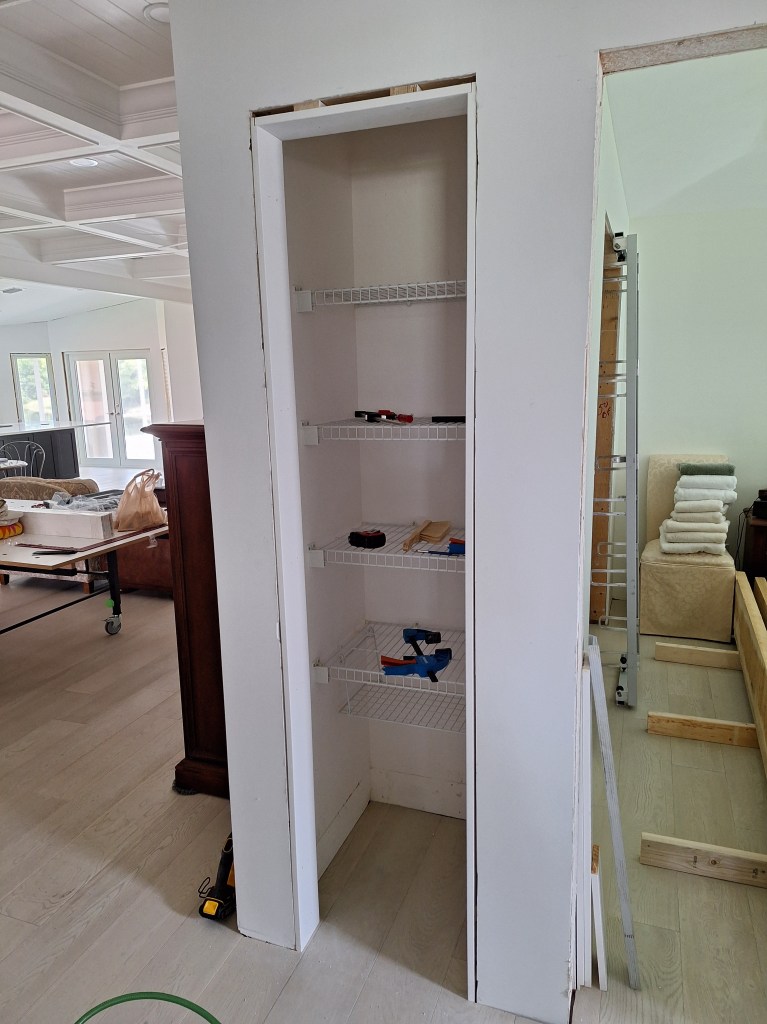
Pleased with that success, I restored the Jambmaster to its normal state and used it to prep the openings for the guest bedroom and office, then installed the jambs for them.
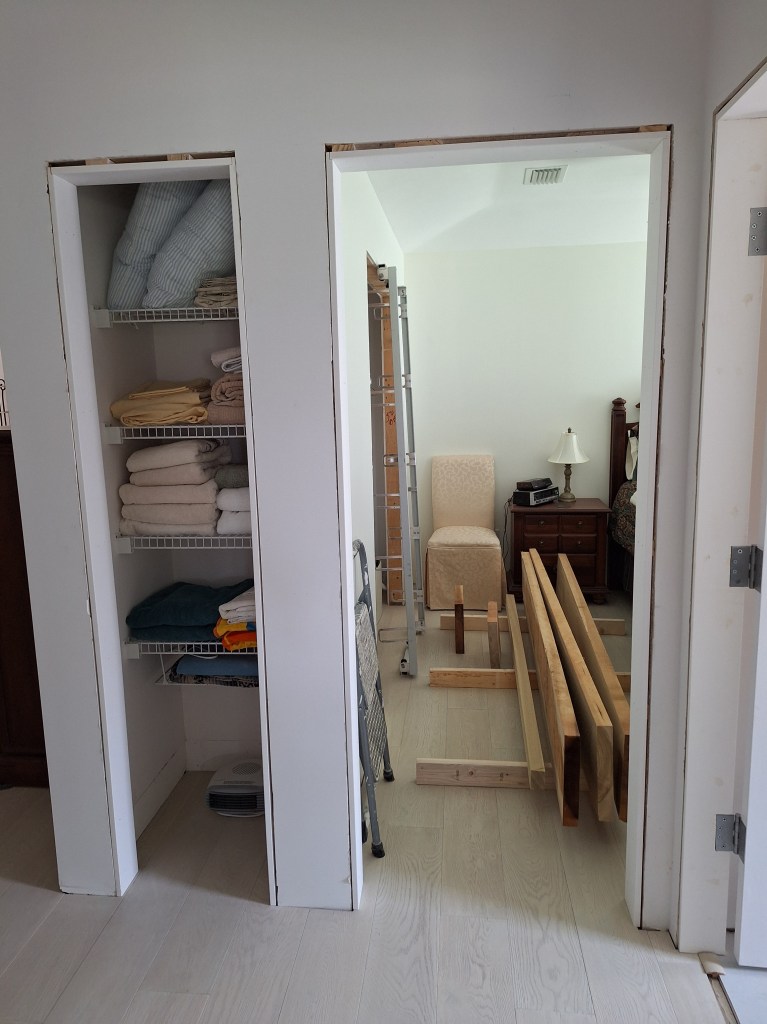
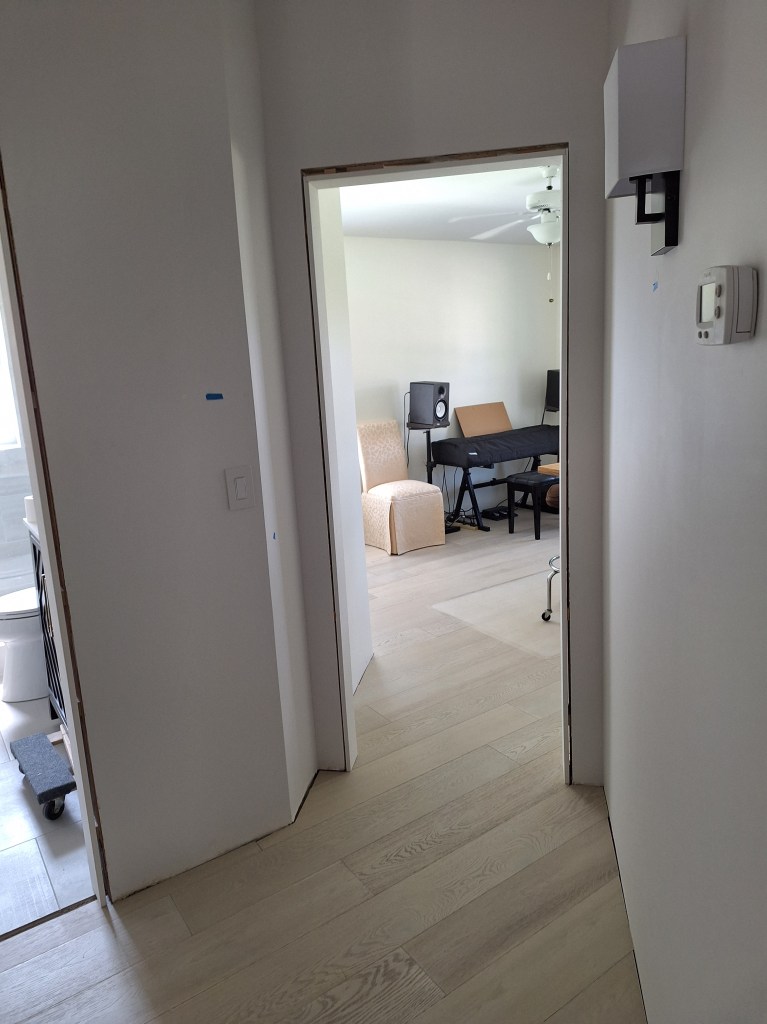
With the jambs installed, it was time to start working on the doors. The first step was to cut the rails and stiles to rough dimensions. All will be two panel doors, just like the bathroom door, but the door to the linen closet will, of course, be smaller. The linen closet door will have narrower stiles (see group on the right below), but the rails will be the same as the other doors. The panel will, consequently, be narrower too.
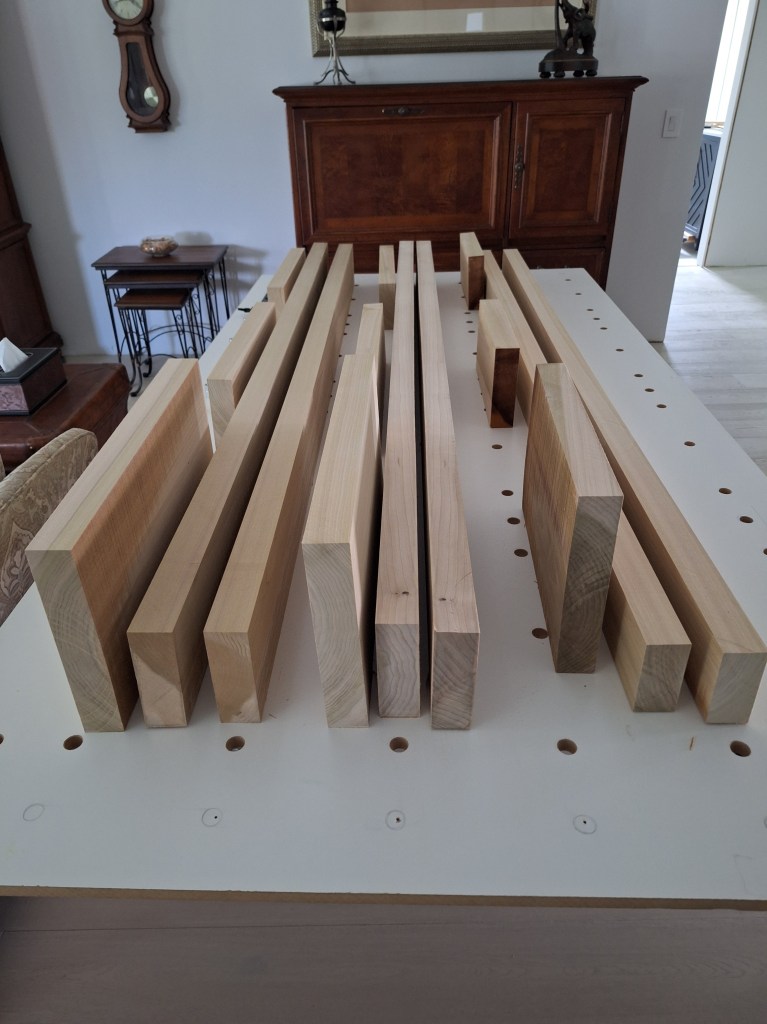
After cutting these to rough dimension, I left them for a day before processing them further. Although the wood has had lots of time to acclimate, cutting boards like this can relieve some stress, so it’s a good idea to leave them for a bit to let that work its way out before passing them over the jointer and planer.
The next day I ran each board over the jointer to establish a reference face and edge, then left them again to acclimate over night. That was followed by more milling the next day to bring the boards to 1/16th of their final thickness and width. I leave the boards a bit “fat” because a lot of material is removed bringing them close to final thickness and width, so I want them to sit for a few days before I bring them to final thickness and width. During that time, if some tweaking is needed, I want to have a bit of material to play with.
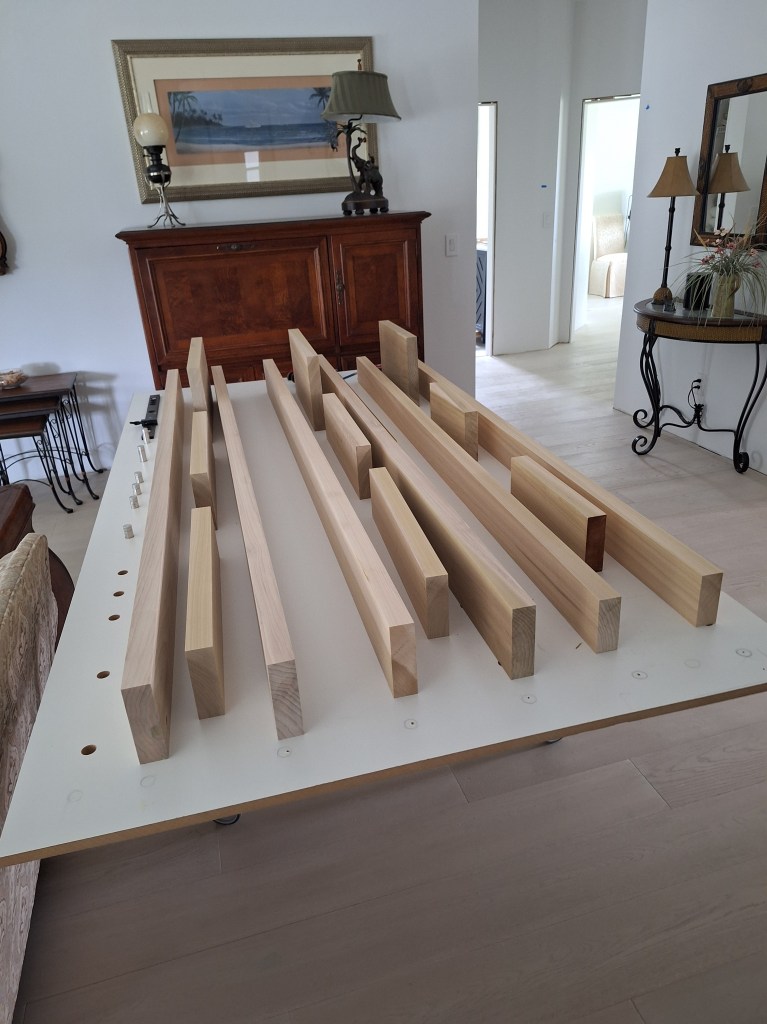
While they were acclimating, I cut out the pieces I would need for the panels. They would also go through the process of being cut, rest, establish a reference face and edge, rest, mill close to final dimension, rest, then join the pieces.
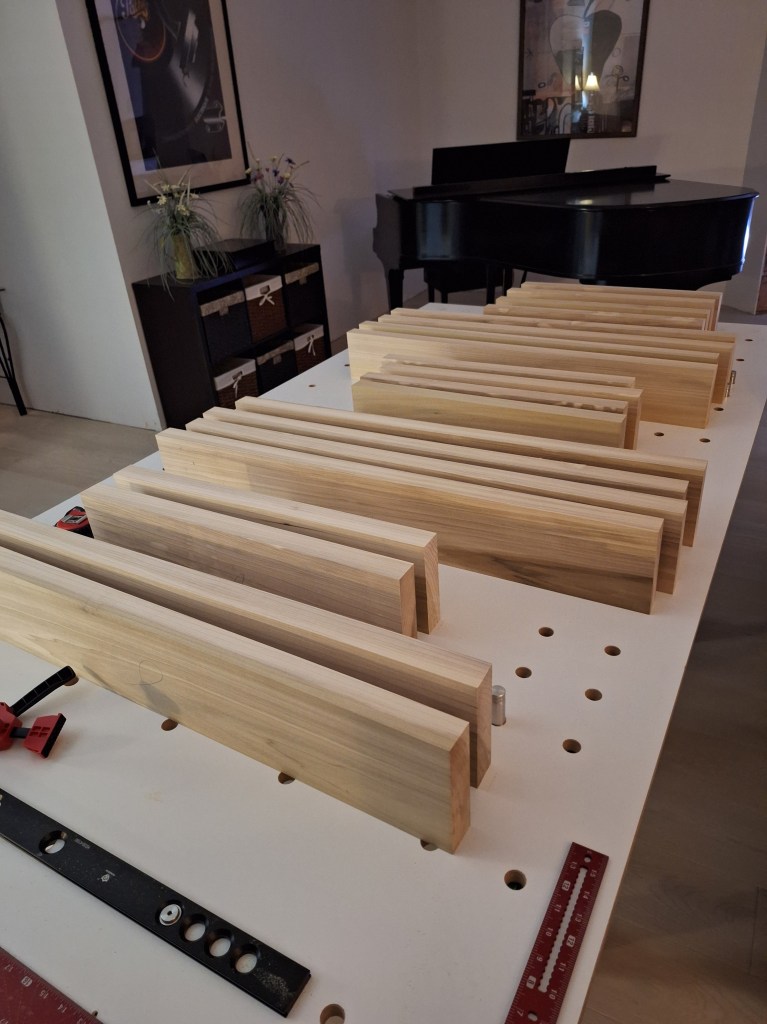
While the panel pieces were going through the various phases of rough cut, to almost final milling, I started sorting out the doors, establishing the final widths and positioning.
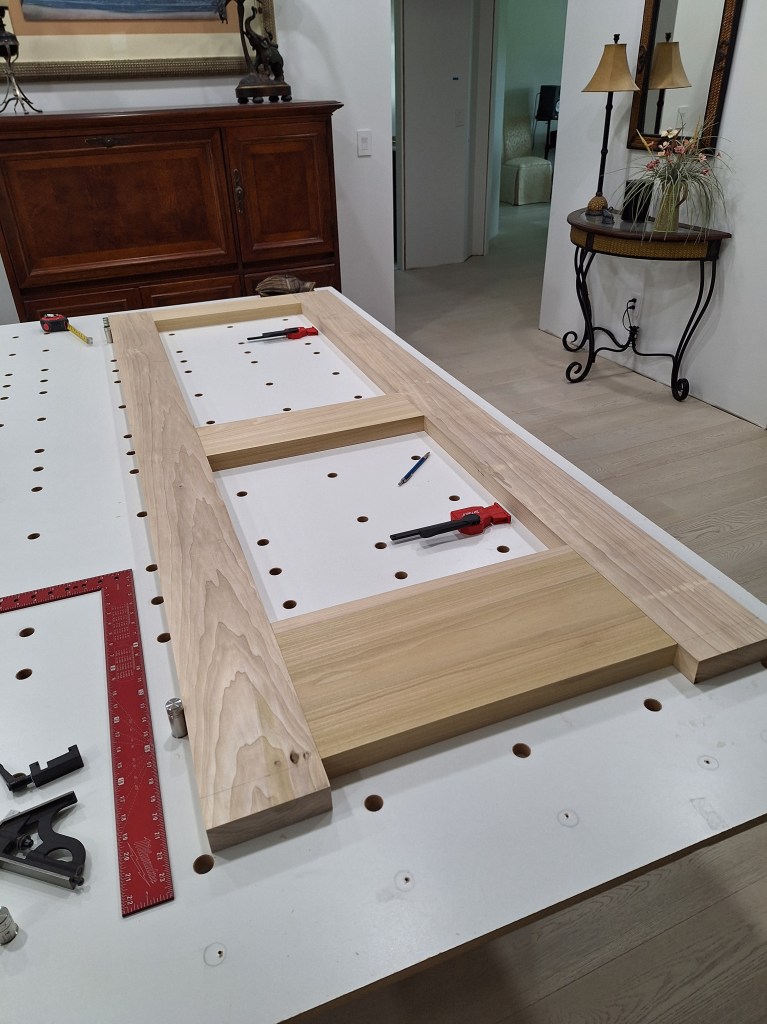
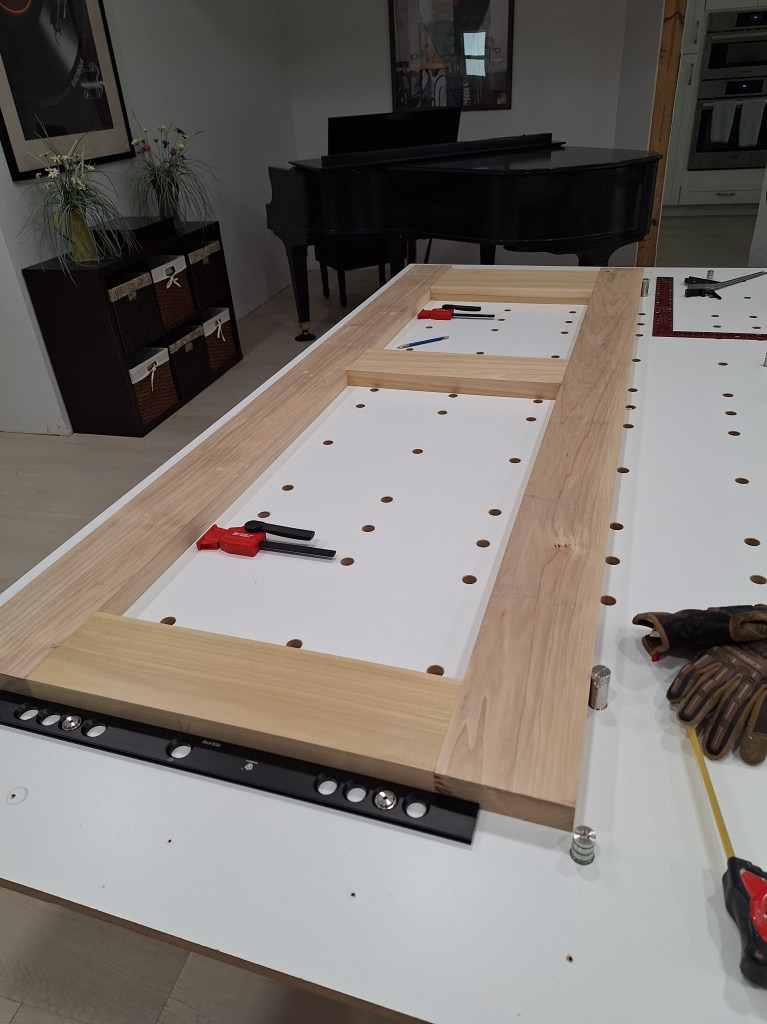
This was where the MFT top I created started to show its value. Notice how I was able to make use of the dogs and other alignment aids to ensure the stiles and rails were square to one another as I decided where I wanted them to be positioned. This was very helpful. During this process I cut the rails to final length, establishing the final outer dimensions of each door. That is, except for the smaller door for the linen closet. Since it would occupy an opening only 18″ wide, as opposed to the more than 30″ wide opening the other two doors would occupy, I gave myself some wiggle room on the stile width. I initially cut the stiles for that door with a width of 4″, but I suspect that will be a bit too wide. Depending on how the panel looks once I get it done, I may decide to reduce the stiles width to, say, 3.5″.
I cut the Dominos joinery and dry fit all the doors.
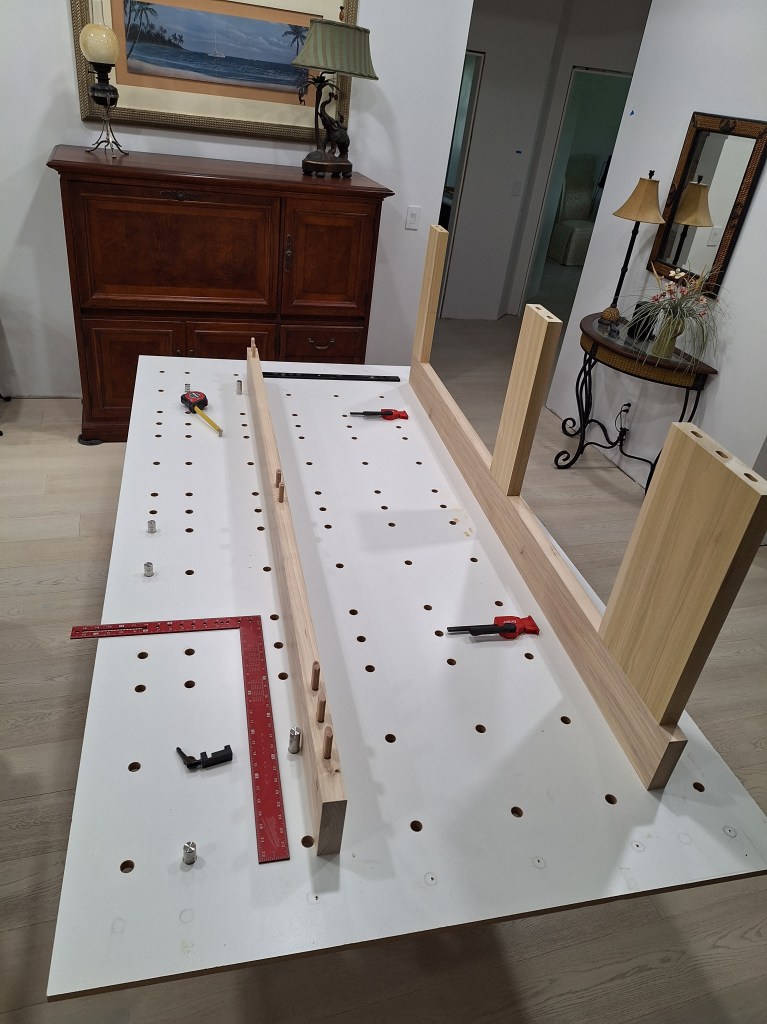
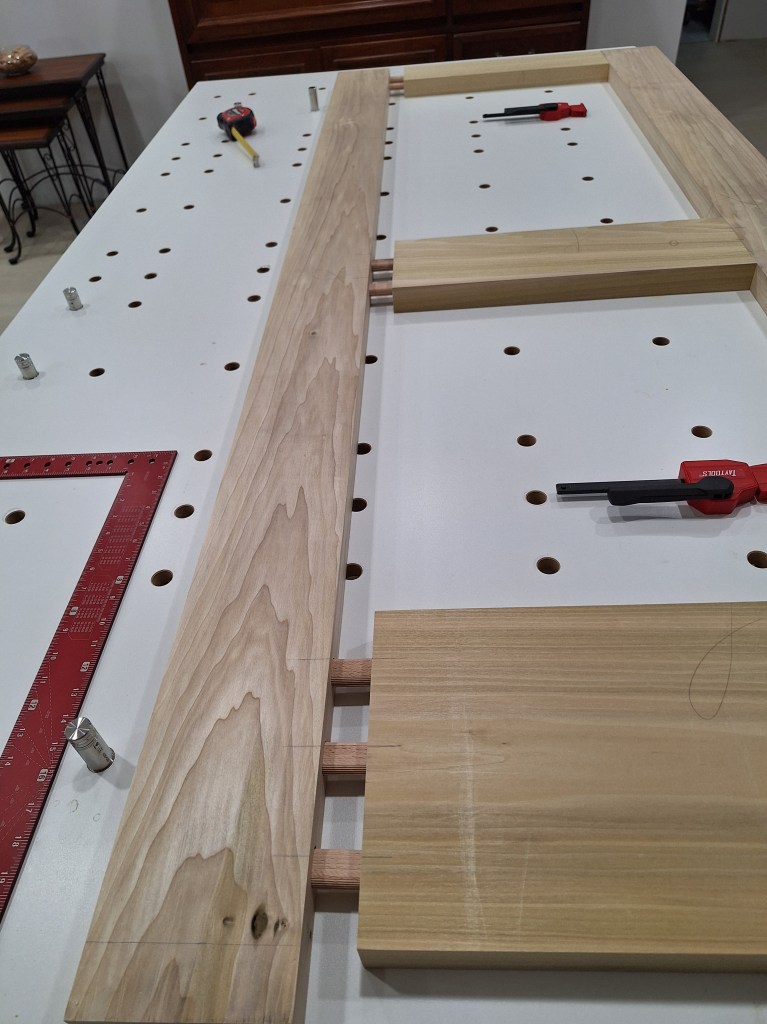
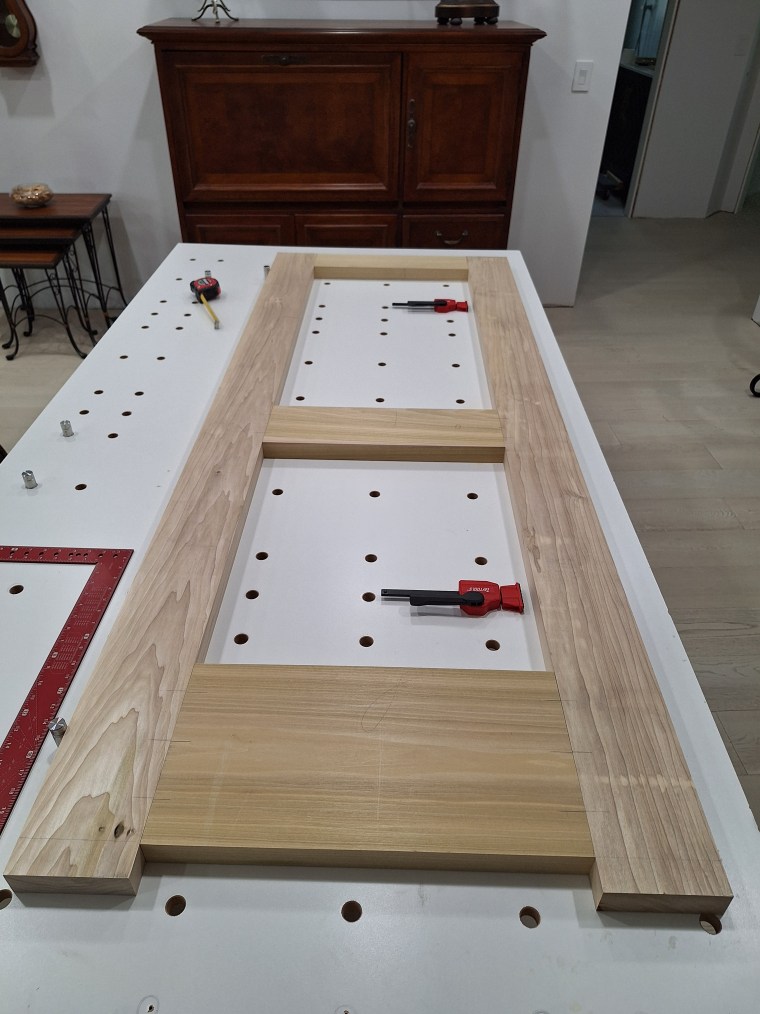
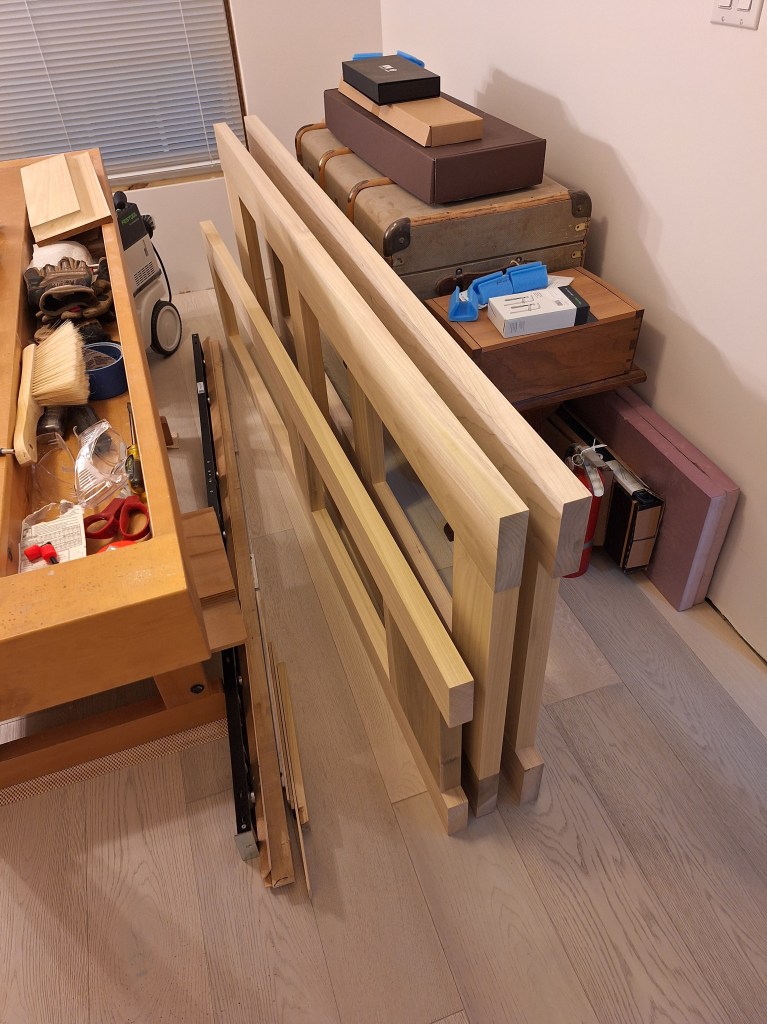
Before doing anything more on them, I had to turn my attention to the panels, so I put the dry fitted doors out of the way for now.
Each panel was composed of four separate boards, except for the smaller panels for the linen closet door (it only needed two). I could have made the wider panels using only two boards, but they would not have fit over my 8″ jointer, so I reduced them so they would fit. Also, there is less danger of cupping when the boards are narrower. When joining the four boards, I decided to join two at a time and use Dominos to help with alignment.
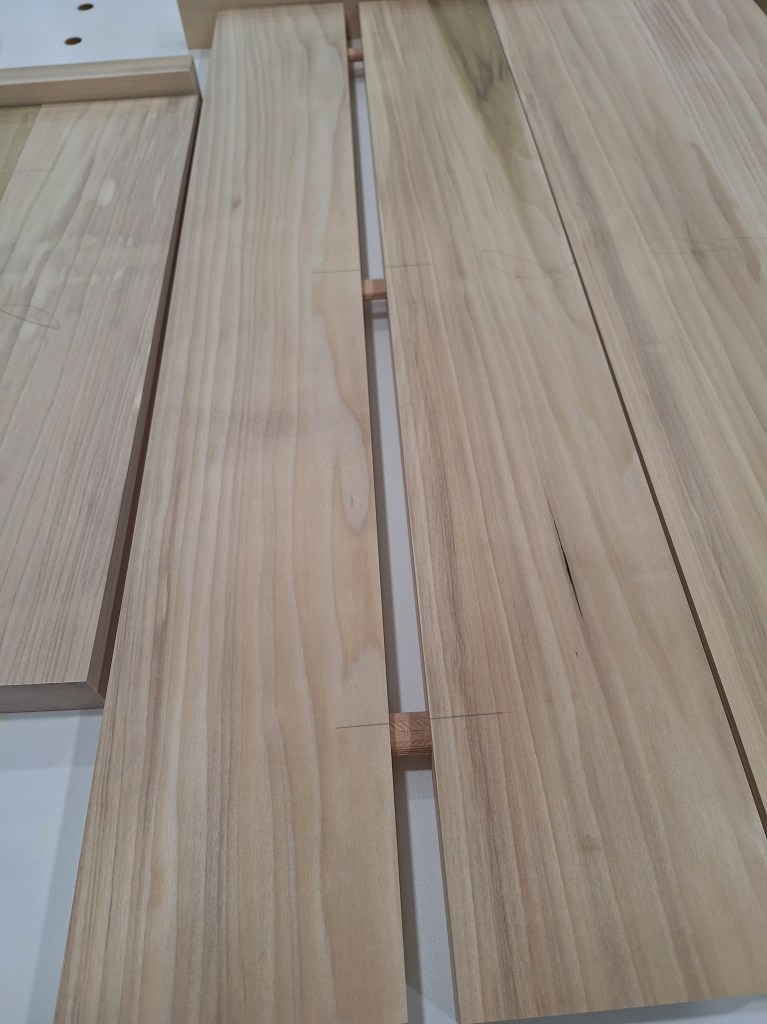
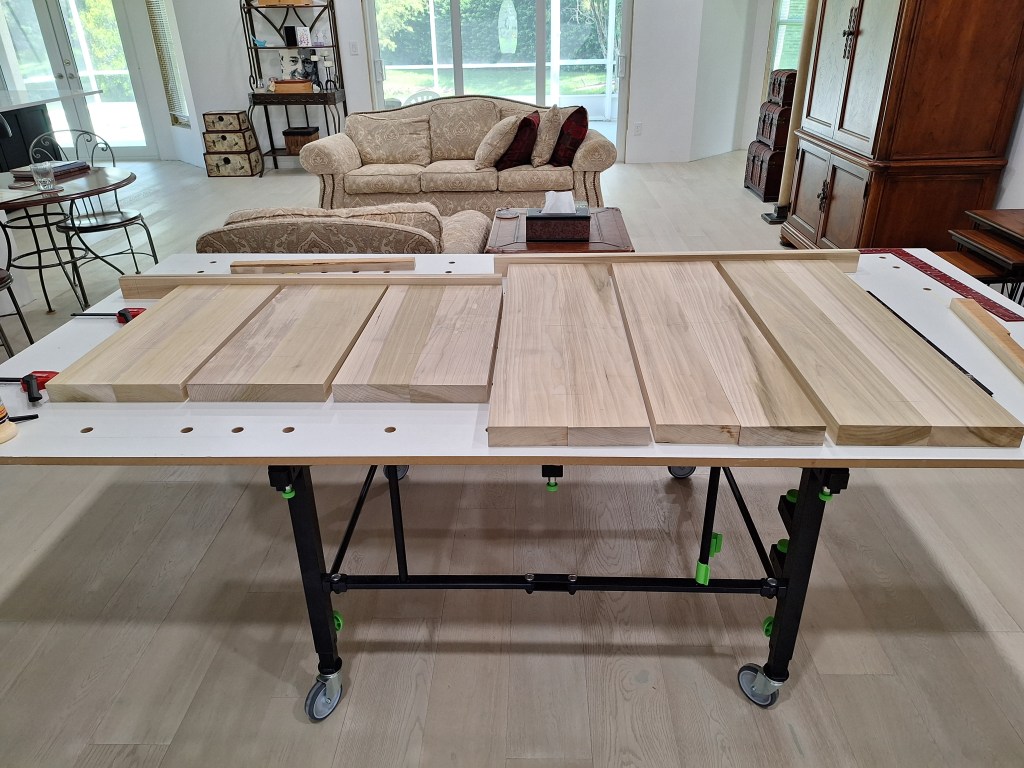
Once each pair of boards was glued, I gang clamped them. In the image above you can see the red clamps on the left that will push the boards together to provide the required clamping pressure. This is better seen in the images below, where I show how I placed the parts for the upper and lower panels of one of the doors together before applying clamping pressure. Note that after releasing the clamps, I would have four pairs: two pairs for the upper panel, and two pairs for the lower panel, which would be further processed using the thickness planer before joining them together to create the full upper and lower panels.
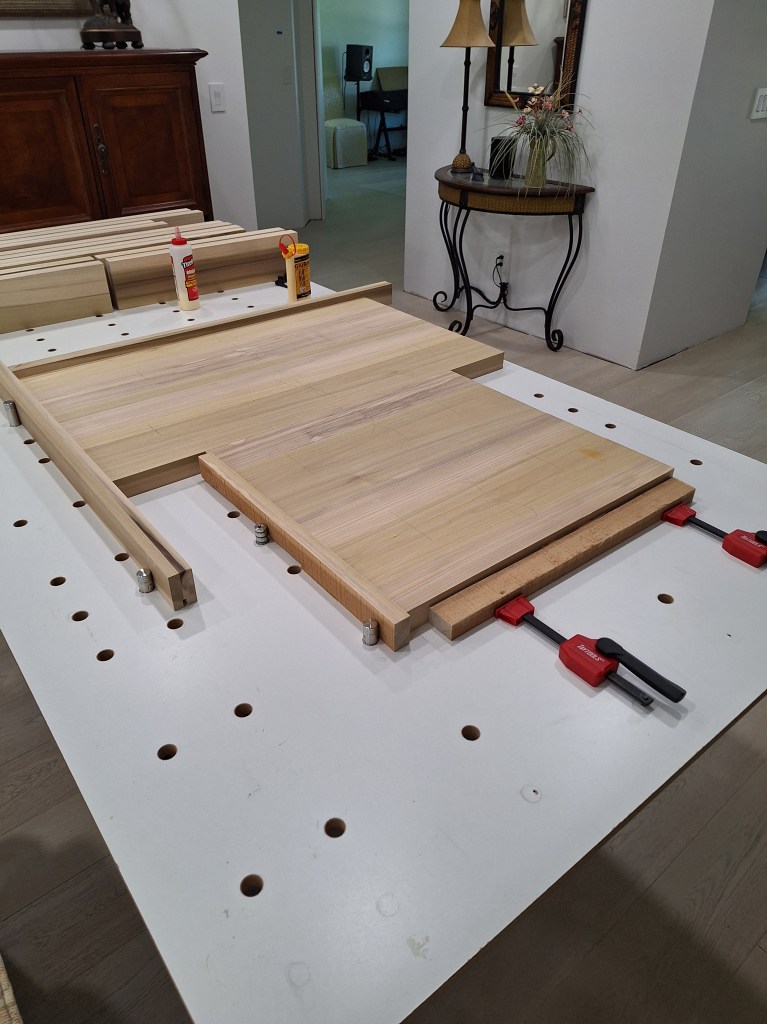
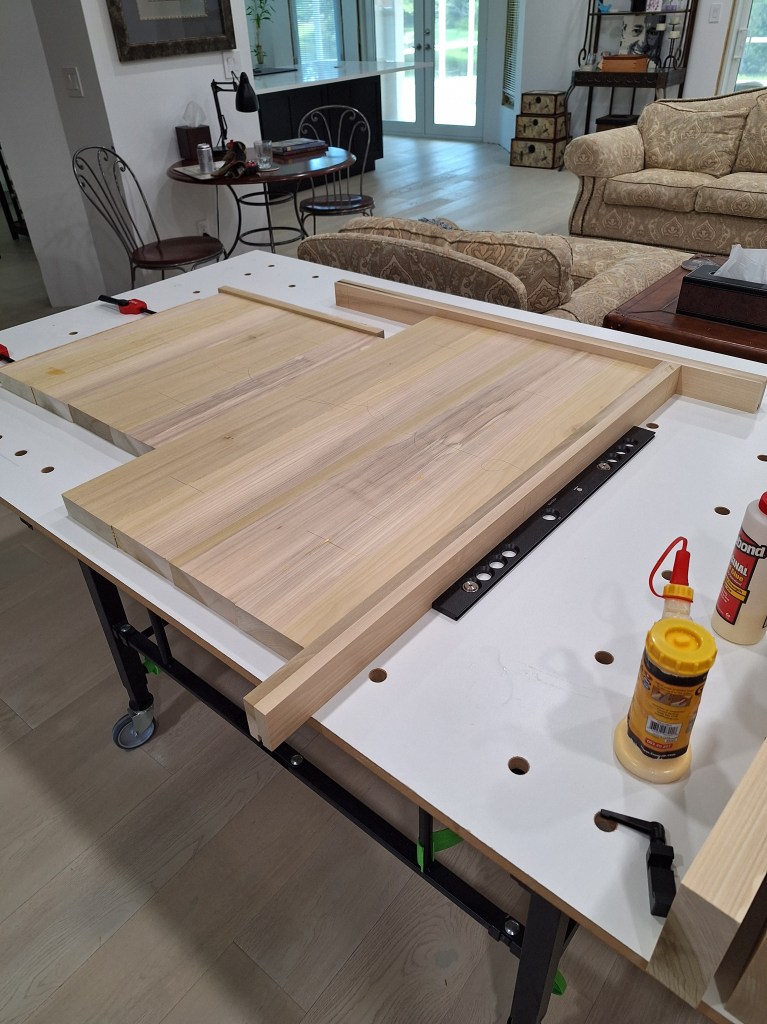
Once again, my MFT top was very useful in this task. Once I removed the boards from the clamps, I stored them away for the night so they would be ready for the next step.
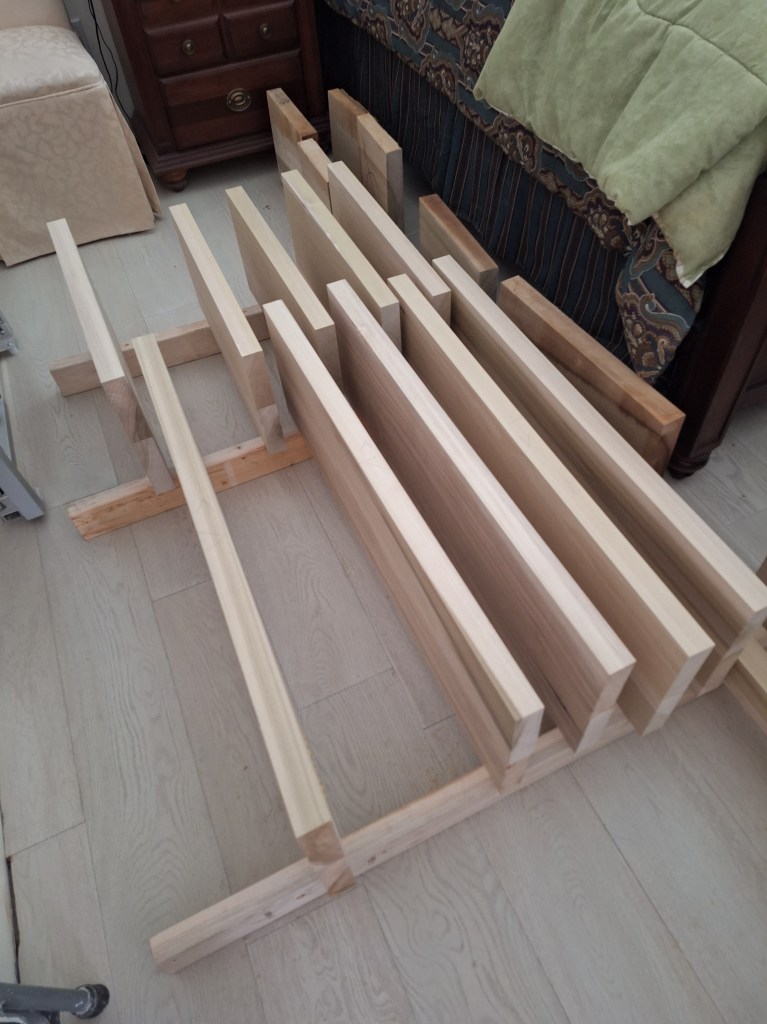
The next day I ran the boards through the planer to bring them to final thickness before joining them together to create the full panels. This left me with six panels that I hand planed to flatten out the joints. Once that was done, I ran them through the shaper to raise the panels, just like I did for the first door (shown in the previous post). Here they are dry fitted into the grooves that I also cut in the stiles and rails on the shaper.
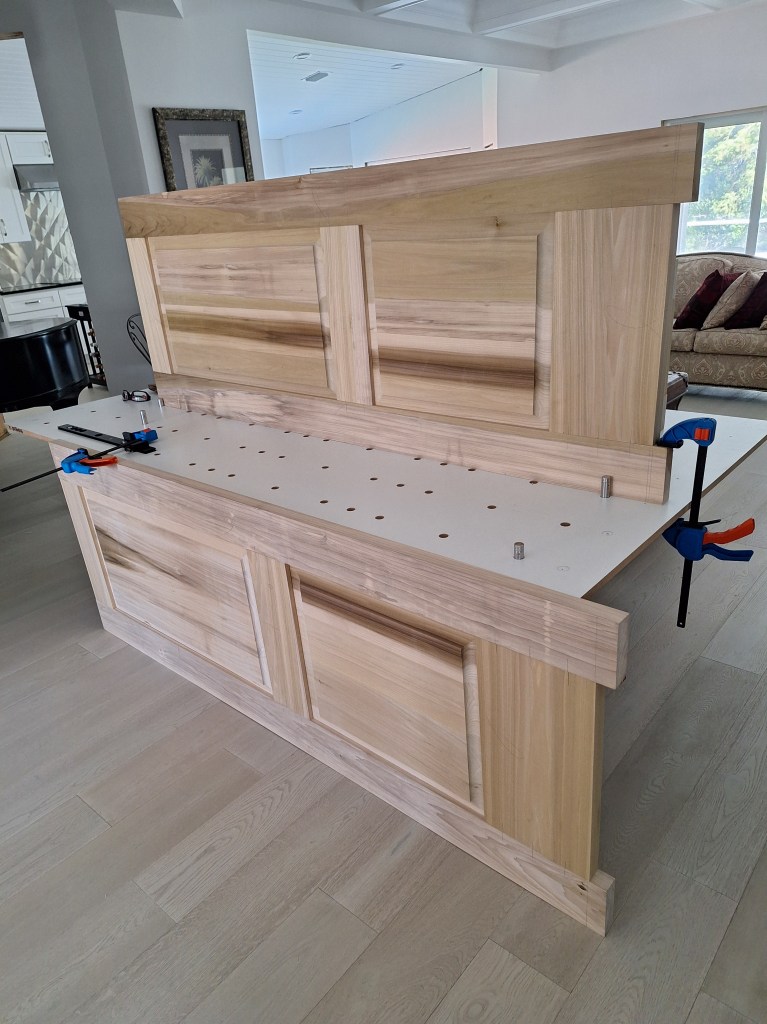
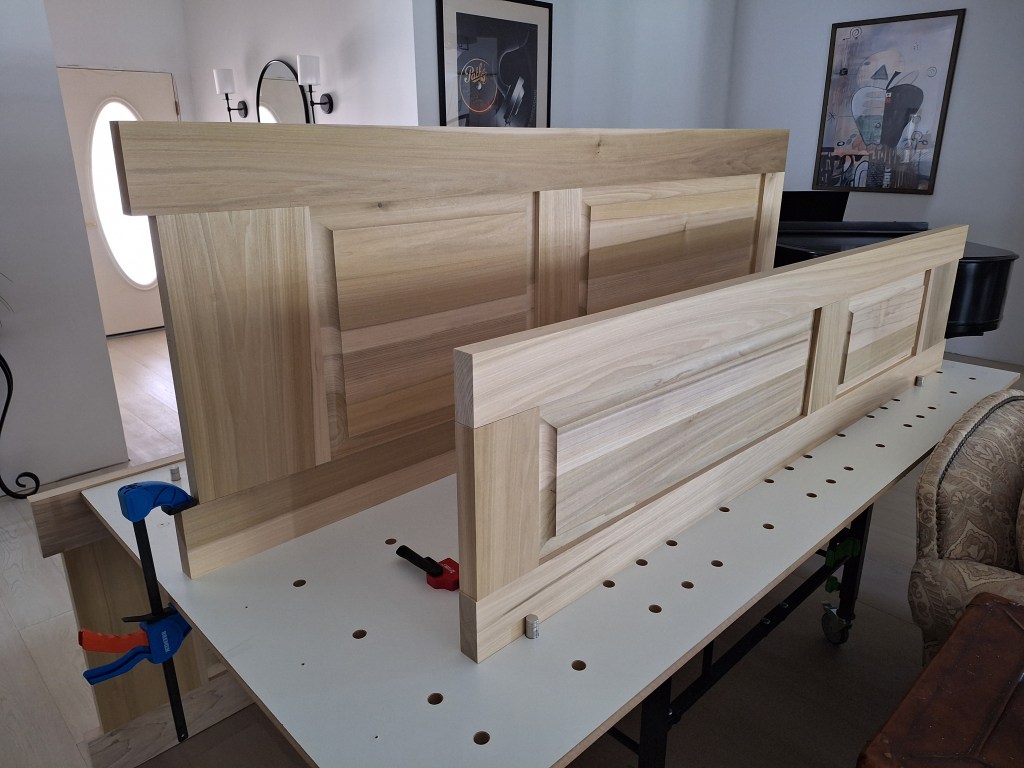
Satisfied with the fit, the panels are removed so they can be sanded, primed, and then given the first coat of paint.
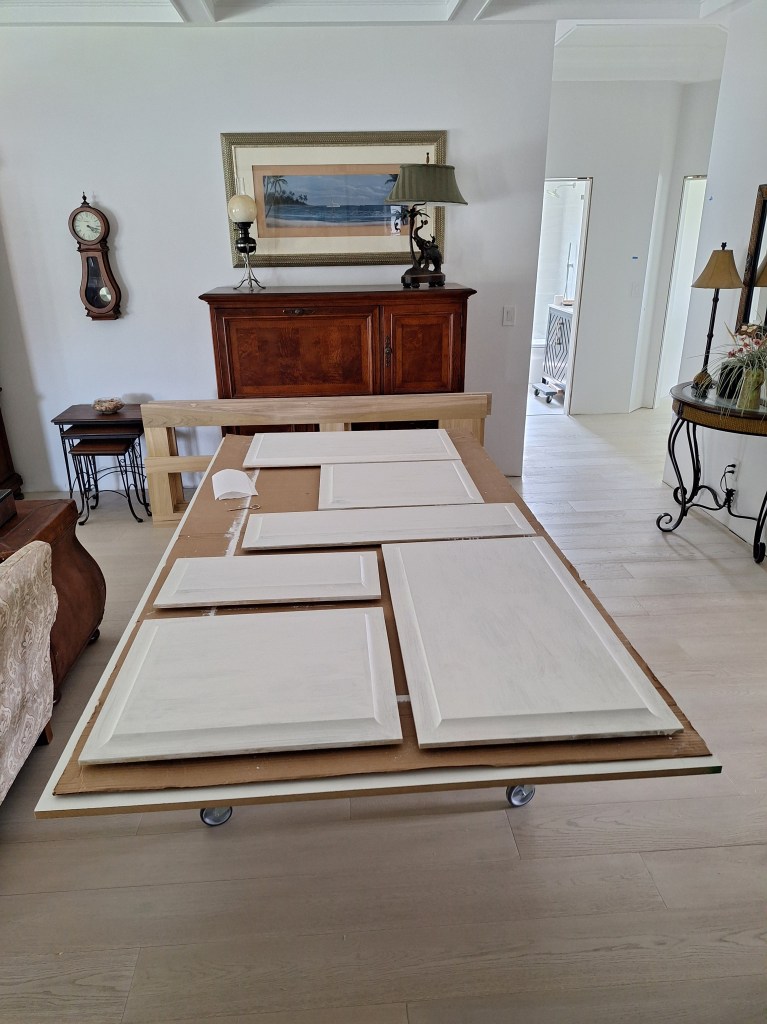
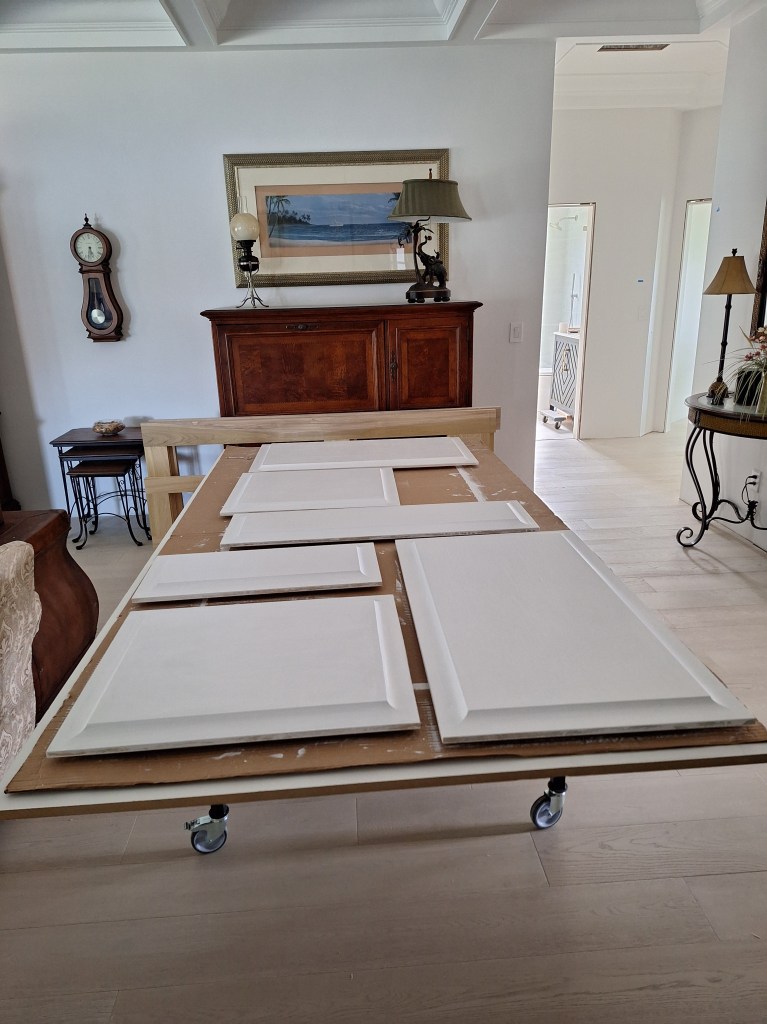
The panels are not glued into the stiles and rails because they can expand and contract in response to seasonal humidity changes. Since they “float”, the tongues of the panels must be painted before being inserted into the grooves cut in the stiles and rails so that any contraction does not reveal a thin line of unpainted wood. Only one coat of paint is needed for this contingency. The second coat of paint is applied to the panels once the entire door is assembled and the rails and stiles are also ready to receive their second coat.
After the panels were ready to be installed in the door frames, I glued them up, one at a time, in the usual way. Here is the guest bedroom door glued up and clamped.
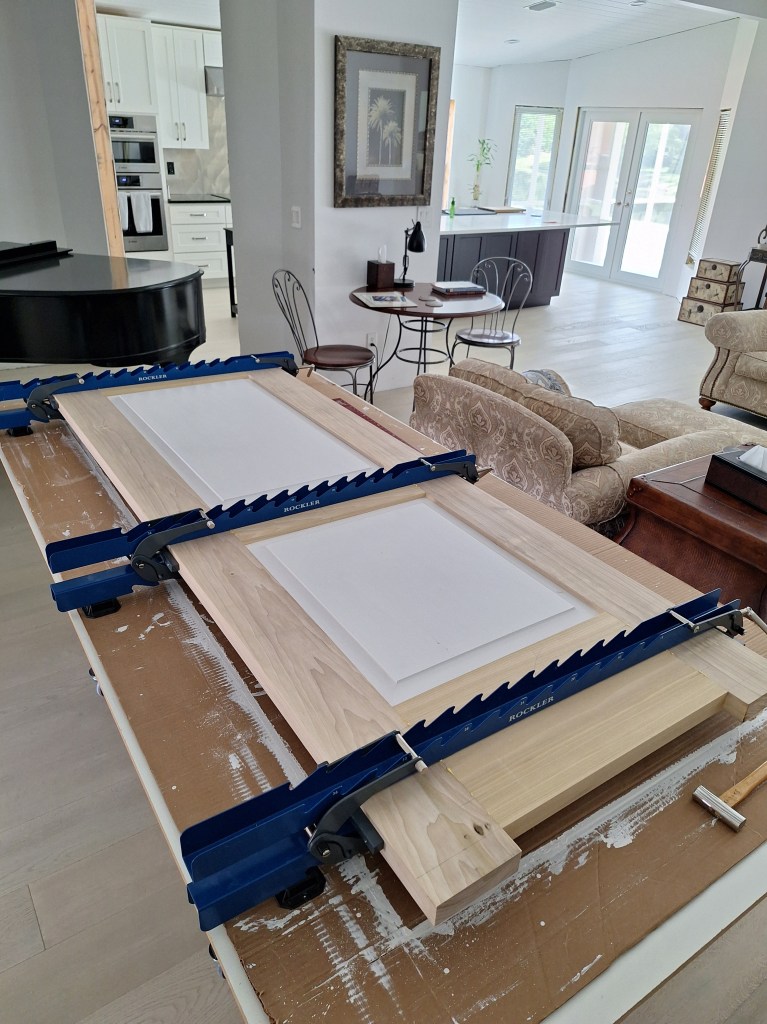
Once out of the clamps, I cut off the extra stile length to get the doors to their final height, then sanded, primed, and painted two coats; just as I did with the guest bathroom door discussed in the previous post. Here is the linen closet door after I was finished painting.
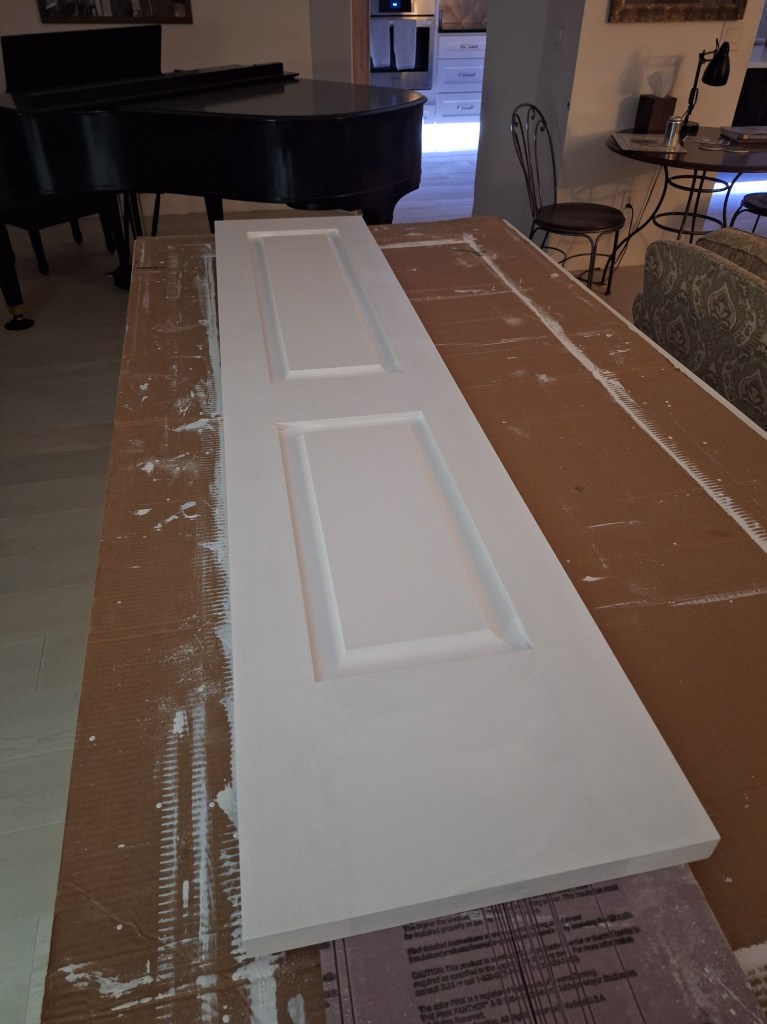
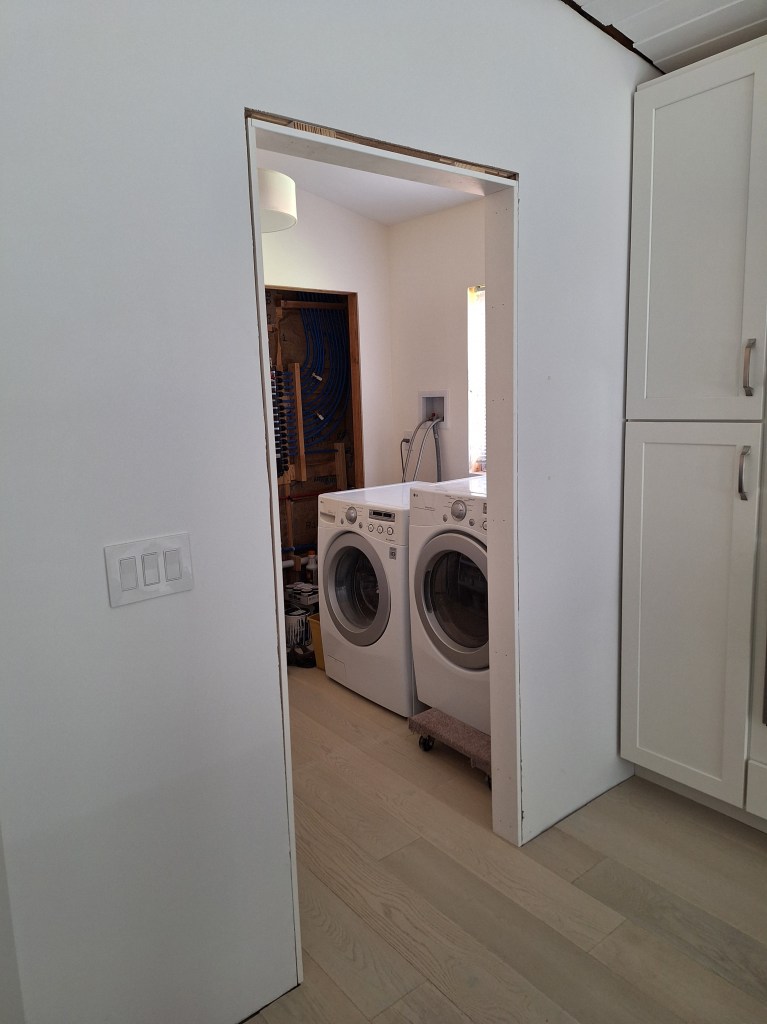
I painted the doors on my MFT table in the living room, covered with cardboard. This meant that I could only paint one side of each door at a time. I used the time between coats to shim out (using the JambMaster jig) the door openings for the laundry room, master bedroom, and master bathroom, then subsequently installed the jambs. My next door will be the one for the laundry room, so I also picked up the wood I needed for that to let it acclimate while I continued with the three I’m currently working on.
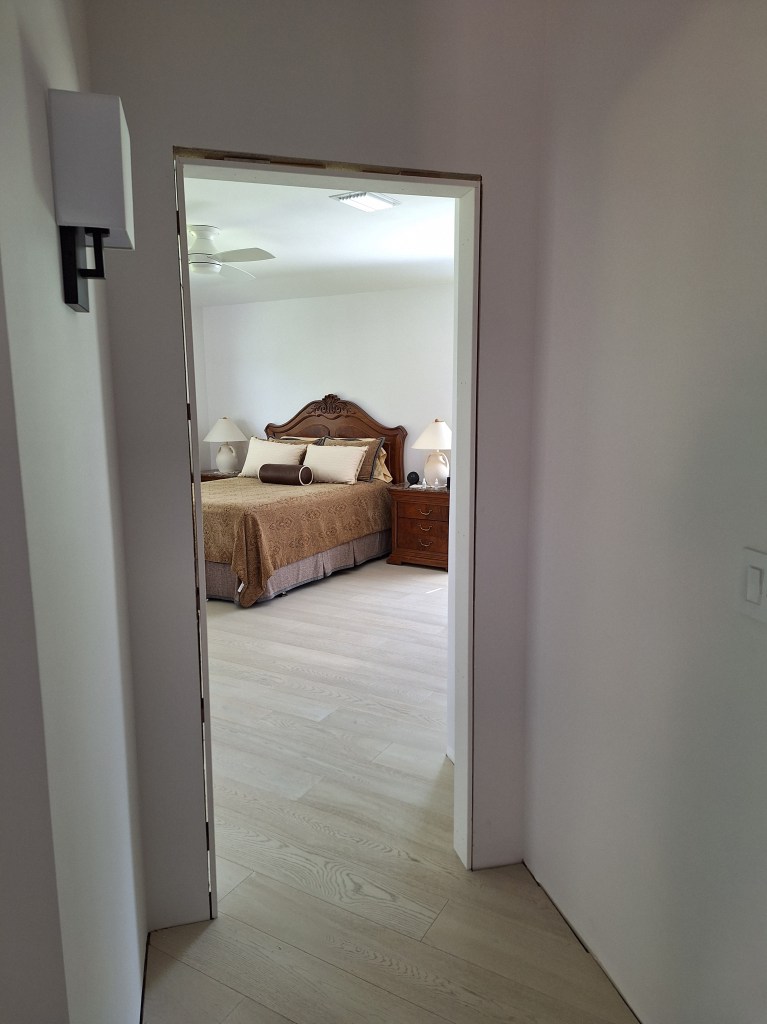
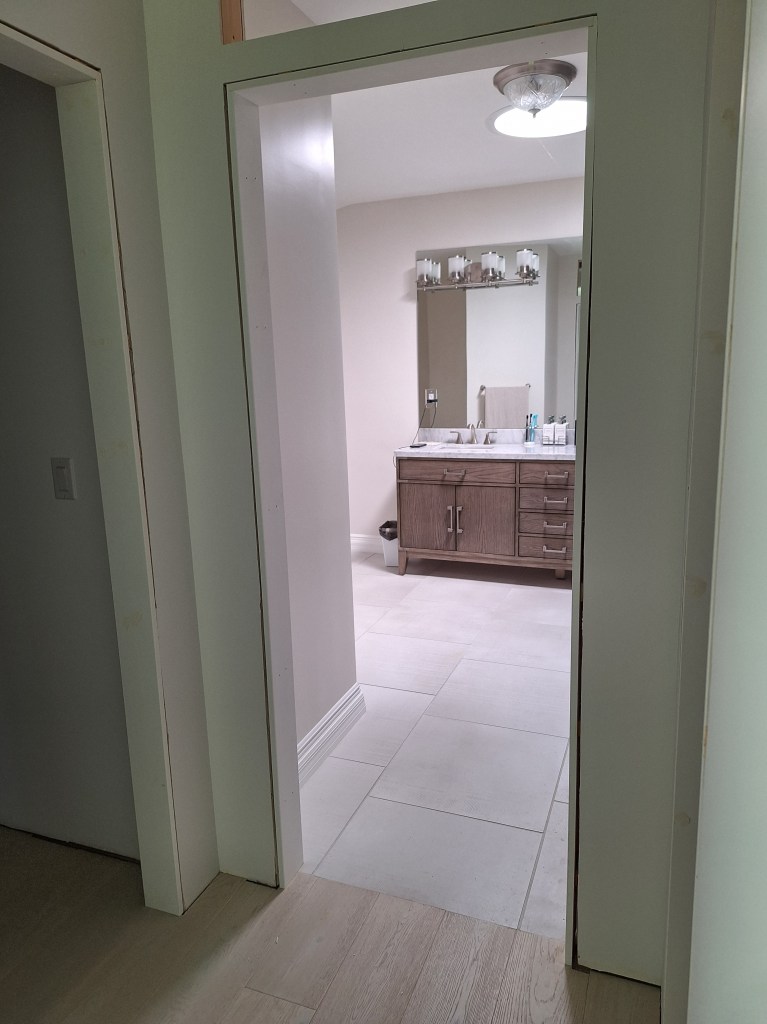
The Master Bedroom door and the Master Bathroom door will be different from what I have built so far, so I have not yet decided on the wood I will use for them.
With the three door builds complete, I ordered hinges and handle hardware. Although I had already hung the first door I built, the one for the guest bathroom, I would not install the others until the holes for the handles were drilled out. So that meant I would have to wait on the hardware to arrive.
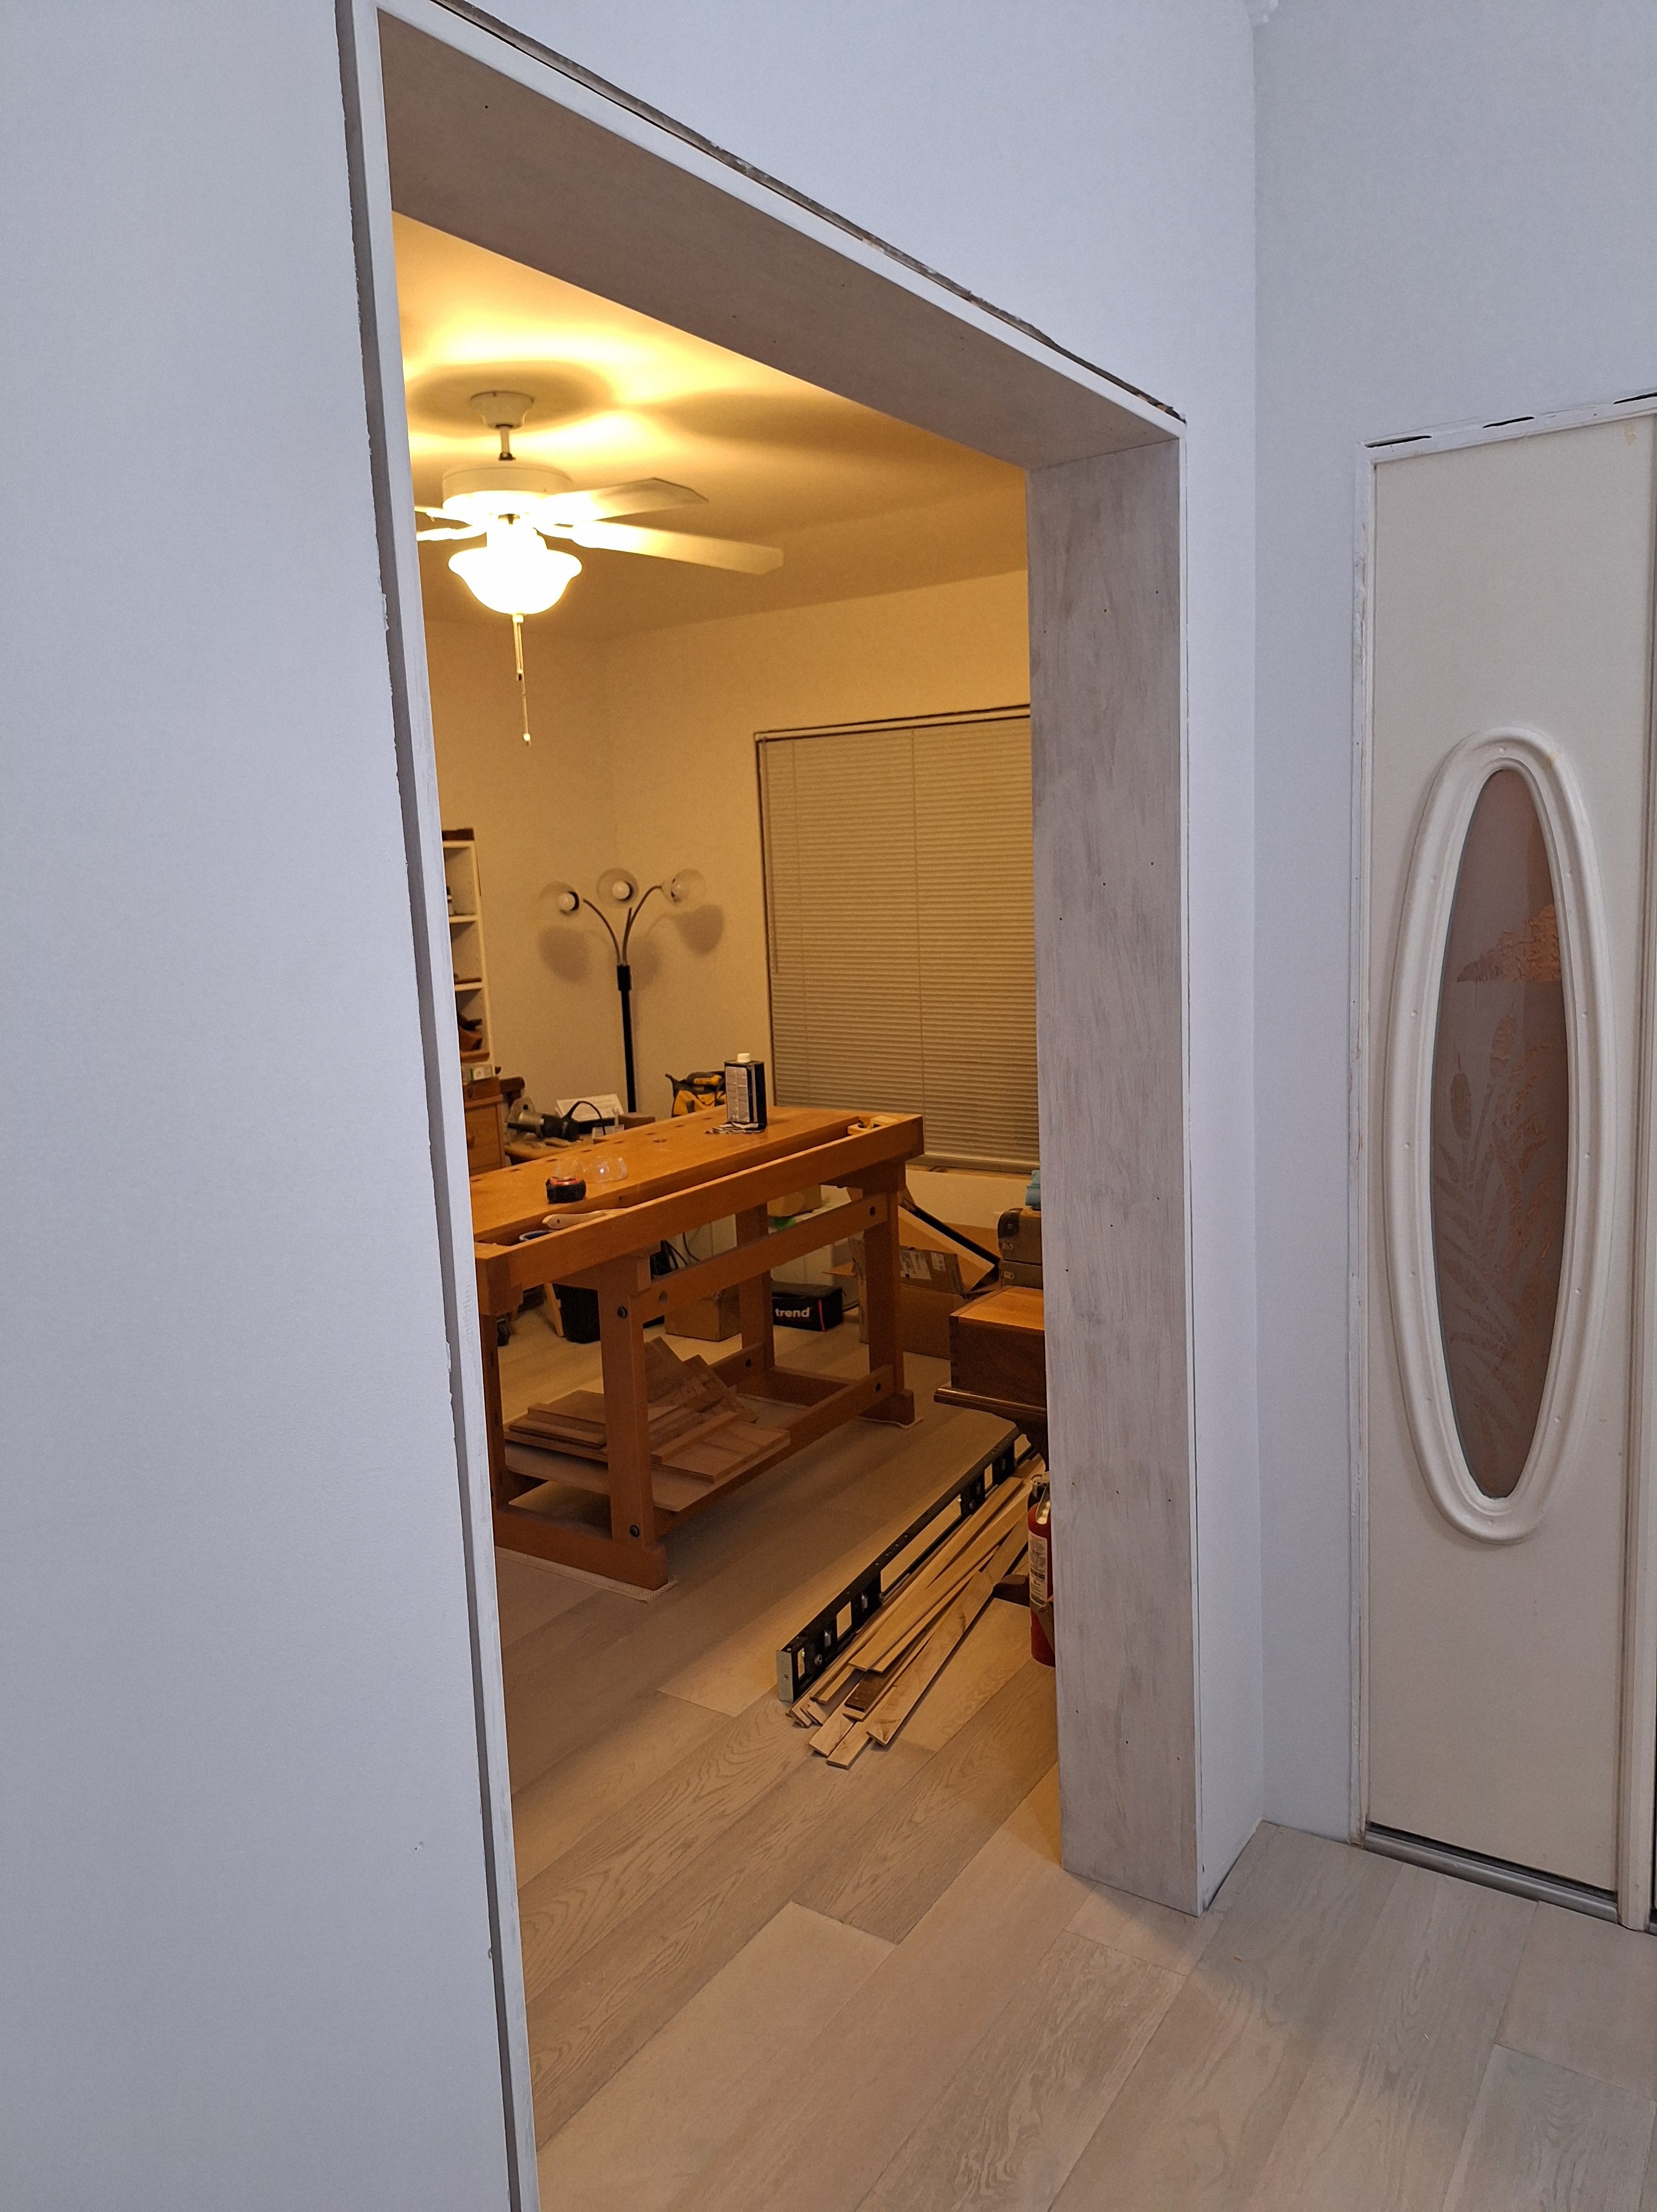
While waiting for that, I decided to start making the jambs for the workshop and entry to the dining room from the kitchen. These two openings were much wider than typical jambs, so I could not simply buy ready made jambs, as I’d done with the other openings. Typical jambs are 4-1/2″ wide, but these two openings were a bit over 8″ wide so I had to make my own. To do this I purchased 3/4″ poplar from Home Depot. I’d normally buy rough cut lumber from my usual supplier, since it is cheaper, and mill it to the thickness I needed, which would be 5/8″. However, my supplier only had 4/4″ poplar, which would mean that I would be milling away a lot of it, and I didn’t like the idea of wasting so much wood. I picked up 3/4″ poplar that was already milled, which was really expensive. In the end, this a mistake because I ended up keeping the jambs 3/4″ thick rather than milling them down to the 5/8″ thickness of typical jambs because I saw no purpose in reducing it by 1/8″. So, had I purchased the rough cut 4/4″ poplar, milling it down to 3/4″ would have been the way to go. I’ll know better next time.
To install the jamb, I used my Jamb Master jig, but this time I had to use the extenders so it could span the longer distance. Also, since the routing templates were not long enough to cover the more than 8″ width, I had to add shims to one half of the width, then turn the jig around and do the same for the other half. You can see this in the images below where there are shims already in place on the outside half with the jig setup on the inside to route the shims there.
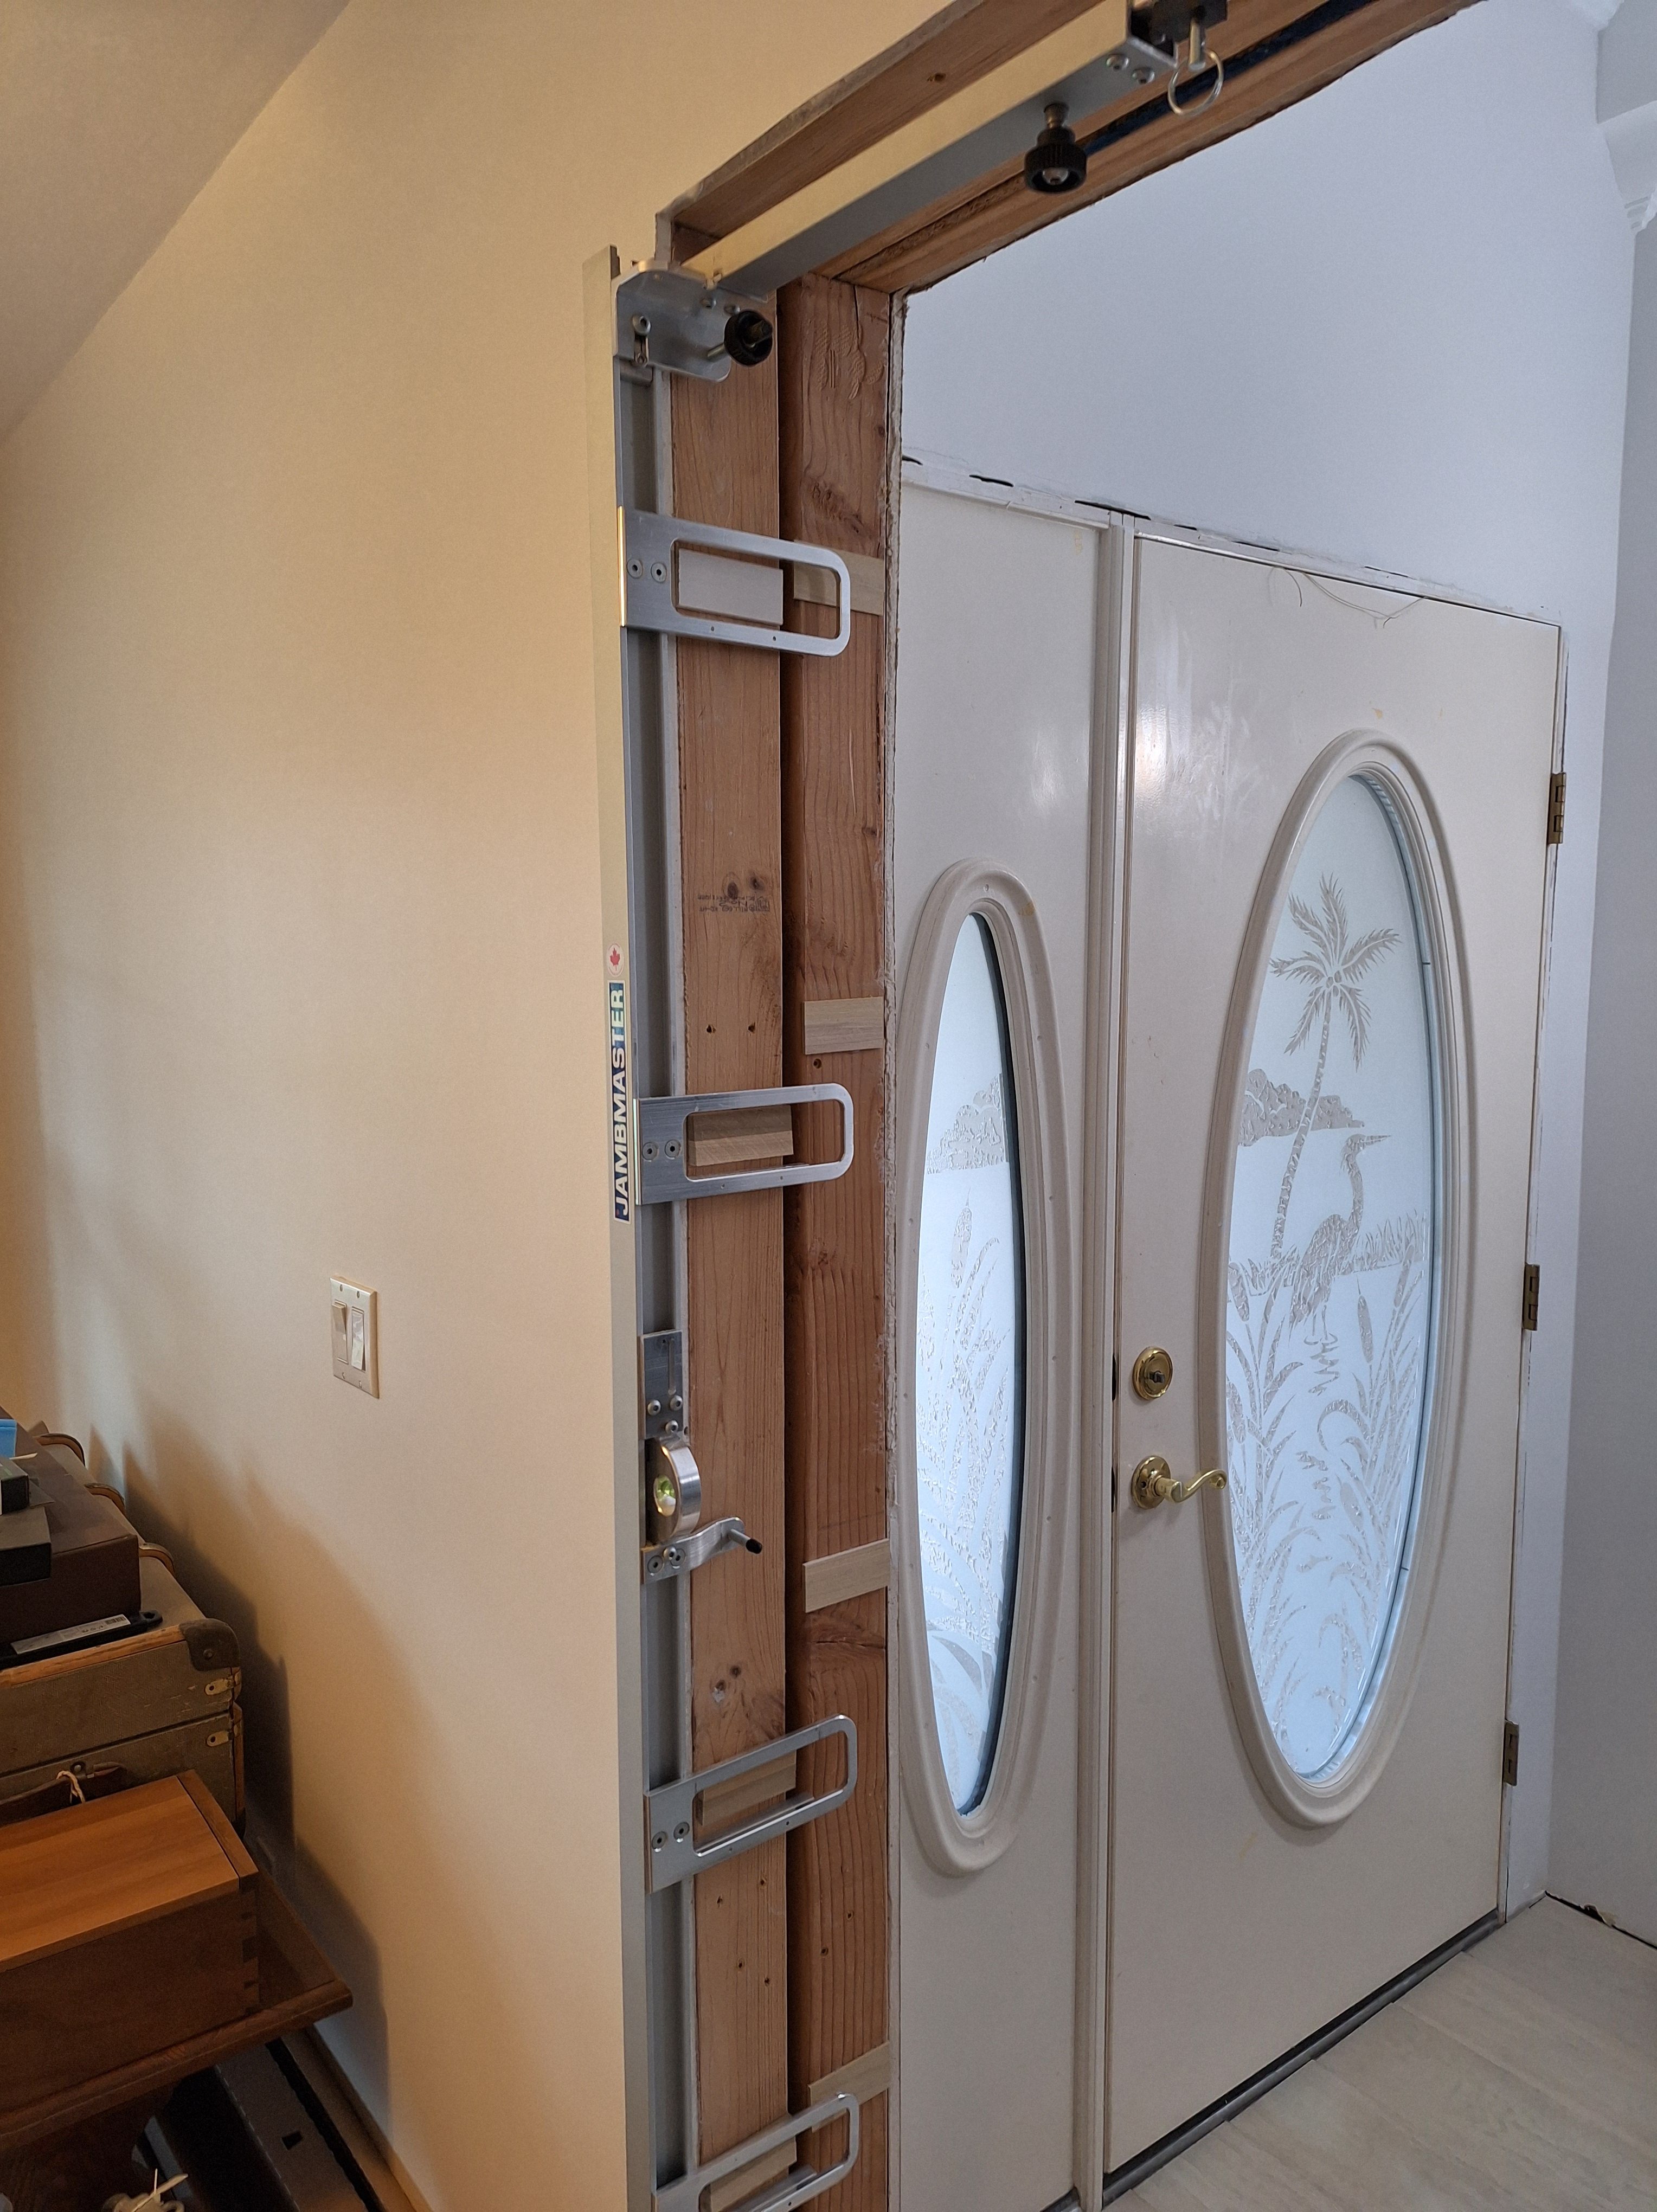
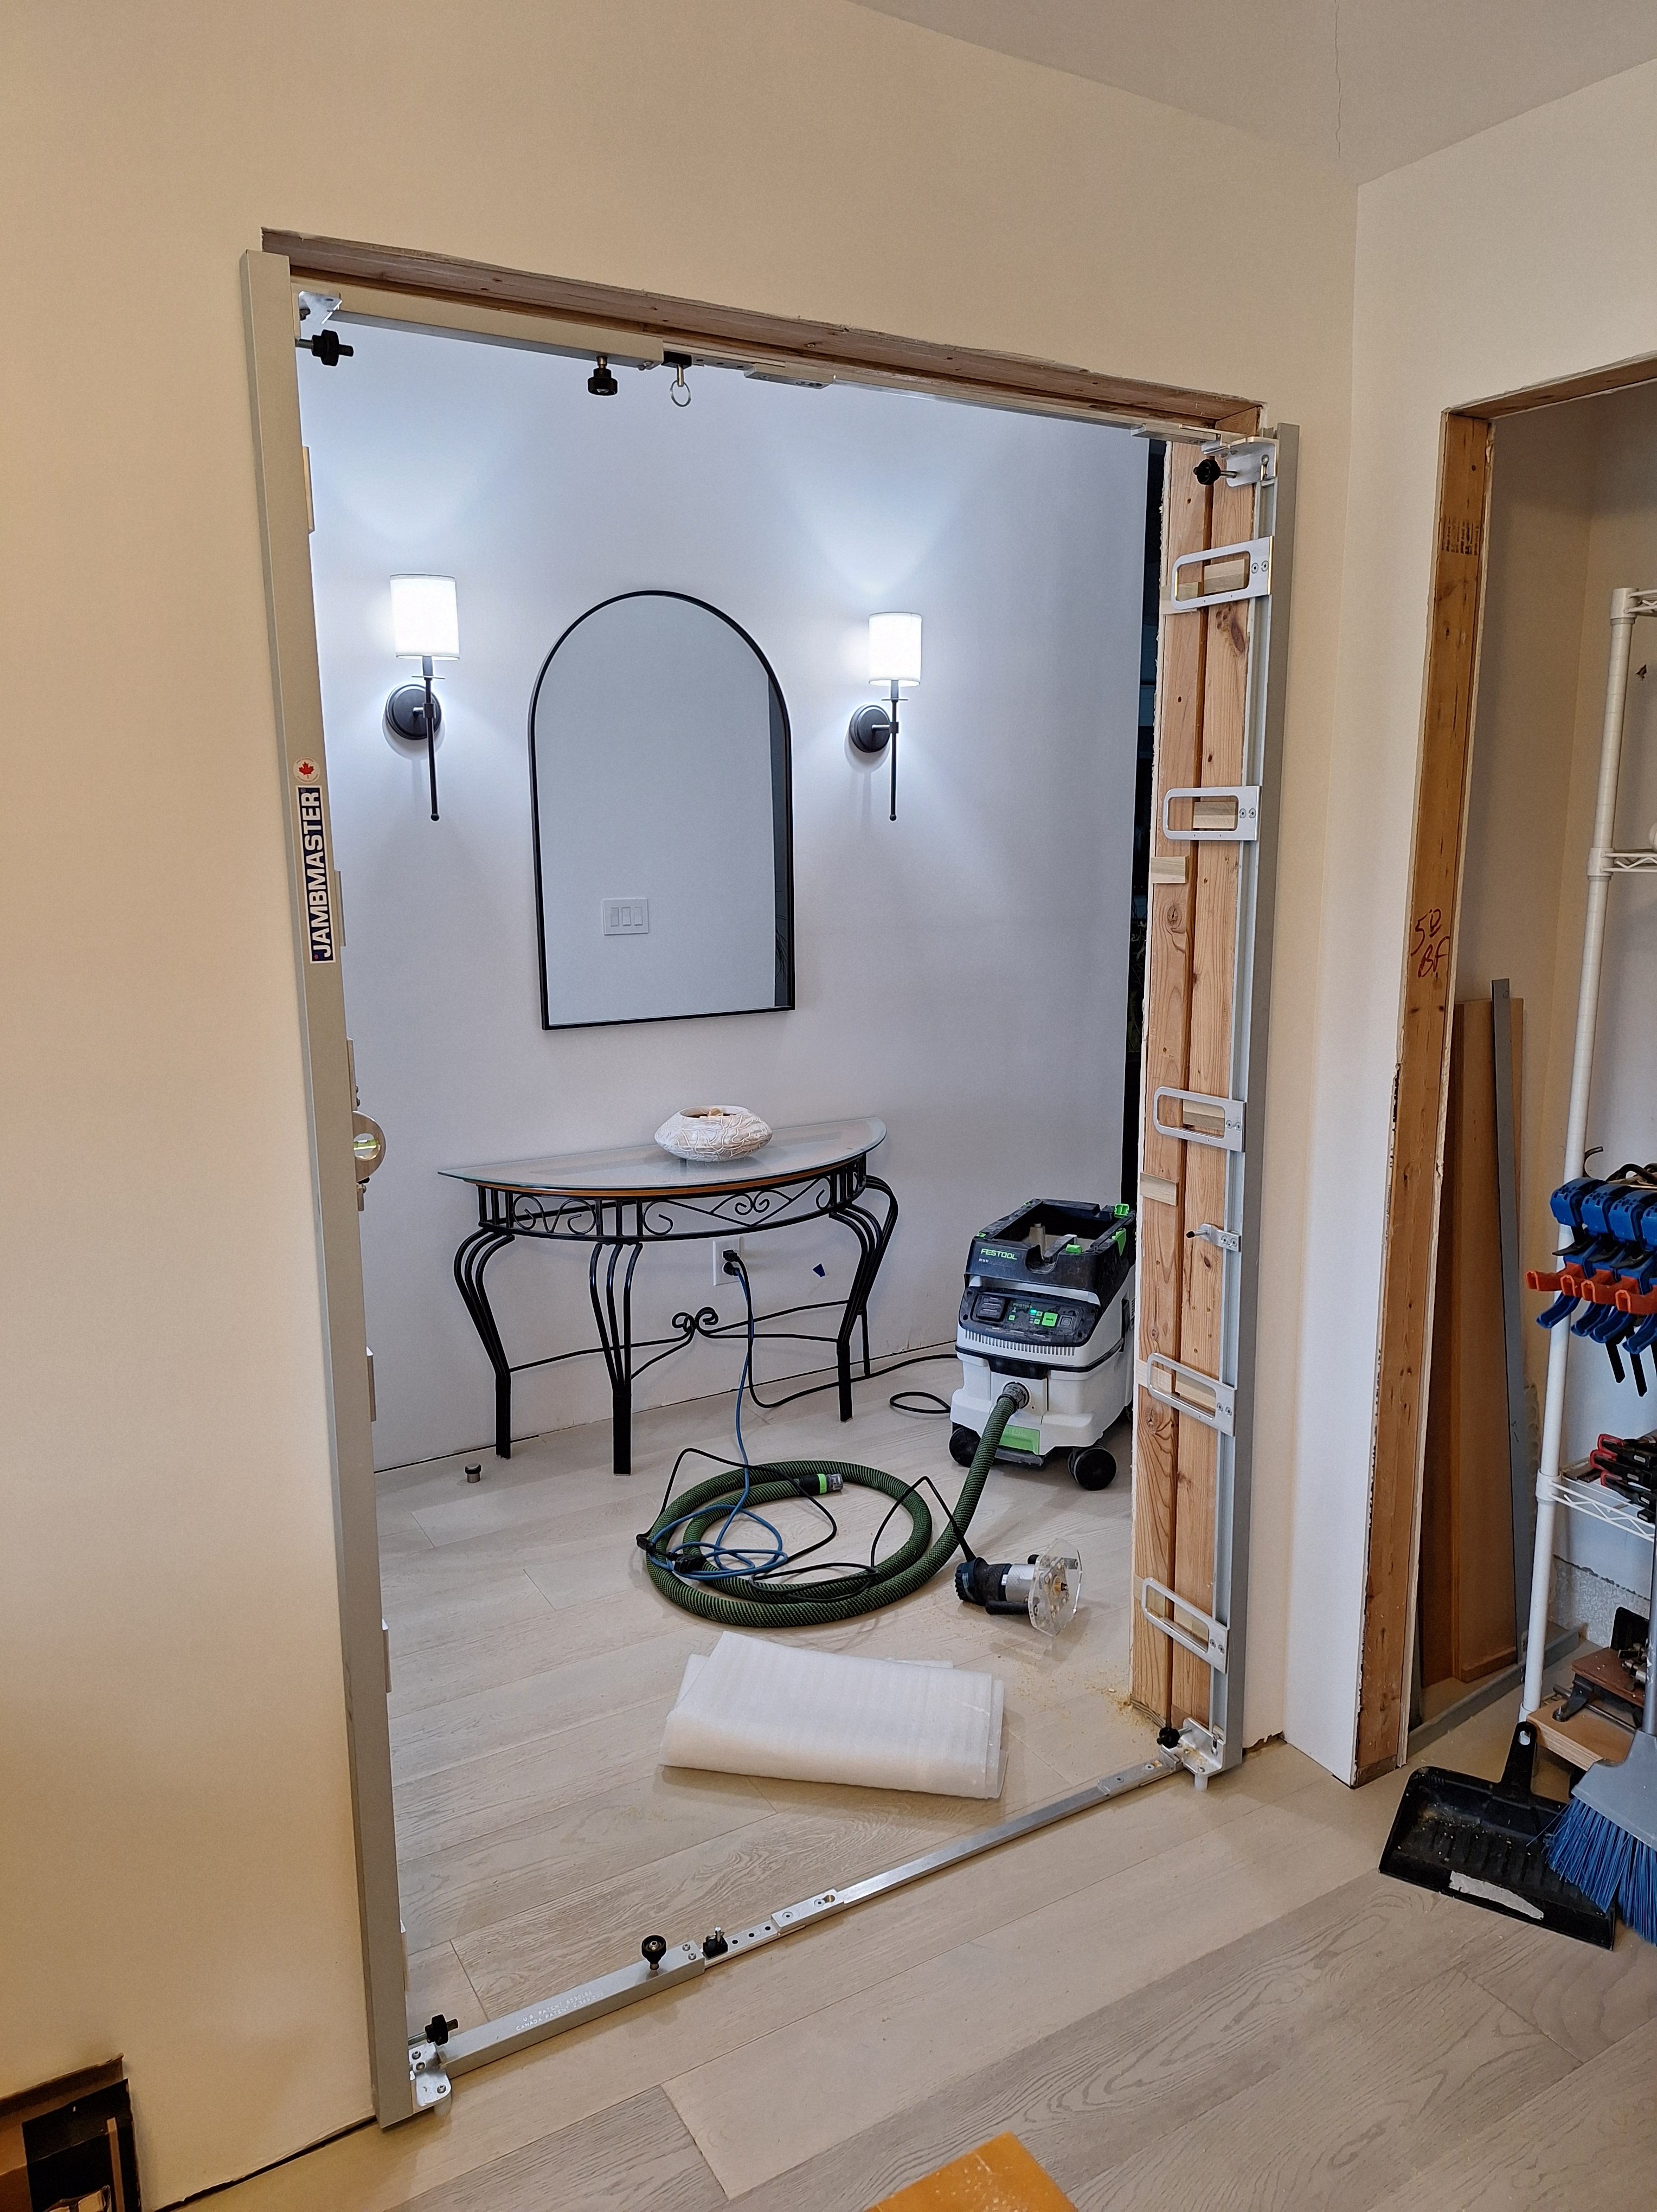
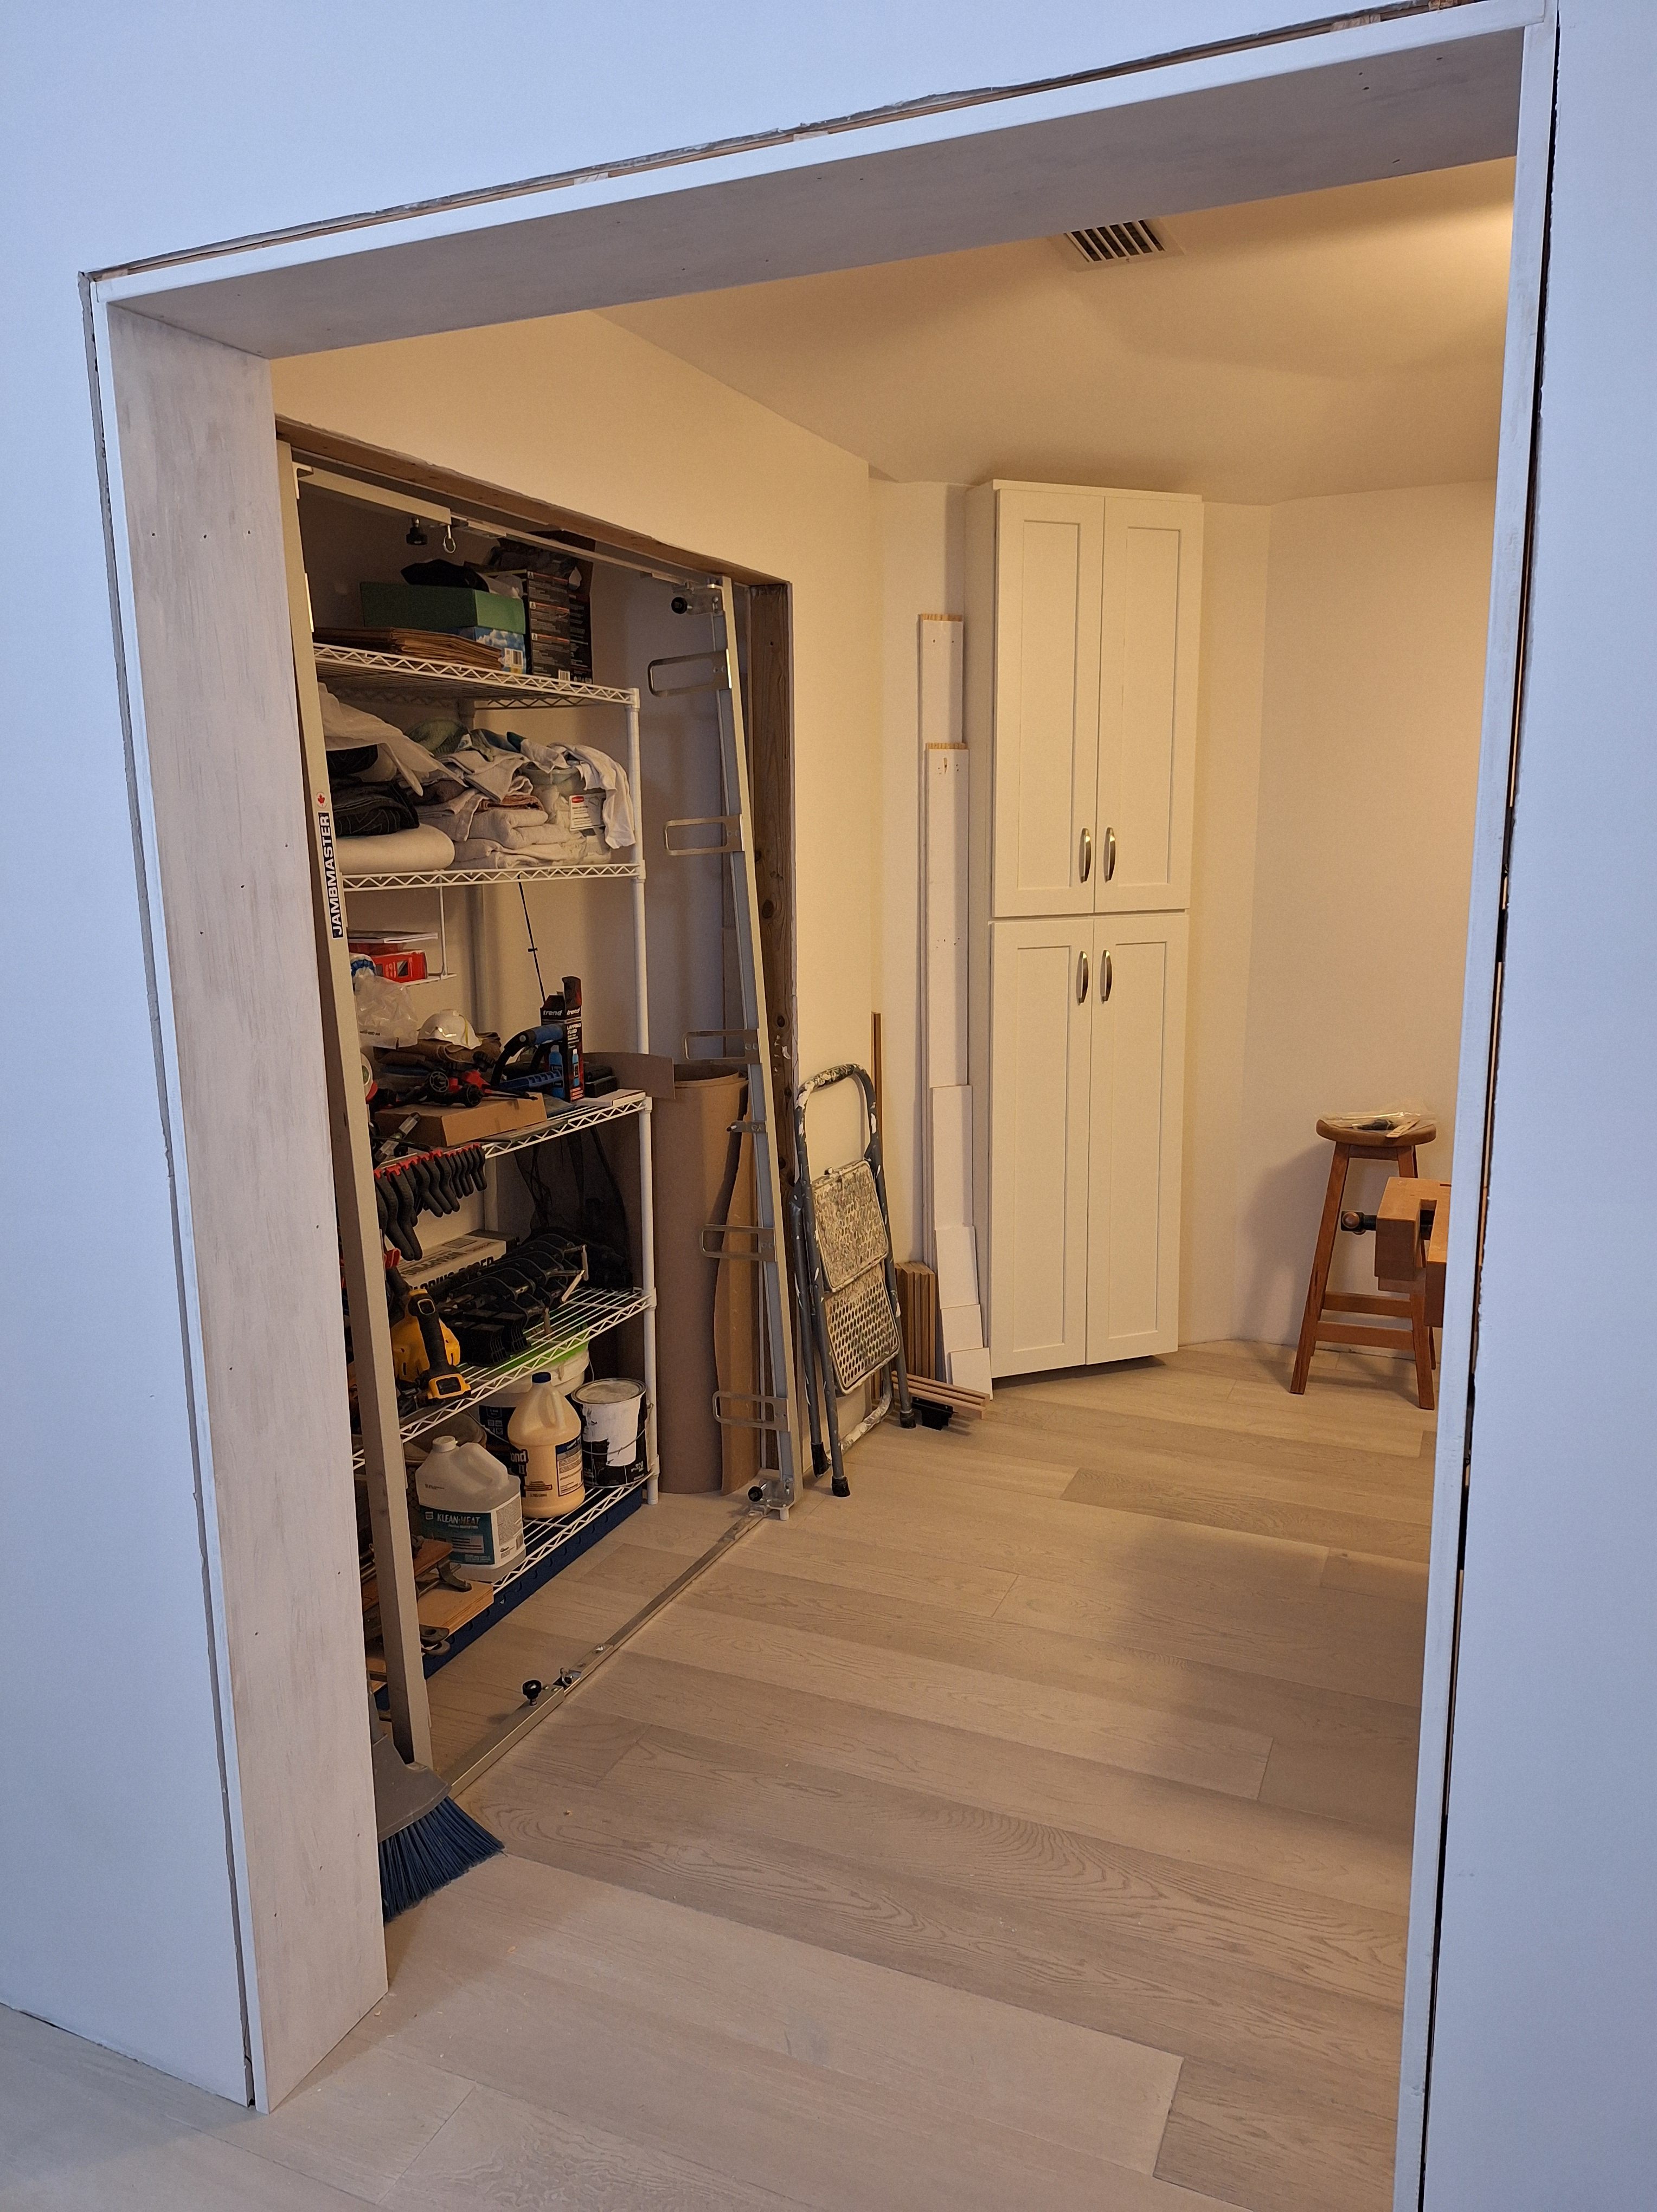
After the jamb stock was milled, I primed and installed it, as shown below. The jamb will be painted at a later date. I won’t be building the doors for this opening for some time, so no need to do that right now.
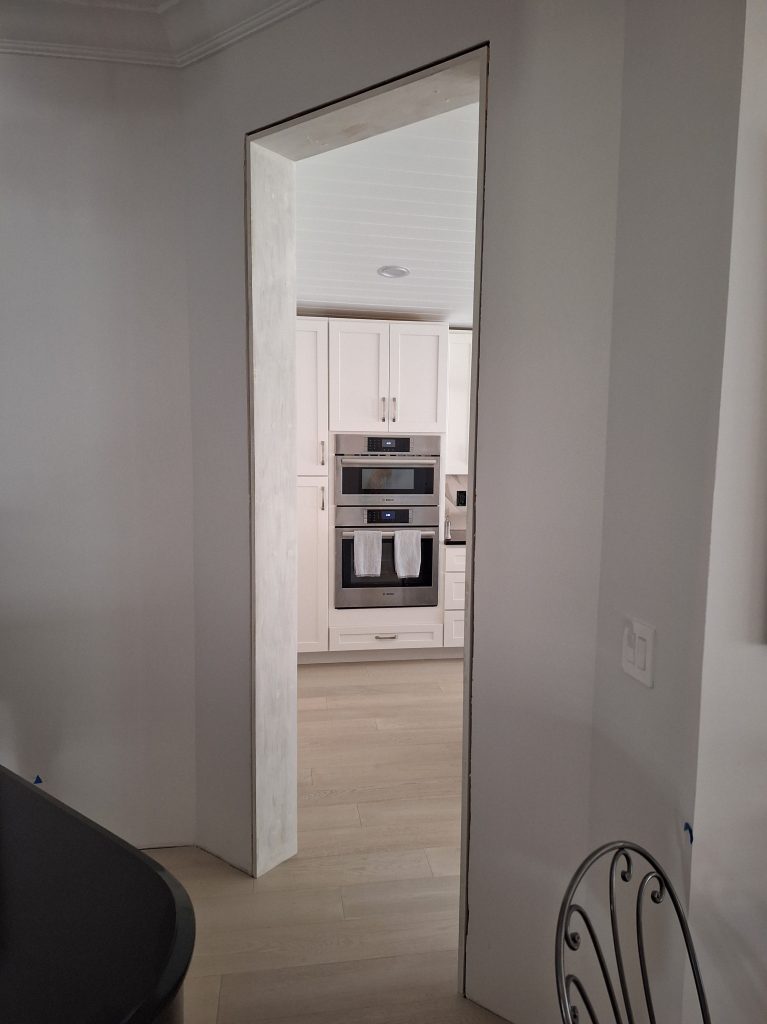
It was a similar situation with entrance from the kitchen to the dining room, but this opening would not be getting a door. Still, I wanted it to be square, so I used the Jamb Master again. Being a much taller opening, I had to get creative with the Jamb Master in order to add shims near the top. After shimming to the height where the Jamb Master can normally reach, I propped the Jamb Master frame up on a couple of supports to lift it a foot or two so I shim up to the top, then added the jambs as usual.
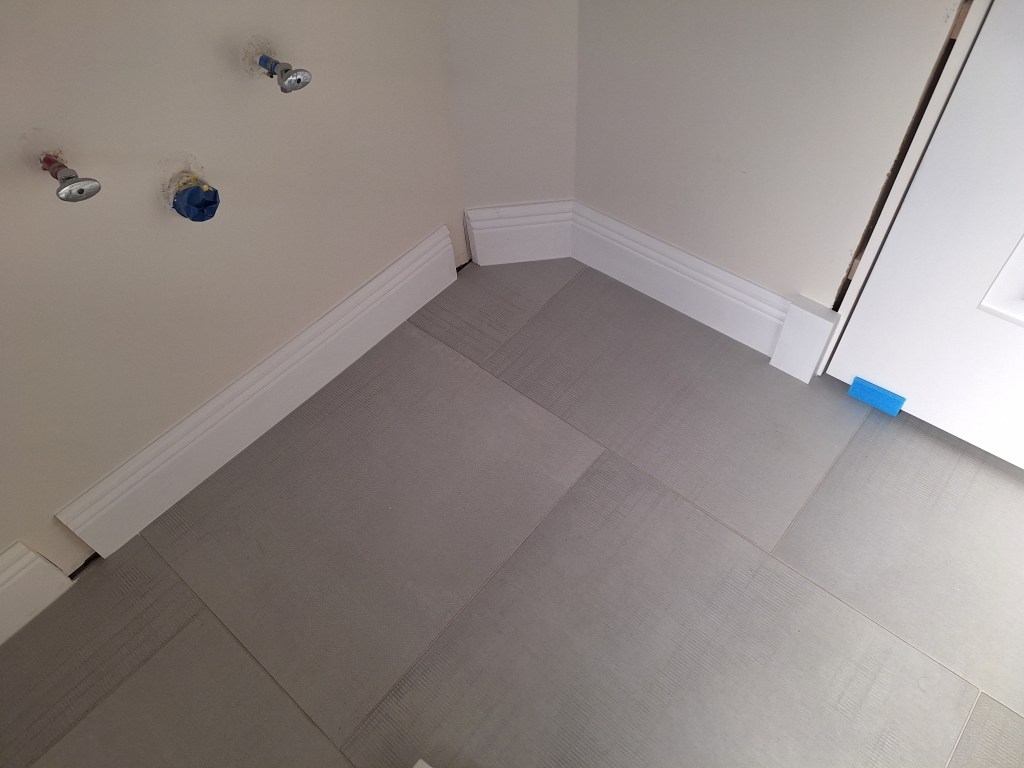
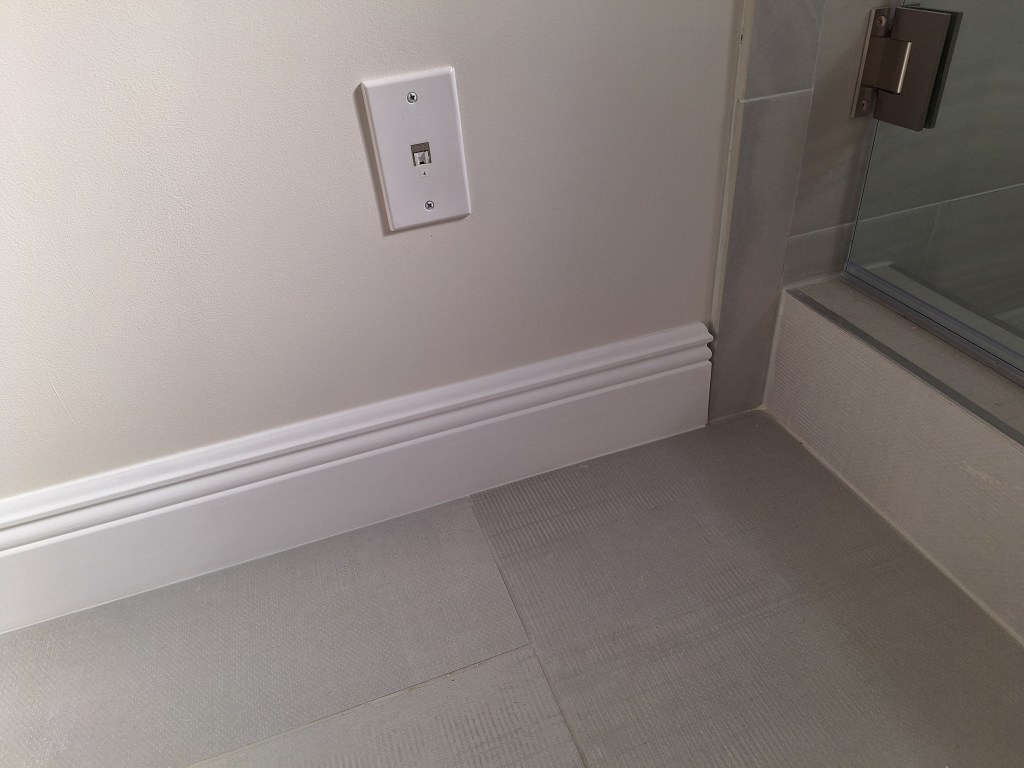
After installing the jambs shown above, I was still waiting on a couple of orders, so I used the time to finish installing the baseboard in the guest bathroom. To proceed with that I had to create a couple of plinth blocks at the base of the jamb where the baseboard could terminate. Below you can see one of the plinth blocks and the piece of baseboard that terminates at it. Note that the two gaps you see between pieces of baseboard under the water supply lines exist to accommodate the legs of the vanity.
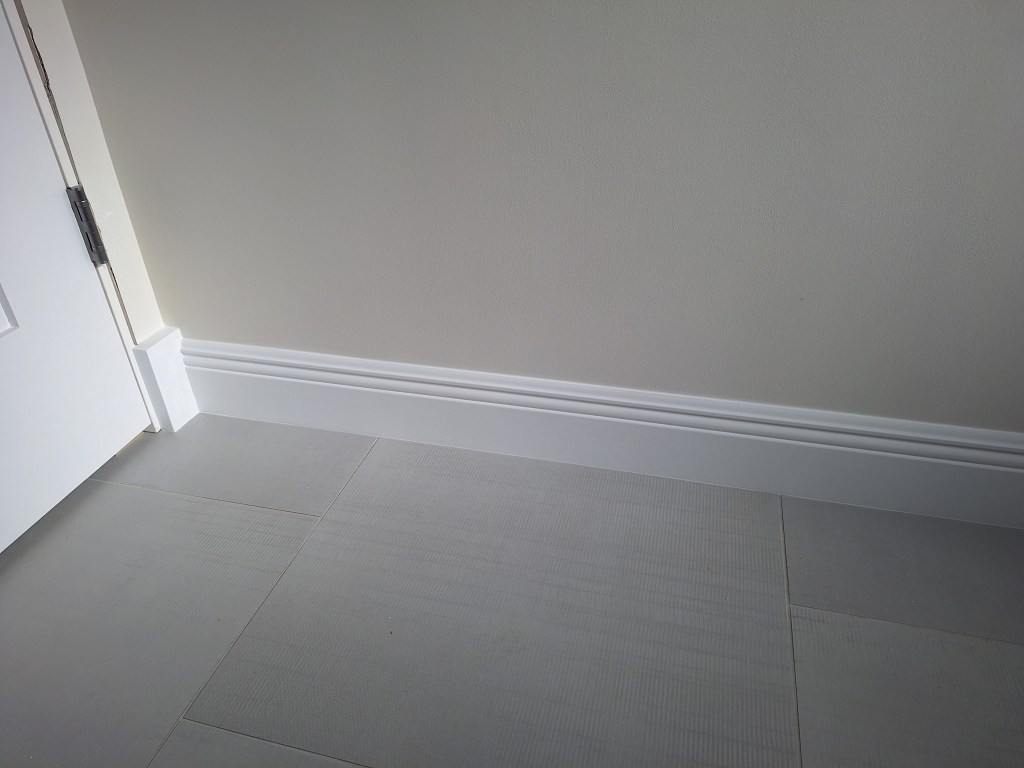
On the other side of the entry door is another plinth block into which the baseboard along the back wall can terminate.
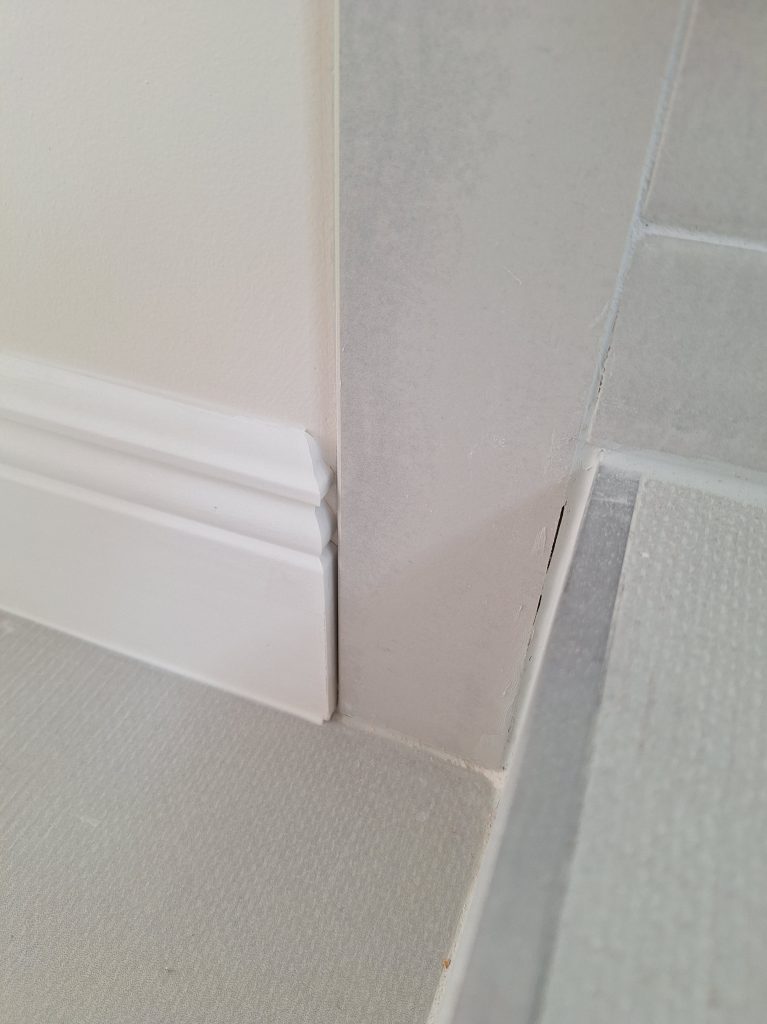
Where the baseboard meets the shower tiles along the back wall, I added a return piece to make a nice termination of the run. I didn’t notice when taking the picture, but it looks like I need a bit more silicone caulking between the curb and the tile.
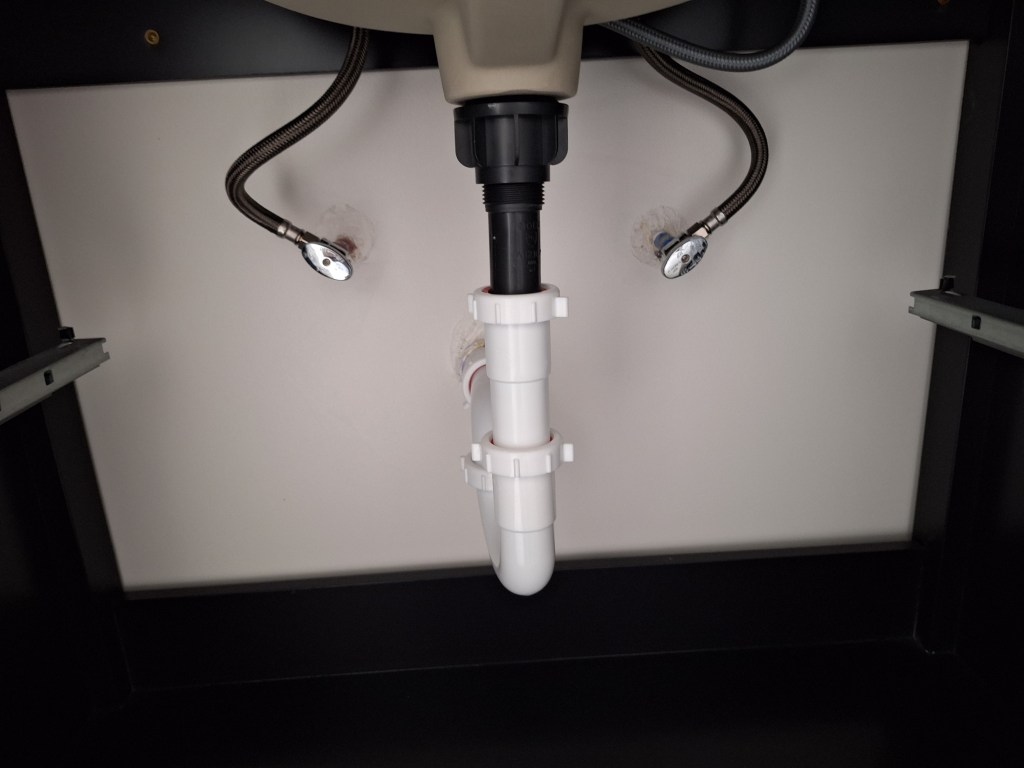
With the baseboard in place, I could move the vanity into position and hookup the plumbing.
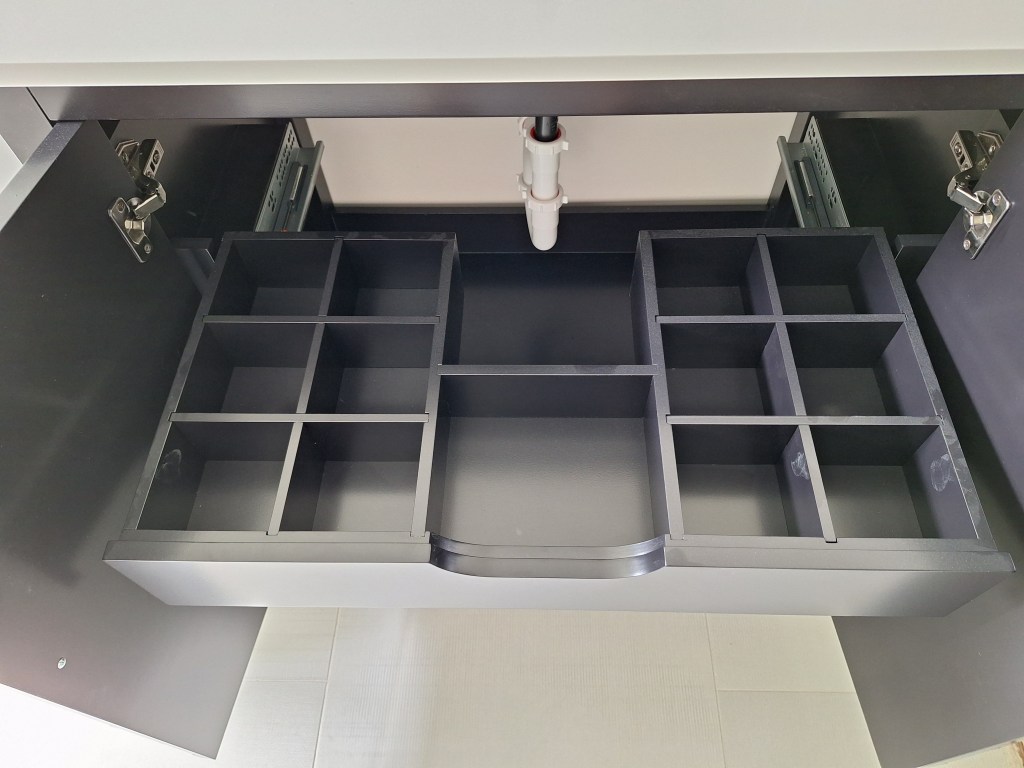
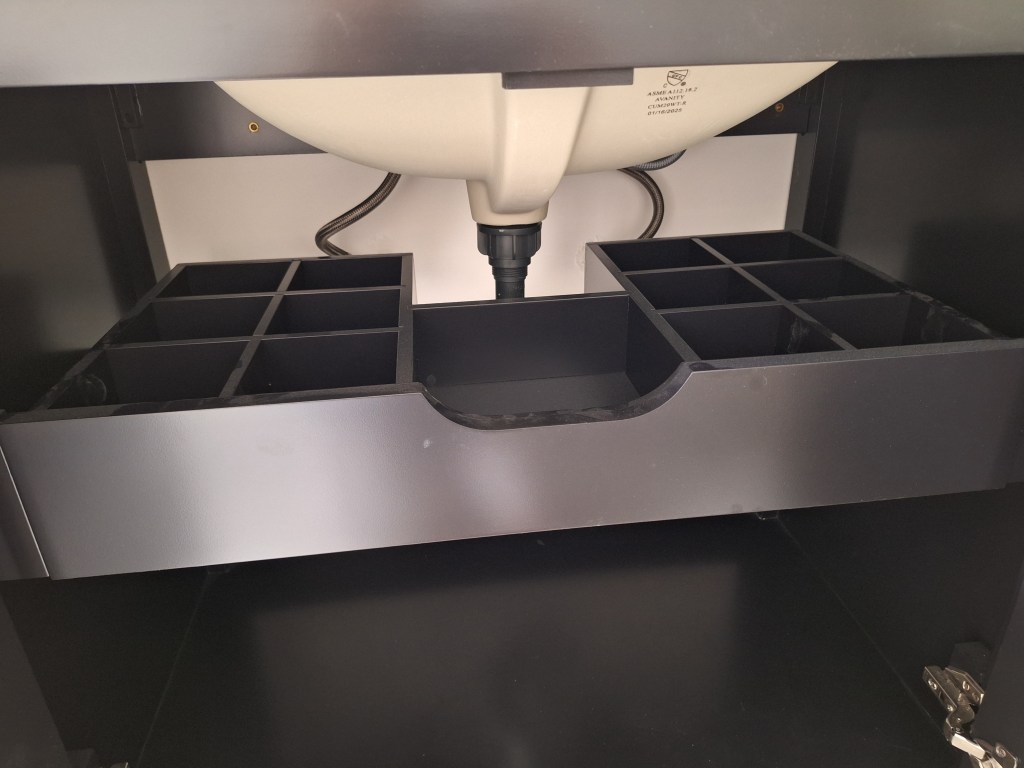
The drawer that came with the vanity had a area to accommodate the plumbing.
And here it is with the doors closed.
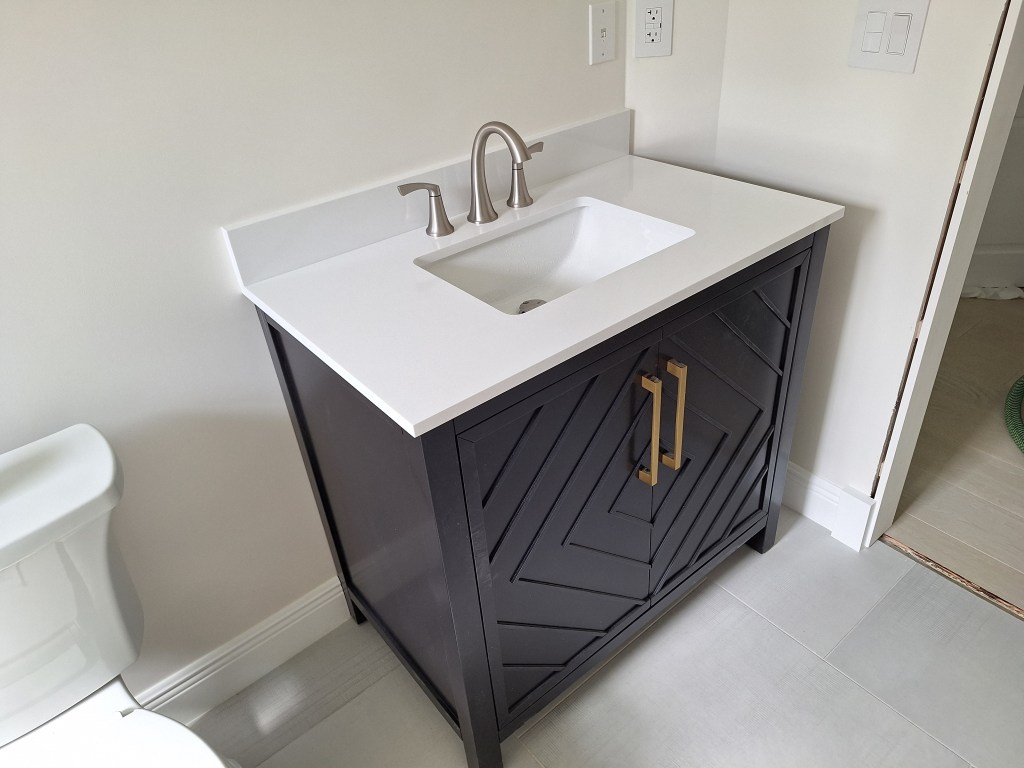
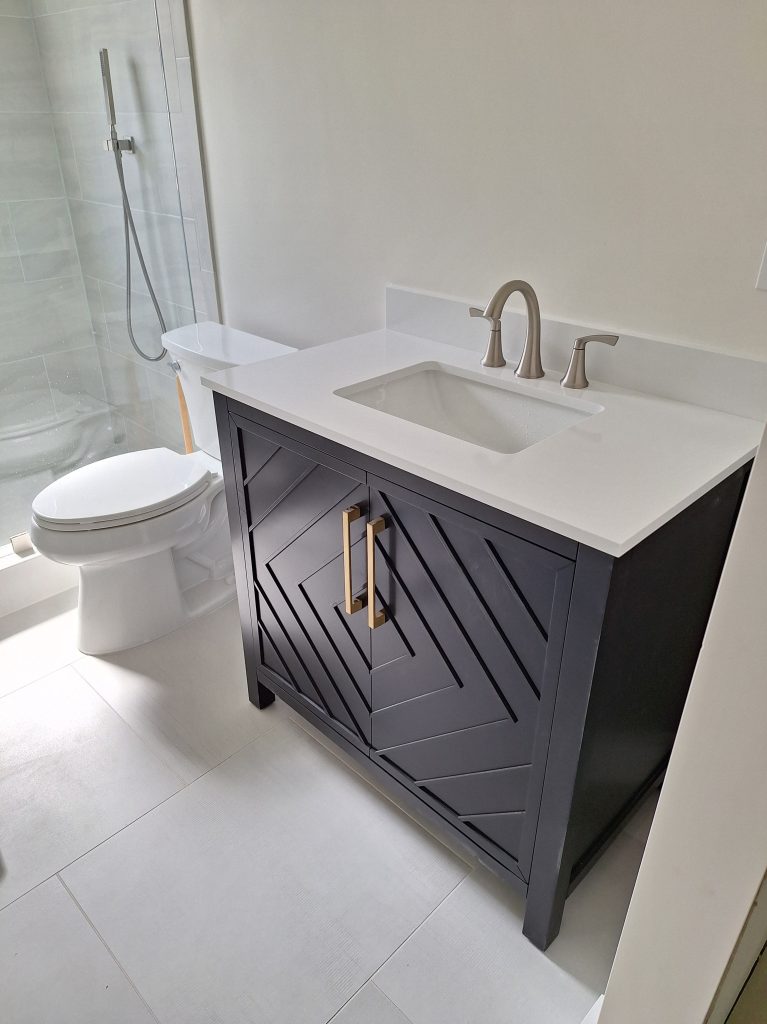
The vanity came with the door pulls shown above. Since they did not match the brushed nickel theme I had elsewhere, I changed them out, as shown below.
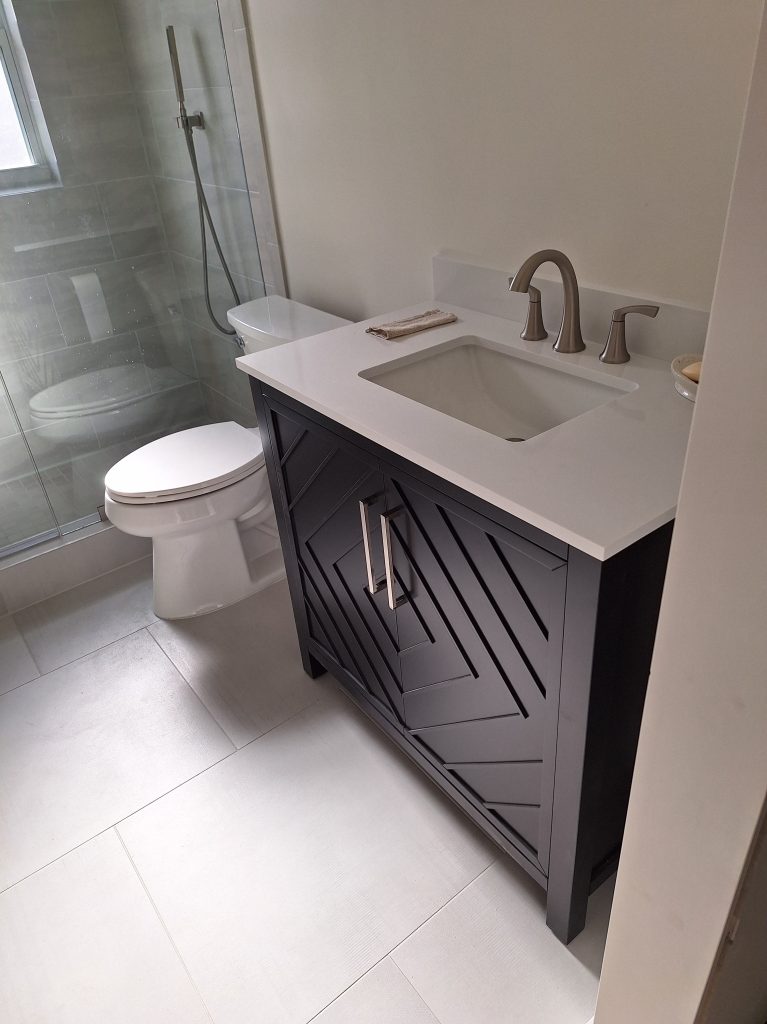
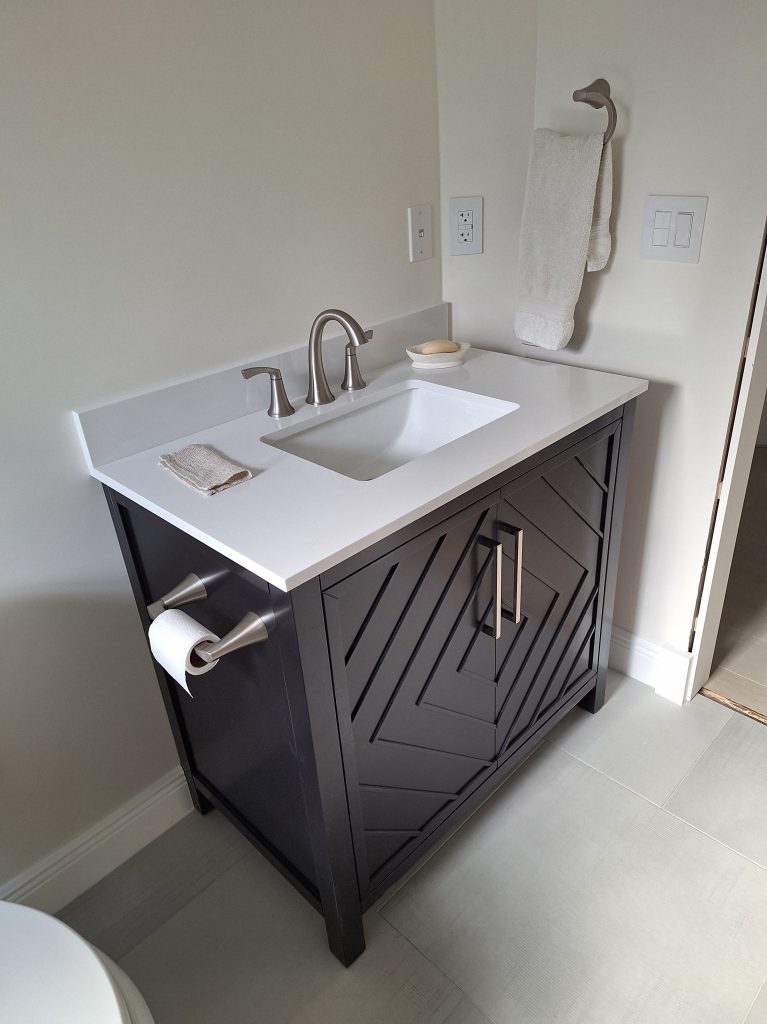
It was really nice to have the vanity installed and working. I still had to add a mirror, vanity light, and towel holder, but that would require some thought, so it was back to the doors (the hardware had arrived!).
The first handle I installed was for the linen closet. It was just a dummy handle, so it did not require a hole to be drilled for the latch mechanism. The handle just screws directly to the stile of the door and is not functional. To open the door you just pull on the handle (it doesn’t rotate).
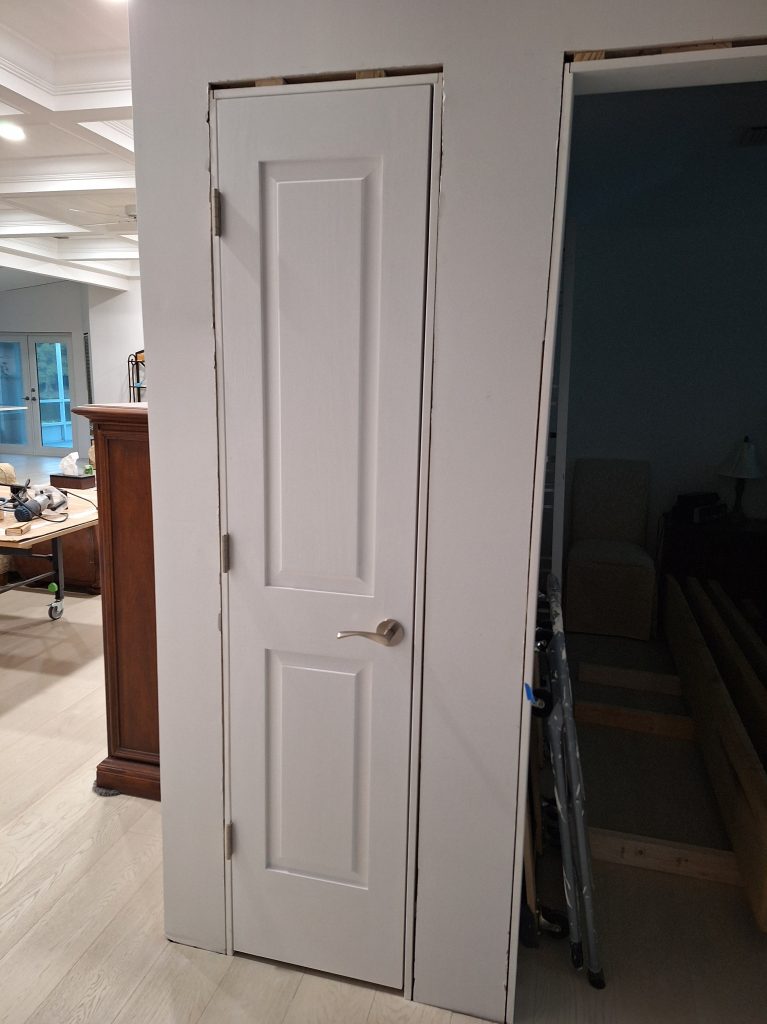
After installing this door, I noticed that the gap between the door and the jamb on the hinge side was virtually nonexistent, leaving a rather large gap on the other side (the strike side). This means the hinges I bought for this door did not have any “swage”. So I will be replacing these hinges so that the gap all around is uniform (or at least better than this). But I’ll get to that later. I was more interested in moving on to the other doors next.
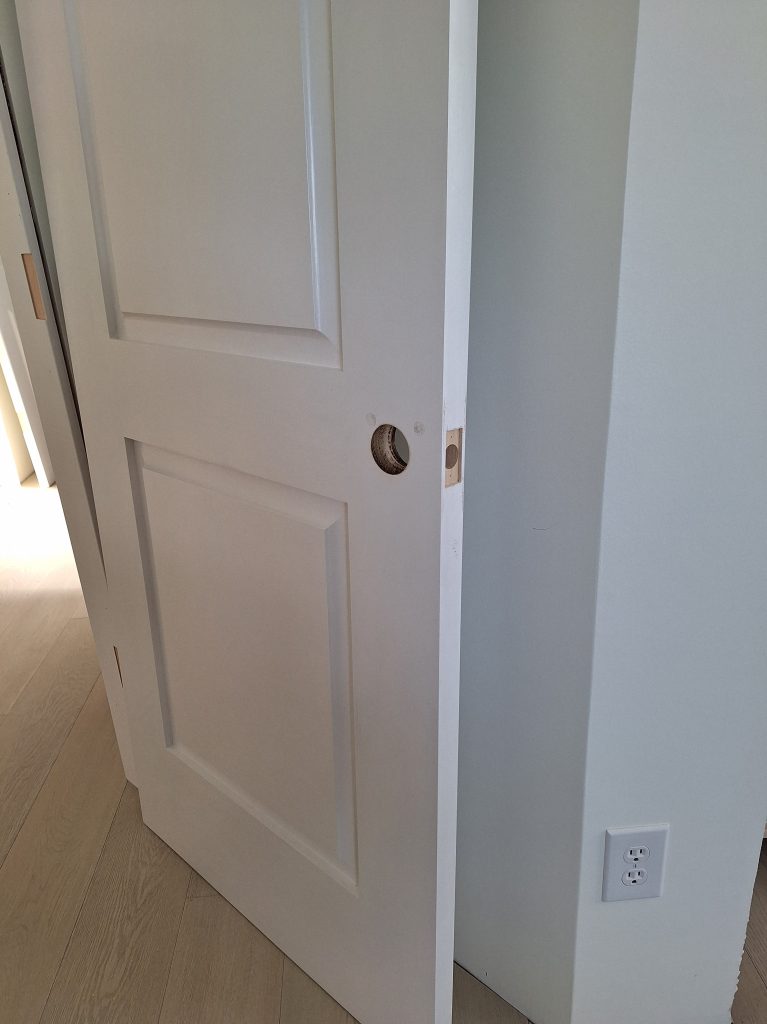
For the larger doors that would have functioning handles, I would have to drill out a large hole in the face of the stile for the handle mechanism, and then a smaller 1″ hole in the stile edge for the latch. Drilling that large hole in the stile face required some effort. I used a special jig to make sure it was all positioned properly. It was a bit tense because I really did not want to mess it up, having done so much work to make the doors. Unfortunately, due to my focus, I neglected to capture an image of the process. I’ll show that the next time I do it. For now, I can only show the result.
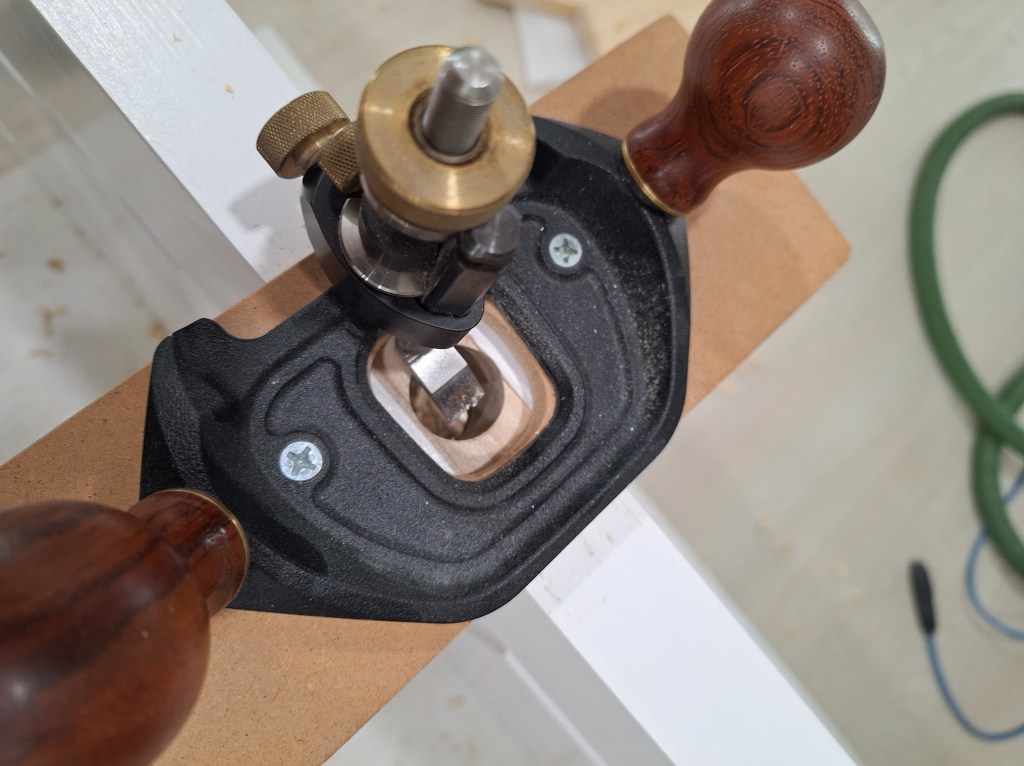
I did manage to get a pic of the tool I used to create the mortise for the latch plate. I used my router plane for this.
I installed the handle and latch plate just to see how it fit. I subsequently removed it and went to work to do the same for the other doors that would require a functioning handle.
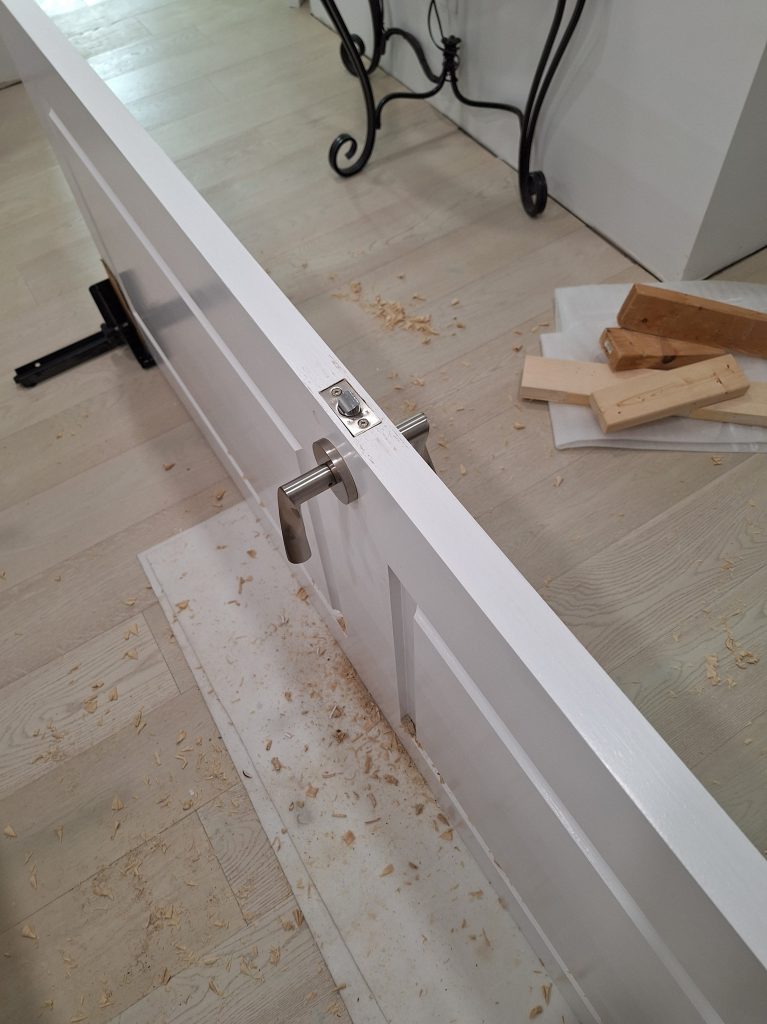
Below you can see the other side, where the hinge mortises are routed.
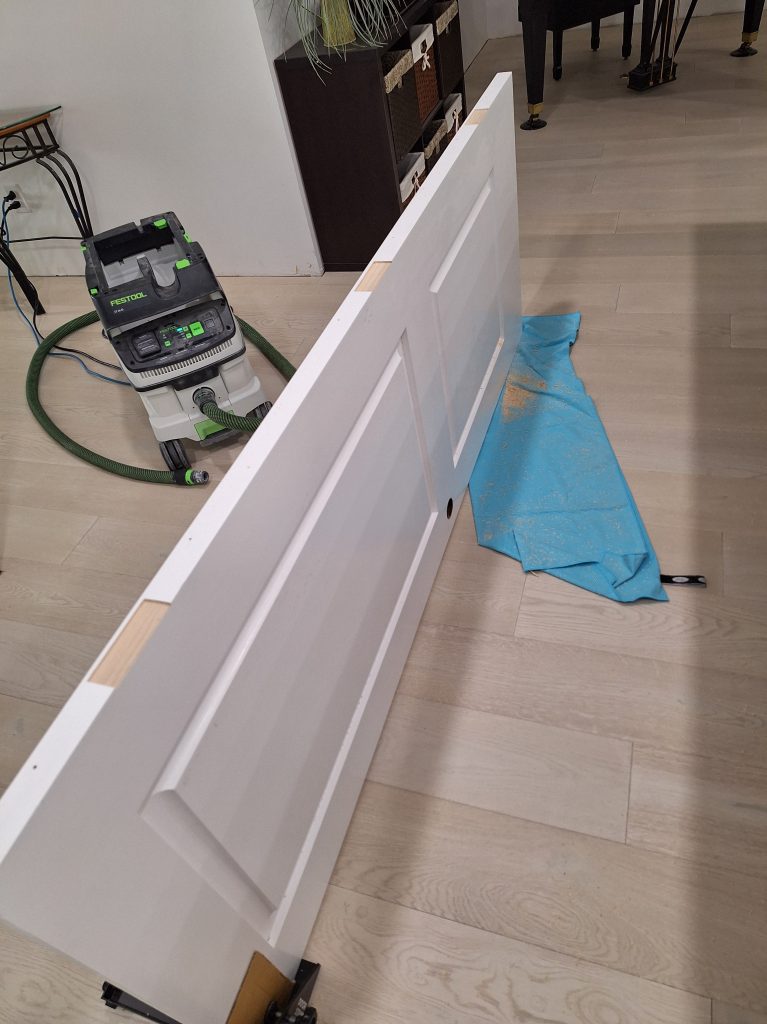
The process of drilling the hole in the face of the stile required significant force, requiring the door be placed flat on the ground so I could stand above it and apply pressure. This was not a problem for the newly created doors, but since the door for the guest bathroom (the first door I made) had already been installed, I had to remove it in order to perform this operation.
After creating the holes for the handles and mortises for the hinges, I decided I wanted to explore adding moldings around the panels. This is something I initially felt wasn’t needed, but thought I’d create a few and decide if I liked the look. So I created a small piece using an ovolo profile using my router table. I liked the way it looked, but thought I’d explore other options before making a decision. I spent time with FreeCAD creating a profile that would wrap over the stiles and rails (called a bolection), but I wasn’t happy with the look. It was not as nice as the ovolo, so I decided to go with the ovolo profile, requiring me to make a load of moldings with that profile.
To make the moldings, I began by milling down some poplar stock I had left over after building the doors. I reduced the thickness to 1/2″. Although the finished piece will be about 1/2″ by 1/2″ square (edge on), the piece that is pushed past the router bit must be much wider to ensure your hands are safely clear of the spinning bit.
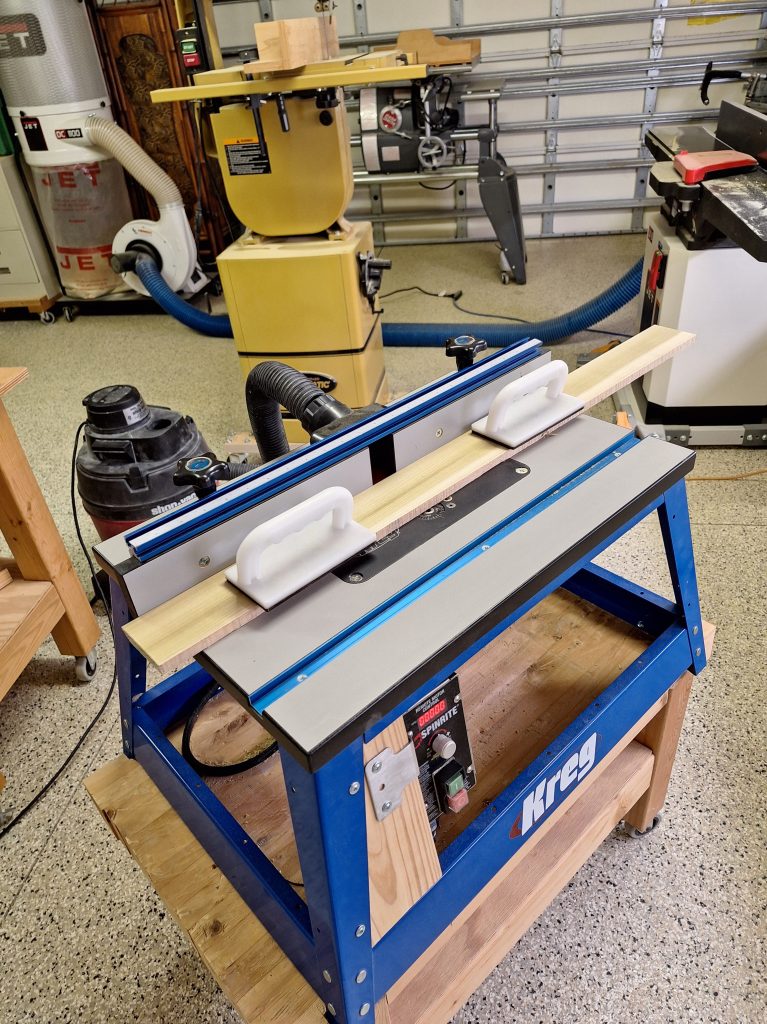
I fed the stock past the bit in three separate passes, moving the fence back a bit each time until at final depth. By doing this, you go easier on the router bit and it reduces tear-out, ensuring a smooth and consistent finish.
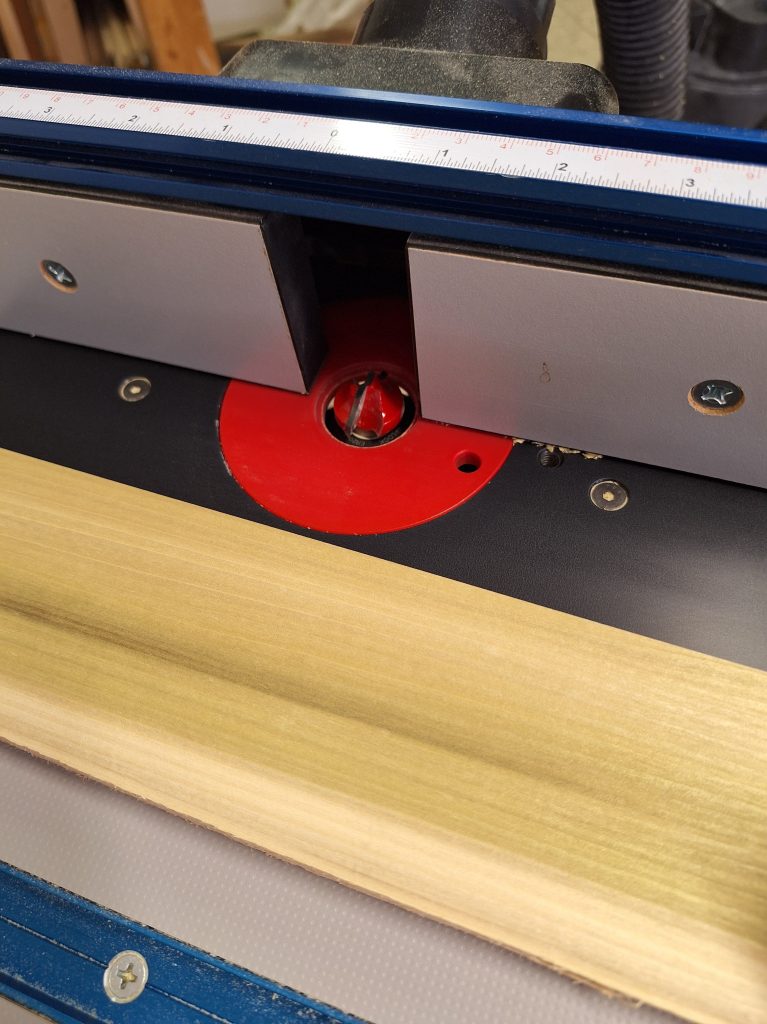
Below you can see the result.
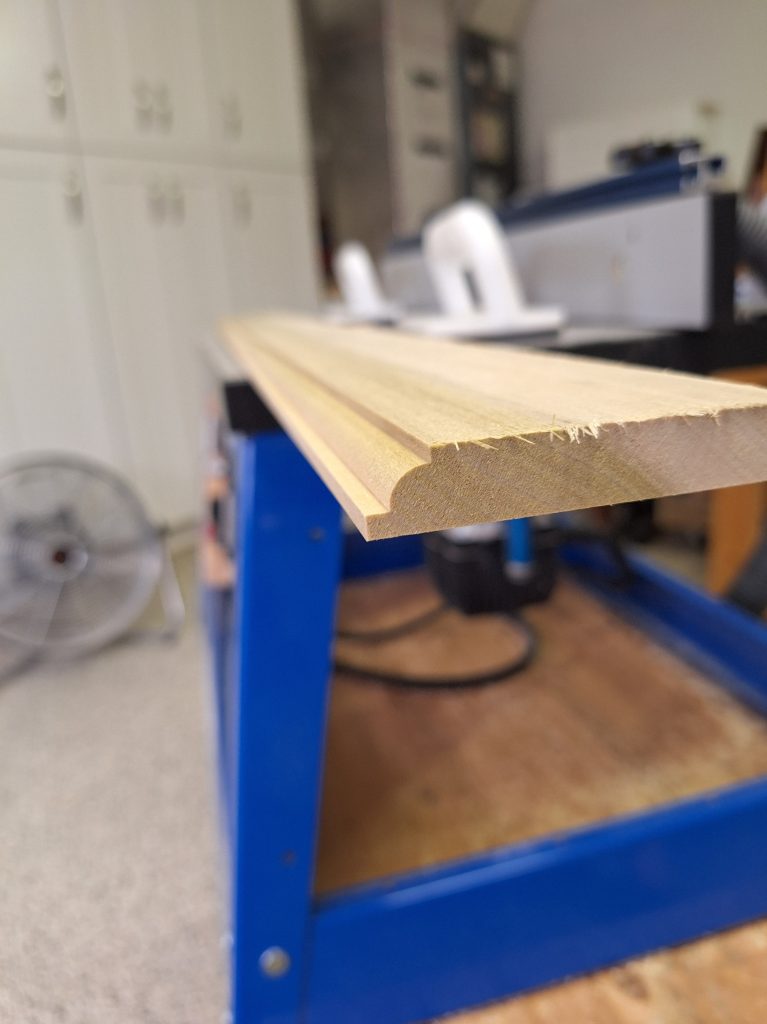
This is then run through the table saw, ripping 1/2″ off to create the thin strip that will be applied to the door. The remaining piece is then used to create the next piece. Eventually the remaining piece is too small to use safely and is delegated to the off-cut pile where it’ll be used for something someday.
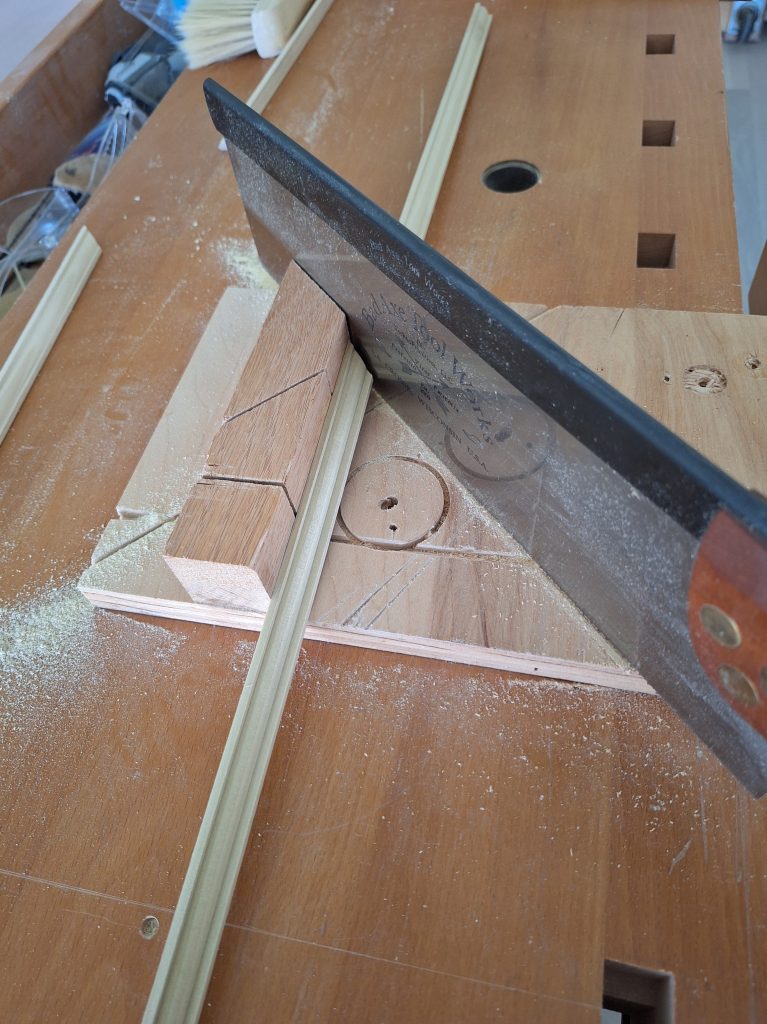
With a bunch of these molding strips now available, I cut them to length using my hand saw and a “bench hook”. When I made the bench hook (this one has been well used), I created opposing 45 degree angle slots to guide the saw. This does a very good job of getting the angles right.
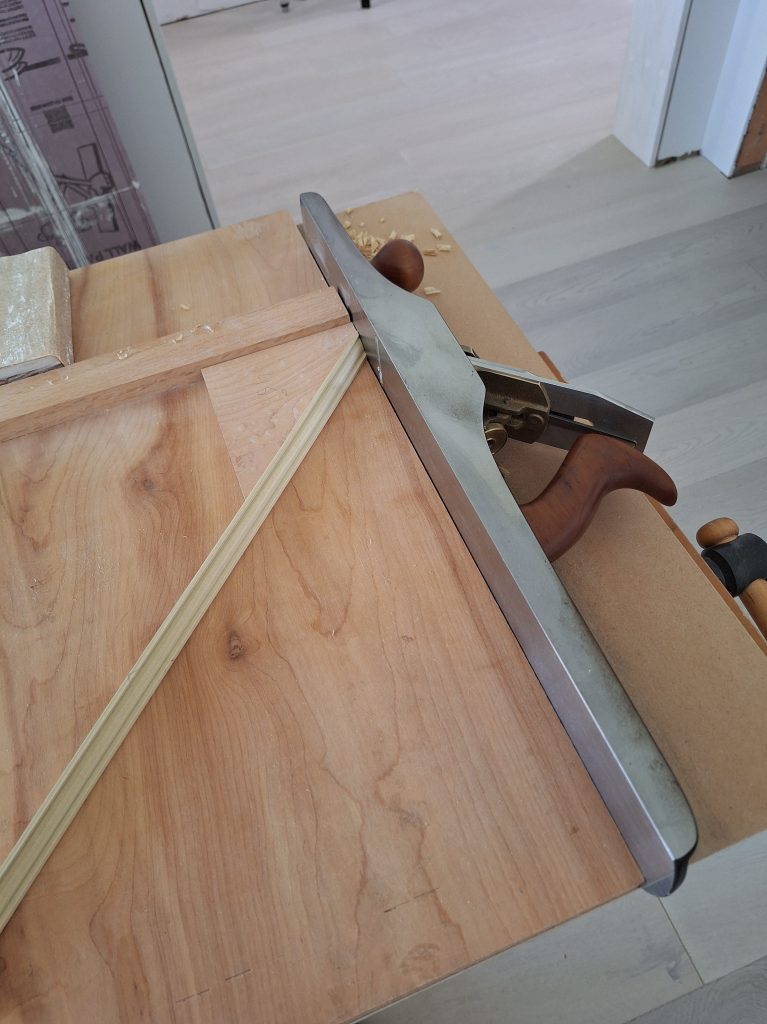
The cut made by the saw gets me close to the final length, but to dial it in precisely, I use my shooting board and jointer plane to shave off very thin slivers, allowing me to sneak up on the fit until it is perfect.
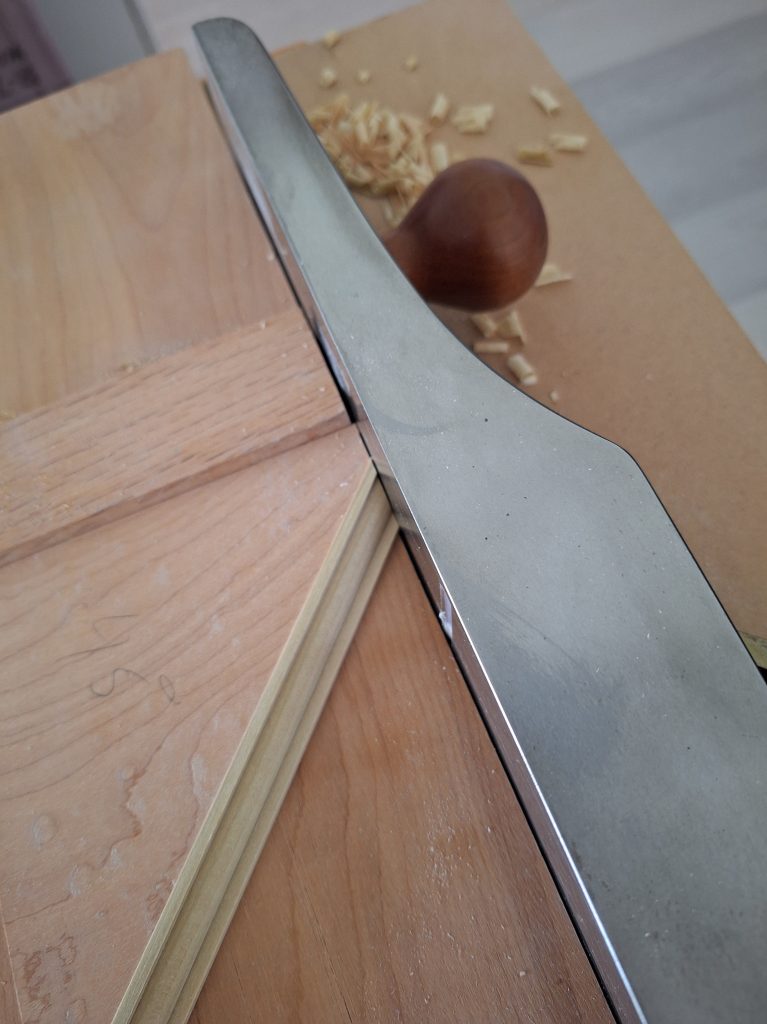
I would do this one piece at a time as I worked my way around the panel. Below I show the first piece cut for the top panel, ready to do the same for the adjoining piece.
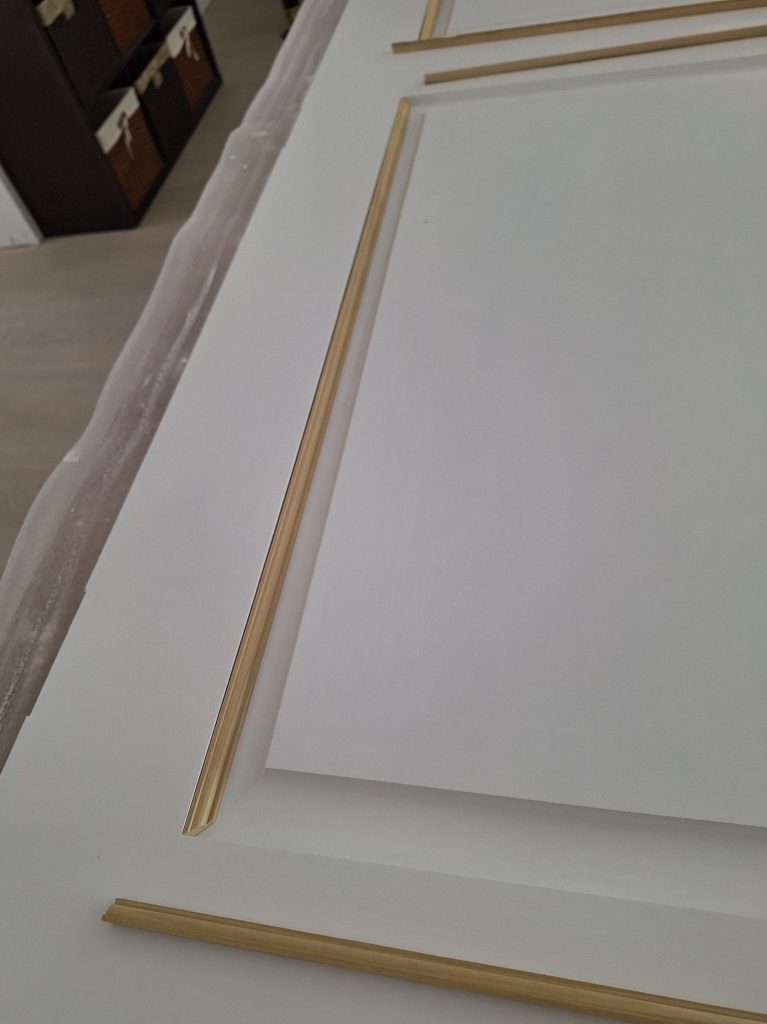
After cutting all to length, they are dry fitted.
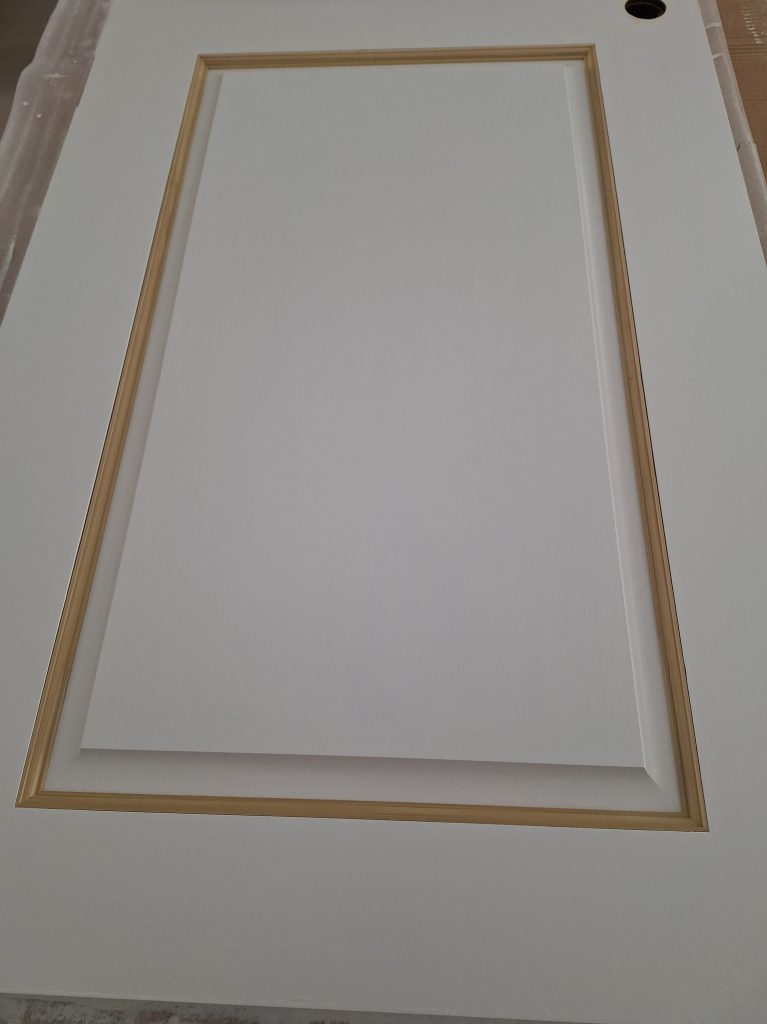
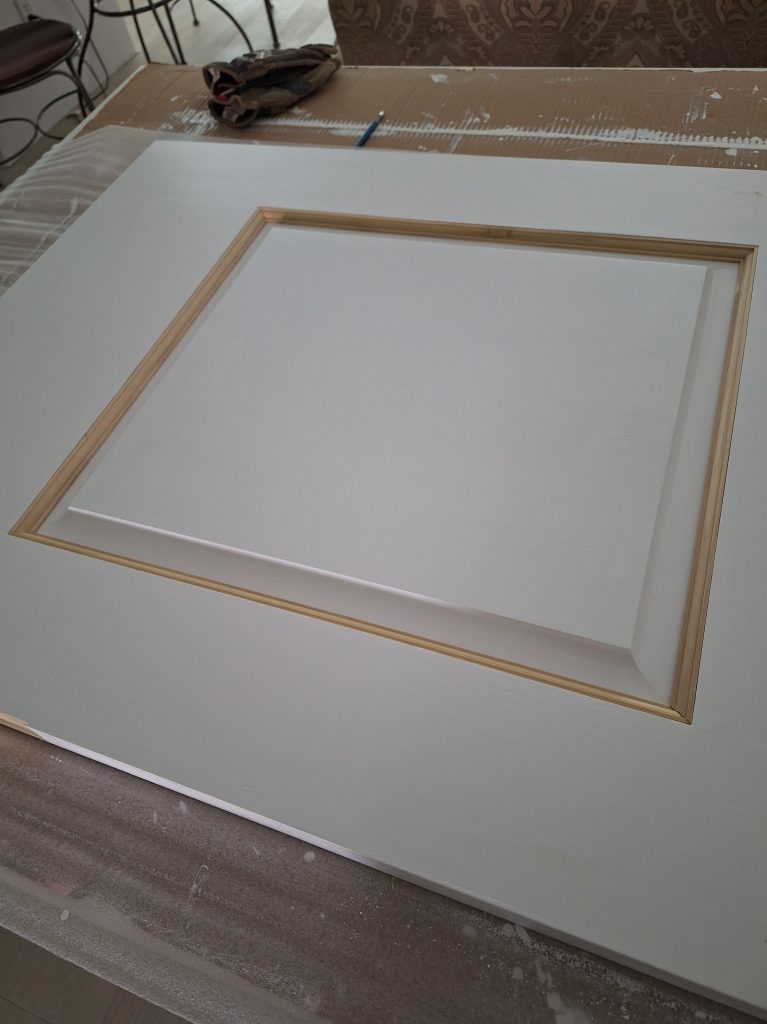
Once happy with the fit, I primed then secured them in place with CA glue and 23 gauge pin nails. After that, the pin holes are filled with wood filler, sanded, then painted. Here is the finished look.
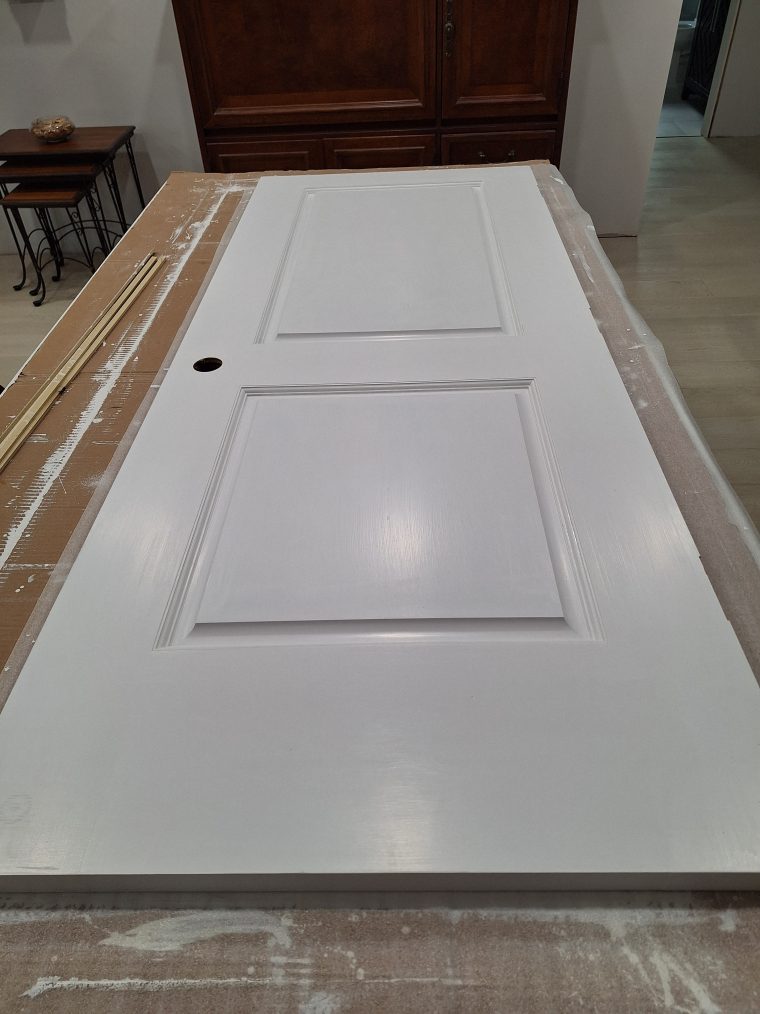
Although the difference is subtle, I think it looks more finished, so this would be done for the other doors, too. I’m interested in the subject of trim molding and hope to become better educated. This is a first step.
This guest bathroom door was rehung just before my vanity mirror and lights were installed.
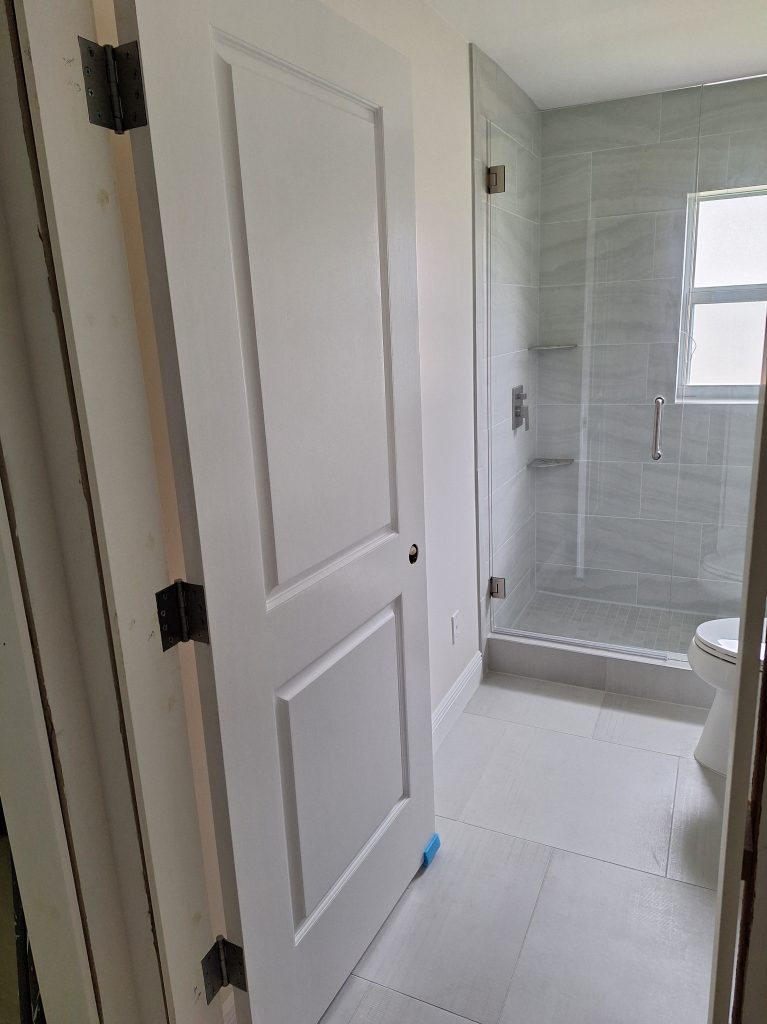
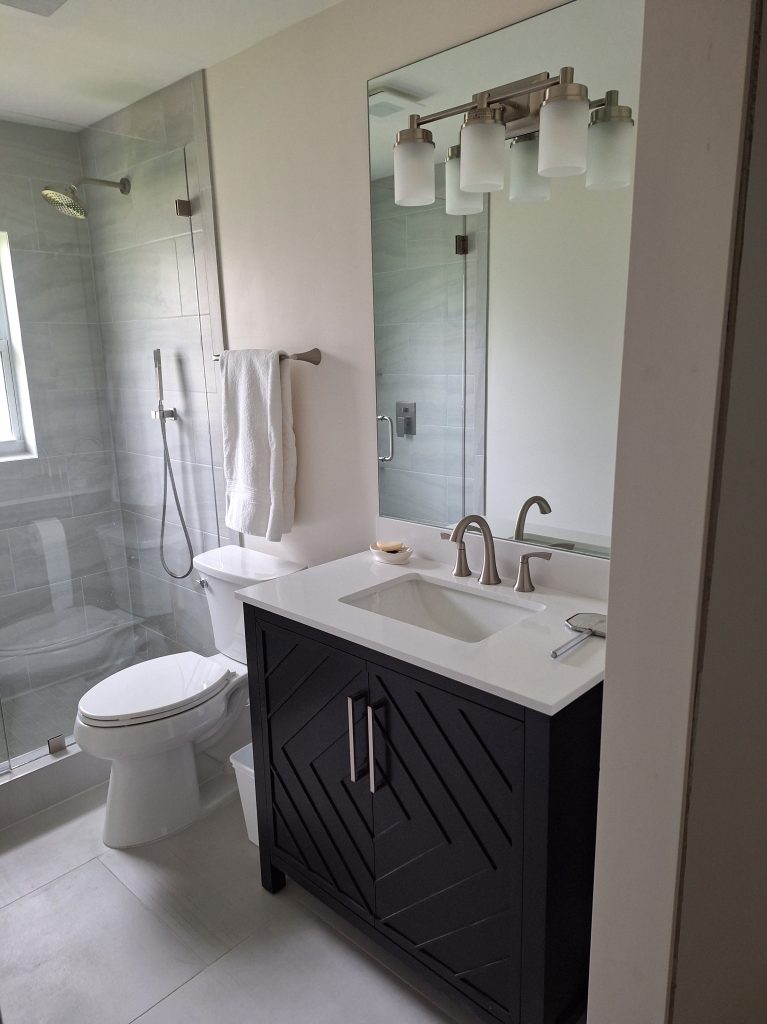
Like the guest bathroom door, I added moldings to the other doors I’d made so far. Once that was done, I hung them then added the hardware.
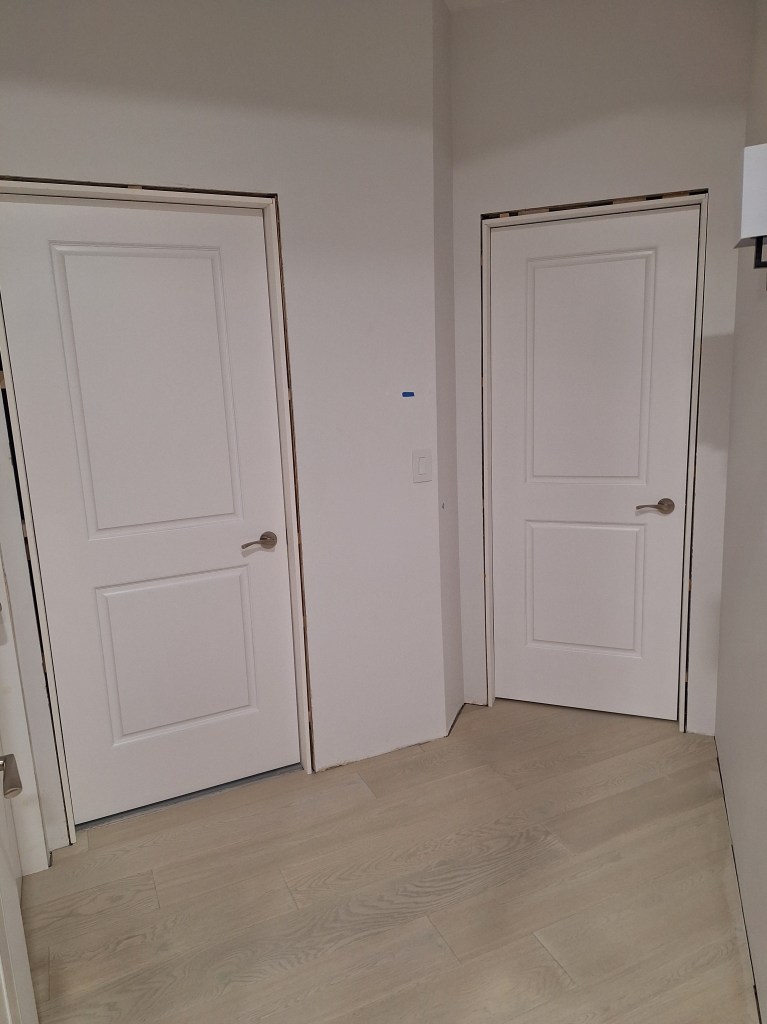
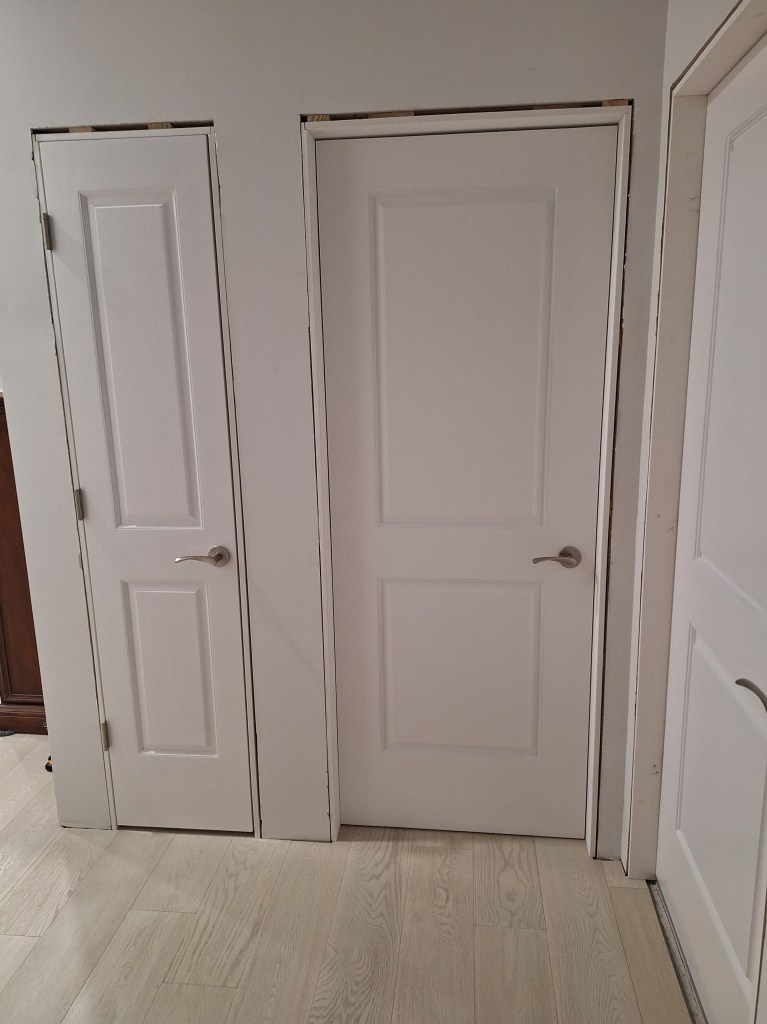
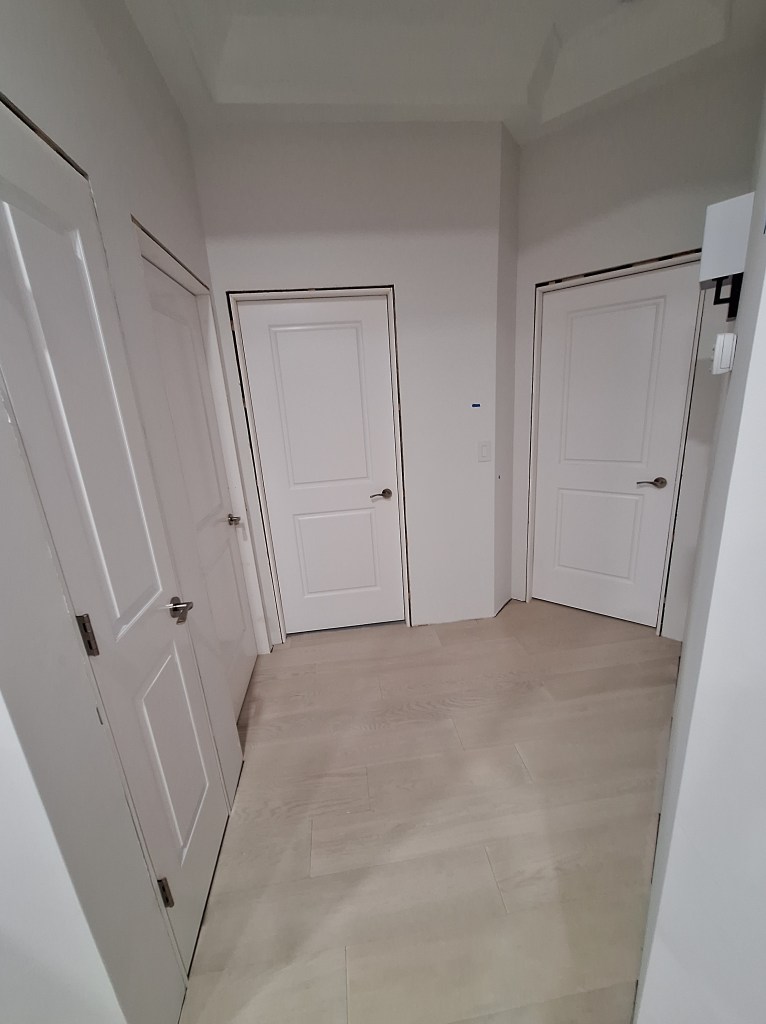
The issue I had with the gap on the strike side of the linen closet door was resolved by modifying the hinges I already had. I was able to increase the swage by placing a piece of wood in between the two leaves, then applied pressure using a vice. This bent the metal just a bit to provide better spacing. The strike side gap is still larger than that of the hinge side, but it is improved and I am comfortable with the result. I’ve found during this renovation project that there are many little things one can fuss over, but once living in the house you come to realize that the fuss is often unwarranted. My favorite example is the painted ceilings. I’d be up there with a light trying to get rid of all imperfections, sometimes having trouble finding them. Now that I am living in the house, that just seems silly, as such things are too far away to notice.
Next up I have to add the door stops. These are the strips of wood the go around the door jamb to prevent the door from closing beyond where it should, which would stress the hinges. I wasn’t going to post this until that was done, but I decided I would make the stops myself because I couldn’t find any I liked at the big box stores. That will involve milling the wood I set aside for the next door (laundry room) and using the left over material for the stops. So I will be covering that in the next post. So that’s the end of this rather long one.

