After returning from the holidays, I knew I would still be waiting for a while before I would have anything from Jennifer, so I decided to continue work in the garage as best I could. I was still missing a 24″ pantry cabinet that would be the center cabinet along the back wall of the garage, so I did as much as I could in the meantime. This meant adding baseboard, painting the walls, and installing two cabinets of the five cabinets that will go along that wall.
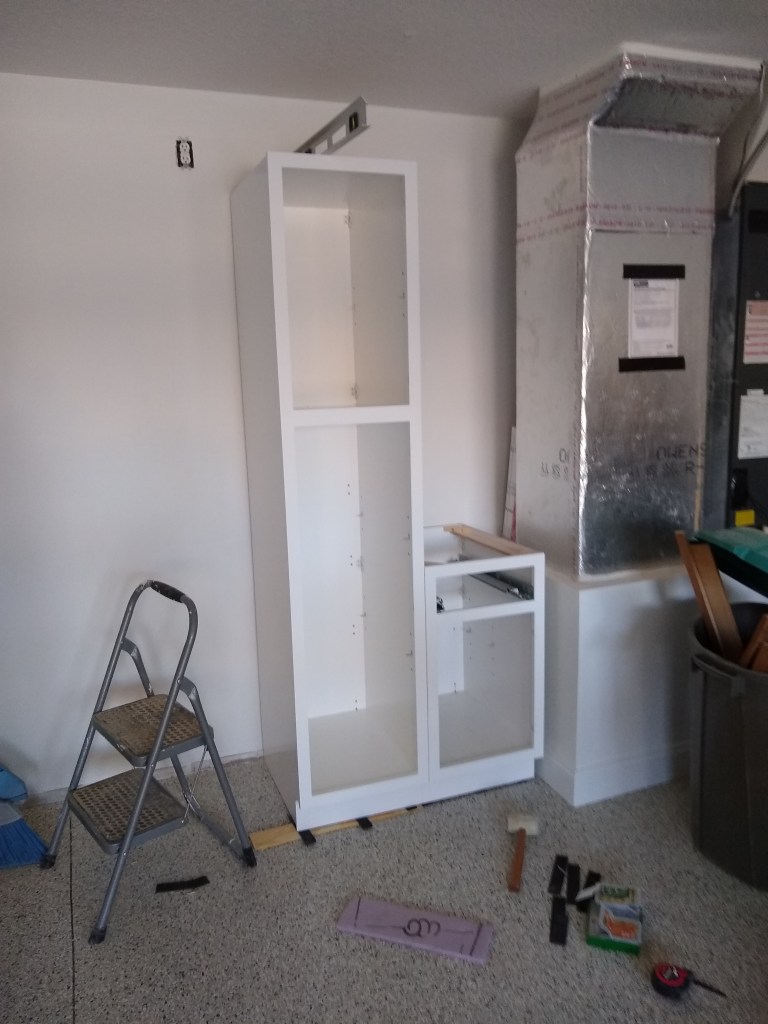
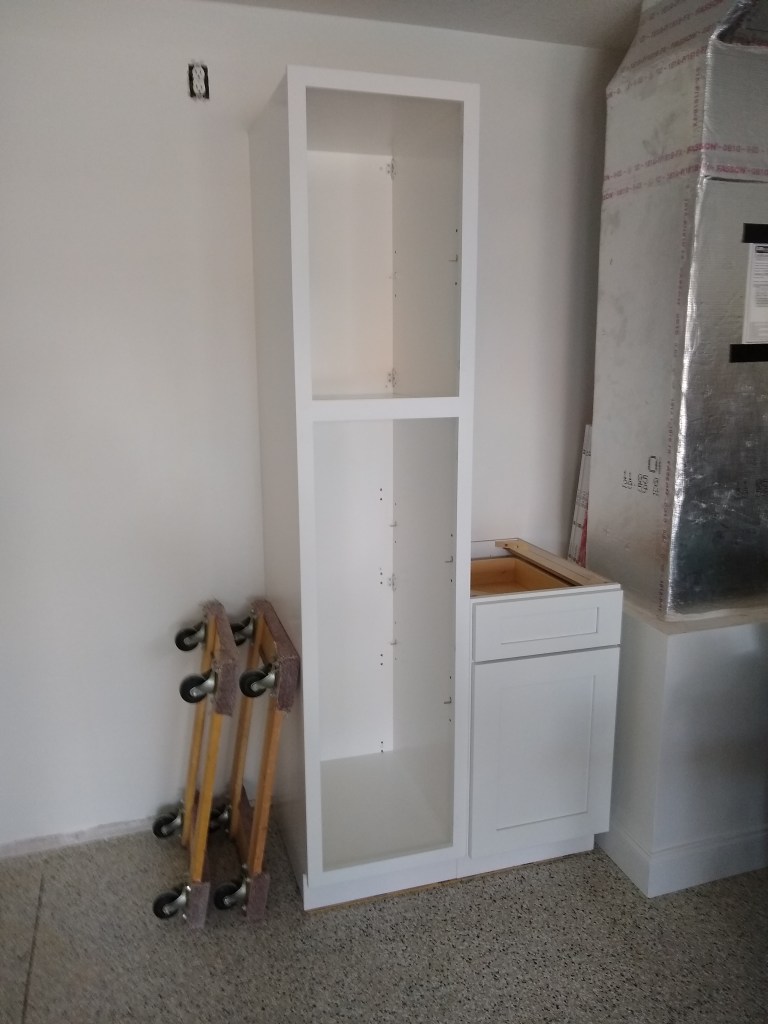
This was all I could do along the back wall since the next cabinet to go in was the missing 24″ pantry cabinet. Not wanting to be idle, I shifted my attention to a task I was not looking forward to; preparing the kitchen and great room ceilings for painting.
Prepping the ceilings meant filling all cracks with wood filler, sanding, then caulking. This would be a long, slow, and laborious task, and one that would require standing on a scaffold working above my head. However, it is a very important task, as it would mean the difference between a great looking ceiling and something less than that. So I got to it.
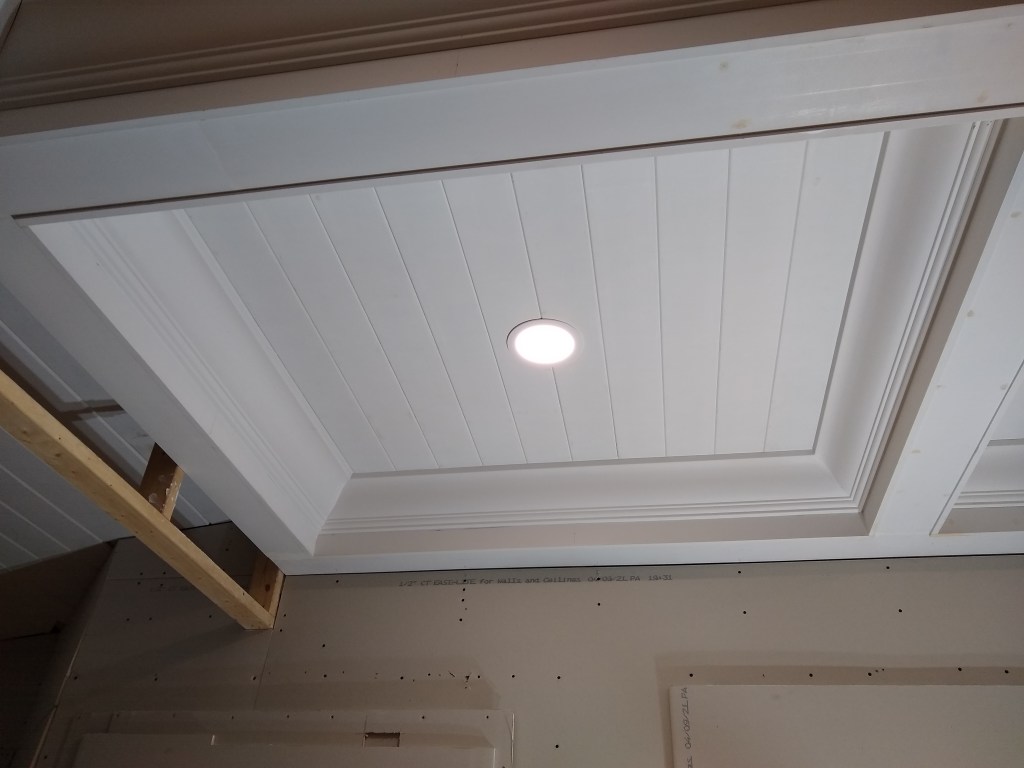

I started with the kitchen ceiling and then moved on to the coffered ceiling. I didn’t take any pics of the kitchen ceiling because there wasn’t much to show other than sanding marks and such. You can kind of see it in the background of the images above. These images are the only ones I took of the coffer prep because once you’ve seen one, you’ll have seen them all. I had 17 coffers to prep and the images above are of the first one. It took about four weeks to complete both the kitchen ceiling and the coffered ceiling. It was hard work, but I am pleased with the results. Once the primer goes on, I’ll know if any further action is needed, but I suspect not (only very little if any). I don’t plan on priming/painting the ceiling until all the walls are ready to prime/paint, and that is a long way off.
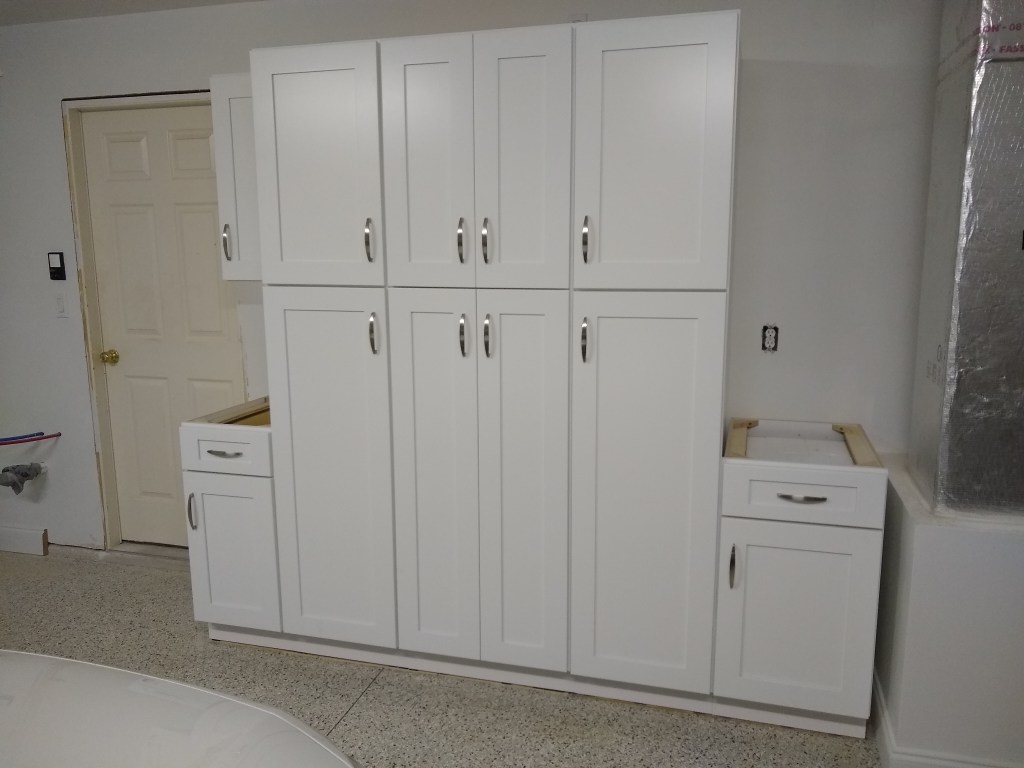
I finished the ceiling prep work the day before the missing garage cabinet arrived, so I was able to return to the cabinet installation in the garage right away. I finished installing the cabinets along the back wall in a single day, resulting in this:
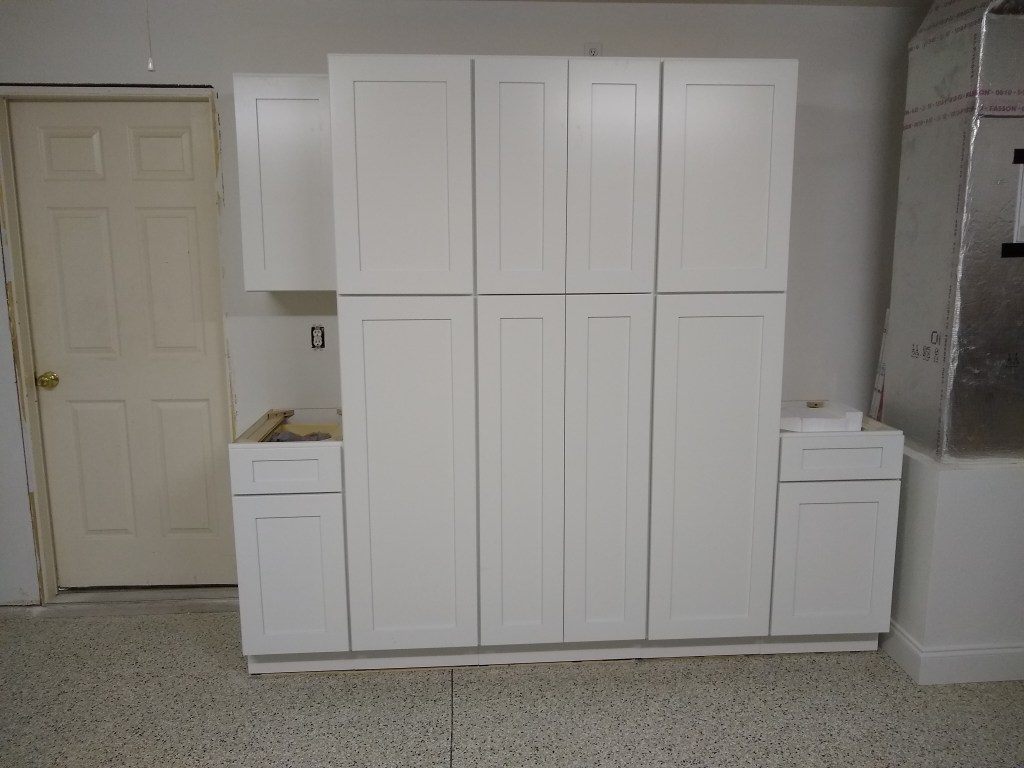
Note that above the base cabinet on the right, I will add open shelving, but not anytime soon. Here is a shot of all the garage cabinets before adding the hardware.

The next day I added the handles. Doesn’t that look nice!
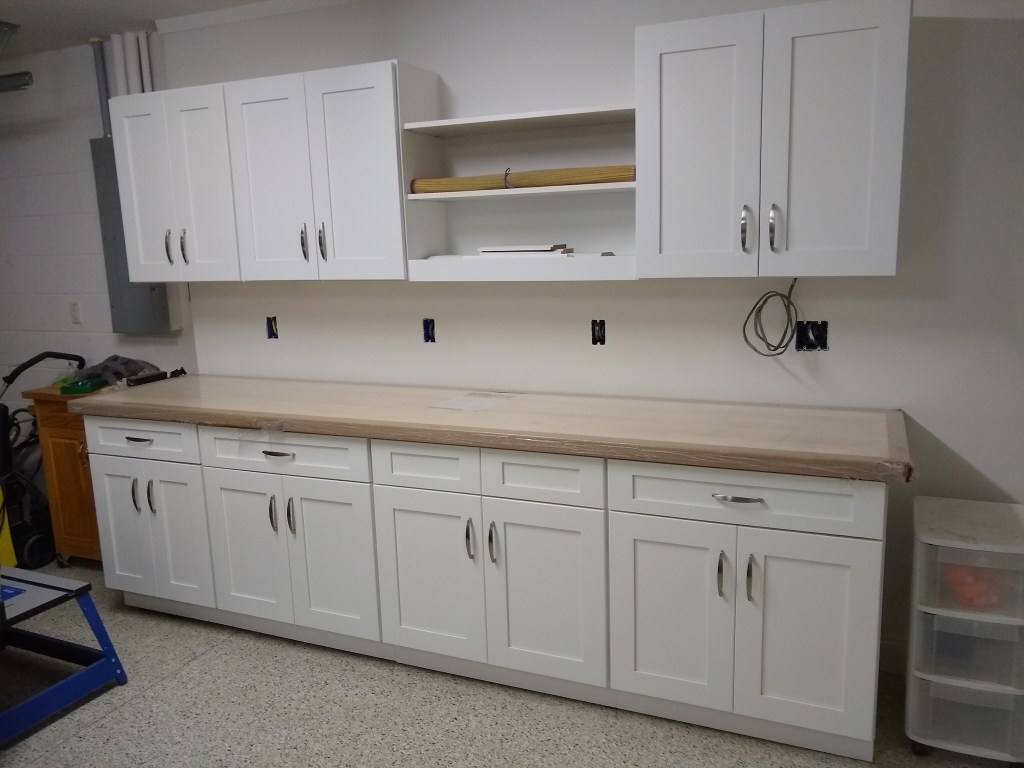
You’ll also notice that the butcher block counter top is in place along the east wall, but not attached. It is still wrapped in plastic and I won’t remove the plastic and apply finish to it until I have moved in (or am at a stand still – heaven forbid), as it is of low priority. I’m still waiting on the corresponding countertops for the outside base cabinets on the back wall, but, again, no hurry.
With the work in the garage done for now, I was ready to return to work on the inside of the house, but unfortunately and frustratingly, still no construction drawings from the designer. We had settled on the design changes to the kitchen and master bathroom, so she is supposed to produce construction drawings that I will submit to the permitting office to update my permit. Not wanting to wait, I scheduled an inspection of the master bedroom (framing and electrical) so I could push on. The inspection went without incident, so I resumed work in the master. The first job was to add insulation.


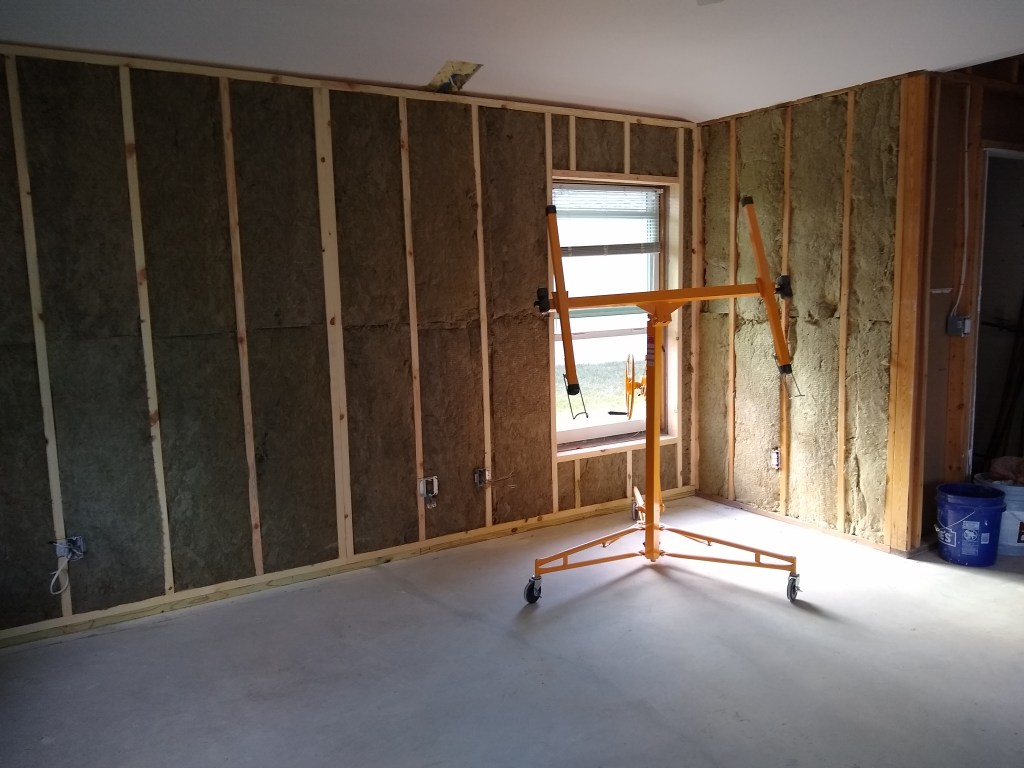
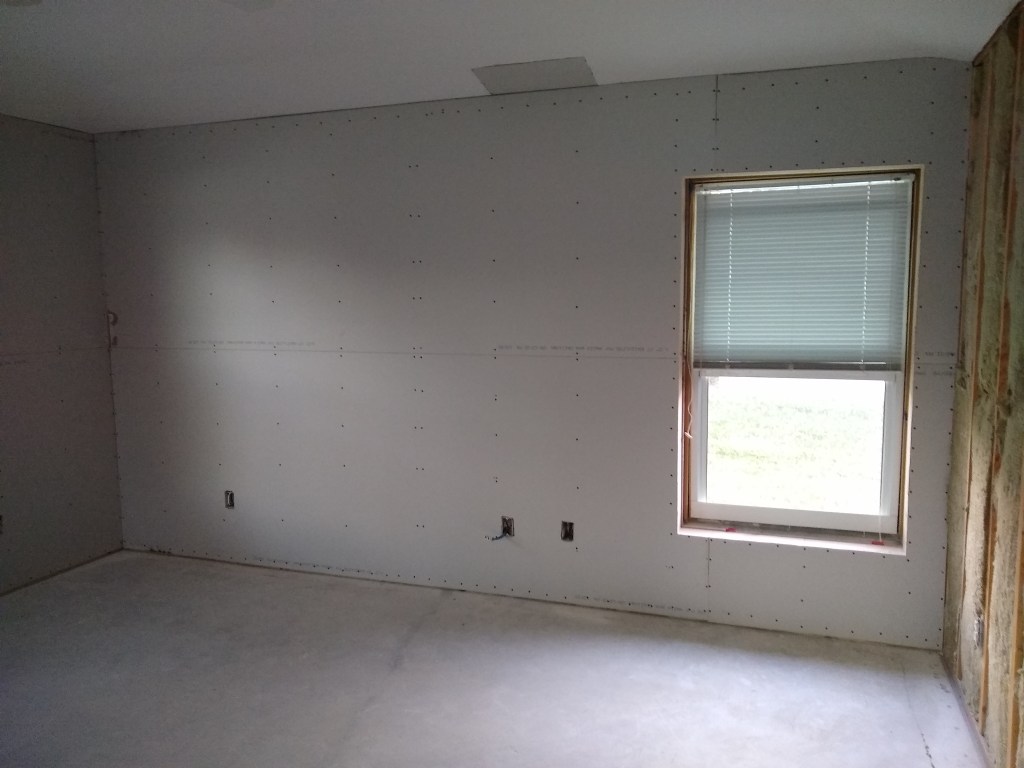
Once that was done I started hanging drywall. I started on the south wall.

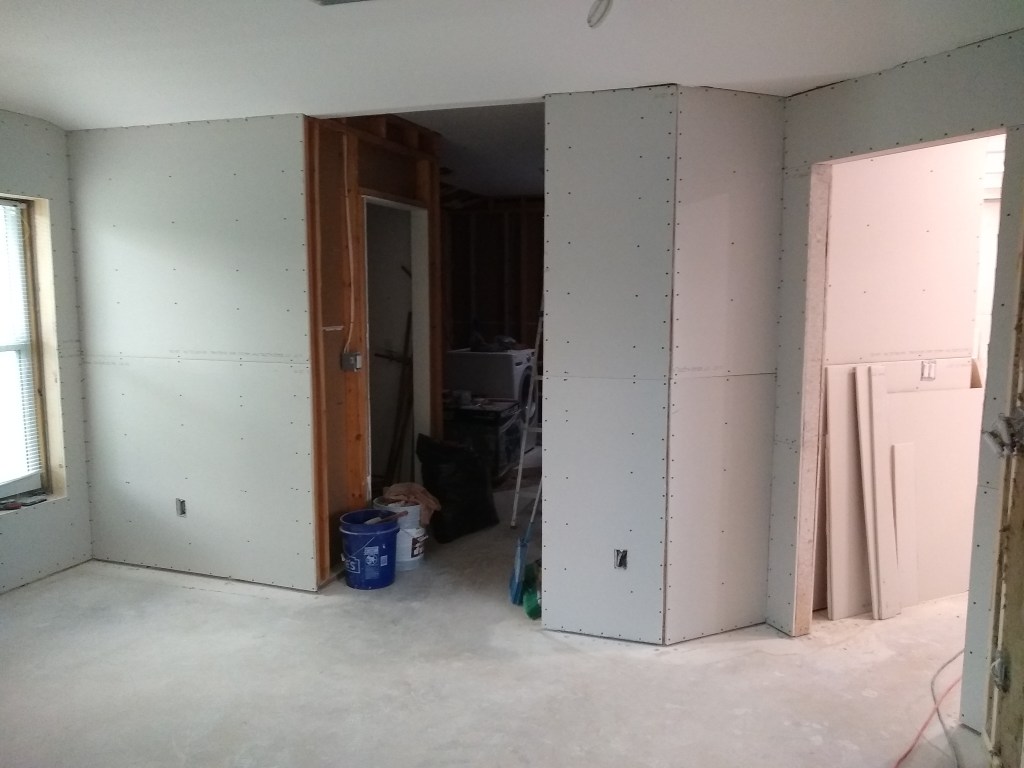
The next day I worked on the west wall, which required I first add a patch to the ceiling where I previously opened it up to feed the Ethernet cable.
I used the two remaining 12 foot long sheets along the west wall so that I could limit the butt joints to above and below the window, so less work required when taping.
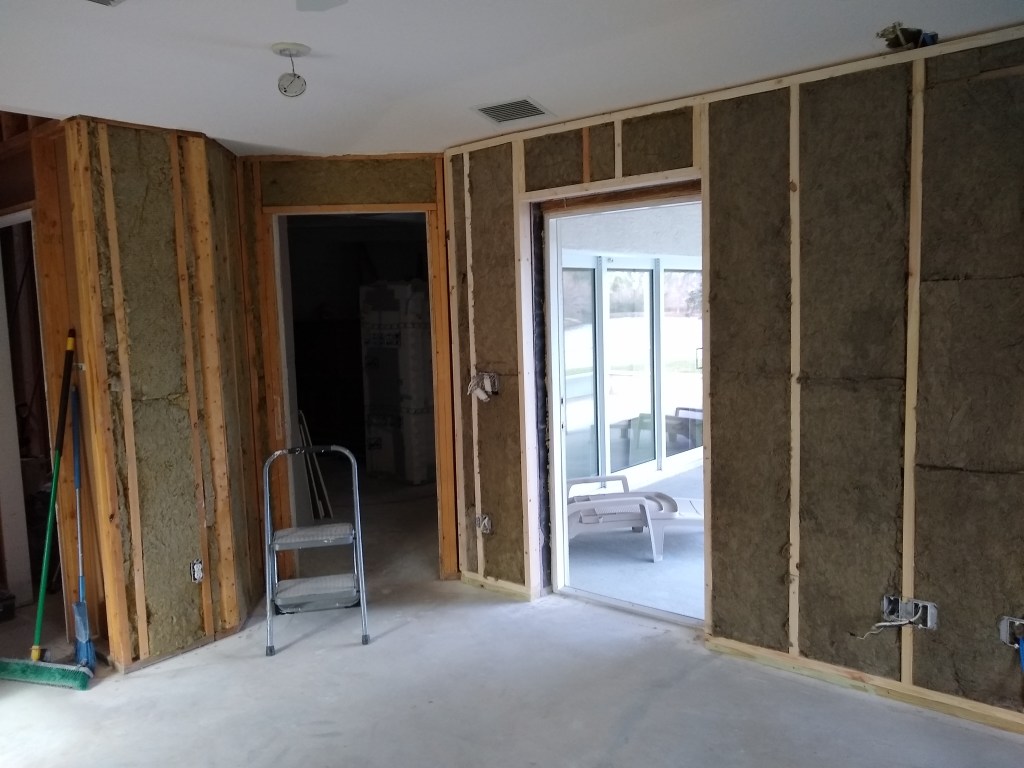
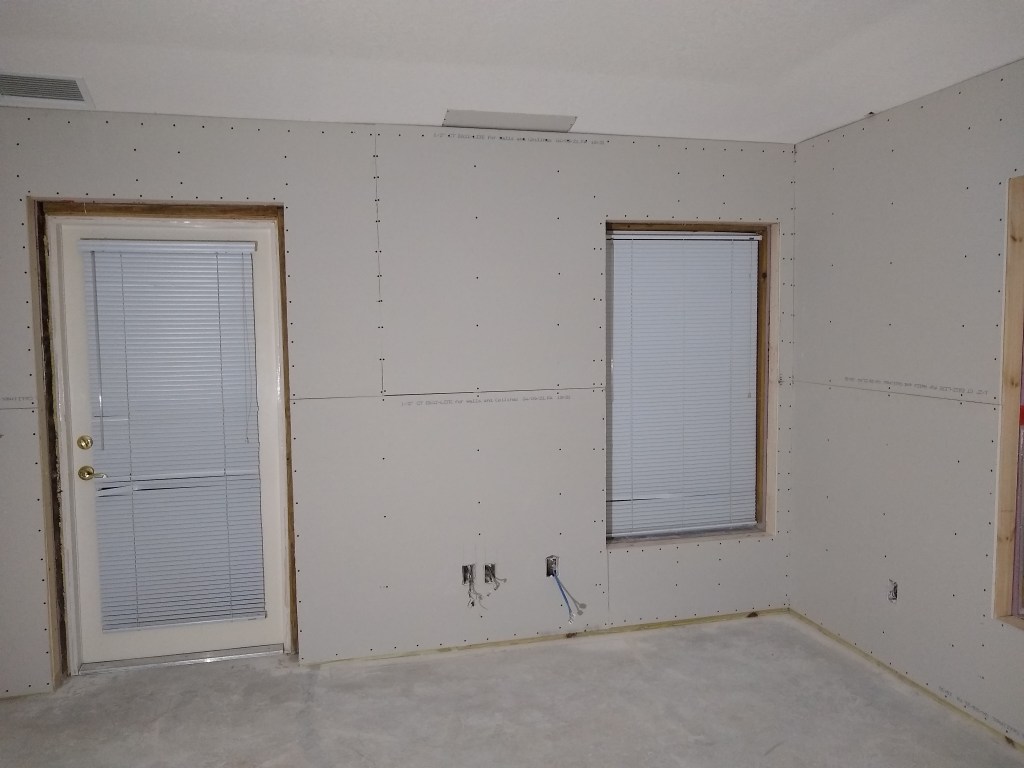
I continued in a clockwise manner to complete the room.

On the ceiling along the east wall I had to do another patch, again due to adding an Ethernet line.
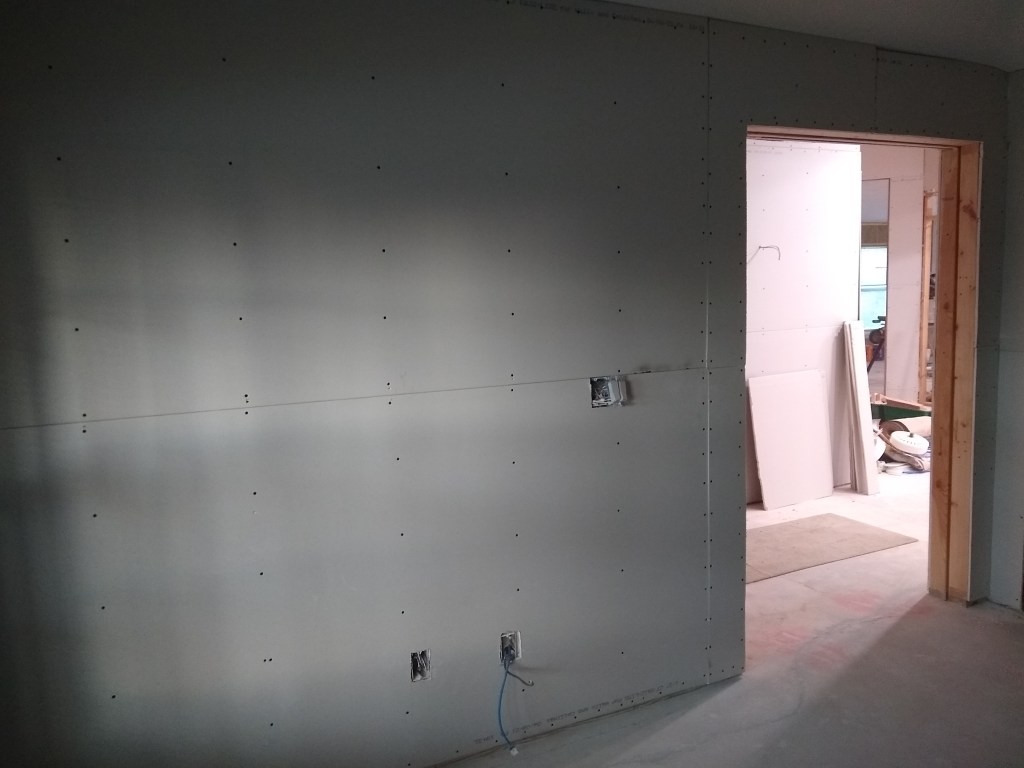
When the inspectors came to look at the master bedroom, I also had them look at the wall in the workshop that I framed. Recall that I originally hung drywall along the west wall of the workshop only to pull it down when I discovered that the entrance to that room was messed up. So I framed that wall as I did in the master and had the inspectors give me the okay on it too.

So I insulated and hung drywall along that wall next.

My next step will be to bring the inspectors in again to okay the drywall I just put up so I can begin taping and mudding. My preference was to call them in only after all the drywall was up, but with the poor response time from the designer, I am requesting inspections piecemeal so I can push on with the things I can control.
I will be off to Cancun for a few days to meet up with family and friends to celebrate a significant birthday of a family member, so I will resume work at the beginning of March.
