Since I was no longer driving toward a mid November move in date for the house, I decided to indulge myself with another side project. I actually started this while working on the wall repair in the master bathroom I documented in the last post, but did not complete it until this month, so I chose not to mention it in the August post.
When I was in high school I built a drafting table.
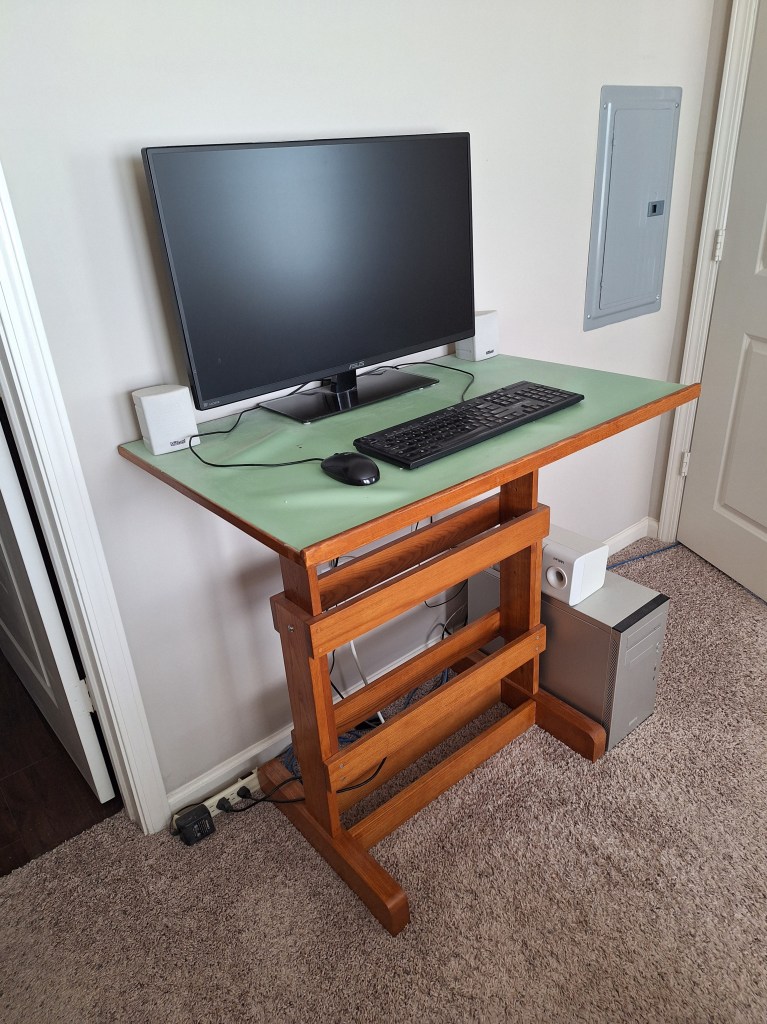
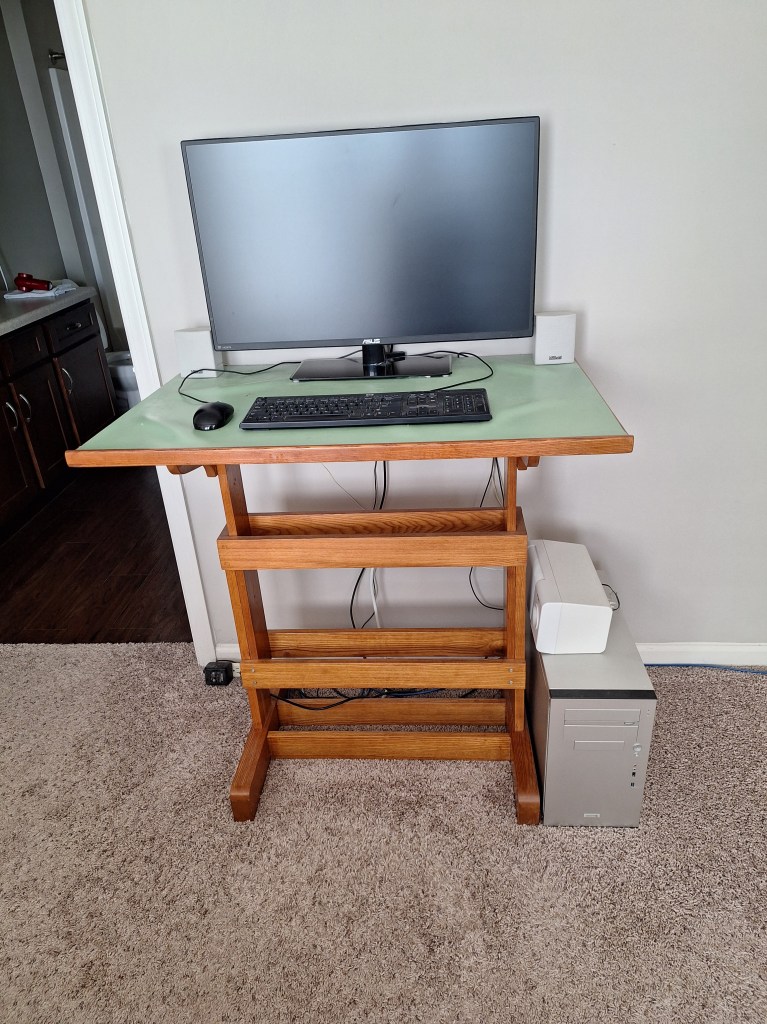
The top was made from particle board with a solid wood edging and covered with a thin green vinyl sheet. I currently use it to support my computer monitor and keyboard. It is sufficient, but the vinyl covering is not very flat anymore. In the image above you can see the “bubbled” areas by the mouse. I have managed with this, but is a bit of a nuisance. Here is another view from the front.
I was thinking of replacing the vinyl cover, but then I got the idea that I could build a new top from the remaining furring strips I had lying around in the garage, making a kind of butcher block desktop. Since the job of fixing the bowed wall at the entrance to the master bathroom required that I wait for each application of drywall mud to dry overnight (see the July/August post), I used the extra time to start on it. Here is a shot of the furring strips I would use. I had just cut them to rough length. They are not arranged in any particular order yet.
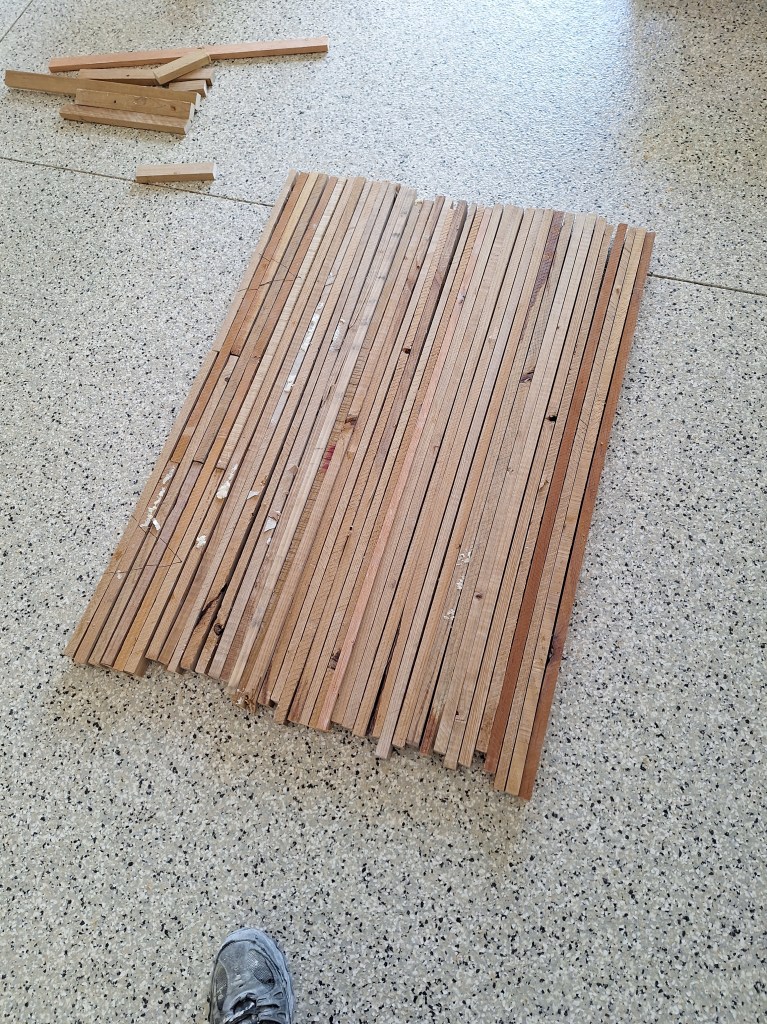
The top needed to be less than 45″ wide to fit in the space I had, and I wanted a depth of around 26″. The dimensions weren’t that important, so I kept those numbers in mind, hoping I had enough material to get close. Maximum yield was what was really driving the dimensions, as long as I didn’t go over the 45″ width. As you can see from pieces on the left in the image above, I didn’t have enough full length pieces to make the depth I wanted, so I had to introduce six rows of two-piece strips to get to about 31″, knowing that I would plane a good bit off in preparation for glue-up, which would hopefully leave me with around the 26″ I was looking for.

Before glue-up I had to pull a lot of staples and a few nails and screws from these boards. Remember, they used to be attached to concrete blocks (using nails), were covered with an insulating material (attached using staples), and had drywall screwed into them. Once they were “clean”, I could run them through the thickness planer to smooth out the faces that would be glued together (what you see above). After planing, the depth was reduced to about 25″. Since my thickness planer can only accommodate 13″ wide boards, I divided the stack of strips into three sections, each no more than 9″ deep and organized them in a way that looked aesthetically pleasing. I distributed the lengths that were composed of two pieces evenly among the full length strips and marked them so I could maintain their relative positions.
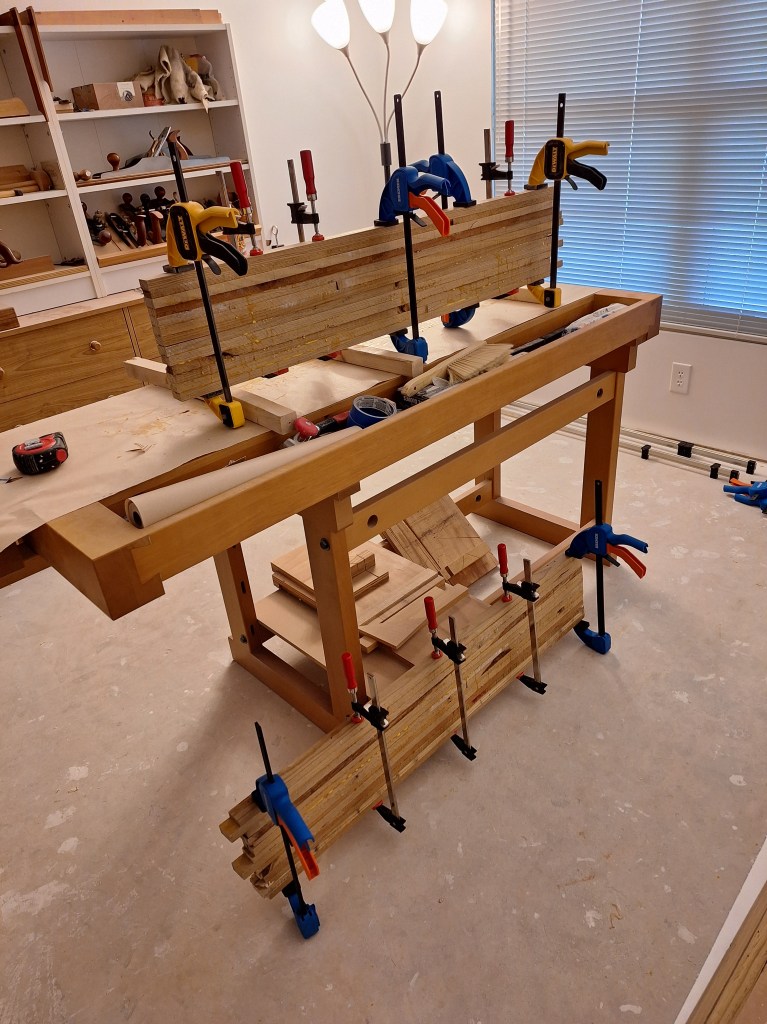
During glue-up I further subdivided each section into two in order to make the glue-up more manageable. This is shown above. Once each of these subsections was cured, I glued them together, which is what you see below.
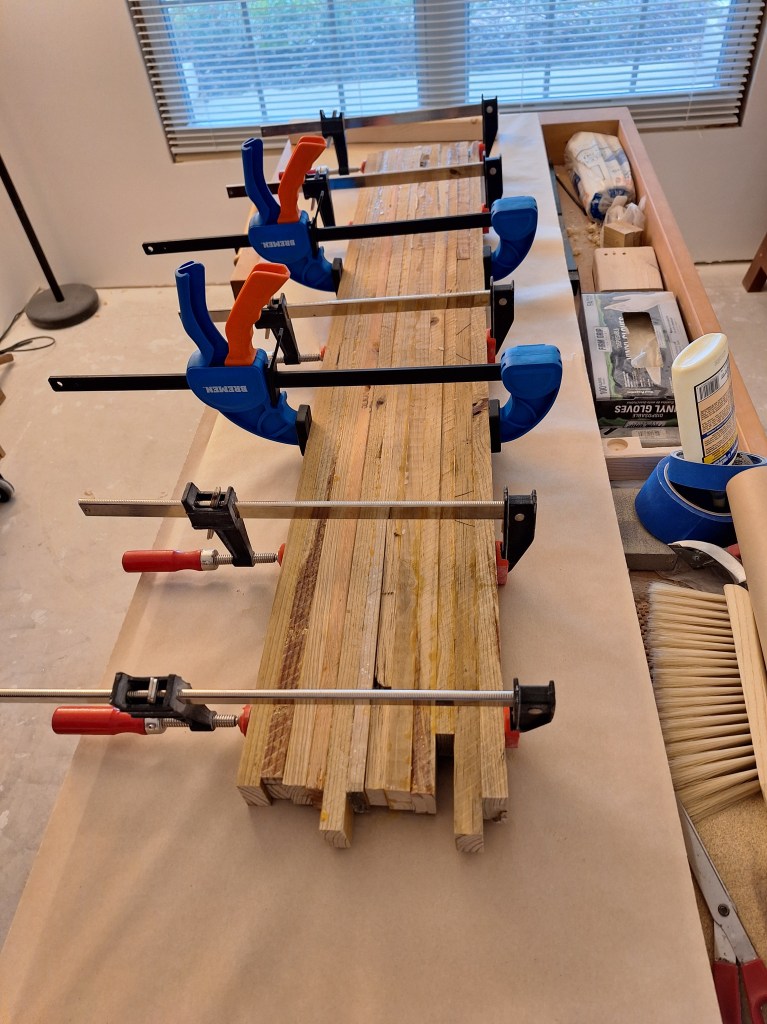
I left the glue to set overnight. The next day I pulled off the clamps and ran it through the thickness planer to get it close to final dimensions, then squared off the ends.

The final thickness would be established once I did the same for the the other two sections. Once they were taken to the same state as what you see above, I would run all three through the thickness planer, one at a time, to ensure they were of the same thickness before gluing the three sections together. Here are the other sections in clamps, ready to set up overnight.
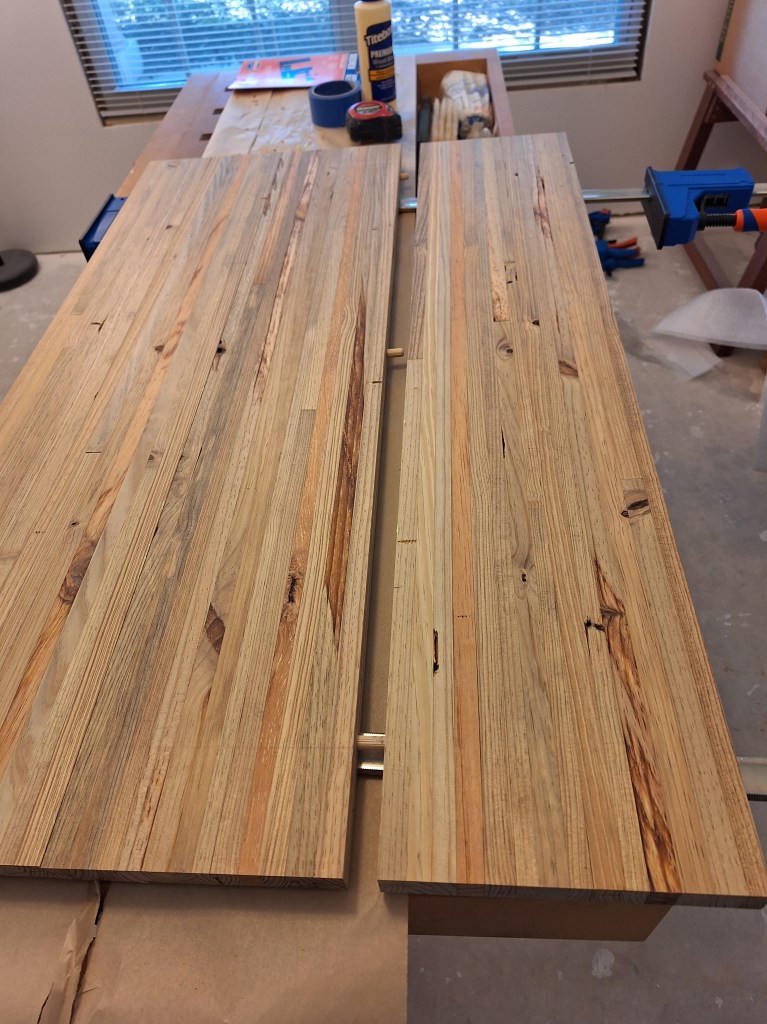
And here they are after running them through the thickness planer, making them all the same thickness.
Since the combined width is greater than the capacity of my thickness planer, extra effort was needed to ensure they aligned properly as I brought them together. To help with this, I used dowels, referencing their location relative to the top (show) face.
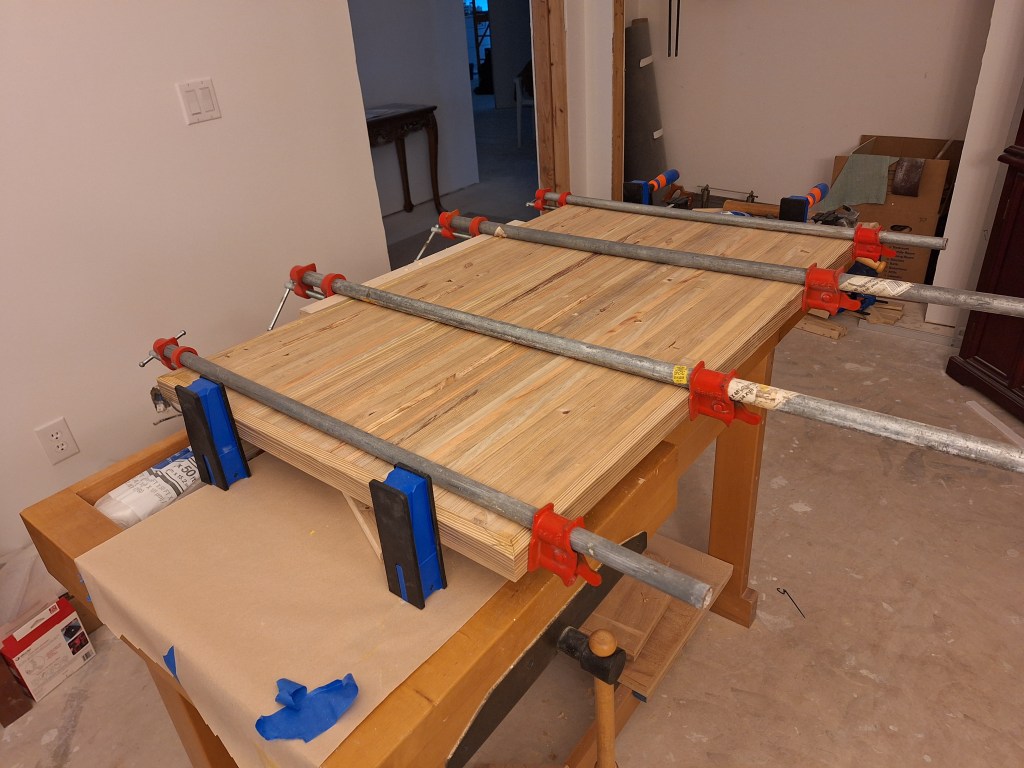
Then it was time to apply the glue and clamp the three sections together.
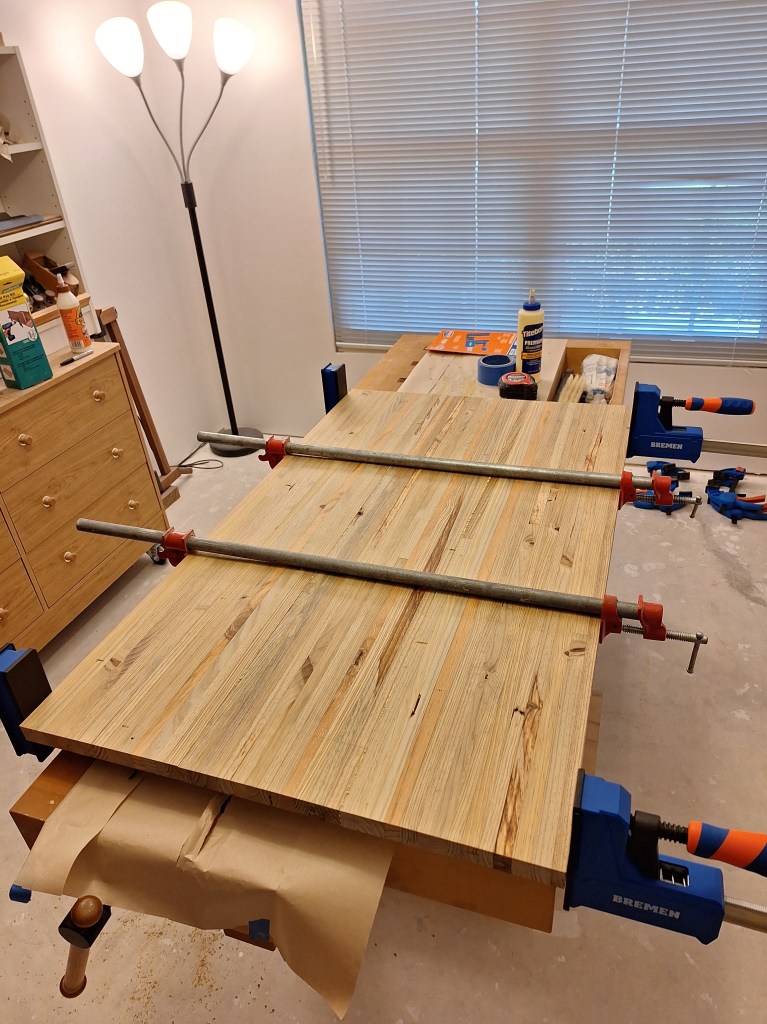
The next day I removed the clamps and scraped off the glue that squeezed out from between the seems. I also place a straight edge across the top to see how flat it was. As you can see from the image below, there was significant cupping. This was largely due to my forgetting to place clamps at the seems. A stupid mistake that resulted in far more hand planing (see below) than should have been needed.
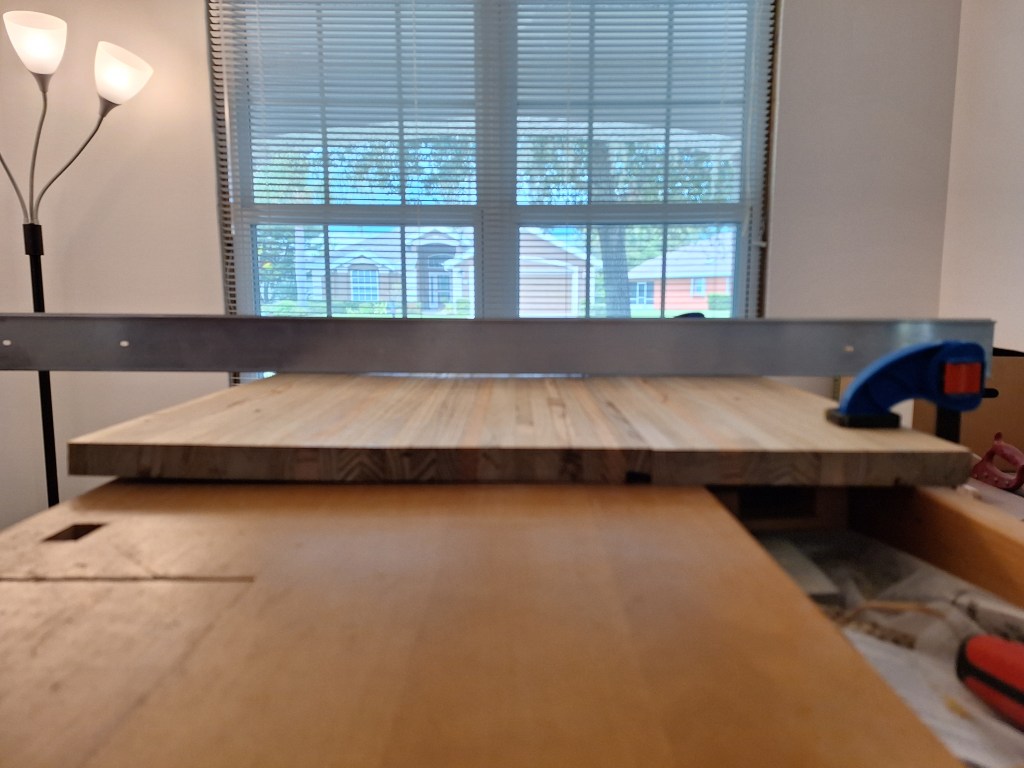
Although this does not have to be perfectly flat, I had to do something about this. So I pulled out my number 7 jointer plane and got to work.
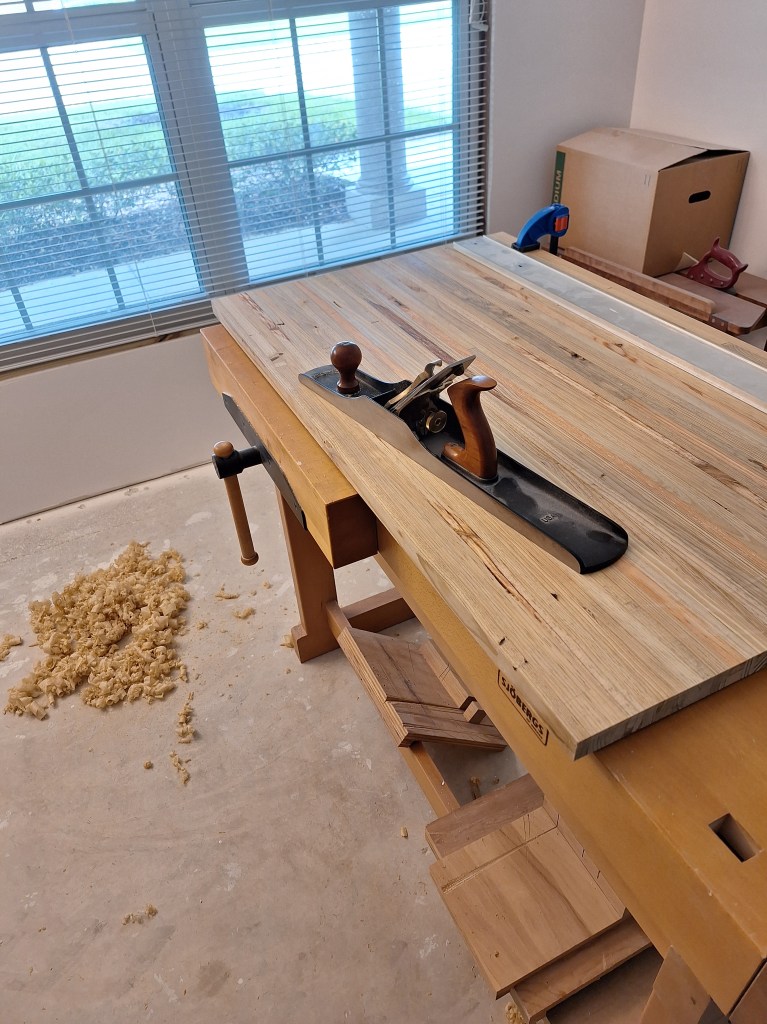
This took considerable effort, leaving plenty of shavings on the floor.
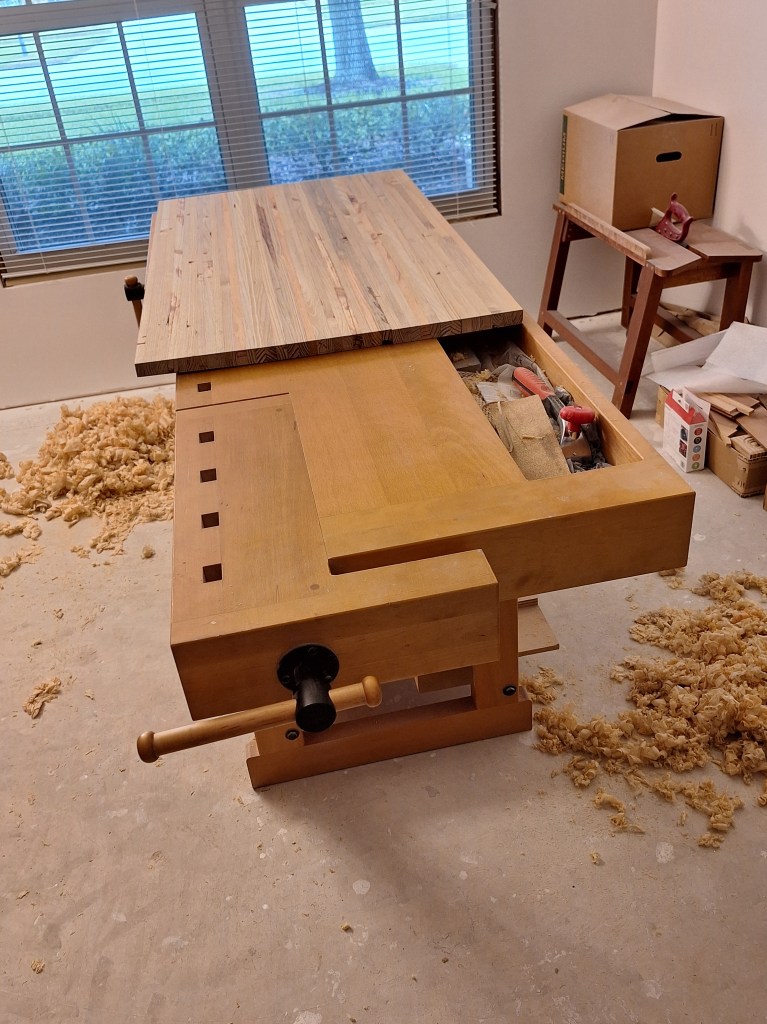
In the end, I didn’t get all of the cup out, but I got it to a state I was comfortable with. To flatten that extra bit where the light shines through (see image below) would require the removal of so much more material that it wasn’t worth it. This would be fine.

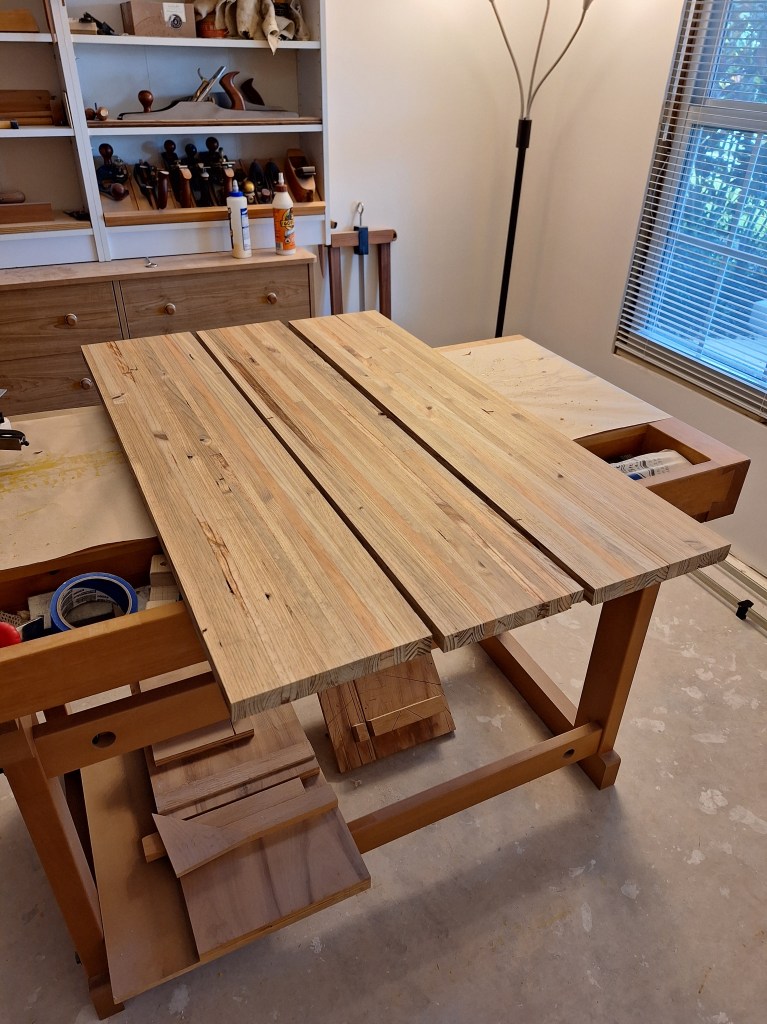
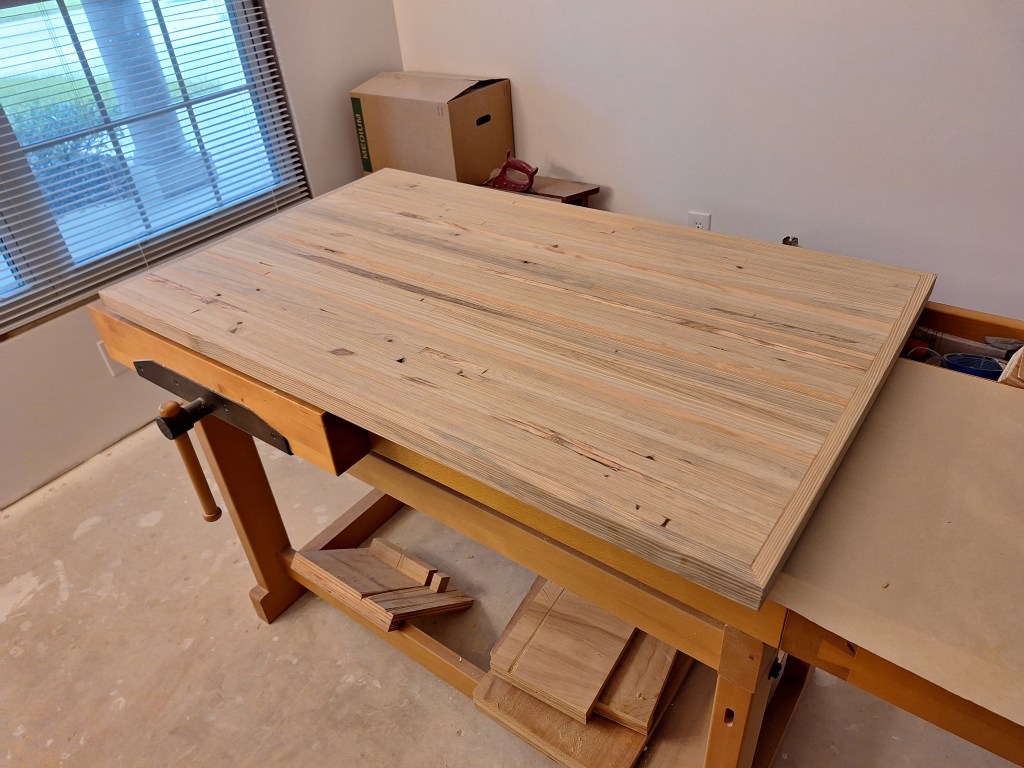
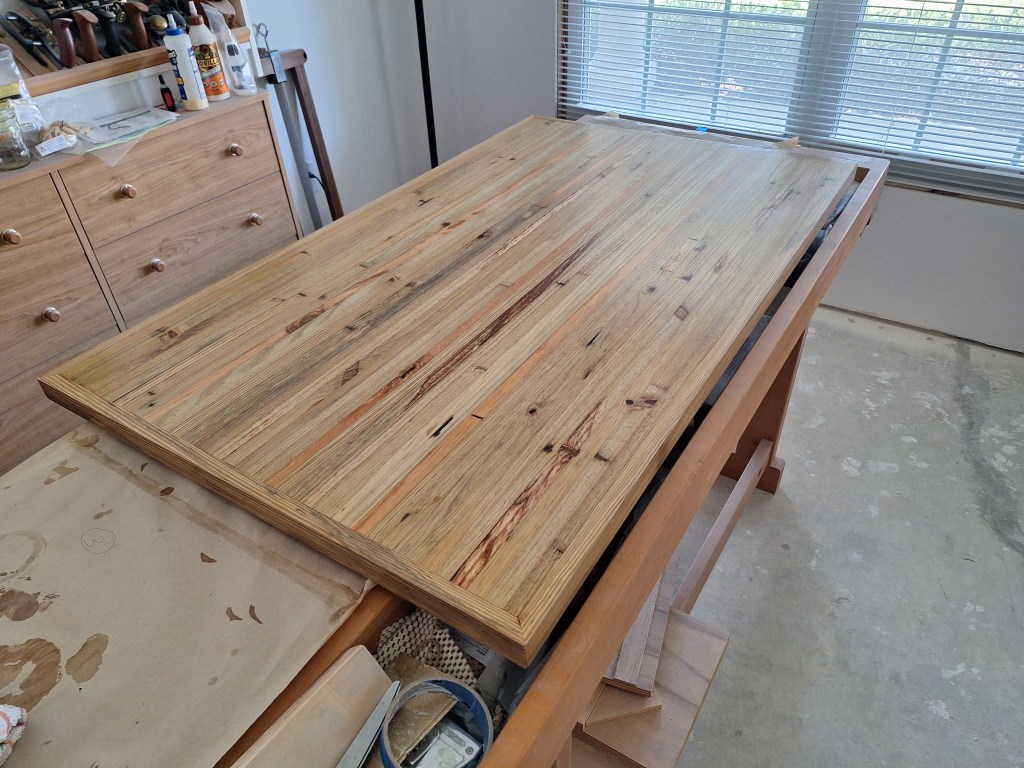
And here it is after completing the flattening work.
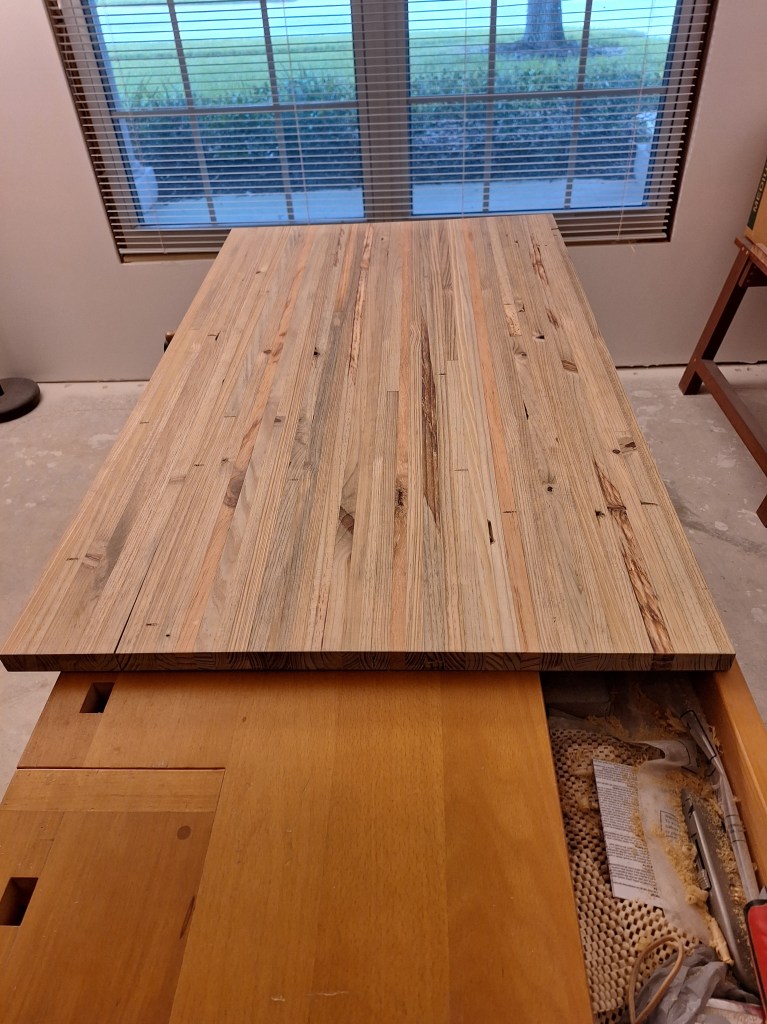
Although it looks pretty good here, I still had a couple of things I wanted to do to it before applying a finish. In order to have no end grain showing I would put an edge around it with mitered corners. I would also use an epoxy resin to fill in any holes. These boards were pretty rough at the start of this, so there were plenty of nail holes, screw holes, and imperfect edges. After the milling process and the hand planing, some of these things were cleaned up, but others were exposed. Using an epoxy resin with a color tint would get it to the state I wanted. But first, I added a solid wood edge around it with mitered corners.
The next day the clamps were removed and I cleaned it up using hand planes and a sander in preparation for the epoxy.
I thought it was looking pretty good at this stage, and I hadn’t even applied any finish. Here are a couple of additional shots.
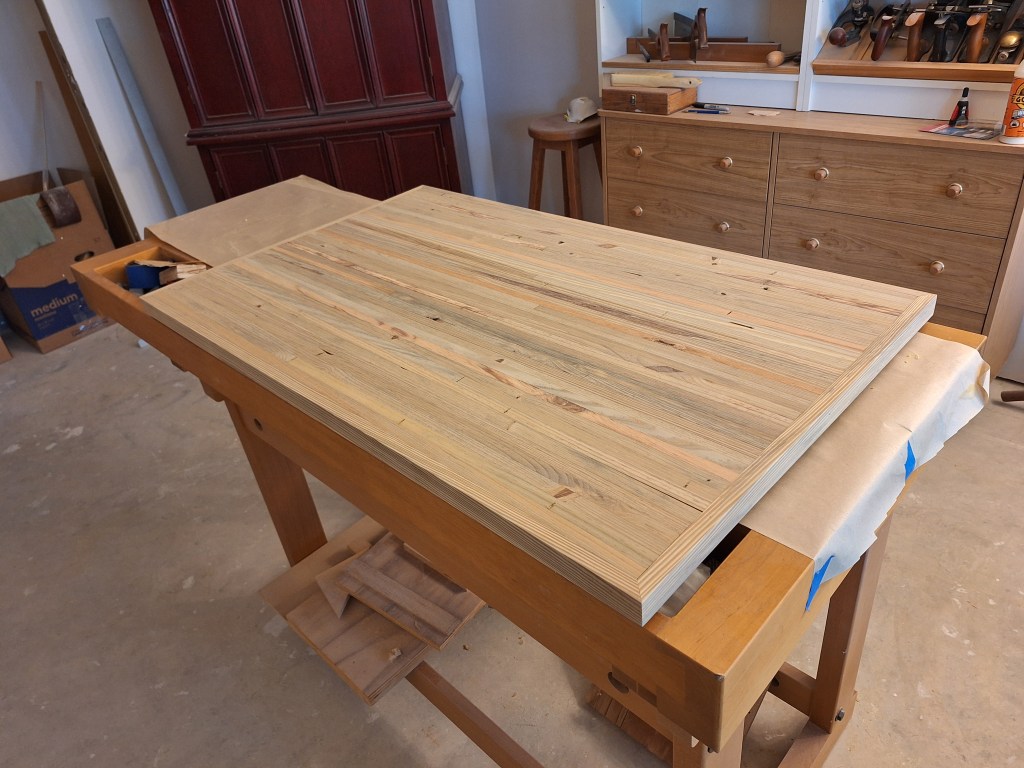
With the solid wood edge added, the final dimensions came out to 43 3/8″ by 26 3/8″, which is right in line with what I was after. So I took that lovely looking thing you see above and did this to it.
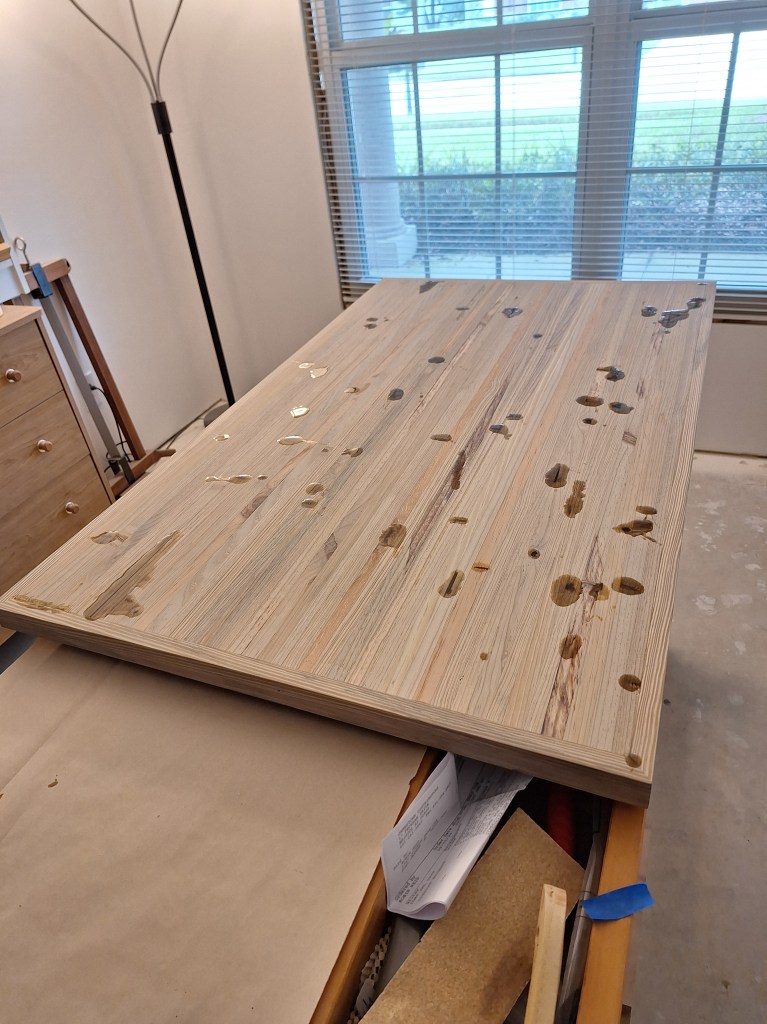
At this stage it looks like I’ve spilled coffee all over it. But that is just part of the process. The bits that overflowed the areas I intended to fill will be planed and sanded away after the epoxy has cured. Here is a closeup of an area.
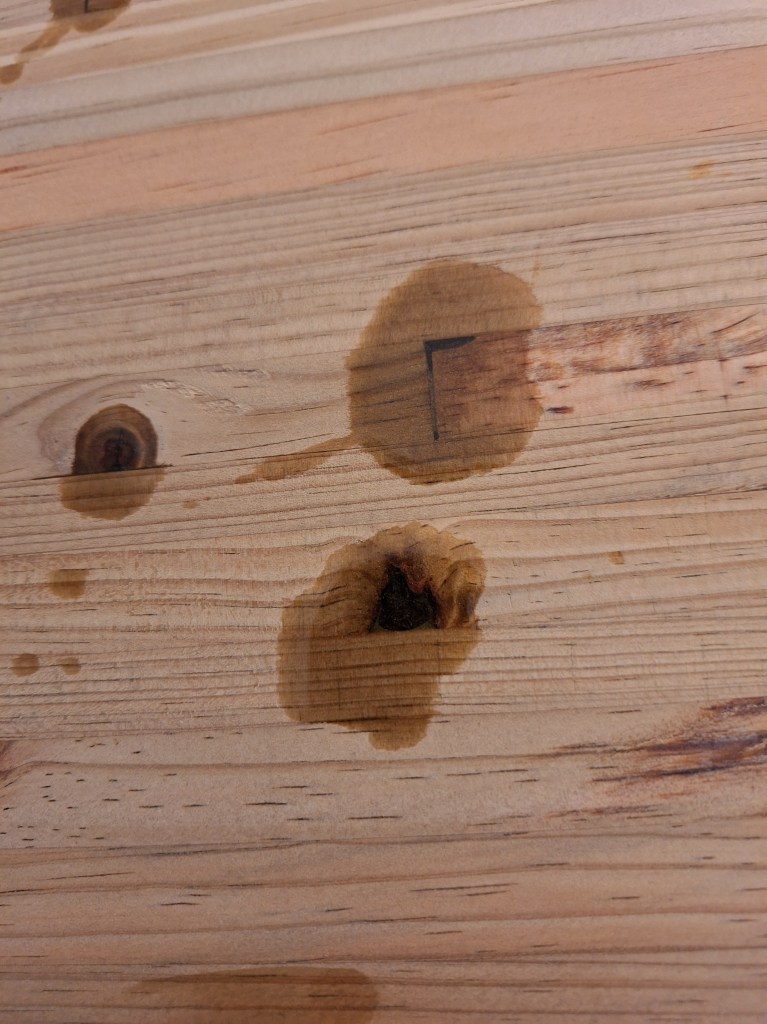
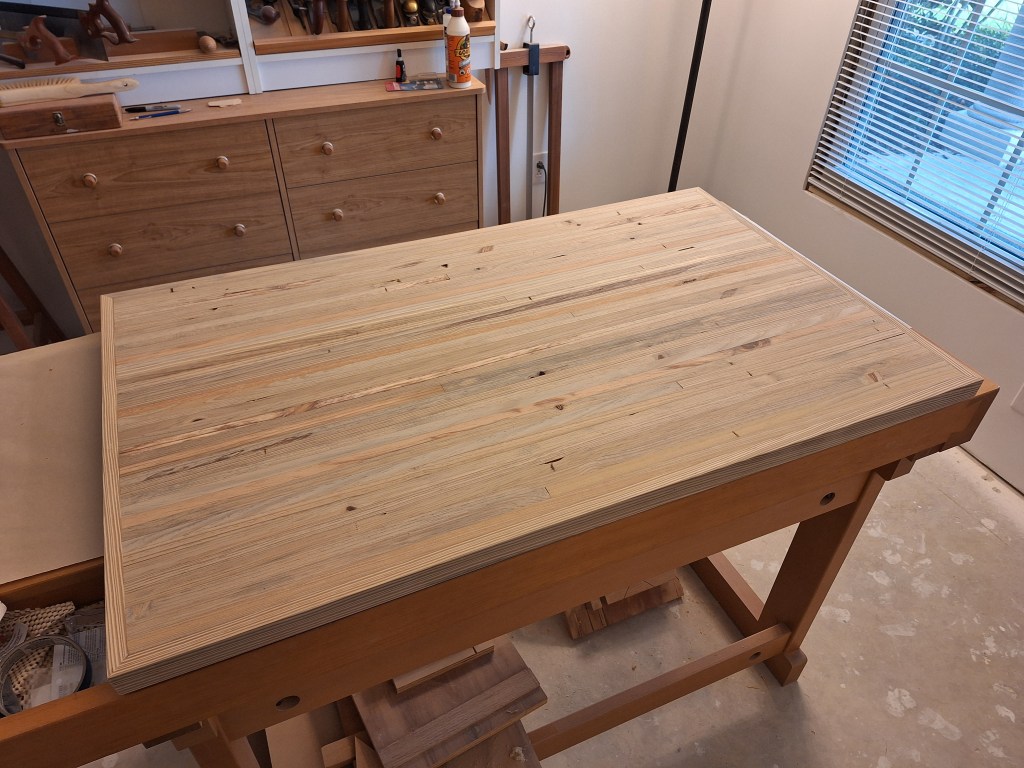
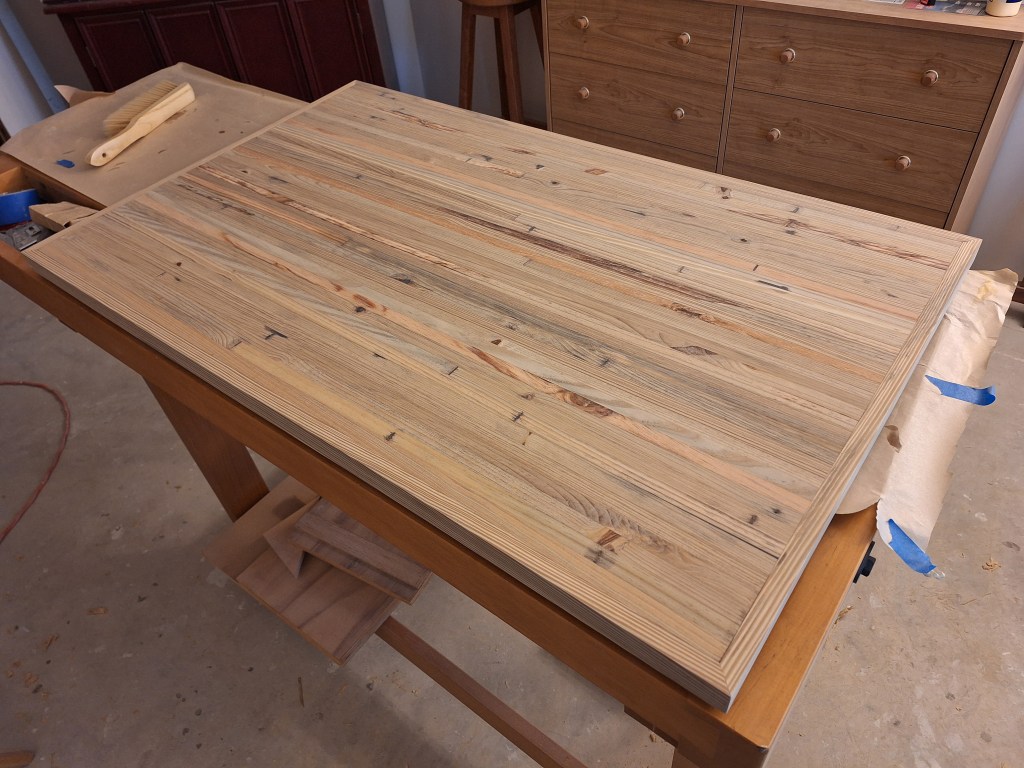
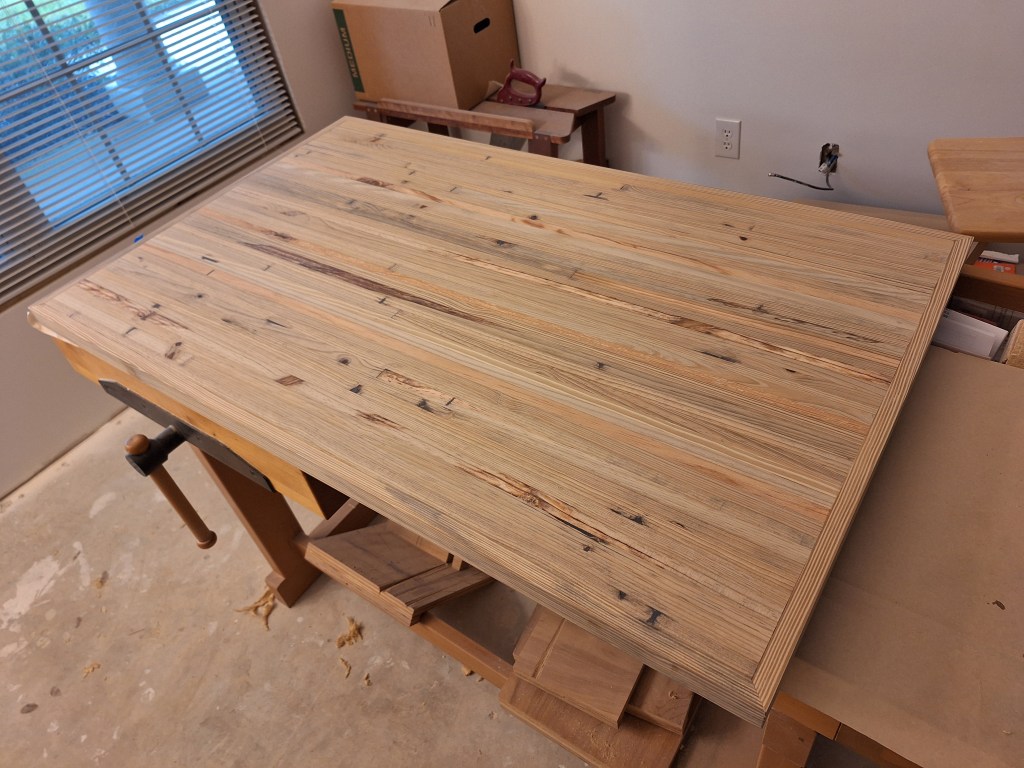
The epoxy comes clear, but I added bronze mica powder and a bit of black to tint it. I’m happy with the color. The next day I planed then sanded it, then added a second application to a few areas that needed it. Once that was cured, I planed it off and sanded it all in preparation for finishing. Here are a couple of shots of it ready for finish.
To finish this, I decided to use shellac. I’ve not used shellac before, but have heard a lot about how great it is. So I bought shellac flakes and mixed up only enough for this project. Shellac has a shelf life, so I did not want to buy it premixed, since whatever was left over would almost certainly go bad before I’d be ready to use it elsewhere. I took a picture of the surface as I was just starting to apply the finish so you could see the difference.

Here it is after finishing the first coat.

It certainly darkened it a bit. I think I preferred the color before the finish, but not enough to redo it. Shellac dries very quickly, so you can put another coat on almost immediately after you have finished applying the previous coat. I put two coats on the hidden side, just so it was sealed, and eight coats on the exposed surfaces. I did not specifically choose to apply eight coats. That was what it took to exhaust the amount of shellac I mixed up. I was aiming for around ten coats, so eight was close enough. After the final coat of shellac, I gave it a light sanding with 320 grit sandpaper then applied a coat of paste wax to make it nice and smooth. Here it is after that.
And here it is installed.
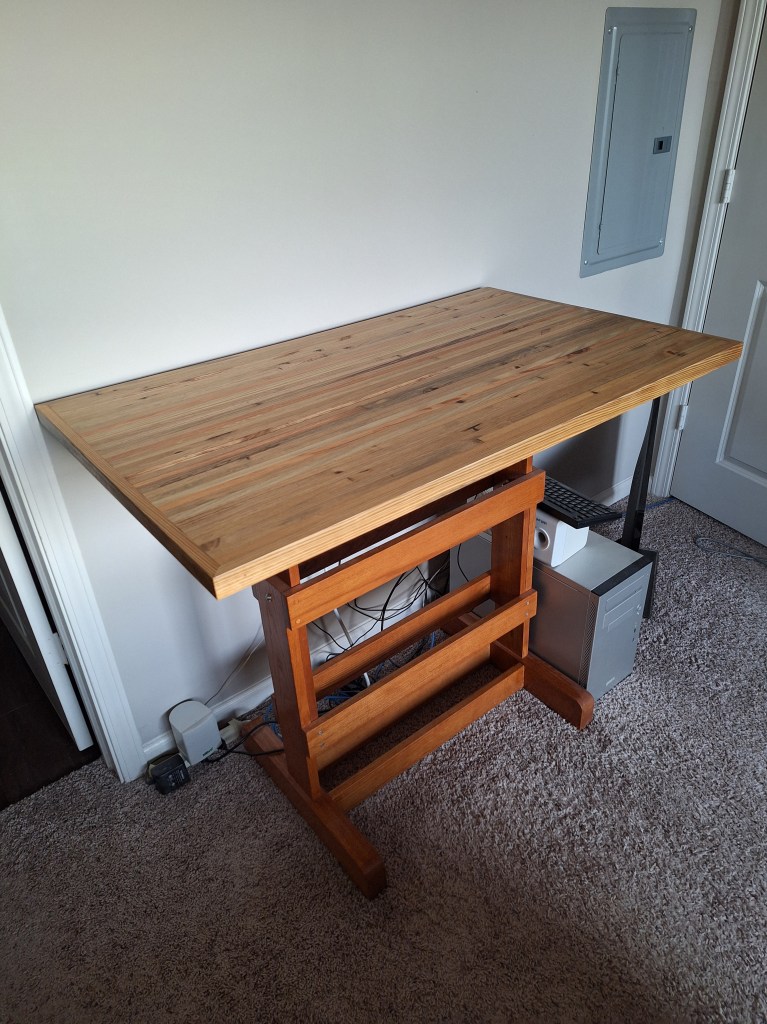
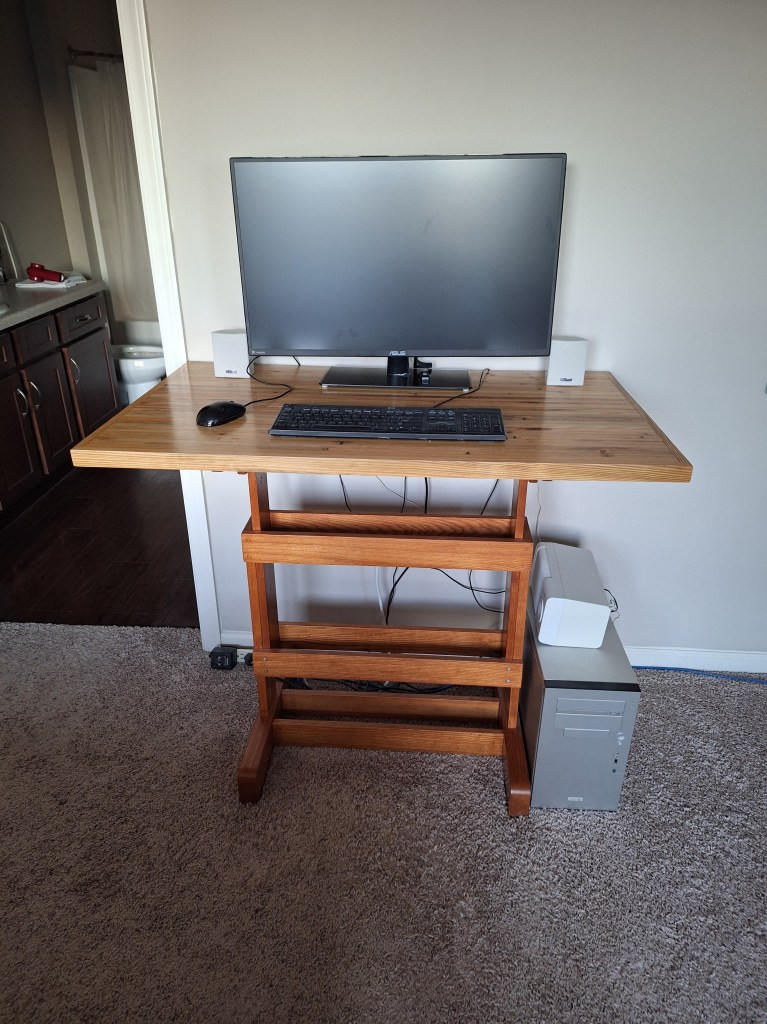
Yes, the base color does not match the top at the moment, but I will refinish the base one day after I’ve moved into the house. For now, this will do. Here are a couple of “after ” images that correspond to the “before” images at the start of this post.
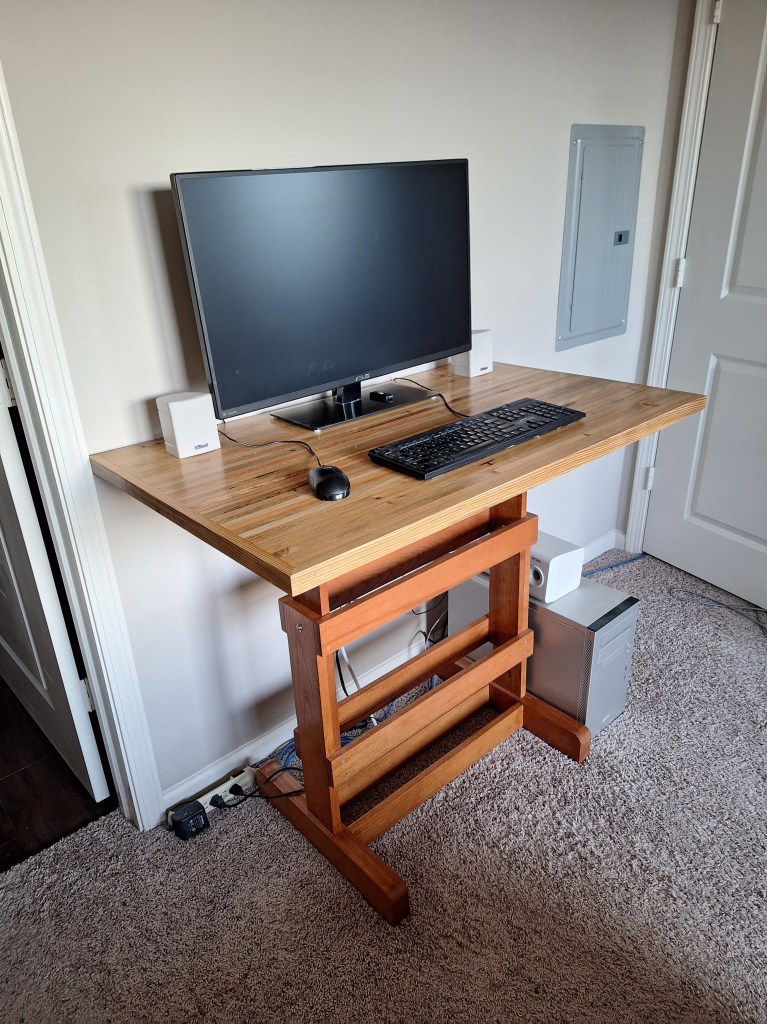
I’ve been updating this post as I went along in this project, but it is only on this last update that I’ve been able to do it on my new desk top. I am very happy with it. My mouse has a much flatter surface to move over and I love having the extra space. This was a fun project, and I look forward to doing more of this kind of thing (woodworking, as opposed to construction) once I’m settled in the house.
