The guest bedroom was the first room where I did any drywall work. I started there because I figured it would be the least used room, and if I was going to make any mistakes, I’d rather it not be something I saw every day. Fortunately it went very well and I was happy with the results. I did that work in July/August of 2021. I stopped working on it after finishing the ceiling (primed and painted) and after priming the walls. I didn’t know what color I was going to paint the walls, so I moved on to other things.
It was not long after I finished working on the guest bedroom that I decided to sell the house I was living in, which was about an hour south of this one, and move into an apartment next to my community, saving me a considerable commute. Since I could not fit everything from my house into my small apartment, I stored most of it in the various bedrooms of the house under renovation. The guest bedroom, being the only bedroom with the drywall finished, received the bulk of the contents I had to store. Now that I was ready to paint it, I had a lot of stuff to shift. I moved almost all of it into the now empty office and used this as an opportunity to organize it in a way that it was easier to get at. The things I had previously stored in the guest bedroom had been put there by the movers, so whenever I had a need for something I knew was stored away, it was often an adventure locating it and often involved climbing over boxes and furniture. With that done, I was ready to start.
Before any painting could take place, I had to address a problem that arose while working on the master bathroom. The master bathroom shares a wall with the guest bedroom. During the demolition of the ceiling in the master bathroom, a small part of the drywall in the guest bedroom was damaged. So I cut out the damaged portion and fit a patch.
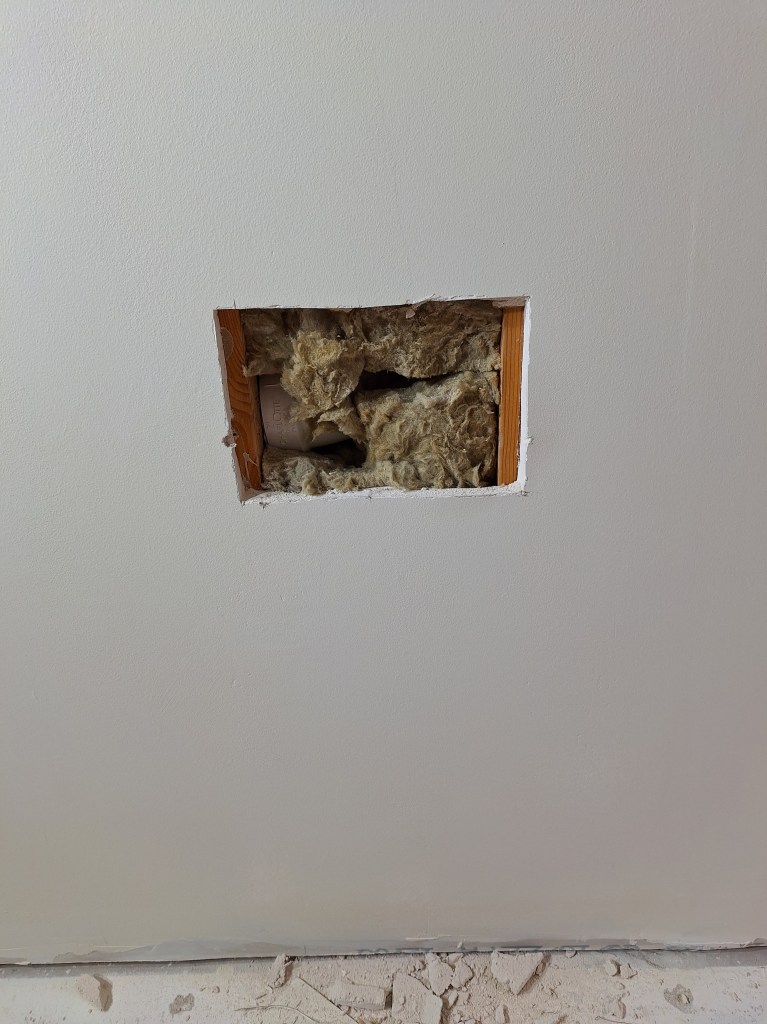
I cut the opening enough so that I had something to screw the patch piece into on either side. In addition to screws, I also used construction adhesive, as I usually do.

The patch piece could have been a bit tighter, but since I was going to prefill it, I would have to open the seems a bit anyway, so I decided this was sufficient. Here is the prefill.
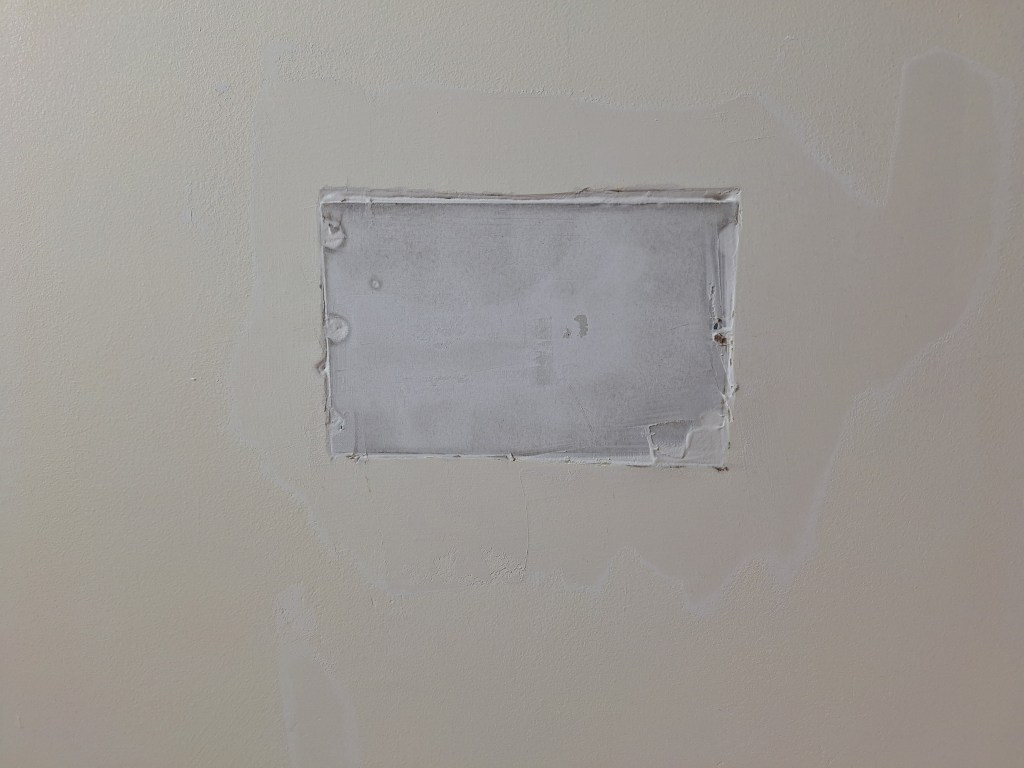
When taping, I decided to try something a bit different from my usual. Instead of running tape along all four seems, I simply ran three horizontal strips. By doing this I don’t have any overlapping tape to smooth out when I cover the tape with mud. I think this will be fine.

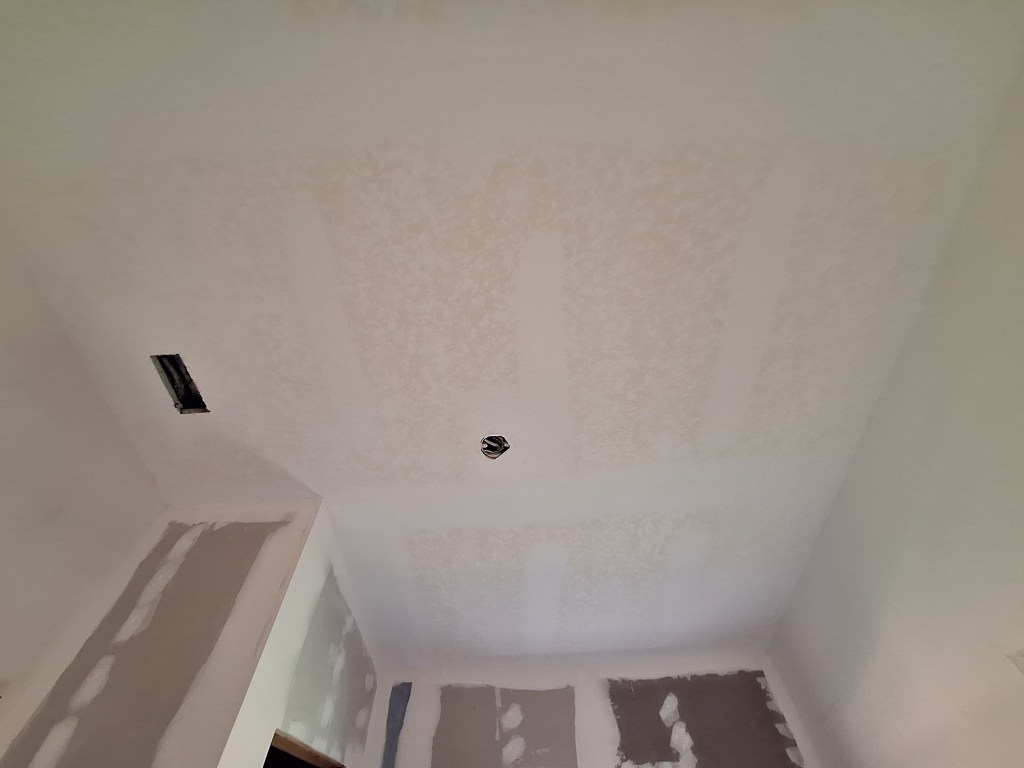
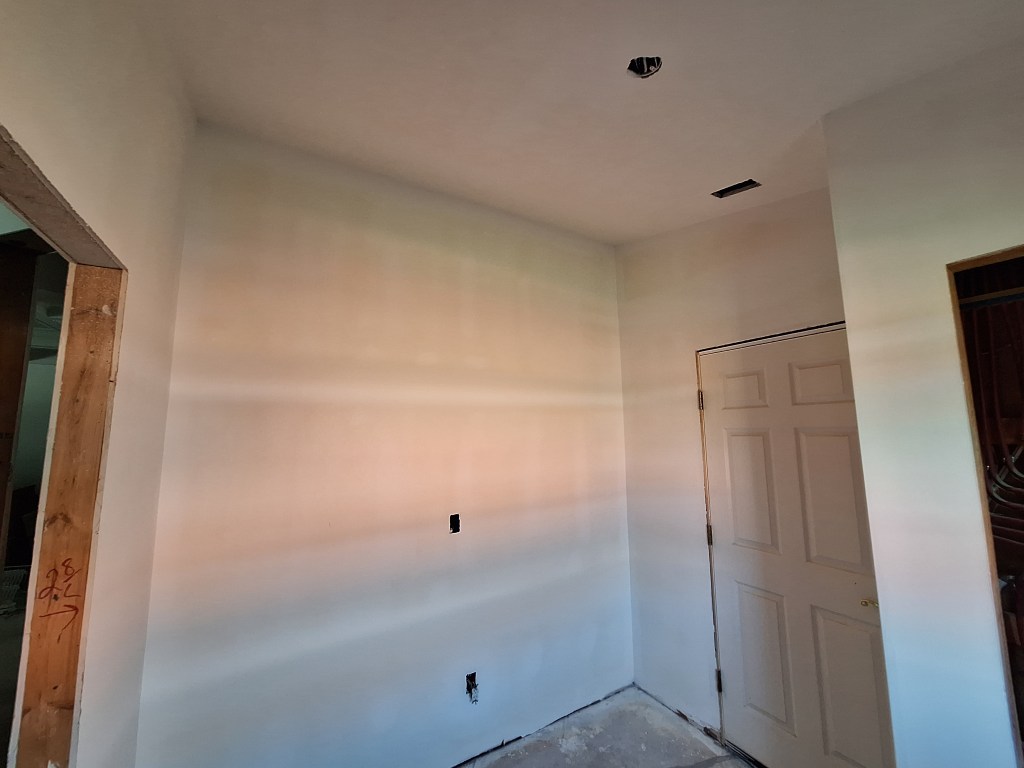
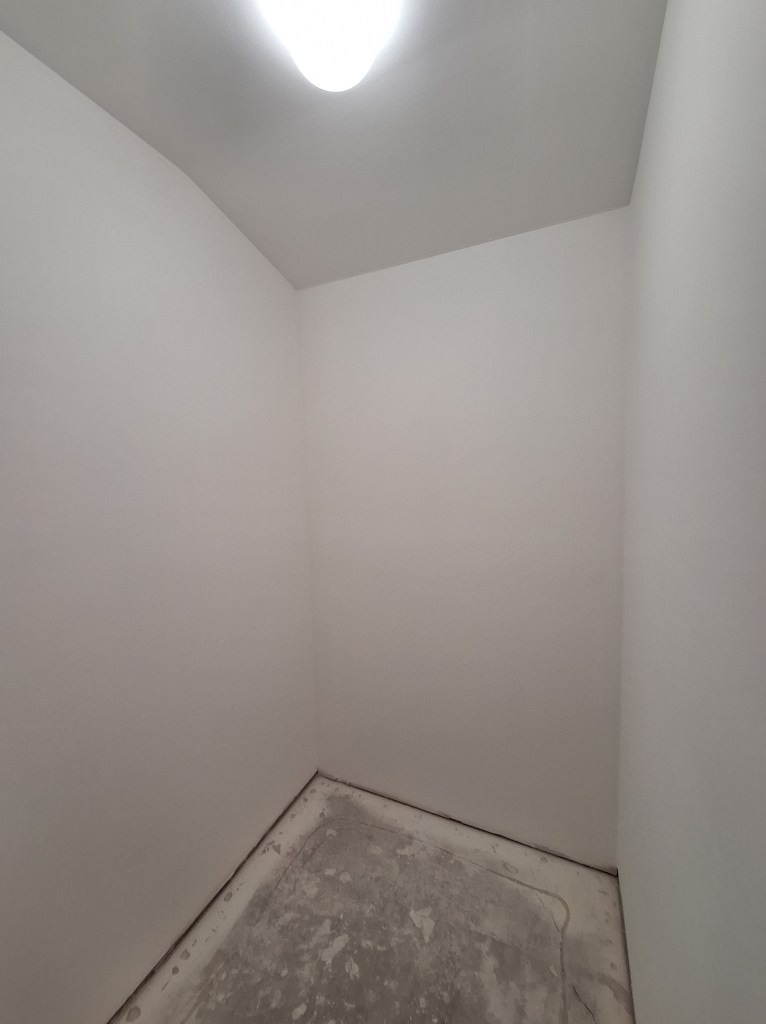
After coating a couple of times, followed by a final tight skim coat, it was ready for painting.
Not much to see in the image above other than there being no evidence of the patch.
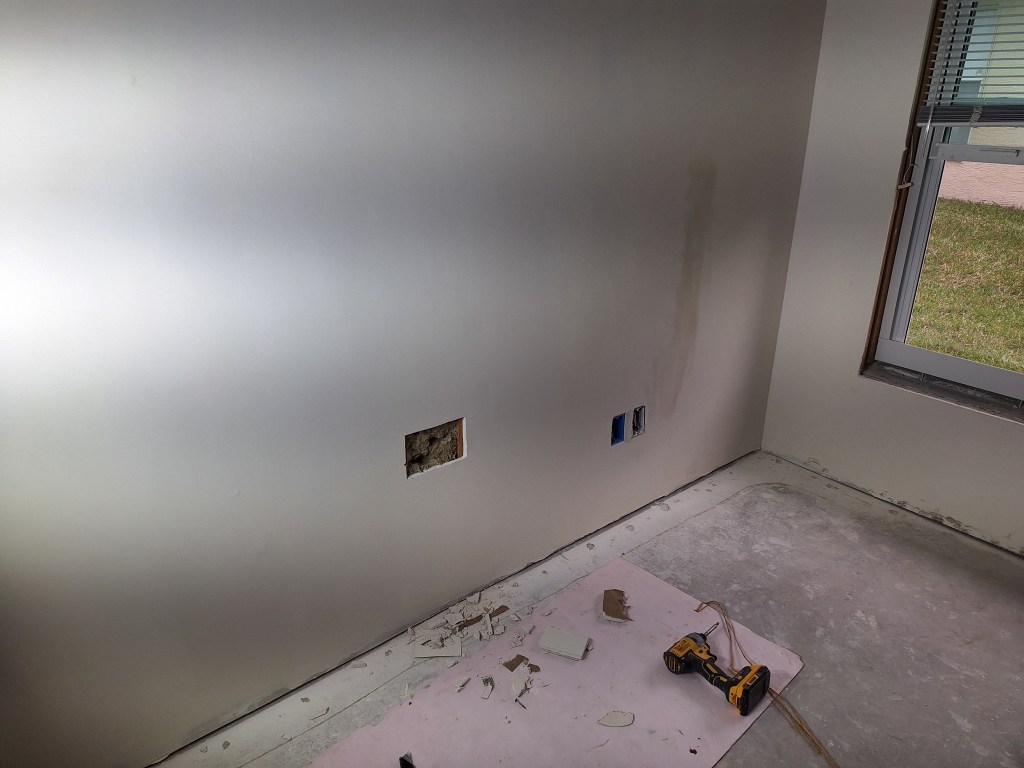
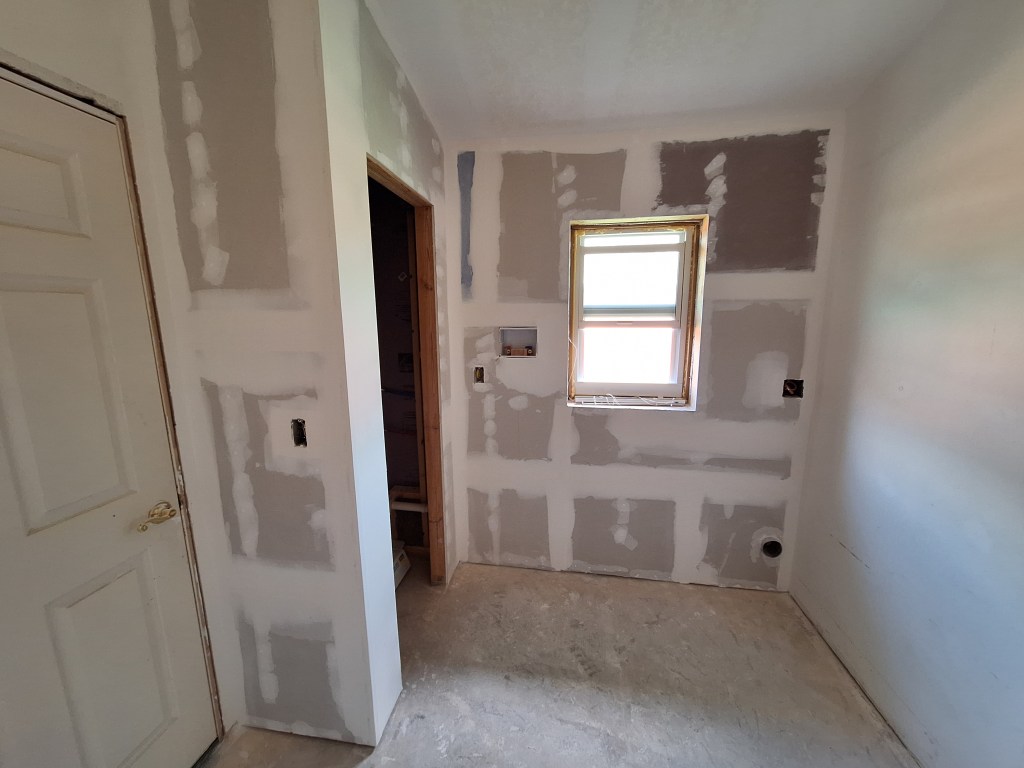
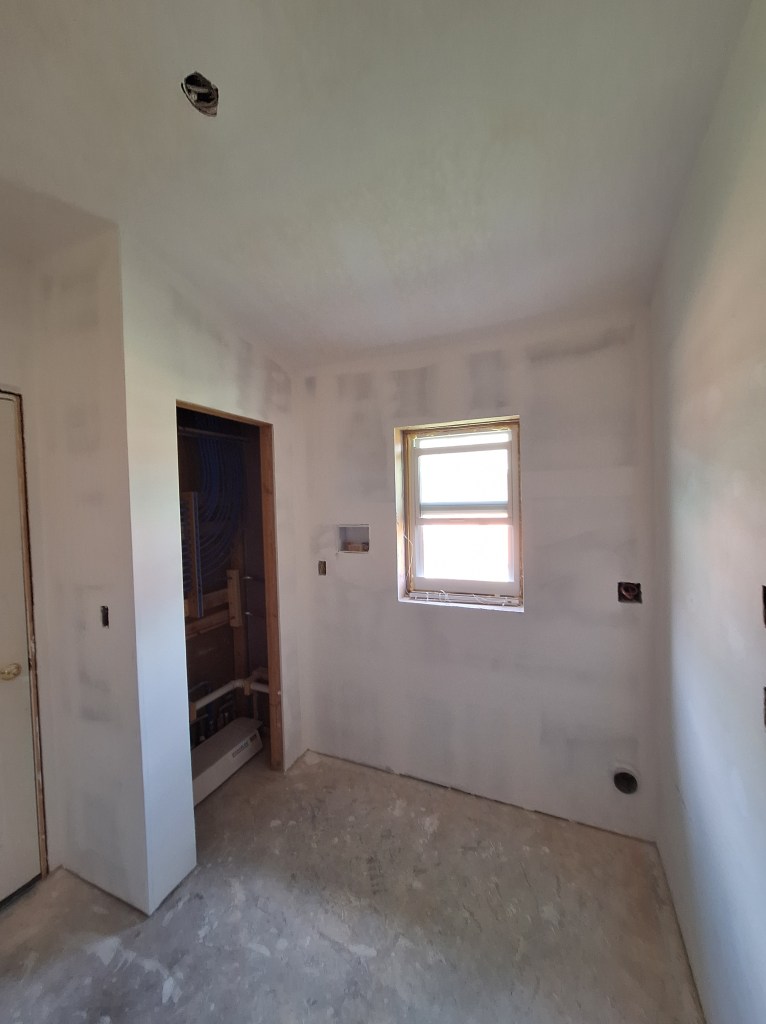
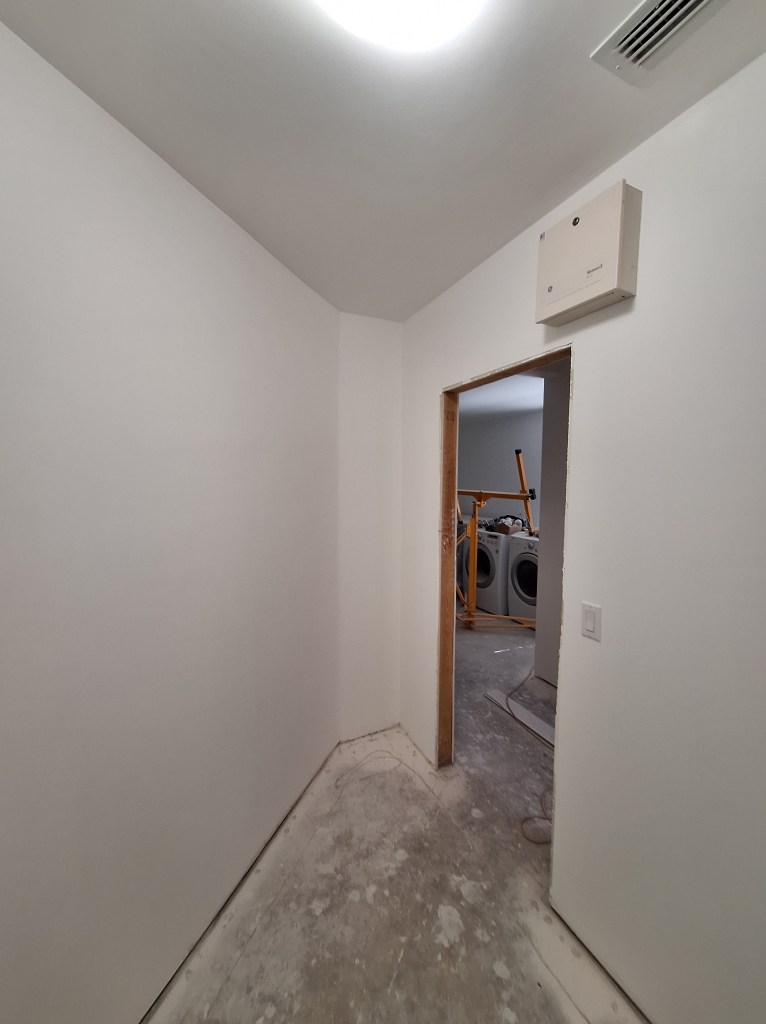
Since preparing the patch for painting required several days due to the drying time between coats, I started painting the other walls. I used the same paint I used in the office; namely Behr Dynasty Beach House. When that was done I was able to start painting the wall with the patch. After getting the first coat done, which didn’t take long, rather than wait until the next day to start the second coat, I started on some of the other tasks I knew were ahead of me. Most notably was getting a head start on the laundry room, which was where I was going after being done (for now) with the guest bedroom. Like the rooms before the guest bedroom, the laundry room required that I clear it out so that I could get at all the surfaces. So that was the first order of business.
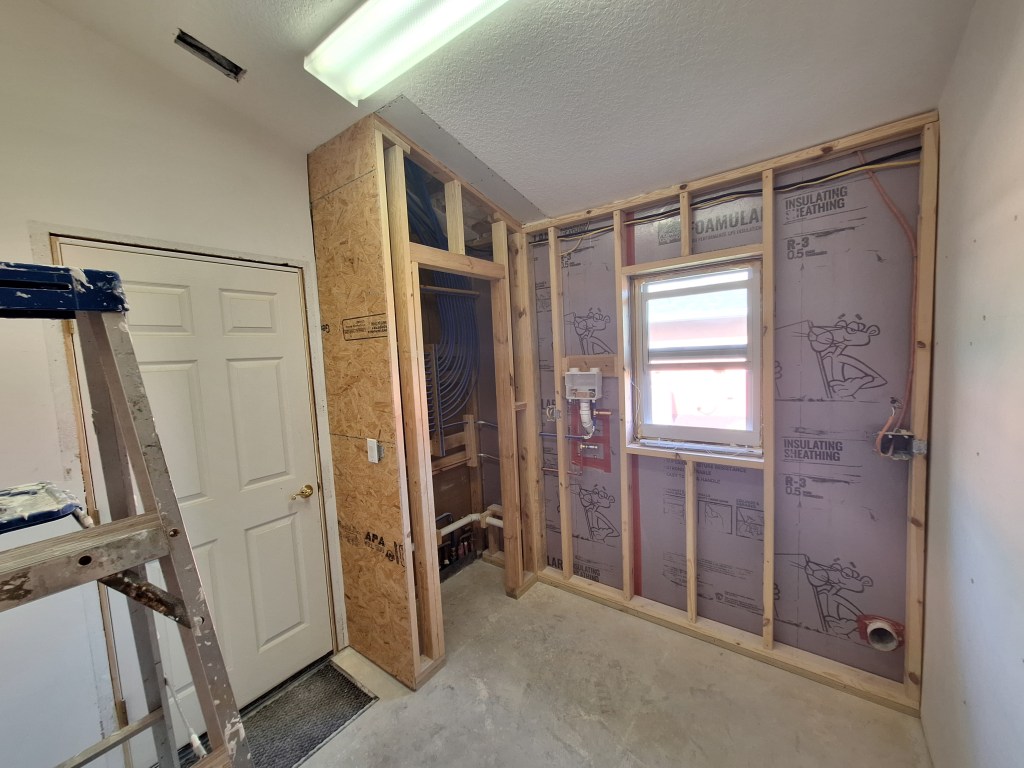
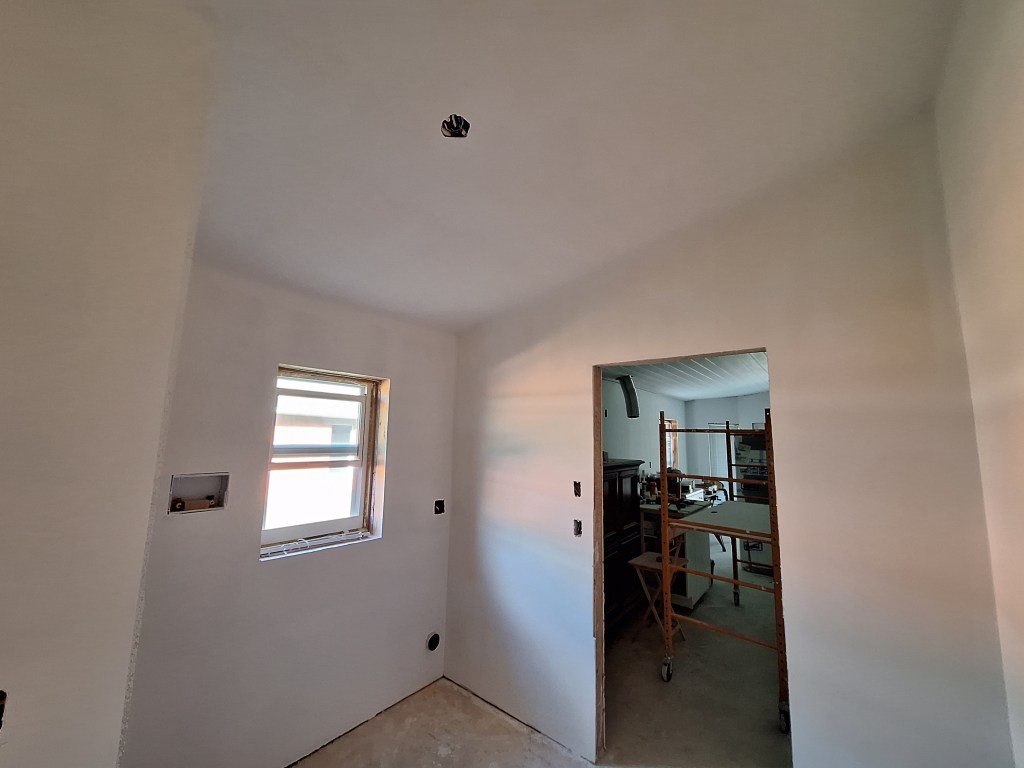
If you look at the first of the images above, you’ll also notice that I removed the trim from around the door to the garage, and I also installed a piece of drywall to close the opening between the plumbing closet and the existing ceiling. I also installed a couple of water hammer arrestors for the supply lines to the washer (shown more clearly below).

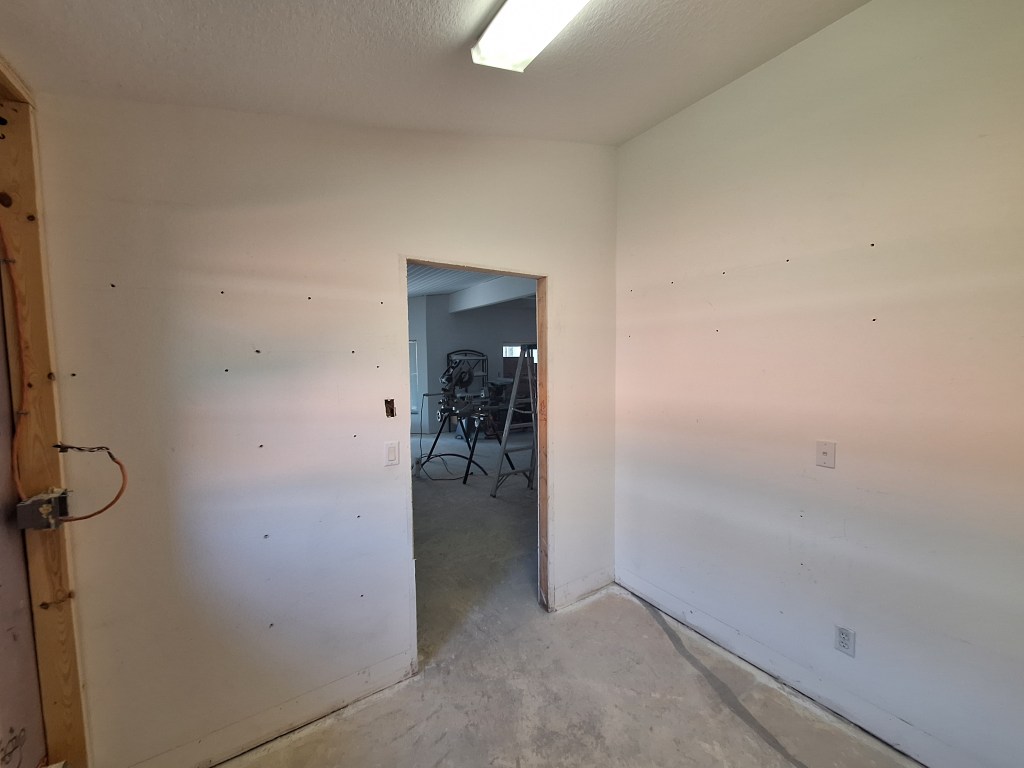
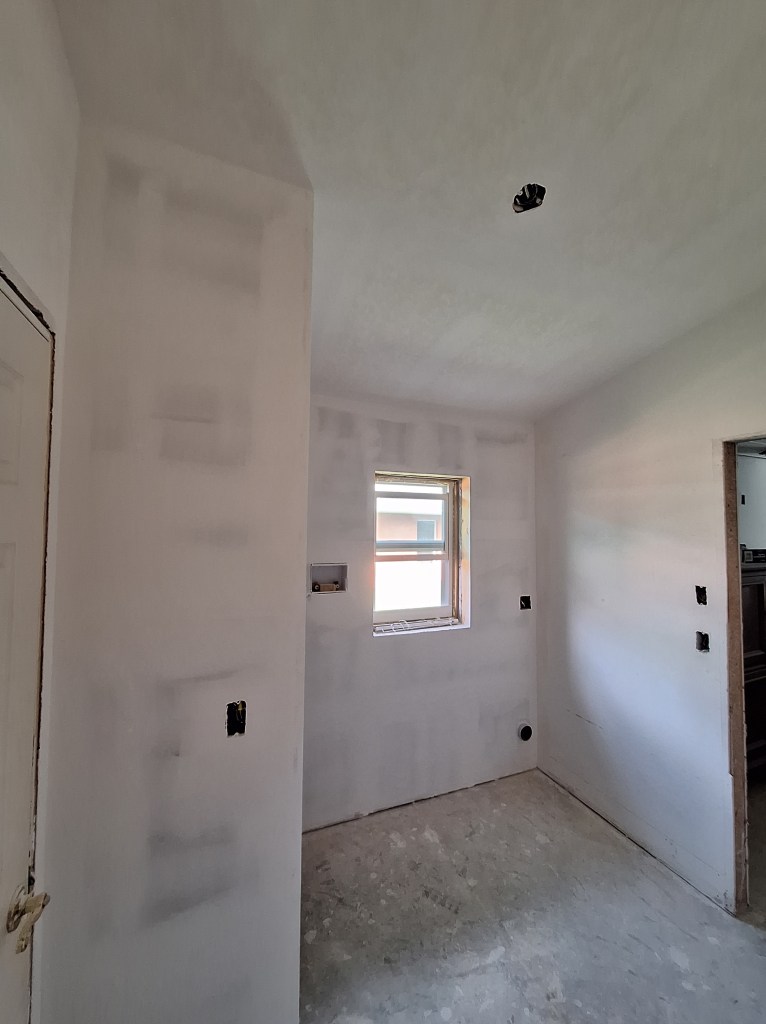
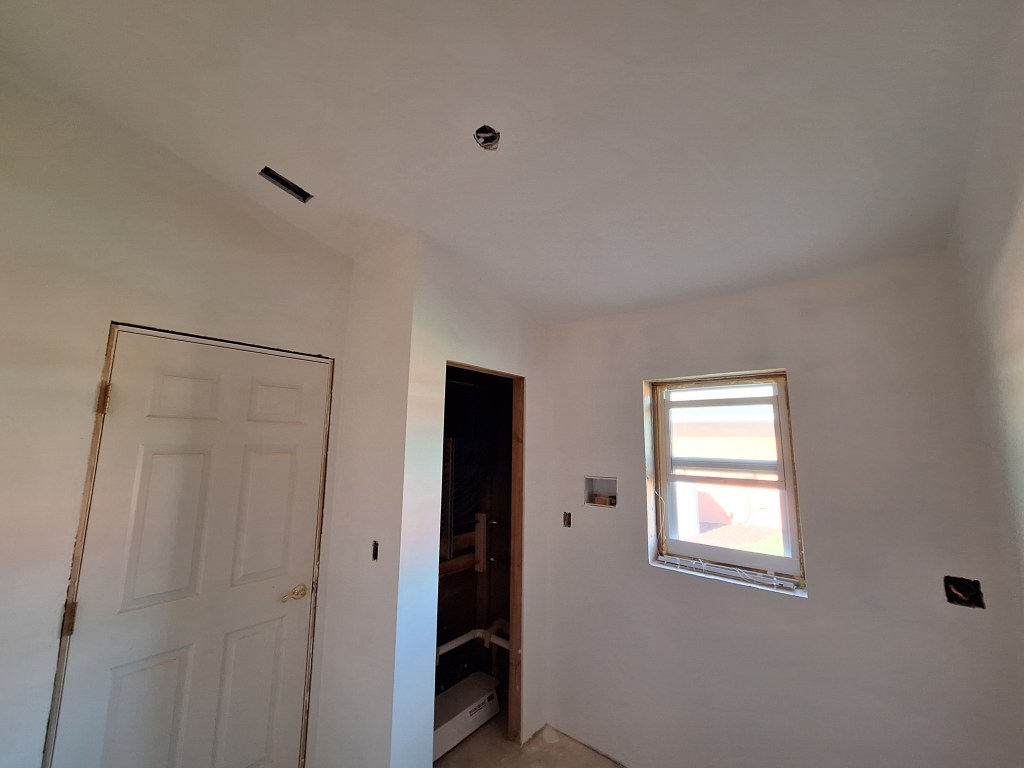
The next time I returned to the house, I was able to paint the second coat on the south wall to finish the painting for the guest bedroom. Here it is finished.


As you can see, I hooked up the outlets and installed the light/fan. This was all I intended to do on the room for now, so I turned my attention back to the laundry room.
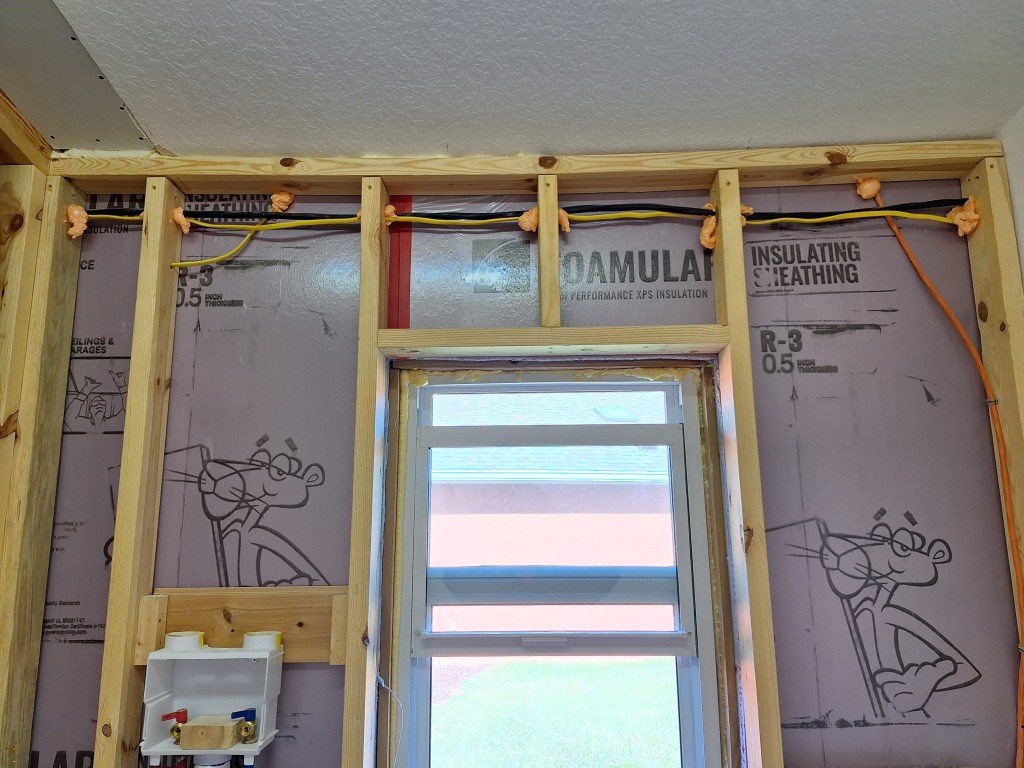
Before hanging drywall in the laundry room, I had to introduce fire block foam into the openings where the electrical wires run into the attic. I ended up adding the foam in more places than that simply because I had plenty of extra, so I got a bit carried away.
I then added the insulation.

After this I was ready to hang drywall. Since I had a lot of drywall off-cuts, I used them instead of buying new full sheets. Consequently, it was a patchwork.

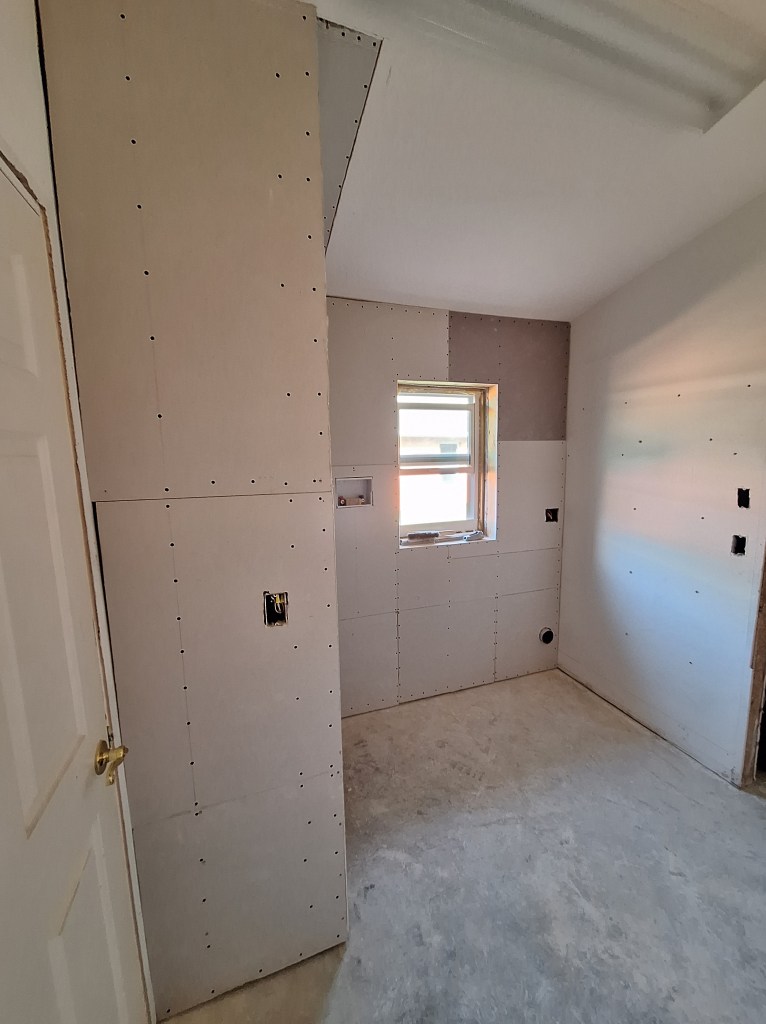
With all these seems, there will be a lot of taping. I prefer that to wasting all those off-cuts. Even with all those taped joints, I’ll make it look great.
With the drywall hung, I scheduled another inspection. That meant I had to wait a couple of days before I could start taping, so I started working on the large closet in the master bedroom, which was scheduled to start after I was done with the laundry room. The first job there was to add sound insulation between the back wall and the shower.
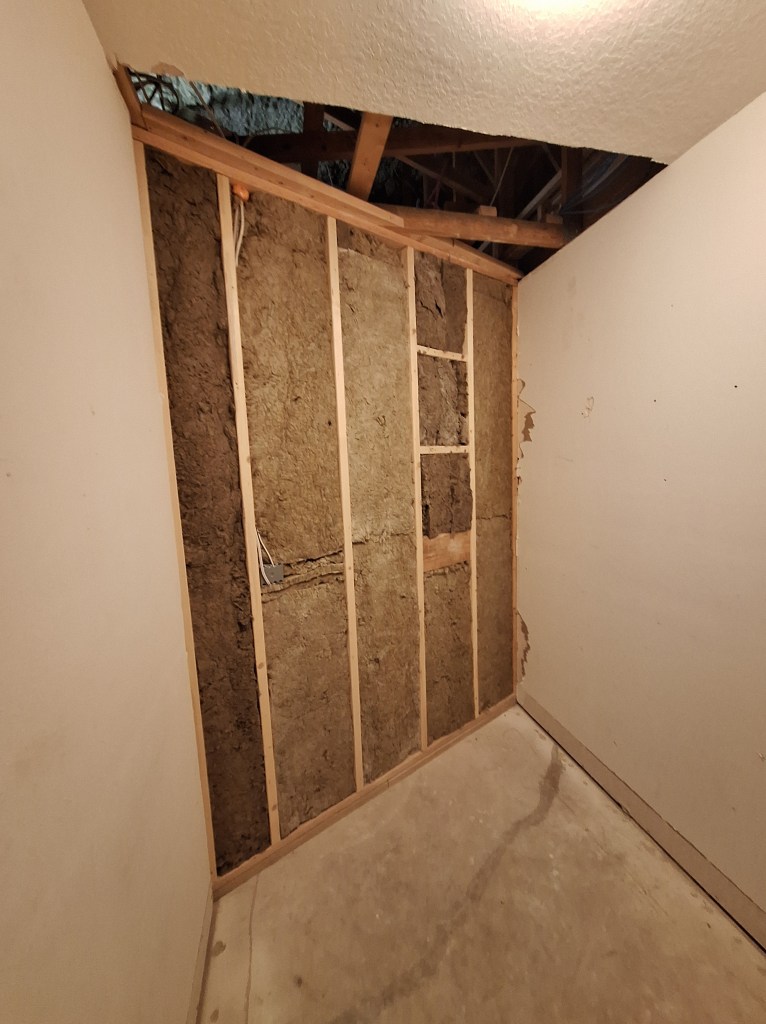
Note the opening in the ceiling. When I had the underside of the roof deck insulated with spray foam, they walled off the area between the garage and the rest of the house to separate the conditioned space from the unconditioned space. This meant that I no longer had access to the attic by using the original opening within the garage. The opening you see in the image above was created as a temporary alternative. I have since relocated the access to the attic to the area between the two closets in the master bedroom. Consequently, in the image below, you will see it closed off as I added drywall. As with the laundry room, I used off-cuts of drywall, so it too is a patchwork.
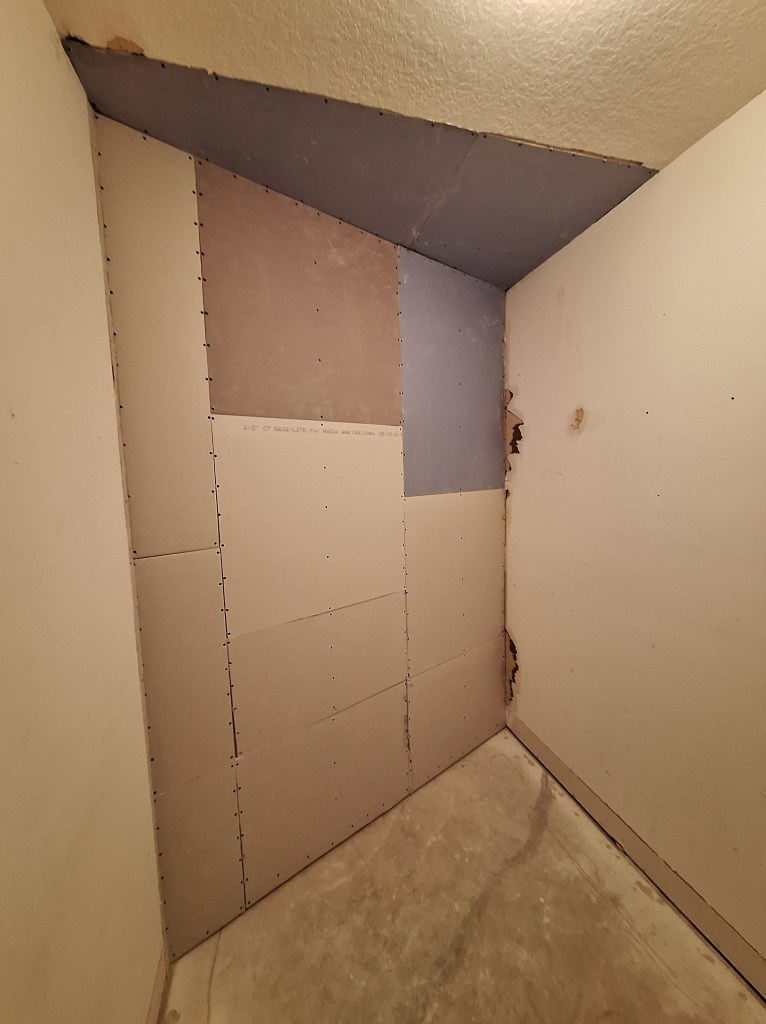
It’s pretty ugly, but just wait until you see it once I’ve finished. Eventually it will be covered by cabinets when I get around to spiffing up the closet. But that will be a very long time from now.
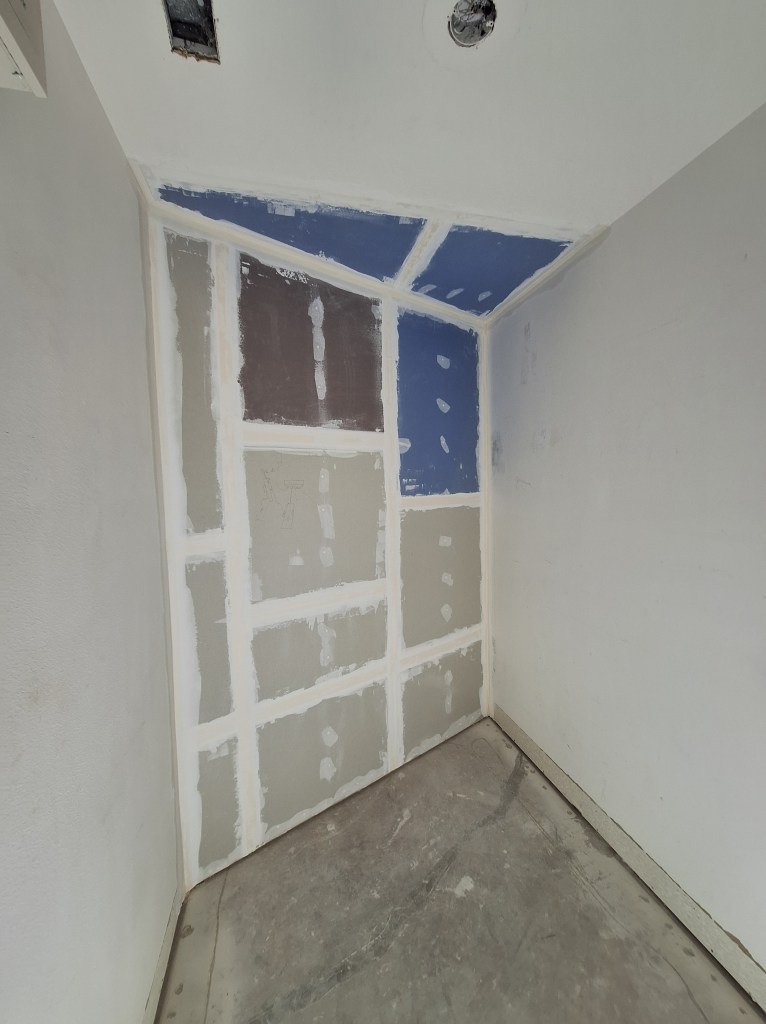
The inspection of both the large closet and laundry room went without a hitch, so I prefilled and started taping. Here it is after taping. I removed the light fixture in preparation for coating the ceiling, so I used a different light to illuminate the room for this picture, hence the whiter appearance.
I prefilled and taped the laundry room during that same period.

I continued to work on both the laundry room and large master closet concurrently. The first coating of the tape was next.
I also applied a first cover coat to the ceilings in both rooms to begin transforming the knock-down texture to a smooth texture. I used an all-purpose mud for that. For subsequent coats, I returned to the light weight Plus-3 mud.

For the second cover coat, I decided to cover the entire wall surfaces rather than just the tape, since the coverage area was not so extensive. I did, however, add more mud over the taped areas to make sure they were properly covered before I started the proper skim coating phase. So, arguably, the second cover coat was a kind of skim coat, with emphasis on the taped areas. After the second cover coat of the walls, I applied the first of two skim coats to the ceilings.

When skim coating, I usually apply two coats. However, I have had my doubts about the need for two skim coats, so I decided to try applying just one for the walls of the laundry room and large closet. I figured this was the place to try it because if I decide that two skim coats is the way to go, these rooms are where I can afford to learn that lesson. So here they are with just a single skim coat applied to the walls. The ceiling however, still gets two skims coats because of the heavy texture I had to cover.

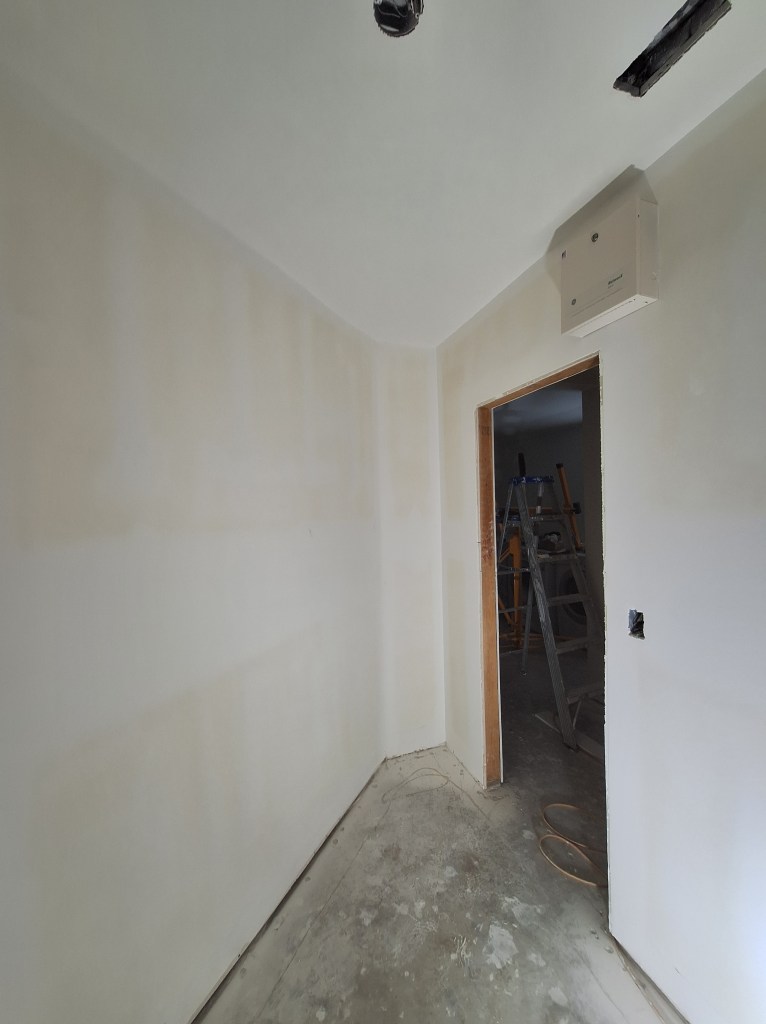
With just a single skim coat, you do not get the “almost painted” look. But the surfaces are smooth, so the coat of primer and two coats of paint will take care of the patchiness you see in the images. Here are the final results after two coats of paint to the walls and ceiling.
For the closet, I used the same paint on the walls as I used on the ceiling. It is a flat Behr ceiling paint. I’m very happy with the result. However, in future I will go back to applying two skim coats, especially over a painted surface. You need an inspection light to see, but when you skim a painted surface, it can leave very tiny air bubbles. This is because the water in the mud cannot be absorbed into the painted surface. As such, it’s only way out is in the other direction, resulting in tiny bubbles. These bubbles are not always apparent when skimming. It was not until the next day while priming that I noticed them. They are sufficiently insignificant that I decided not to address them, especially given that this is a closet and that the walls will probably be covered by cabinets some day, as mentioned previously.
For the laundry room, I applied two coats of Behr ceiling pain to the ceiling and two coats of Behr Dynasty White Palais with an egg shell sheen to the walls. It took several samples before I settled on the wall color, but I am very pleased with it. It’s actually what I was going for in the bedrooms, but I’m not going to go back and change them now.
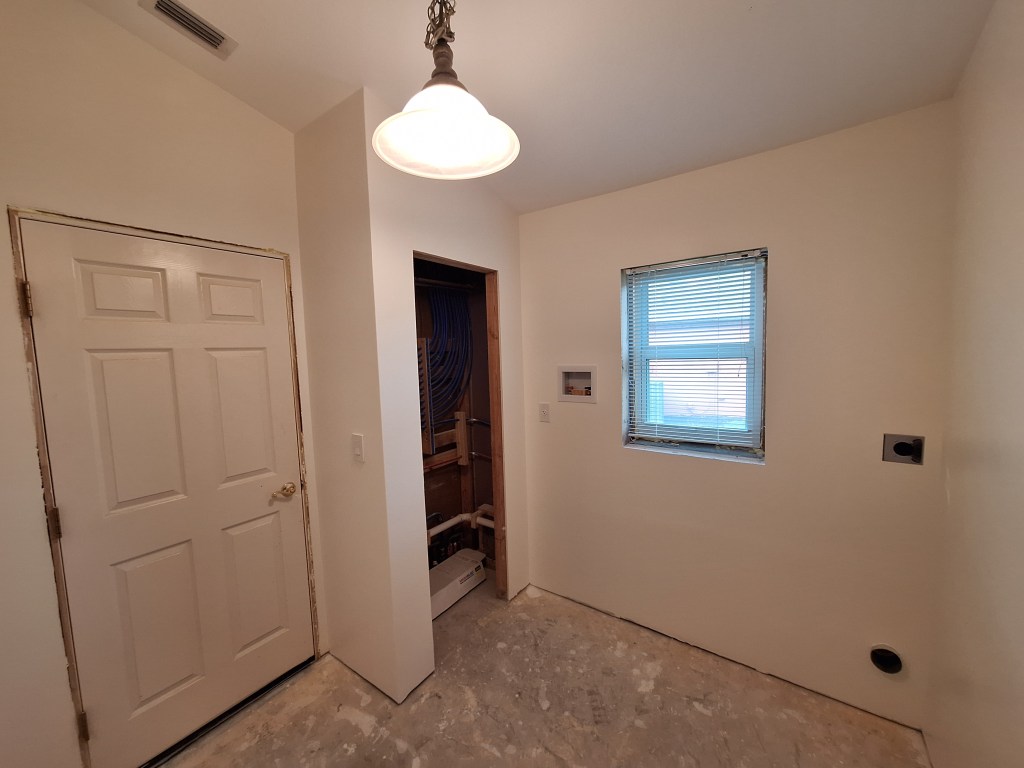
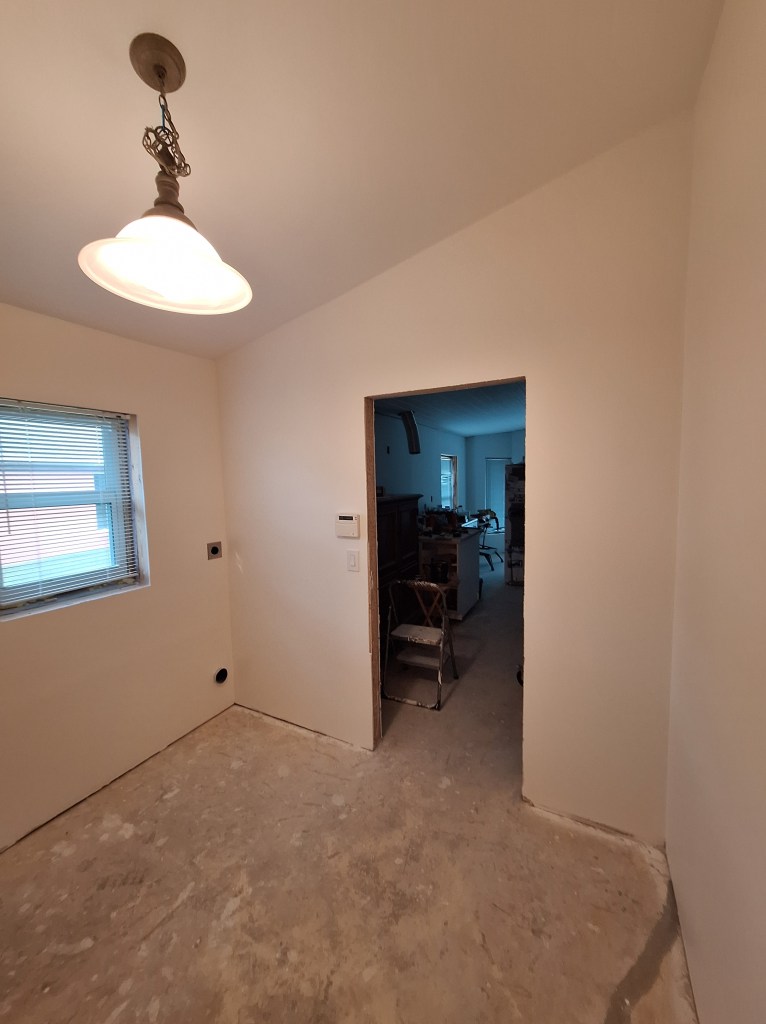
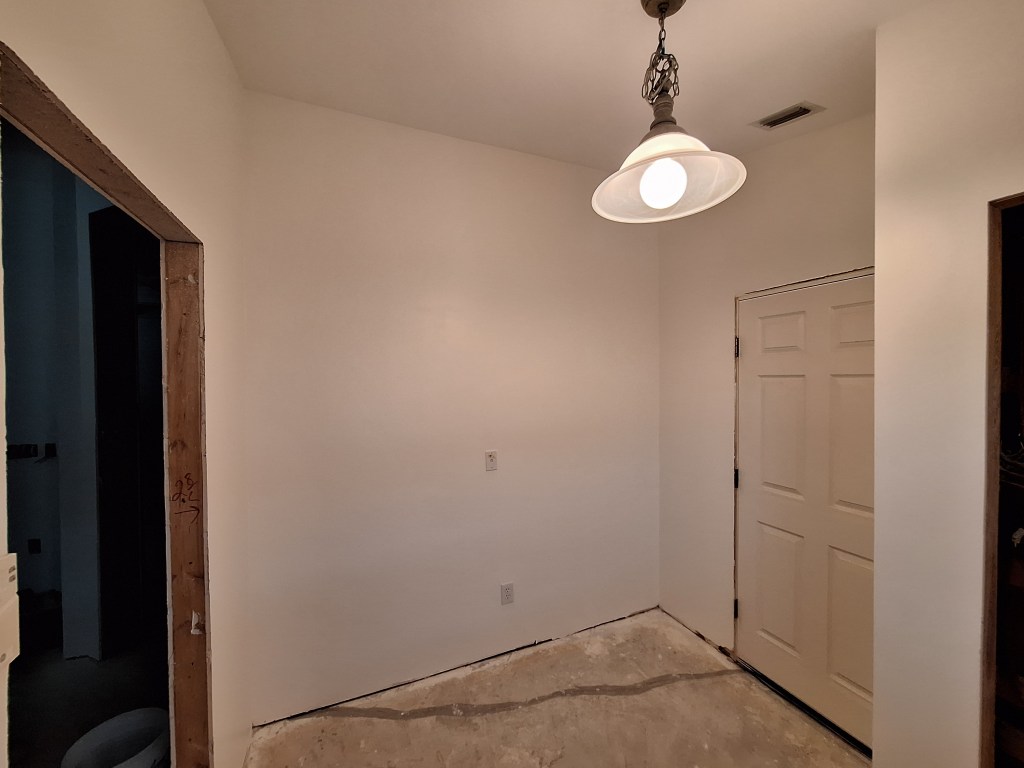
All the electrical outlets and switches are installed and working. The lamp you see installed is a temporary measure. I have another in mind, but haven’t quite found what I’m looking for yet. The lamp I installed used to hang above the kitchen table when the house was first built. This will be fine for now and I may hold off on replacing it until I’ve moved in. I also added spray foam around the door jam to the garage to prevent air flow. As the weather heats up, this will be helpful.
With the laundry room and large closet in the master bedroom done for now, I started work on the small closet in the master bedroom. This only required I removed the existing shelves and fill the holes before I could start coating the existing drywall.

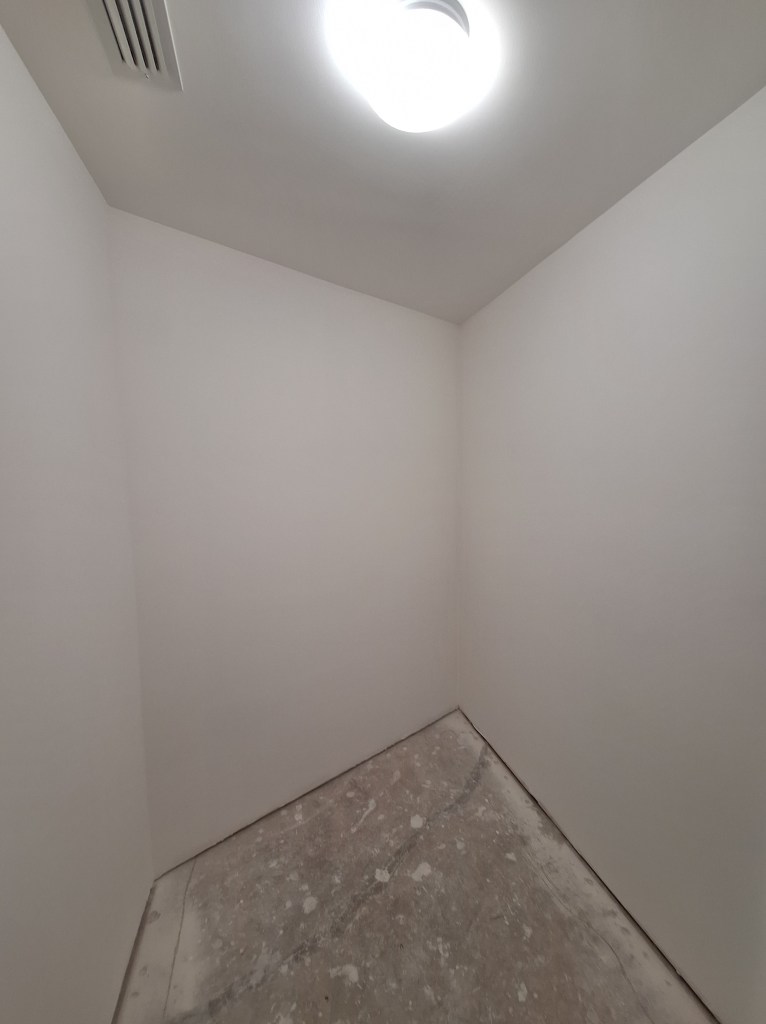
As usual, I applied a coat of all-purpose mud to the ceiling to cover the knock-down texture. After that I applied two skim coats to it and the walls to smooth them all out. With two skim coats, there were no tiny air bubbles to contend with. The surfaces looked great and were ready for two coats of the flat white ceiling paint (same as what I used in the large closet). It would make no sense to show a series of images capturing the progression because it would not come through. It would just look white at each stage. So here are a couple of shots of the closet after I applied two coats of paint and reinstalled the switch, light, and A/C grate.

I think it looks great. The funny thing is, no one other than me will appreciate it because who actually notices such things. Still, it pleases me.
The only drywall work I have remaining is in the guest bathroom, so I’m getting close to the end of the messy work. Since the only functioning bathroom I have at the moment is the guest bathroom, before I start to work on that, making it unavailable, I need to get the master bathroom functional. So that is my next order of business. That will be the subject of the next post.
