After taking a couple of weeks off for the holidays and requiring a few extra days to recover from a relatively mild case of COVID, I got back to work with the objective of turning my attention to finishing the drywall in the workshop. As mentioned in the previous post, this required that I do some house keeping, so to speak. I started this process before stopping for the holidays by adding a mobile base to the chest of drawers that will reside in that room. Continuing in that vein, I decided to create a mobile wood storage cart to hold the wood that I normally have leaning against the wall in the shop. This cart will be useful not only for general wood storage and organization, but once loaded, would help me move this material in and out of the shop more easily as I work on the room.
One of my objectives when building the cart, was to use as much existing scrap material as I could. Since I re-framed many of the exterior walls of the house, I pulled down a lot of pressure treated furring strips, which were just taking up space in the house. I also had, and still have, many off-cuts and other bits and pieces I hoped to make use of in this build.
I began by gluing several of the pressure treated furring strips together to form the structural elements of the mobile base frame. You can see in the image below that each of the frame members are made up of two furring strips glued and screwed together.
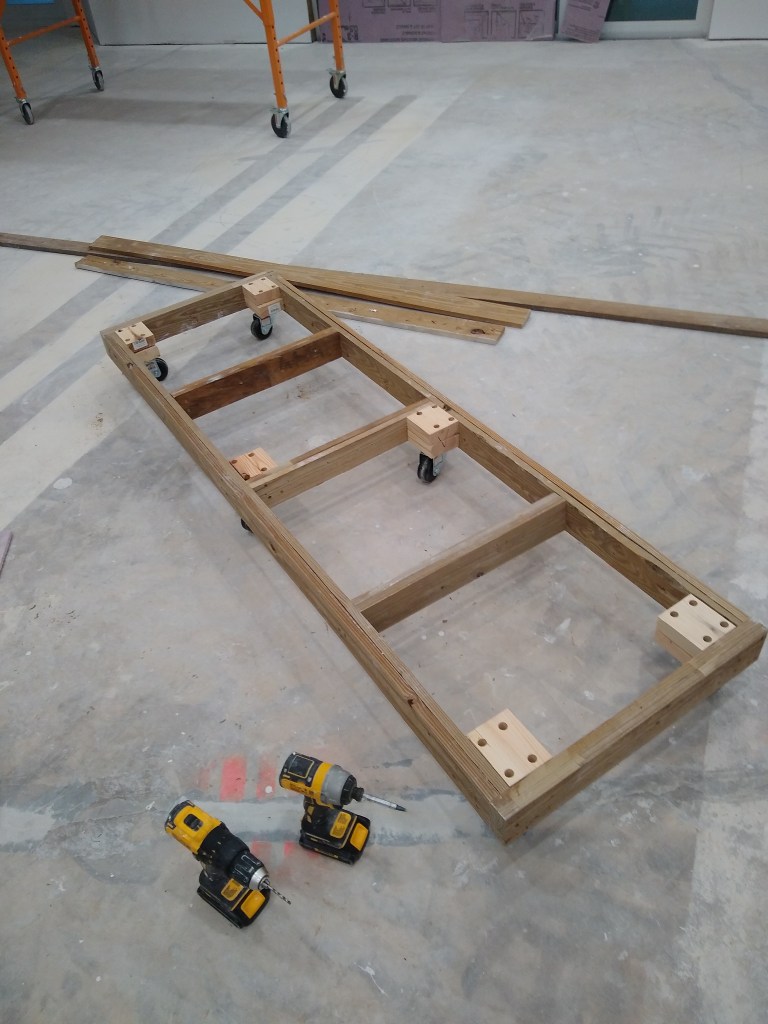
I also used twelve 2×4 off-cuts to serve as blocks to which the castors were attached (2 blocks per castor). Since this cart will hold a very heavy load, I attached the castors using nuts and bolts instead of just screws. I originally just put four castors at the corners, but decided to add two more in the middle to alleviate any concerns I had about the strength of the span. The cart base is 78″ long and 24″ wide, so I thought a little more support along the length was probably a good idea.
I then used a lot more of the pressure treated furring strips to make up the deck of the mobile base. Here are a couple of shots of that.

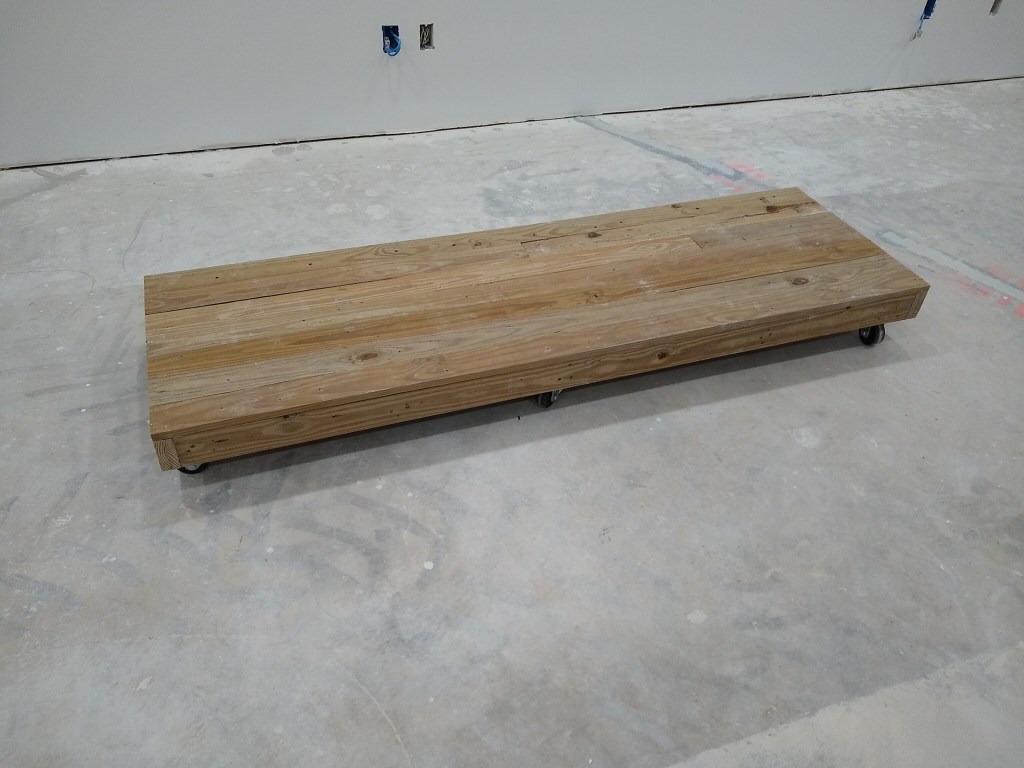
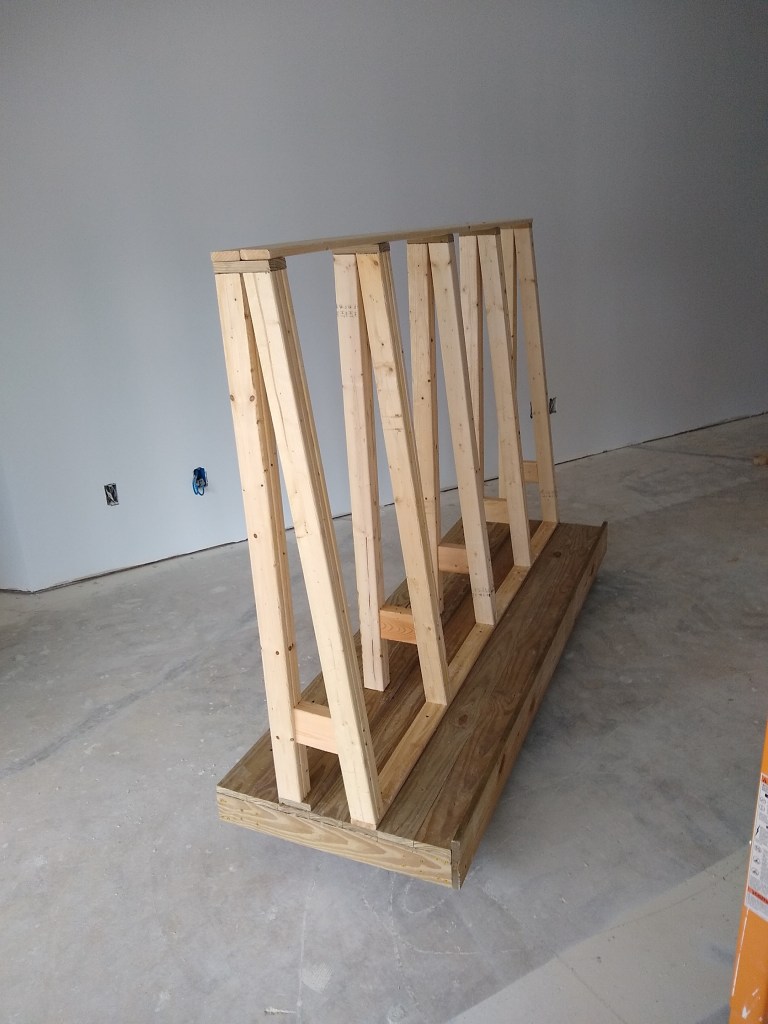
That is one solid base, and I loved that I was able to use so many of the furring strip for it. Next I turned my attention to the upper part of the cart. This cart will hold both sheet goods and smaller pieces that will go in individual bins. To accommodate this, I built a series of A-Frame structures. One side will be at 90 degrees to the base, and the other will be tilted by 6 degrees so the sheet goods can lean against it.
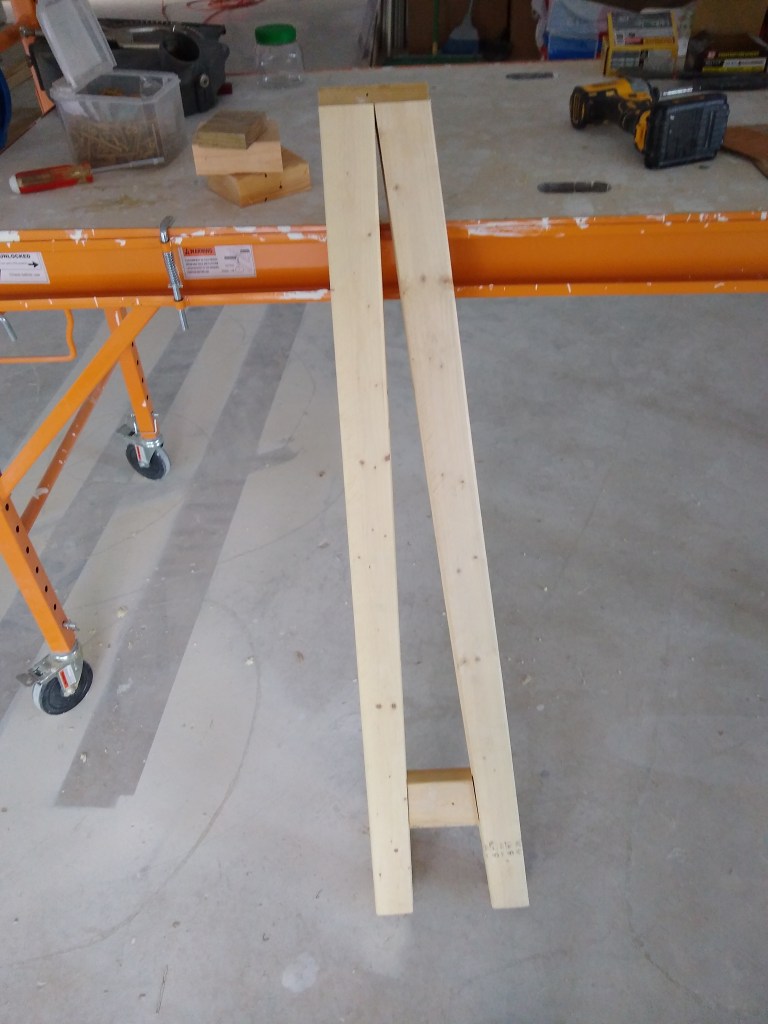
Normally one would build the A-Frames using 2x4s or some other type of structural lumber. However, I had three bundles of six 8′ long furring strips sitting around with no intended use. I bought them long ago with a use in mind, but plans changed. I had them far too long to return to the place I bought them, so I decided to cut them to length and glue three together to form the structural members of the A-Frames. They are not pressure treated, so the color of the wood is much lighter. I was also able to use more of my 2×4 off-cuts as support pieces between them. In total, I built five A-Frames.
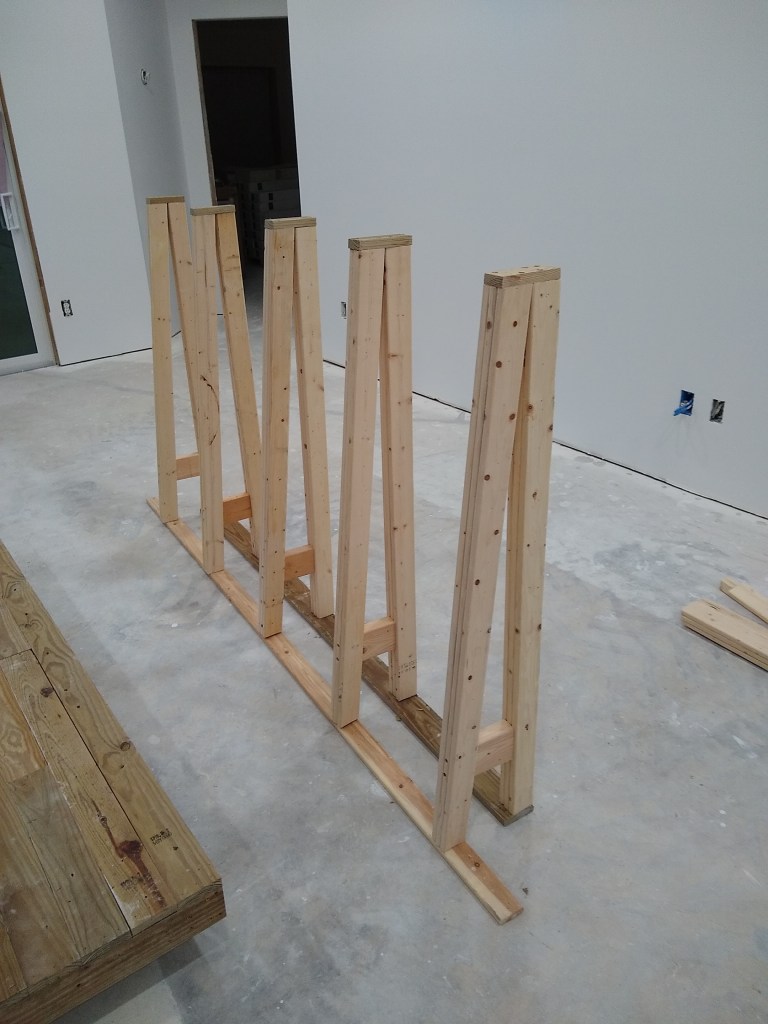

You can see that I’ve added a cap to the top of each A-Frame, and they are attached to strips at the bottom, which will be screwed to the mobile base. The lighter colored strip in the images above is not yet attached, which is why it is too long. I had only one pressure treated furring strip left that was long enough for this purpose, so in the images above, I was just trying out using one of the other (non-pressure treated) furring strips to see if it would do. I did!
I added a couple more furring strips to the top of the A-Frames to tie them together, then mounted the structure to the mobile base. Very solid!
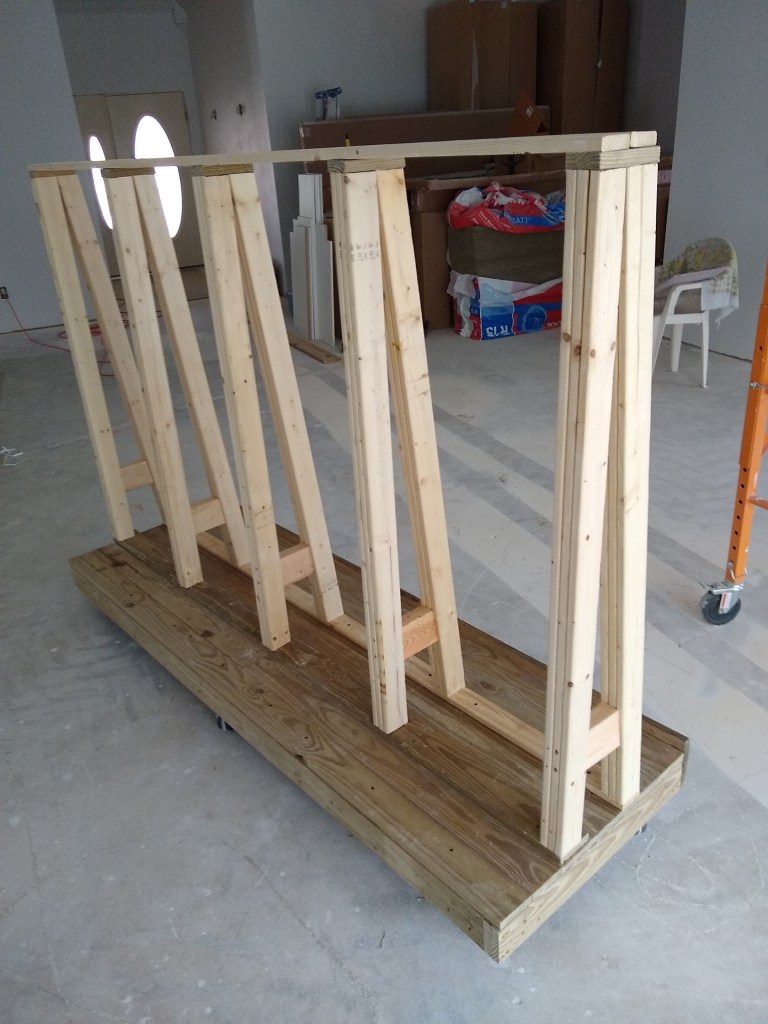
I also added another board to the front of the cart base that sticks up a bit. This is on the angled side where sheet goods will go. This “lip” prevents them from sliding off the front of the card. The other side of the cart will have bins, as mentioned earlier.
I built the bins using a number of particle board shelves that were left behind by my previous renters. I found them in the attic space above the garage. They were perfectly good, so I knew I’d find a use for them eventually. I used them for the base of each bin and for the sides. The sides of each bin were attached to the bottom boards using dowels.
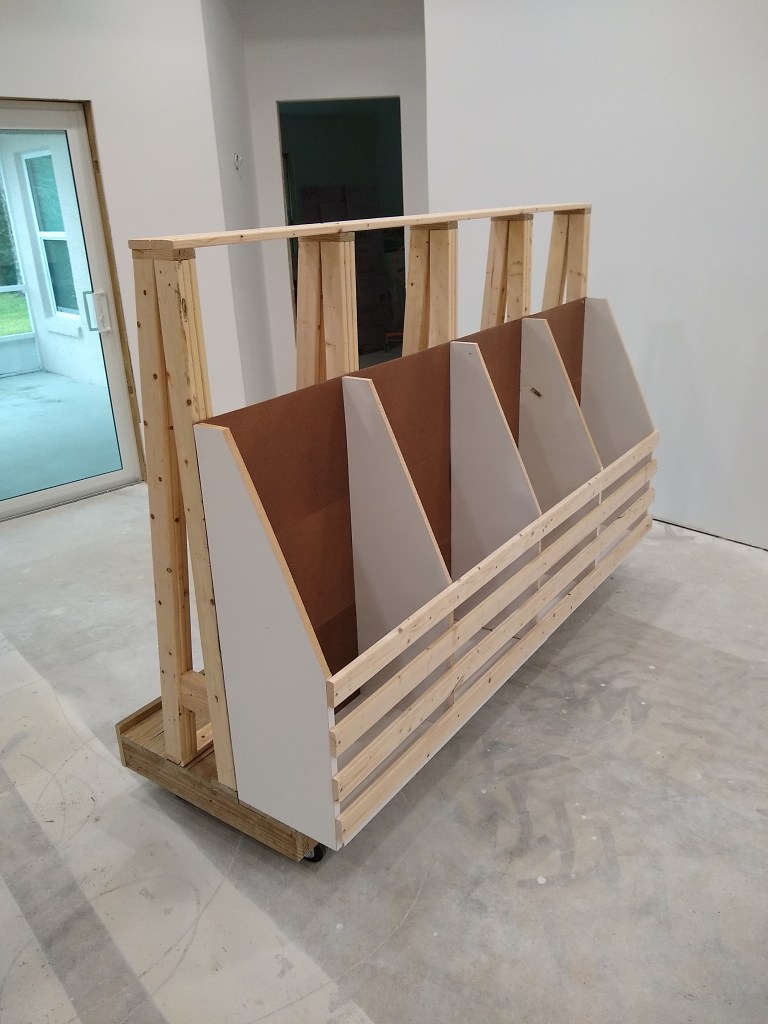
The only material I had to purchase was the brown backer board at the back of the bins. Since I didn’t have a vehicle large enough to transport the full 8’x4′ sheet, I had them cut it into four 1′ wide pieces, which I could get into my vehicle. That made it easier to attach to the back of the bins, but did leave a few tiny gaps, as you can see in the image above. I was not concerned about that. For the front of the bins I used the remaining long runs of furring strips I had. This was something I came up with at the end of the build. I originally entertained getting some Plexiglas so that I could see into the bins from the front, but that stuff was shockingly expensive. So when it dawned on me to create a sort of fence using the remaining unused furring strips that were sitting next to the cart, I was very pleased. It made use of existing material and provided the visibility into the bins that I was after.
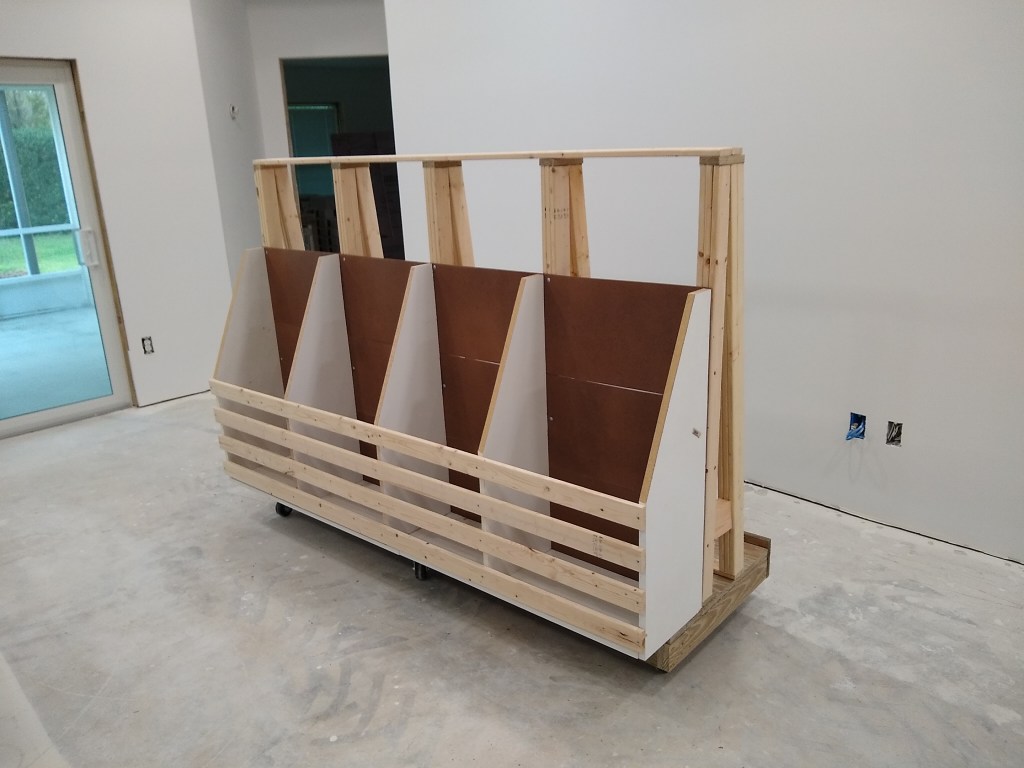
Also notice that the bins extend a bit beyond the base of the cart. I did this simply because it made sense to use the entire width of the shelving stock I had rather than cut it to align with the edge of the cart base. The bins are securely fastened to the base and the A-Frames, so there is no danger of them falling off, and it gives me a little extra storage capacity. Here are a couple of pictures of the cart loaded up.
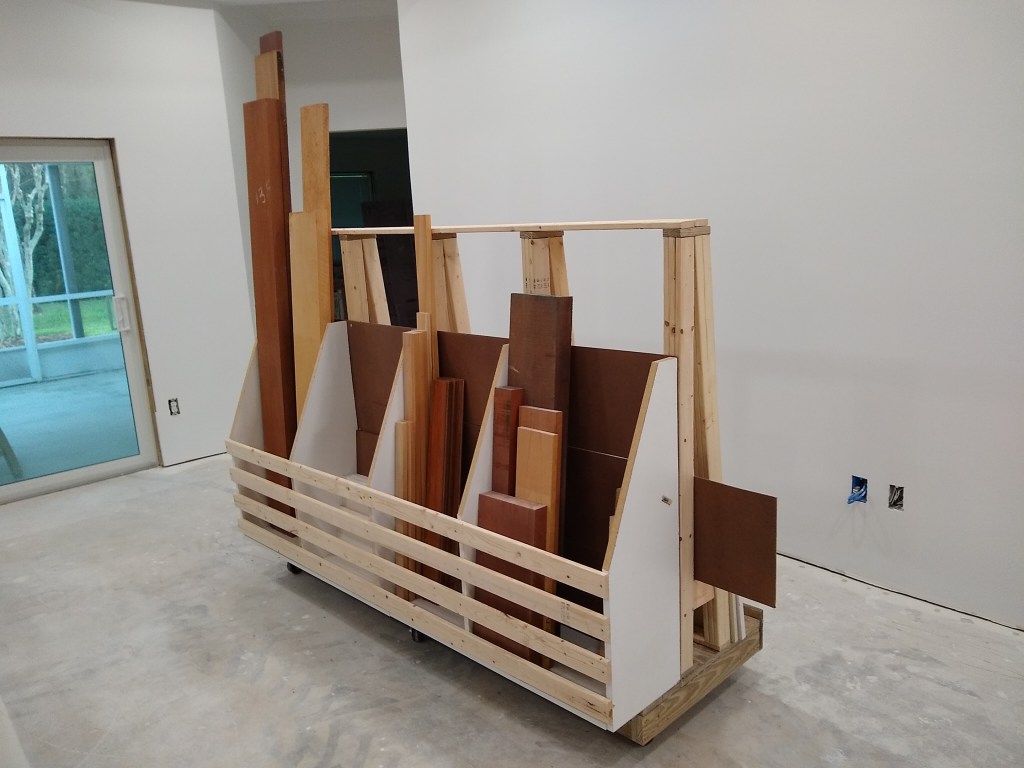
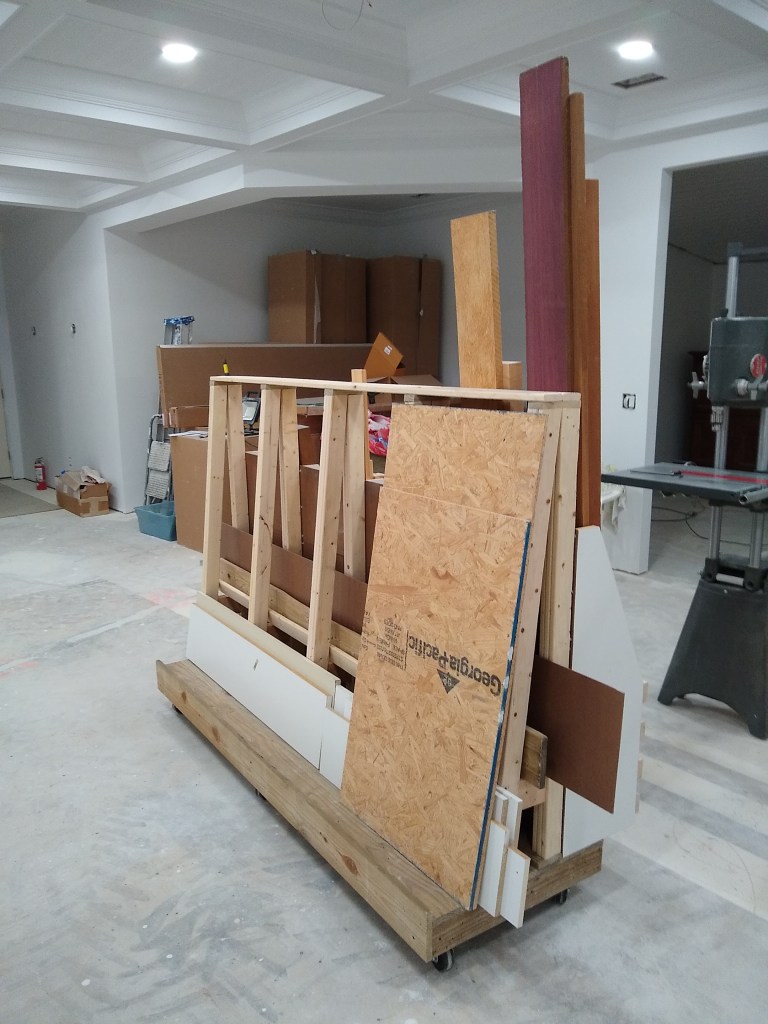
The loaded cart is very stable and moves well, albeit with some effort given the load. I look forward to loading it up even more as needed.
I wheeled the cart into the workshop and put it against the wall in front of the workbench. I felt it took up too much space in the room, so I will not be locating this cart in the workshop. Instead it will go in the garage where I have my woodworking machines. I’ll build a much smaller one that is better suited to the indoor workshop. It too will be on a mobile base, but it’ll probably just have series of bins for storing smaller pieces of stock. This makes sense, because I can only work on the relatively small pieces within the house. It’ll be in the garage where I break down the larger pieces that can be worked on indoors. But I’ll probably get to that project after I’ve moved in.
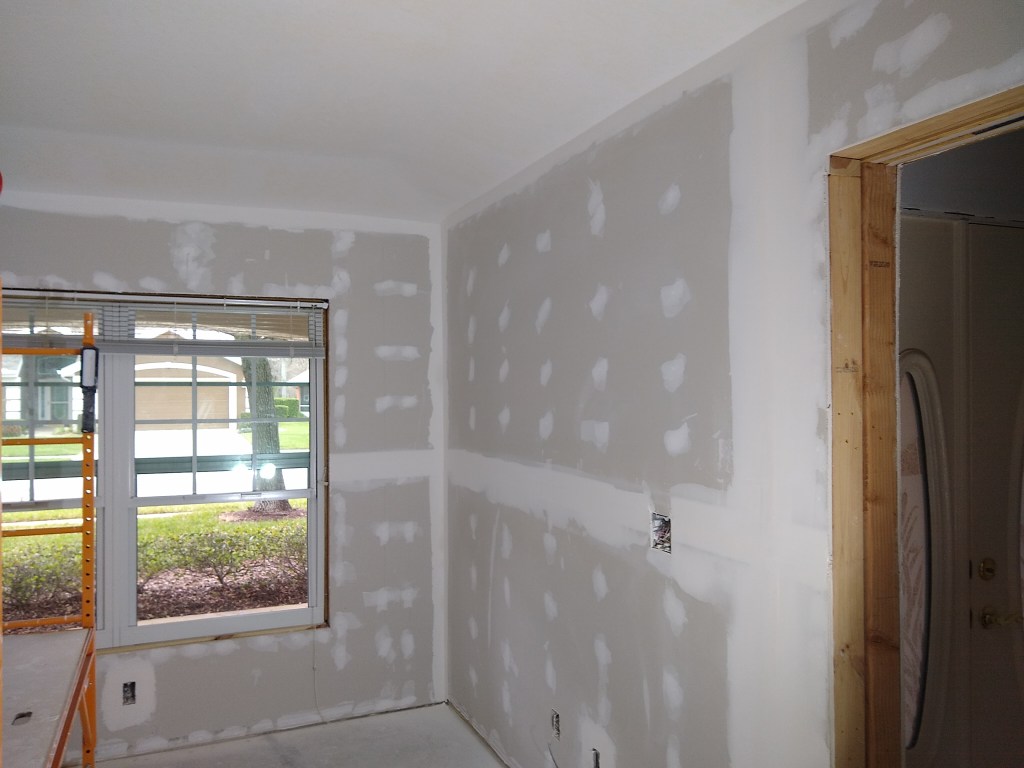
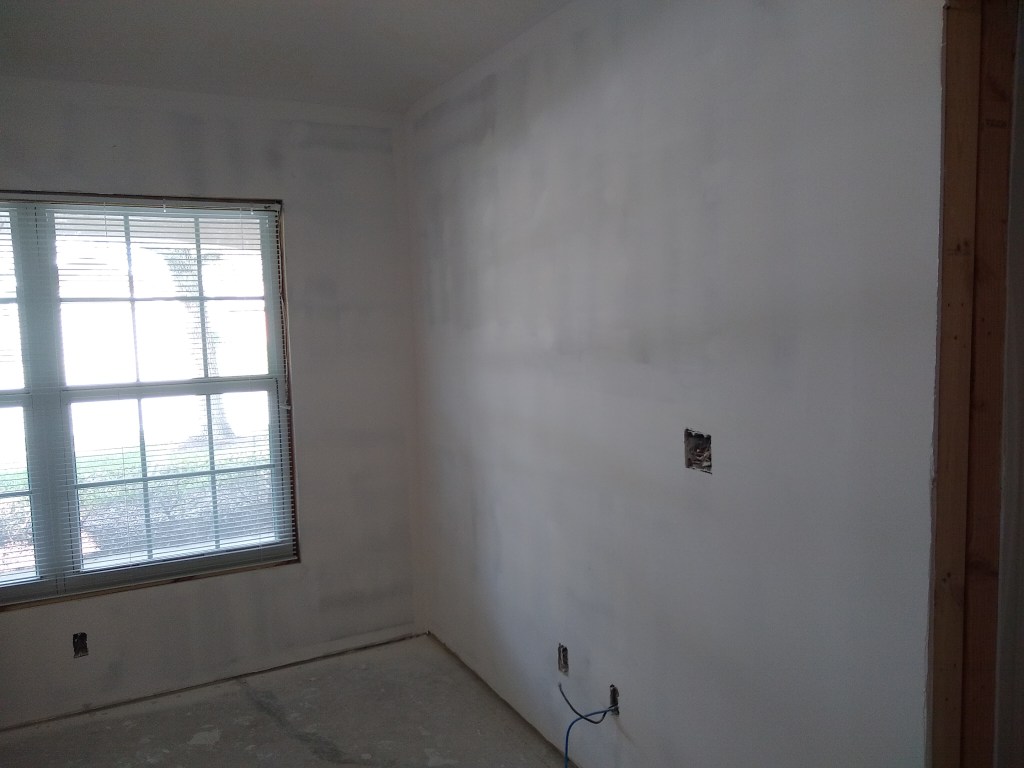
With that little side project out of the way, it was time to empty out the workshop and prepare for finishing the drywall. The first thing I did once the room was emptied, was to add some more screws to some of the drywall, just to make sure they were well supported. I then scheduled an inspection. It took a couple of days for the inspection to happen because one of the days was a holiday and the day after was fully booked, so I used that time to do some more housekeeping and reorganizing.
The inspection went without issue, so I immediately got busy prefilling. I used 90 minute hot mud for this stage.

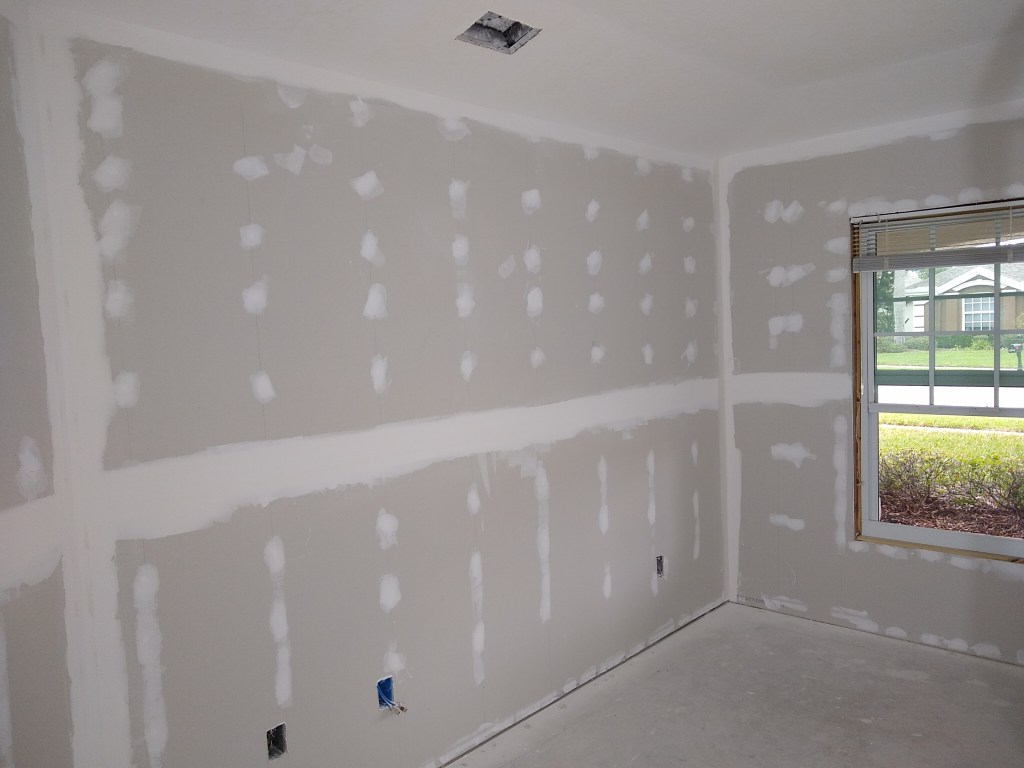
I usually hit the screw heads with their first covering using the hot mud I use during prefill. After prefill, I go over the areas I filled and roughly scrape them or even do a rough sanding, just to make sure the area is flat enough to not interfere with taping. After that, I tape the joints using all-purpose mud.

After taping I used the all-purpose mud to hit the screw heads a second time. Following the taping, I did another light sanding/scraping to knock down any high bit before applying the first cover coating over the tape. I used Plus-3, a lightweight mud, for that because it sands so nicely. I hit the screw heads for the third time, also with the Plus-3.
I got a bit carried away that day and also applied the first cover coating to the ceiling to cover up the knock-down texture. For that I went back to the all-purpose mud because it is a heavier mud, containing more adhesive. It was a long day.
After some prep work (sanding and/or scraping) on the first cover coat, the second cover coat followed. Here, the intent is to widen the coverage to flatten the joints.
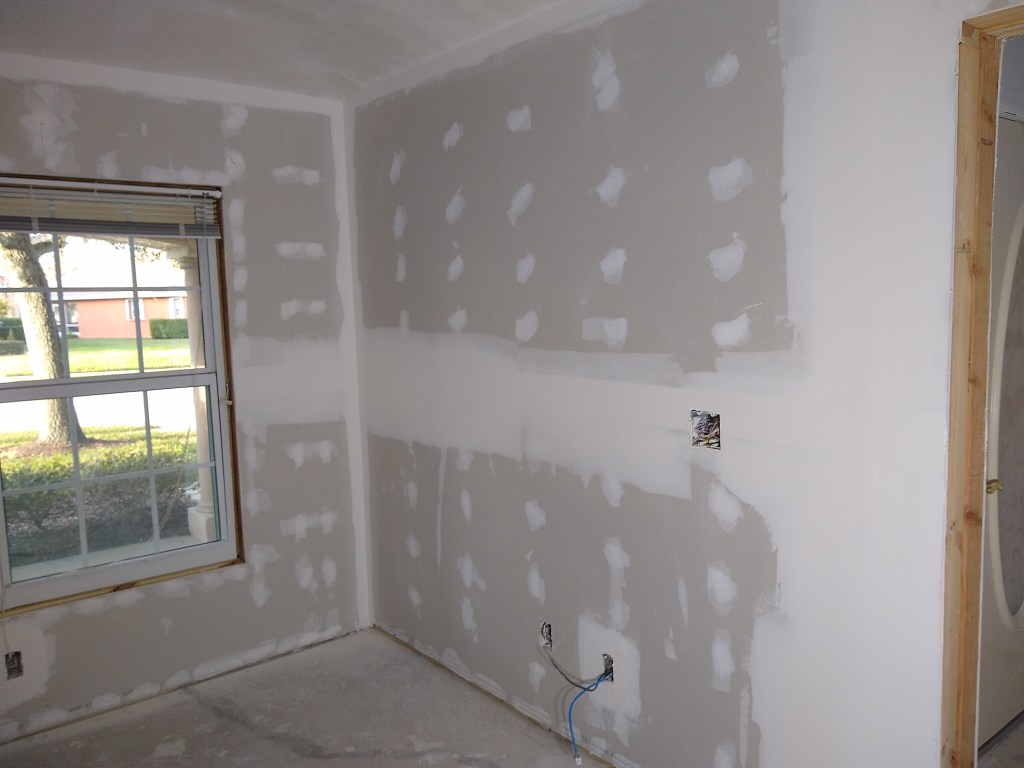

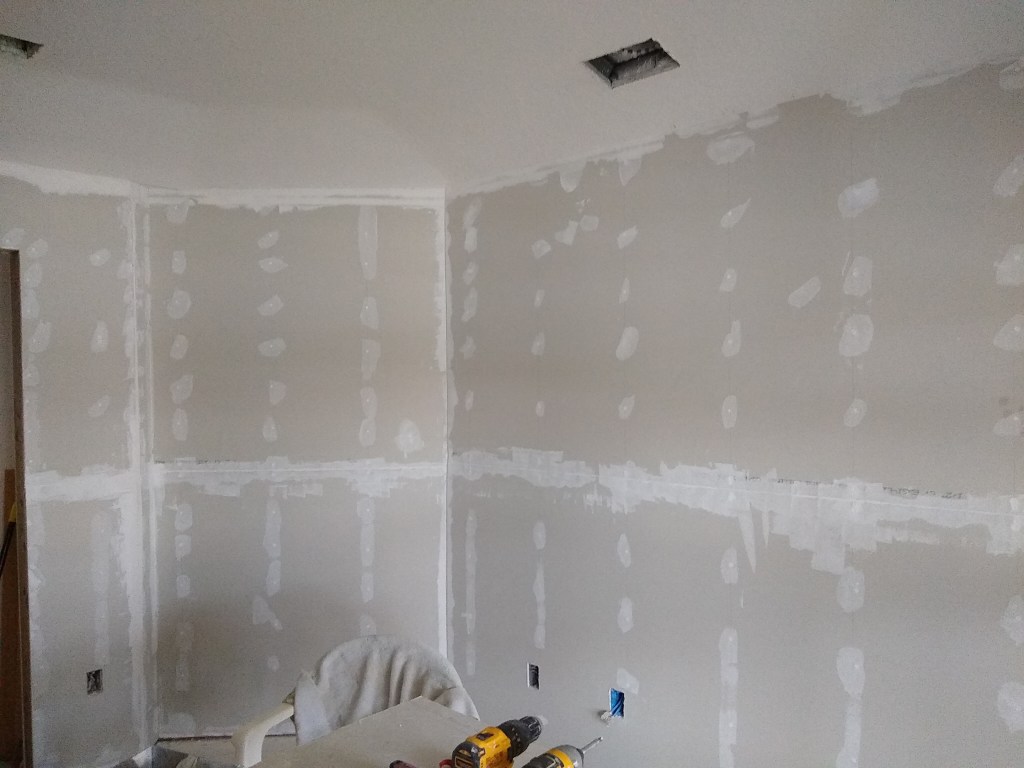
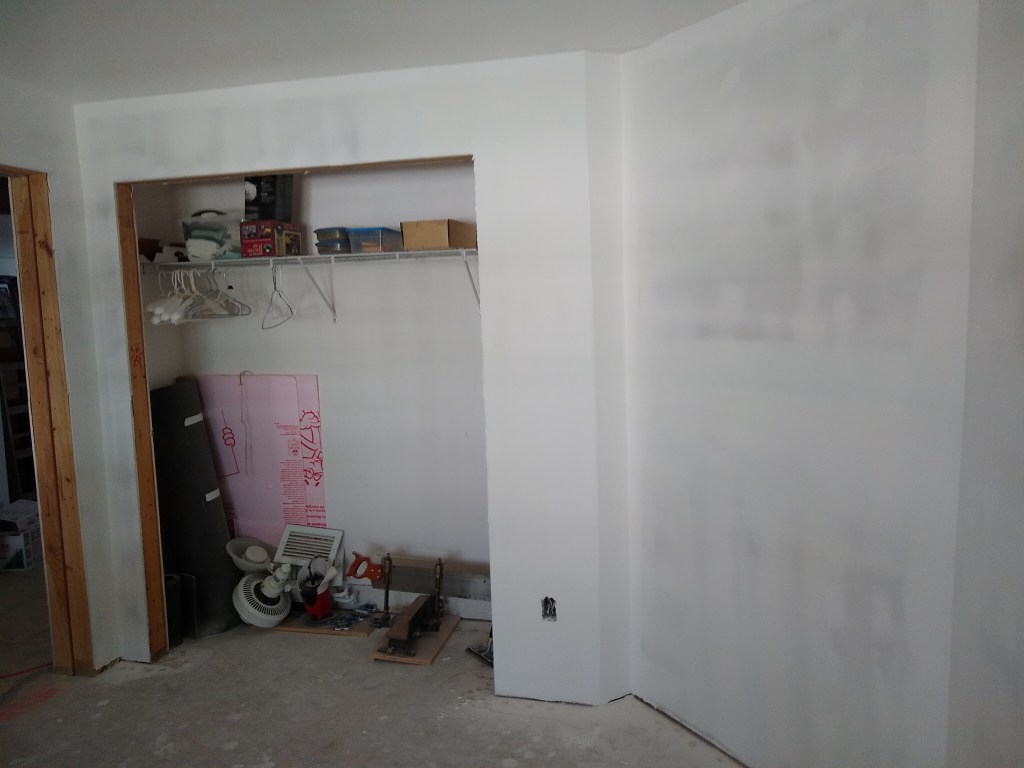
I had a bit of extra work to do on the section of wall between the closet and the angled wall. The drywall was not well aligned so it required some fill to flatten it out. This was done in stages. I starting filling the area before taping. That required a couple of applications of hot mud. Once it was at a decent level, I applied the corner bead and continued to build it up from there using light weight topping mud (the same as I use to cover the tape). In the image above, it is looking pretty good and ready for skim coating.
This room was one of the first rooms in which I hung drywall, so I was not very experienced. Consequently, the repair work I just mentioned could have been avoided if I knew then what I know now. It really is worth the effort to adjust the framing as needed before hanging drywall to ensure they meet up properly.
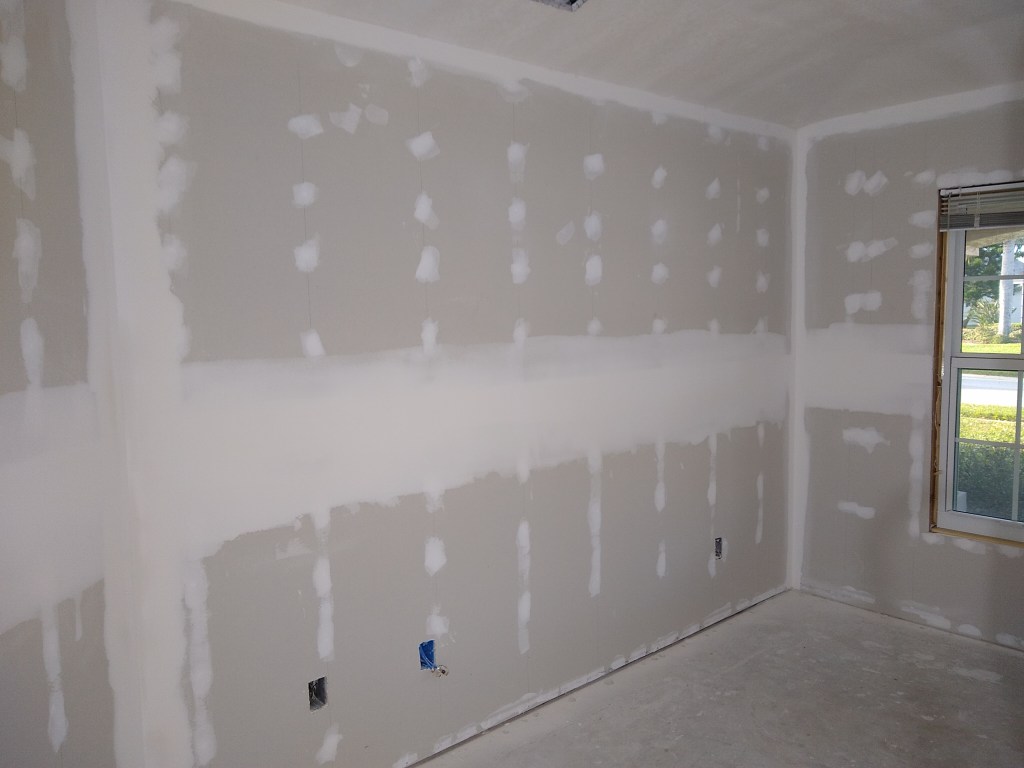
Before starting the first skim coat, a more deliberate prep is required. The sanding at this stage is not trivial and I pay attention to where the edges of the mud meets the bare drywall. I want the transition to be smooth. Once done with the prep work, the room could be primed/painted. However, as always, I choose to apply two skim coats to get a consistent texture. Without skim coating, and depending on the paint you use and the lighting, it is possible to see a textural difference between the areas of the wall that have mud and those that do not. The first skim coat was applied to both the ceiling and walls.

After the first skim coat, I devoted a significant amount of time to hand sanding all surfaces (walls and ceiling). This was not a fun job, but doing it makes the second skim coating easier.
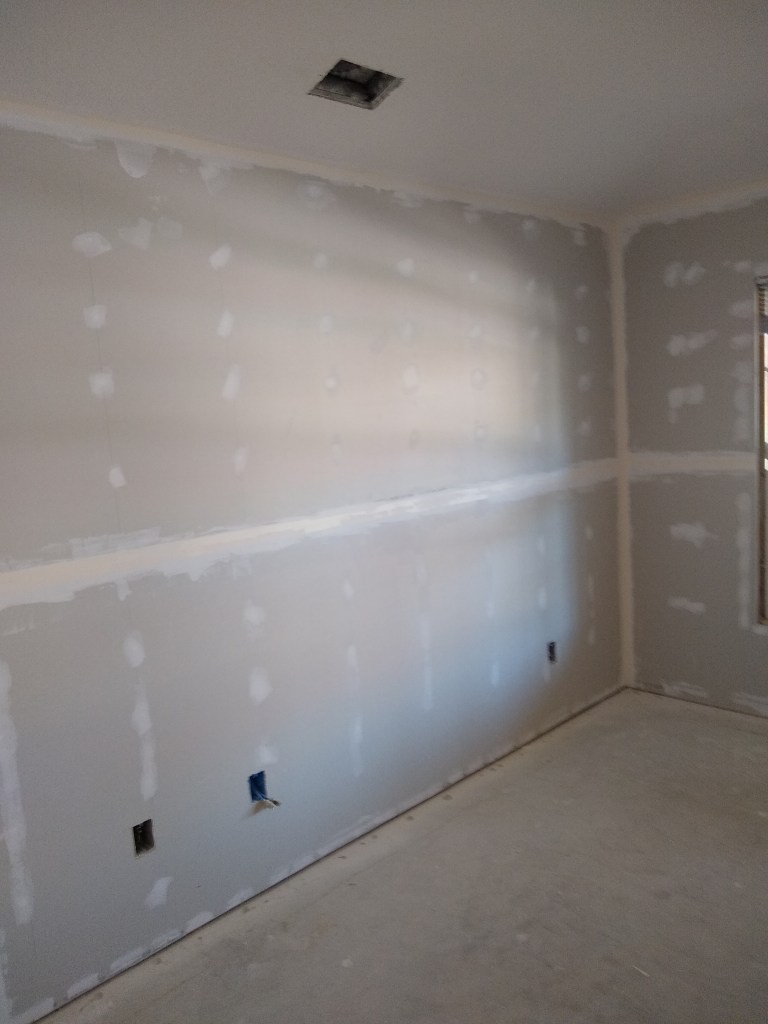
The second (final) skim coat was then applied; again, to both ceiling and walls. Following that, I did another round of hand sanding. This is where it really counts. While doing this I used a hand held inspection light make sure I could see all irregularities. It is very laborious and confounded by the need to wear a respirator with a full face mask. Fortunately, I had favorable weather and could open the windows to allow a breeze through. The lower temperatures also made wearing the respirator gear far more tolerable. However, the tight mask left creases in my face that remained evident for some time.
Notice how after a second skim coating, it almost looks like it’s painted. Consequently, the images of the primed surfaces show very little difference, so I am not including them.
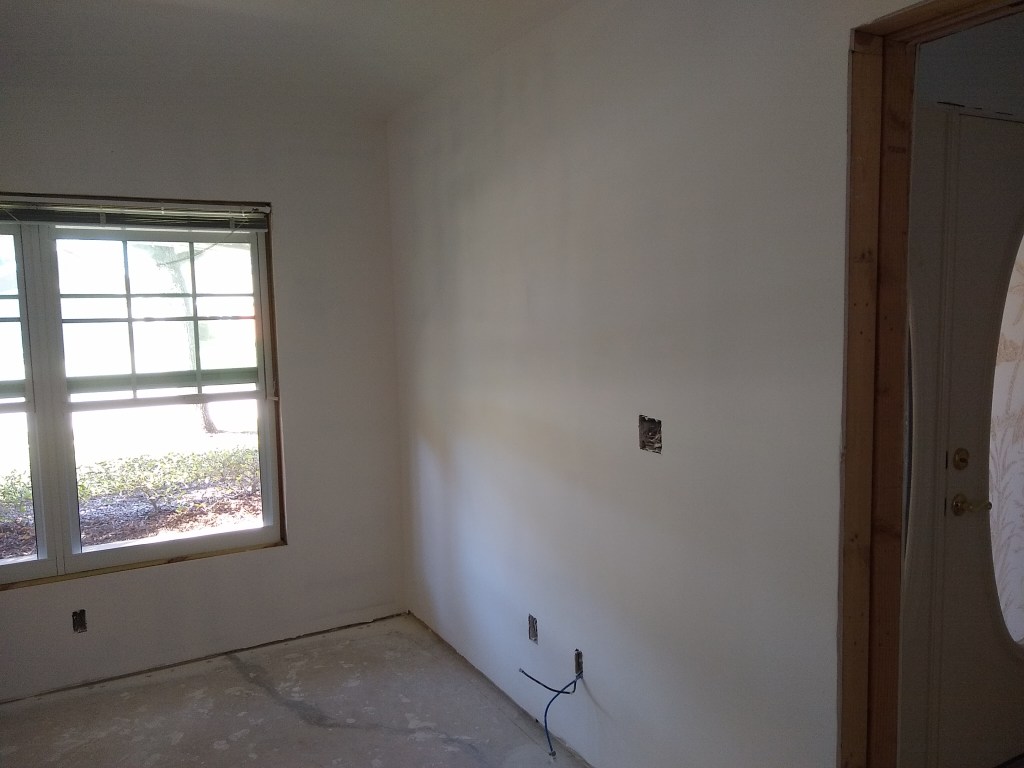
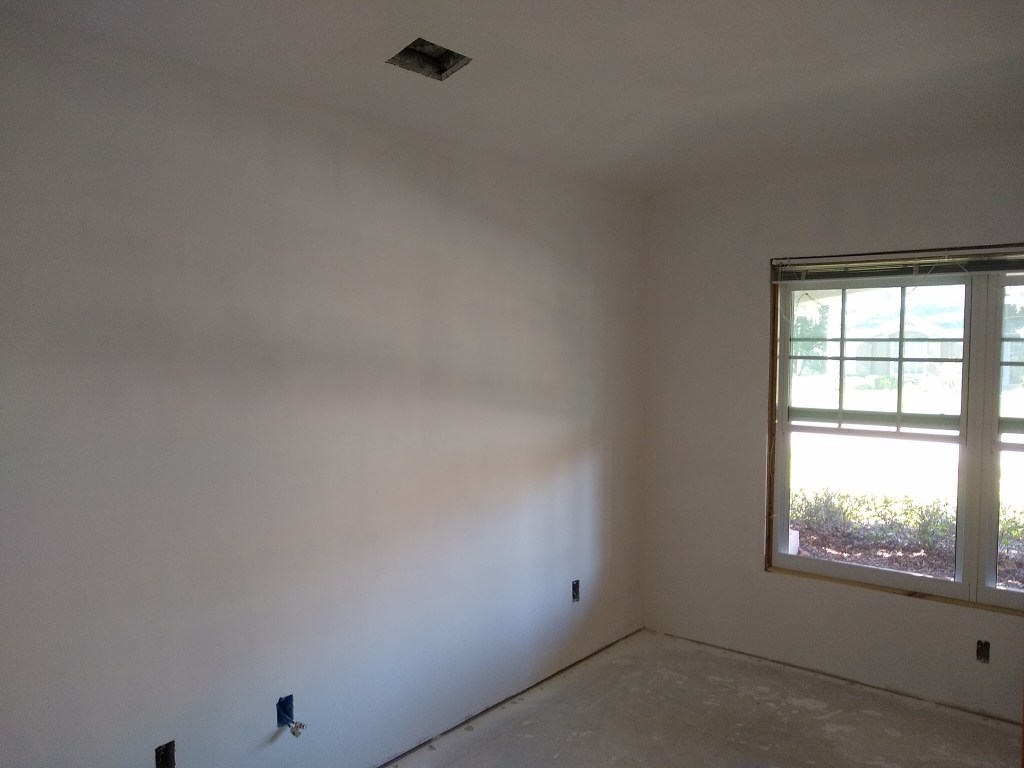

After priming the ceiling and walls, I applied two coats of white ceiling paint (flat sheen) to the ceiling (of course!). After that I applied two coats of paint to the walls. I selected a slightly off white color. I thought of painting the walls white, just like the ceiling, because this room will be a wood workshop, so I want it to be bright, but I wanted there to be some difference between the walls and ceiling, so I opted for Sherwin-Williams 7004 Snowbound with a low luster sheen. It was a bit closer to white than I originally expected, but that’s fine. Here is the result.


The images of the painted room where taken with my new phone. I think the image quality is better. It also has a wide angle camera that my previous phone did not, so from now on I will make use of it.
Notice that the images were taken after I installed the switches, outlets (all but one), light, and A/C grates. The one outlet box I did not hook up contains the cable wire and an Ethernet cable. I’ll get to that much later when I’m ready to get online – many moons from now. I decided to reinstall the light/fan that was previously installed. It’s actually quite nice. I’ll probably do that to the other rooms. It is relatively easy to swap them out for a different style, and this can be done when I’m living there. The breaker for this room has been switched on, so I can now use the light and outlets.
I’ve since moved the workshop furniture back into the room where it will be of use. It’ll all have to be removed again when the flooring goes down, but that won’t be for some time. Also, I need to make room for the stuff I’ll be removing from the next room I tackle, which will be the adjacent bedroom I will be using as an office. That will be the focus of the next post.
