Having completed the long process of preparing the drywall in the kitchen, great room, and adjoining areas for priming, I was ready to put up crown molding in the foyer and entrance to master bedroom. Crown will also be added in the kitchen, but that will be done sometime down the road. The crown in the foyer and entrance to master matches that used in the coffered ceiling (the crown in the kitchen would not be so large). I started with the foyer.
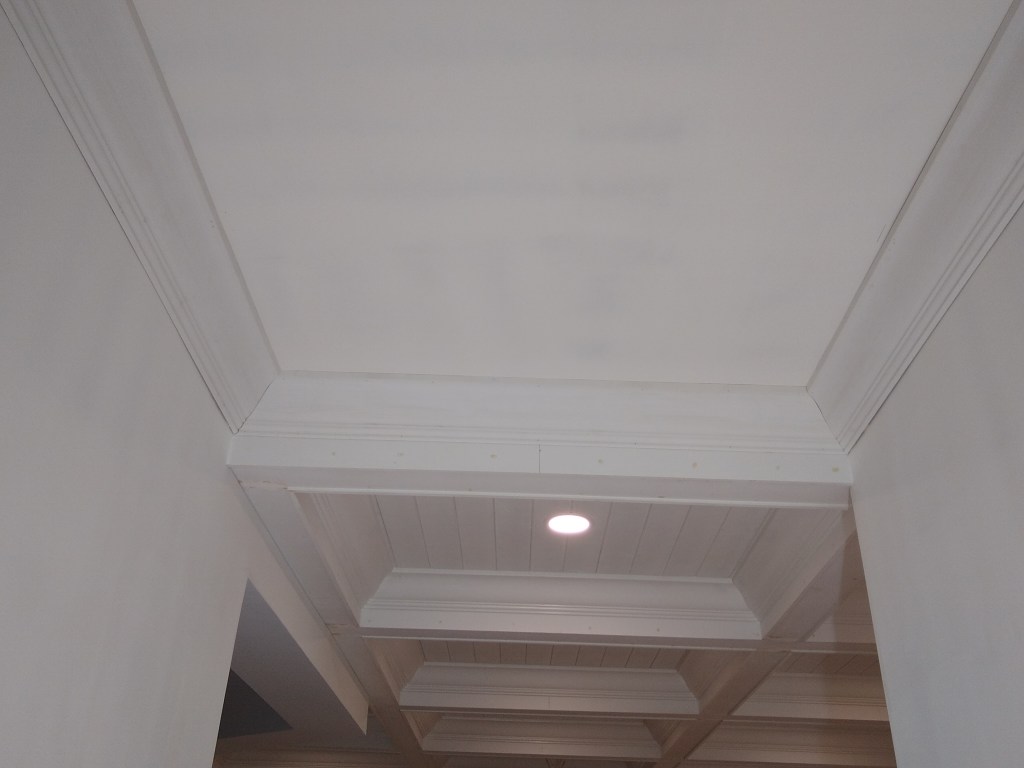
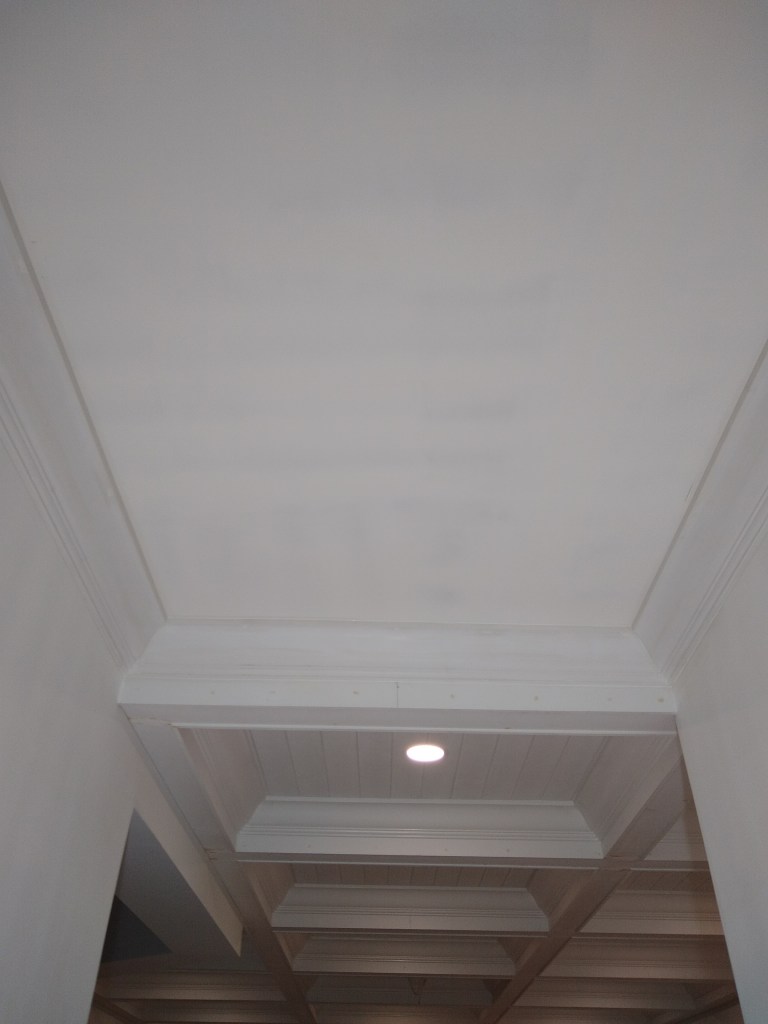
What I thought was going to be a relatively simple task turned into a much longer one. It started out well enough. I ran my first piece along the wall above where the sconces will be (left wall in image below). I then put up the shorter piece facing the great room, followed by the next long span that ends at the front door. When I was installing that piece, it didn’t quite line up with my marks on the wall and ceiling. Here is the crown after three runs were fastened (before filling gaps), viewed from the front door.
The image below shows the span of crown on the left side as you face the front door and where it misses the marks on the wall. It was also taken after I decided how to remedy the problem that ensued, which is why you see the blocking at the end (discussed in a moment).

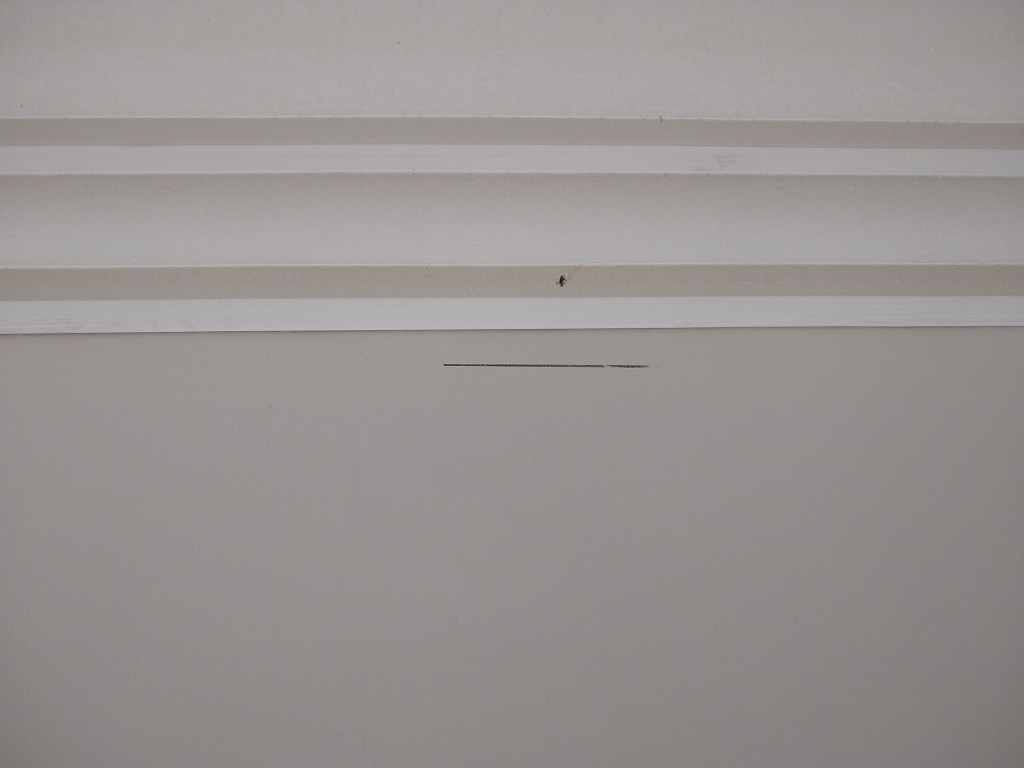
I was happy with how it fit against the adjoining piece, but to get it to hit my marks on the wall would have pulled it way off the ceiling. So I pushed it into place where it wanted to go, leaving a half inch short of my wall mark, and a half inch long of my ceiling mark. But it looked good in this position, so I secured it. Something about the wall/ceiling along this span must have been off.
When I started on the final piece above the front door, it proved to be a real issue. I eventually realized that by missing my marks on the wall and ceiling, I’d changed the spring angle for the crown in that corner. Consequently, I had a spring angle of 45 degrees in the corner where I started (as it should be), and something around 50 degrees in the other corner. So I had to cut one end of the crown the usual way, and mess around with the saw to try and find a combination of settings that would give me a good fit on the other end. After too many attempts I quit for the day without success.
That night I decided to do something different. I was not convinced that I would be able to fit a piece of crown to pieces with differing spring angles, so I decided to introduce corner blocks in those two corners. Corner blocks would allow me to simply cut the crown at 90 degrees and butt it up against the corner blocks, thereby avoiding any need to align it with the neighboring piece of crown.
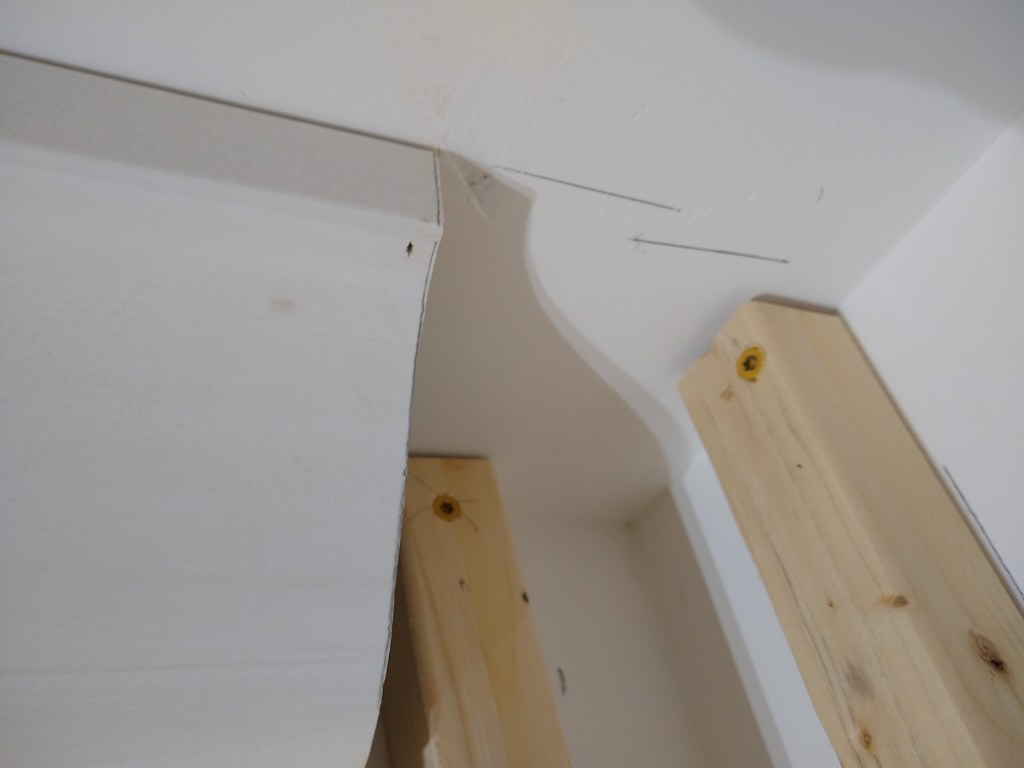
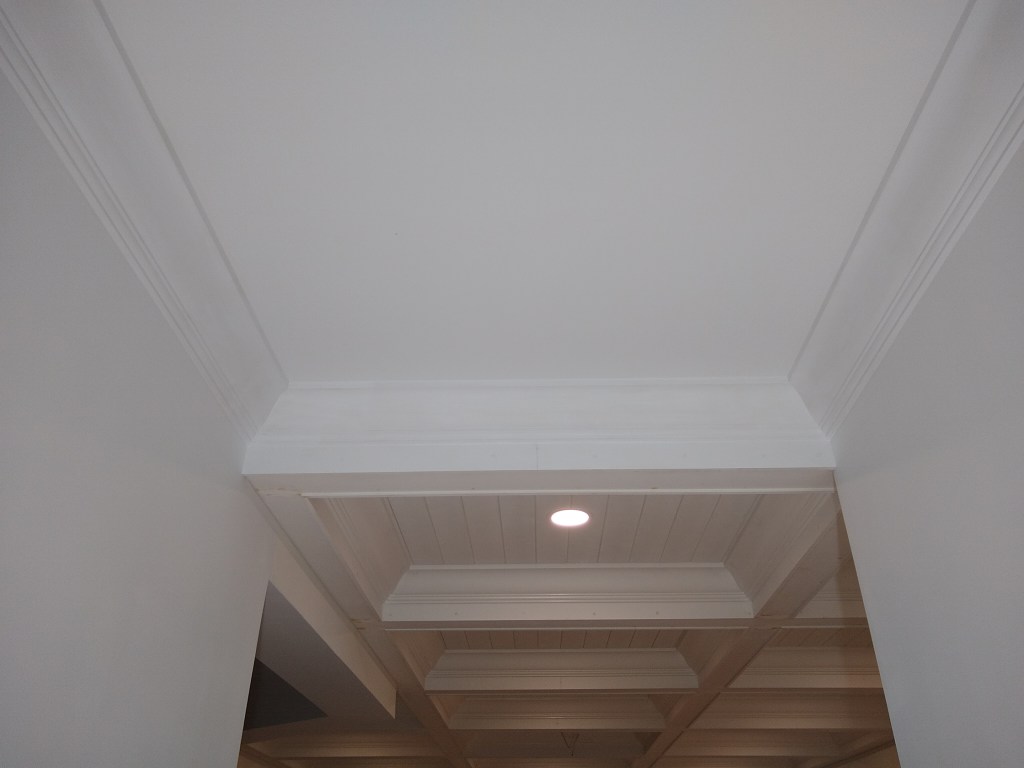
To prepare for this, I had to cut of the mitered end, making it straight, and install some blocking to fasten the corner block to. In the image below you can see both of these things. Also notice the pencil marks on the ceiling showing the difference from where I originally expected the crown to be and where it ended up. The distance between those two lines is approximately 1/2″.
Of course I had to make the corner blocks too. Here is one of them.

Creating this took some fiddling, but I managed it and it installed nicely. I started with the right corner as you face the from door. A pretty good fit, with just some minor gaps to fill.

With both corner blocks installed, it was relatively easy to fit the final piece of crown between them.
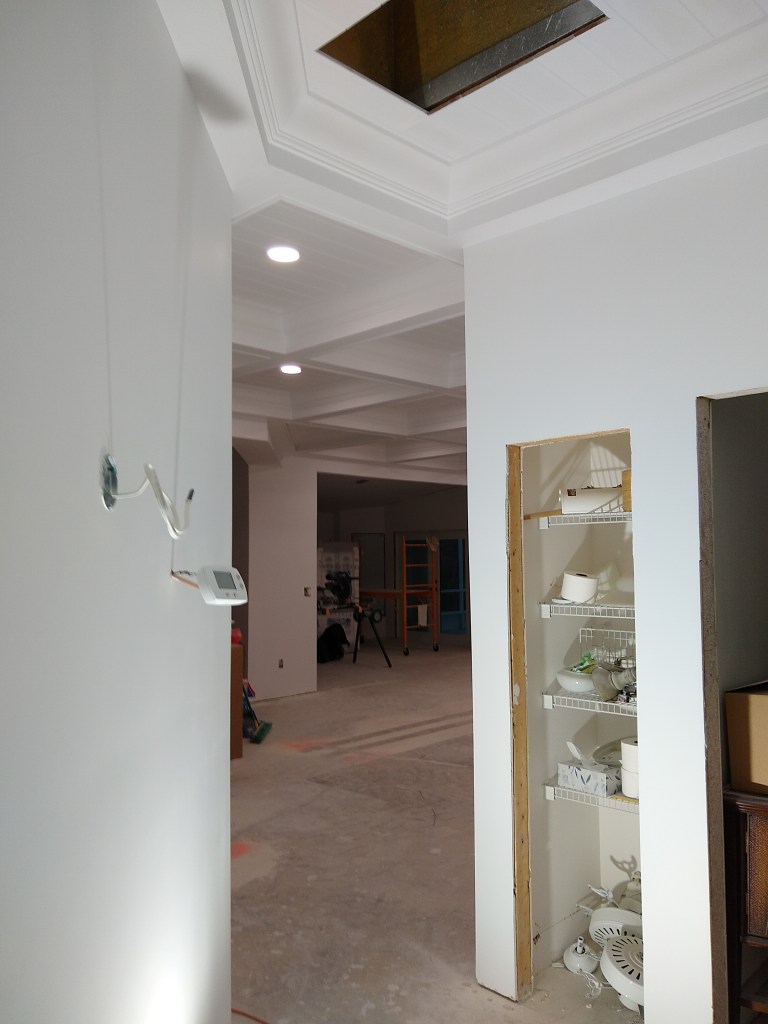
Here are some pics after I did the prep work for painting.

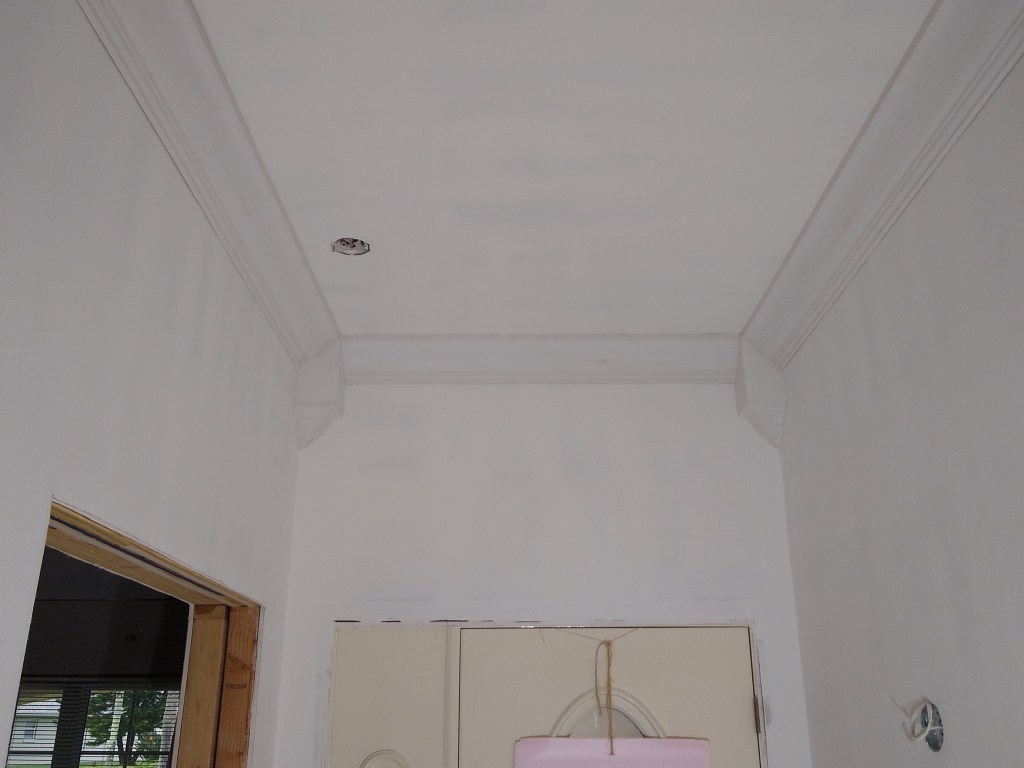
I then added crown to the entrance to the master bedroom. This was the last bit of crown needed to complete the areas adjacent to the coffered ceiling. This image below is before it was prepped for painting.

With that done, I prepped it for painting and then proceeded to caulk the seems between the coffered ceiling and the walls – the area where I used the tear-away beads. With that done, I was ready to apply primer to all the walls and ceilings in the great room and adjacent areas.
However, before I started that I took some time to so some housekeeping, which involved some cleanup and organizing of the many cutoff pieces lying around, and the adding mobile bases to some of the cabinets I was using for tool and supply storage. The cabinets I’m referring to were from the original kitchen. They were well loaded with stuff, so moving them was a nuisance. Since I would have to move them into the kitchen to get at the ceiling in the great room, and then back again to get to the kitchen ceiling, taking the time to outfit them with custom mobile bases was well worth it. I was subsequently able to move them, fully loaded, with ease. So I proceeded with the priming.
For all the priming I decided to use a brush and roller. I originally thought I would use a sprayer, but the priming in the dining room went well using the old fashioned way, so I figured I’d continue that way. Also, the enormous amount of work required to mask everything off for spraying did not appeal to me, so I thought I’d stick with the brush and roller, at least for the priming. I may change my mind when applying the finish coats (stay tuned).
I started with the Foyer, both ceiling and walls.

After the foyer, I primed the guest hallway ceiling and walls.

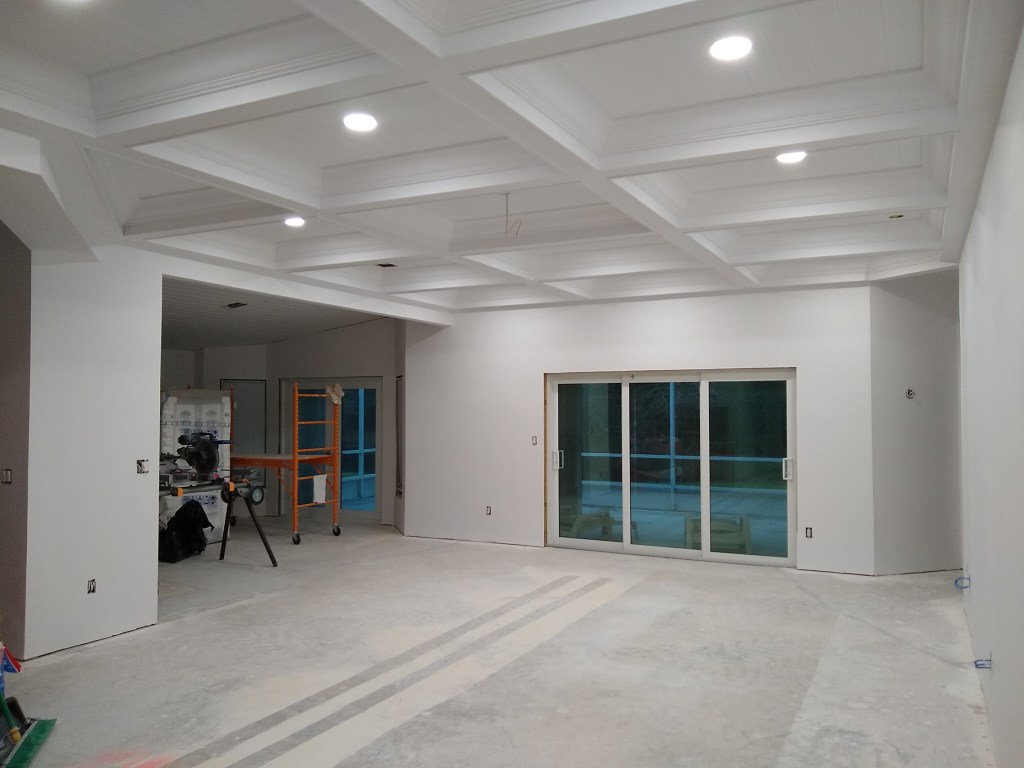
From there I started priming the ceiling in the great room. This took several days, after which I did the walls.


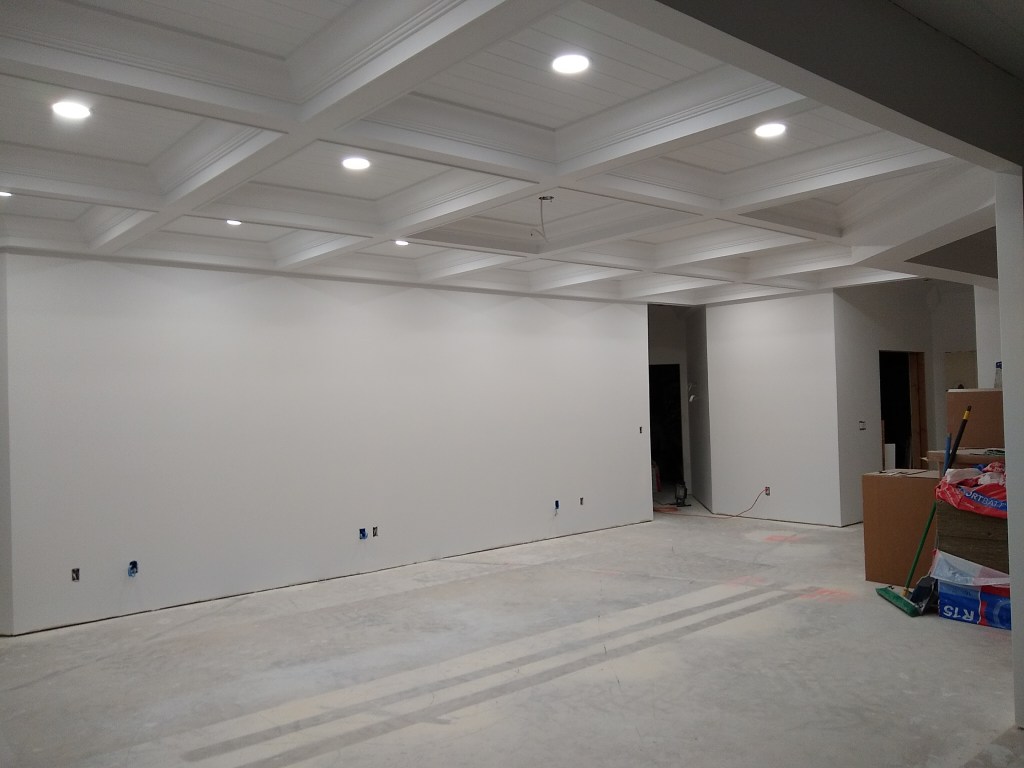
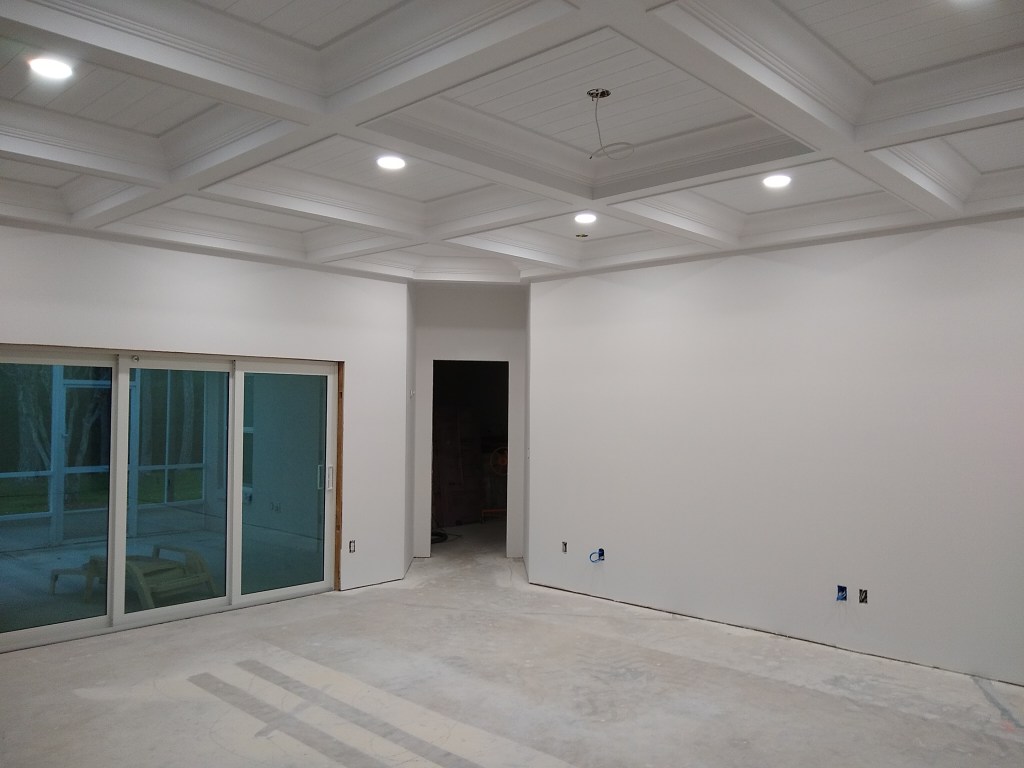
Following that, I shifted all the furniture from the kitchen back to the great room so I could start priming the kitchen ceiling and walls. Sure glad I added the mobile bases. Here are some shots of the kitchen after priming.

That’s the refrigerator in the middle. No mobile base for it, so I worked around it.
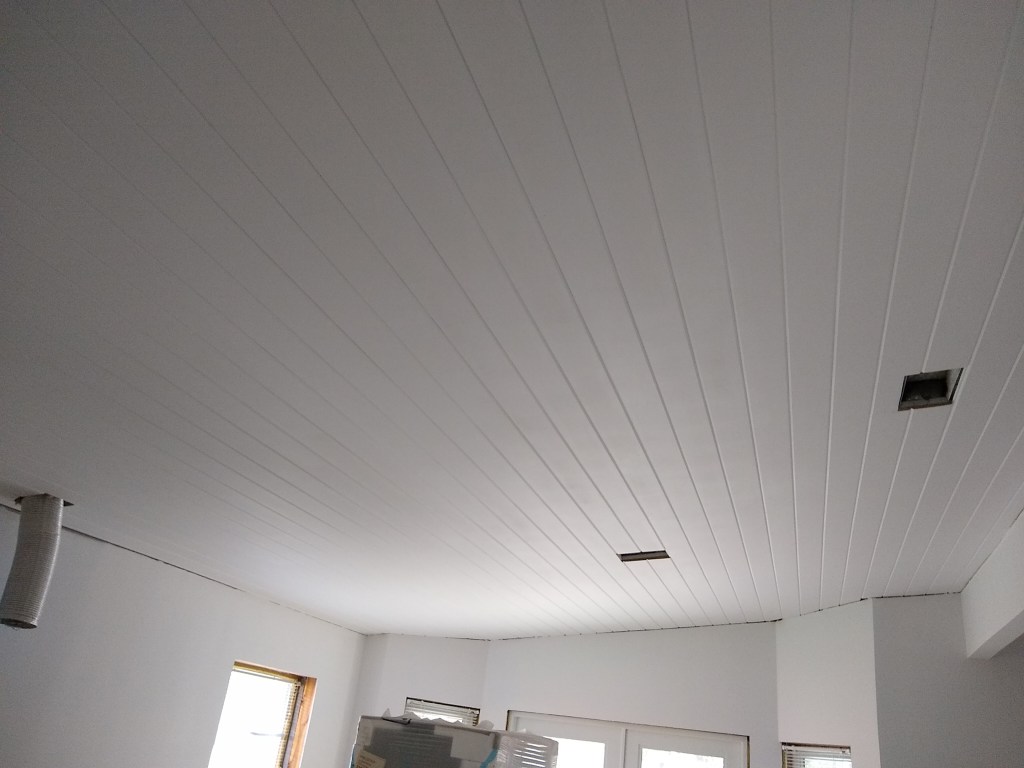
I think the ceiling looks great. I’m haven’t decided on the final color, but I suspect it will be just white, much like what you see here. The great room ceiling, however, will probably not be basic white. I will probably do something a little off white, like eggshell. But I haven’t decided yet.
Note that because I have not yet added the crown to the kitchen ceiling, there are still gaps between the ceiling and walls. I’m not sure when I’ll get to that. It’s not a big priority, so I’ll get to it when I feel inclined.
In addition for the need for another inspection, as mentioned in a previous post, another reason I chose to continue working on the kitchen and great room rather than return to the work I was doing in the master bathroom was the psychological boost it would provide. That is, now that the great room and kitchen are looking close to what they will be when finished, it pleases me every time I enter the house. I can now better see what it will be, which enhances motivation.
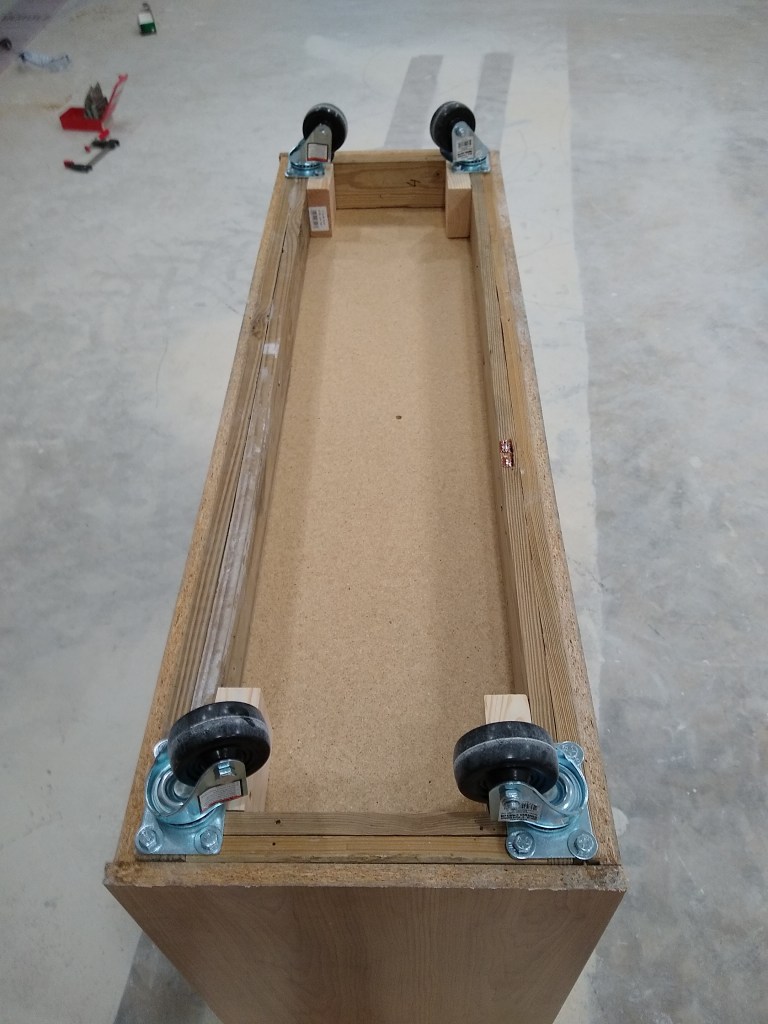
With that same spirit in mind, my next task will be to finish the drywall in the front two bedrooms, one of which I refer to as the workshop, and the other as the office. Both these rooms contain a lot of items that will have to be shifted before I can get access to the walls and ceiling, so some work will have to be done to make it easier for me to move things in and out. I will begin with the workshop and discuss that effort in the next post. However, before ending this post and my work at the house for 2023, I started preparing for the work in the workshop by adding a mobile base to a chest of drawers I use within it. Since I neglected to show my work on the mobile bases I mentioned above, I’m adding some pics of the mobile base for that chest of drawers to make up for it.

Note that, as with the other mobile bases I created, this is made using only off-cuts and scrap wood. It’s really great when I can make use of wood that might otherwise go to waste. Here it is mounted underneath the chest of drawers. A custom fit.

On top of these drawers I have a couple of shelving units I’ve had from since I was in university. They’ve worked so well that I intend to keep them, so I added some reinforcement to the back to help them sit solidly on top of the chest of drawers and then fastened them together to make them a single unit (although detachable if needed).
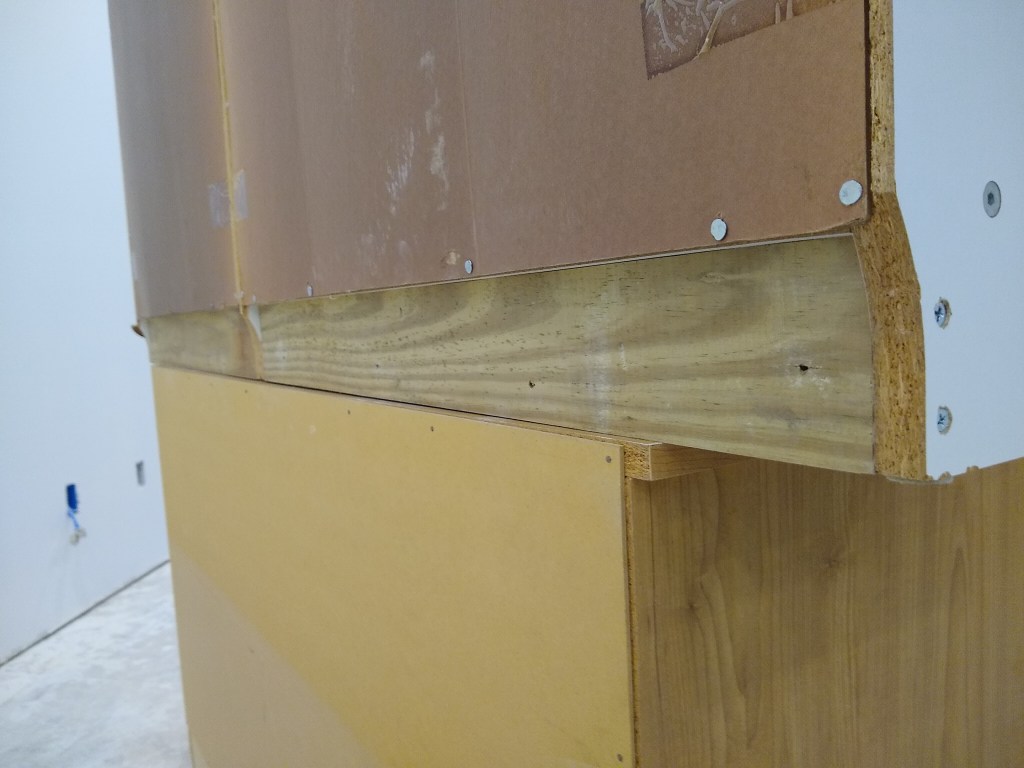
Since the shelving units extend past the edge of the top of the chest of drawers, the reinforcement (made for scrap) provides the needed support.
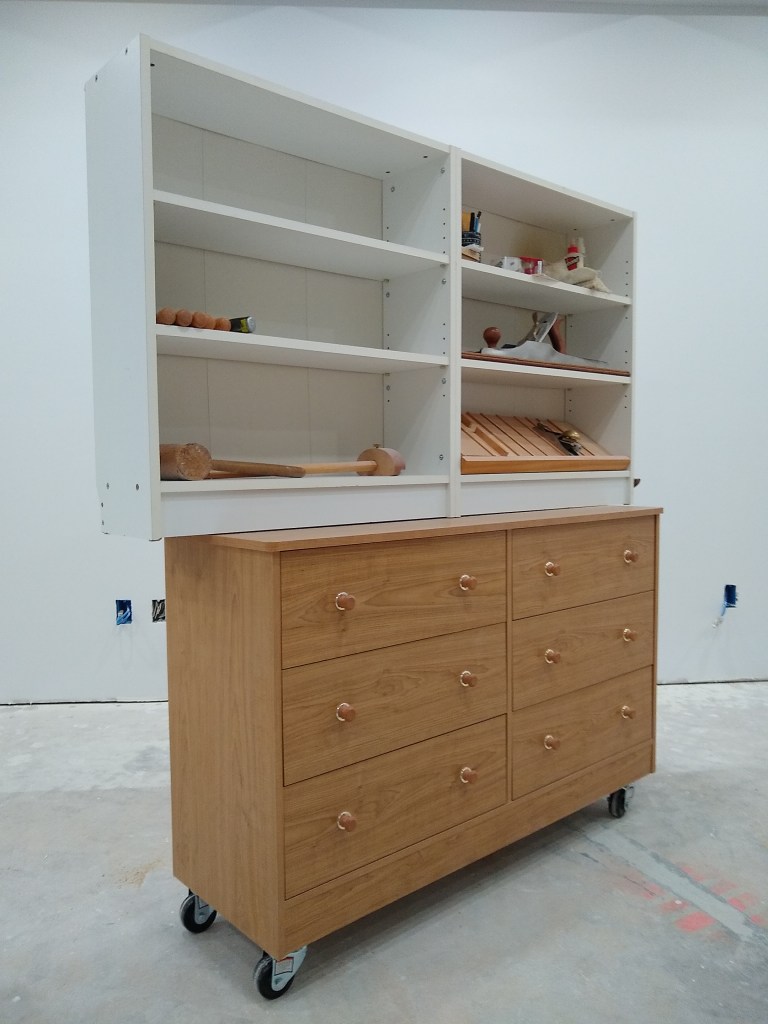
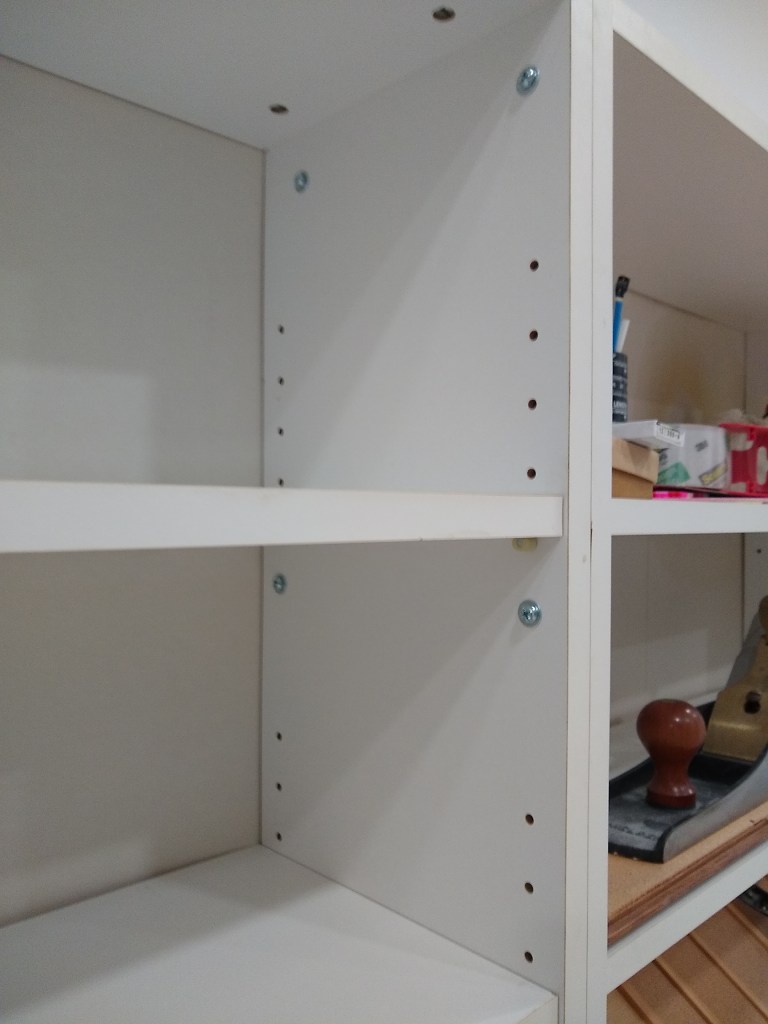
Above I’m showing both shelving units fastened together. They just sit on top of the chest and will not be fastened to it. Both will be pushed against the wall, so it will be secure as is. Following is a closeup of how I fastened the two shelving units.
Here endeth the post.
