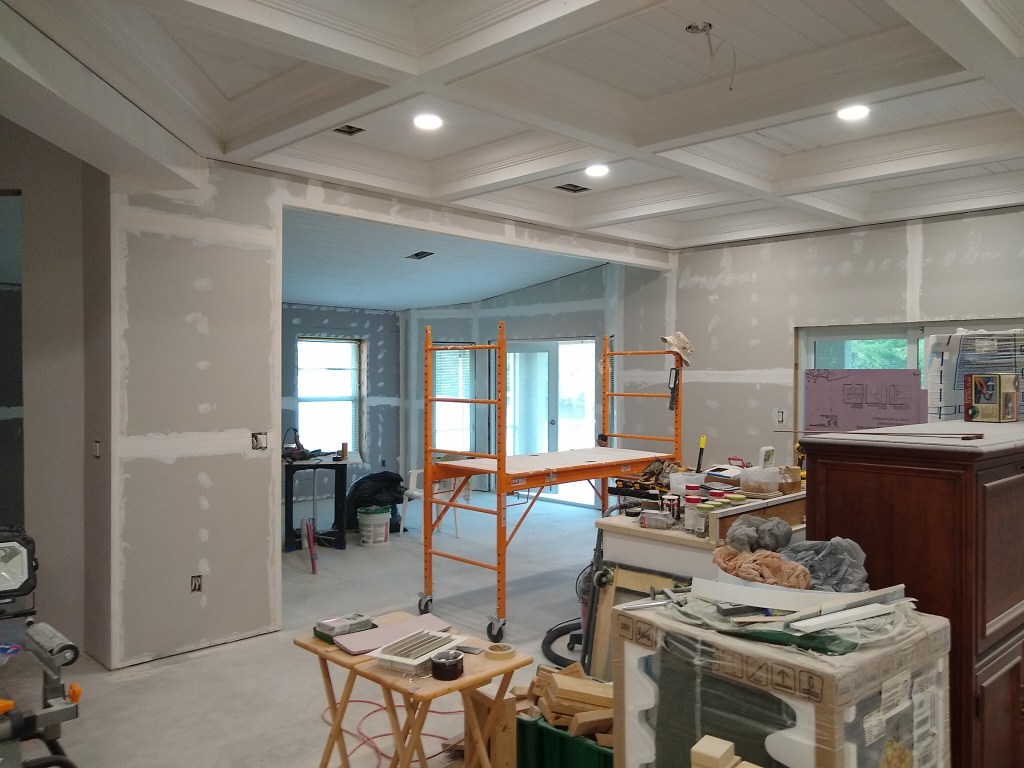
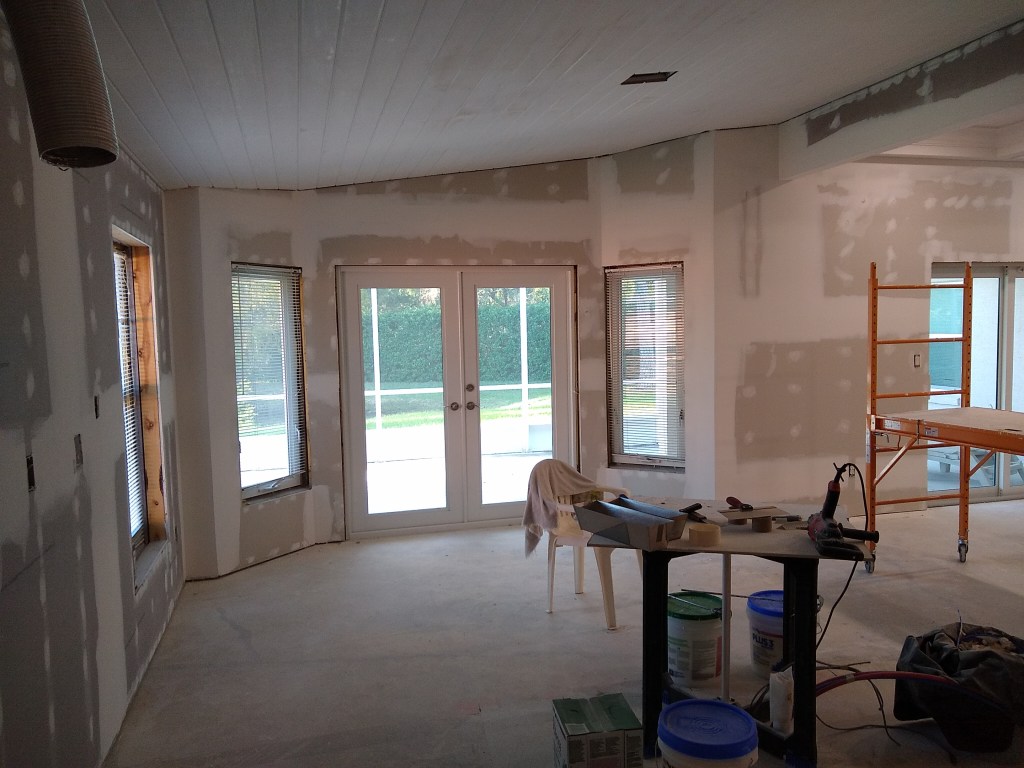
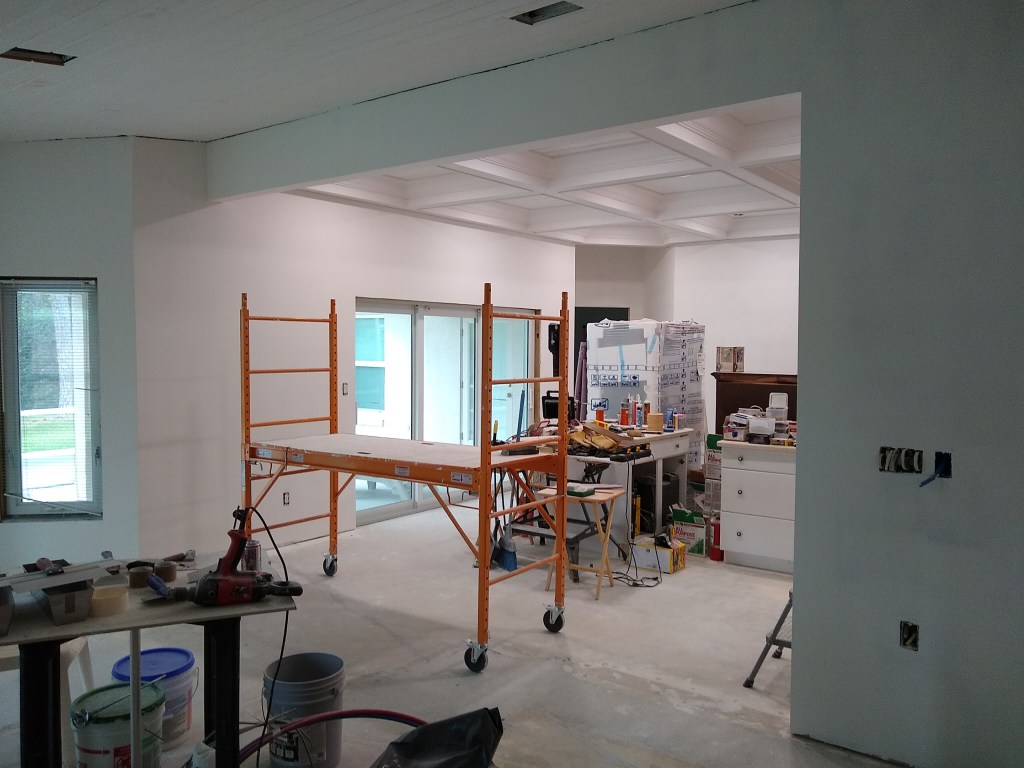
With the drywall hung (by the chimney with care) in the kitchen, great room, and adjoining areas, it was time to get busy finishing it. The first step, as usual, is to prefill, followed immediately by taping the joints. I started with the kitchen.
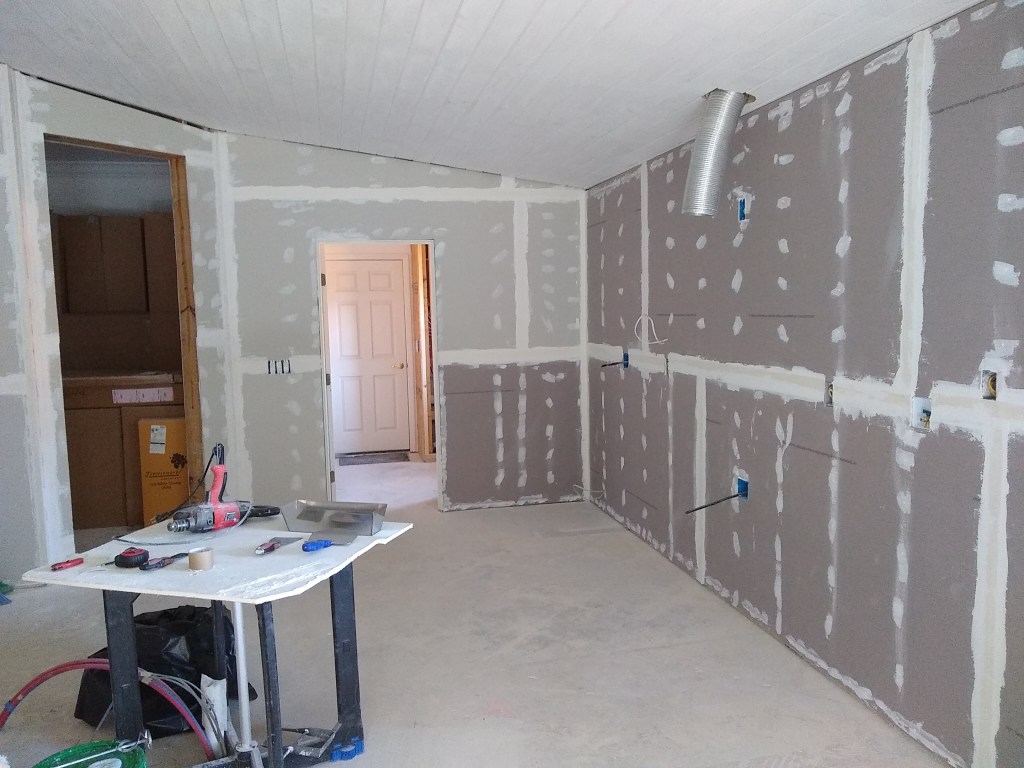

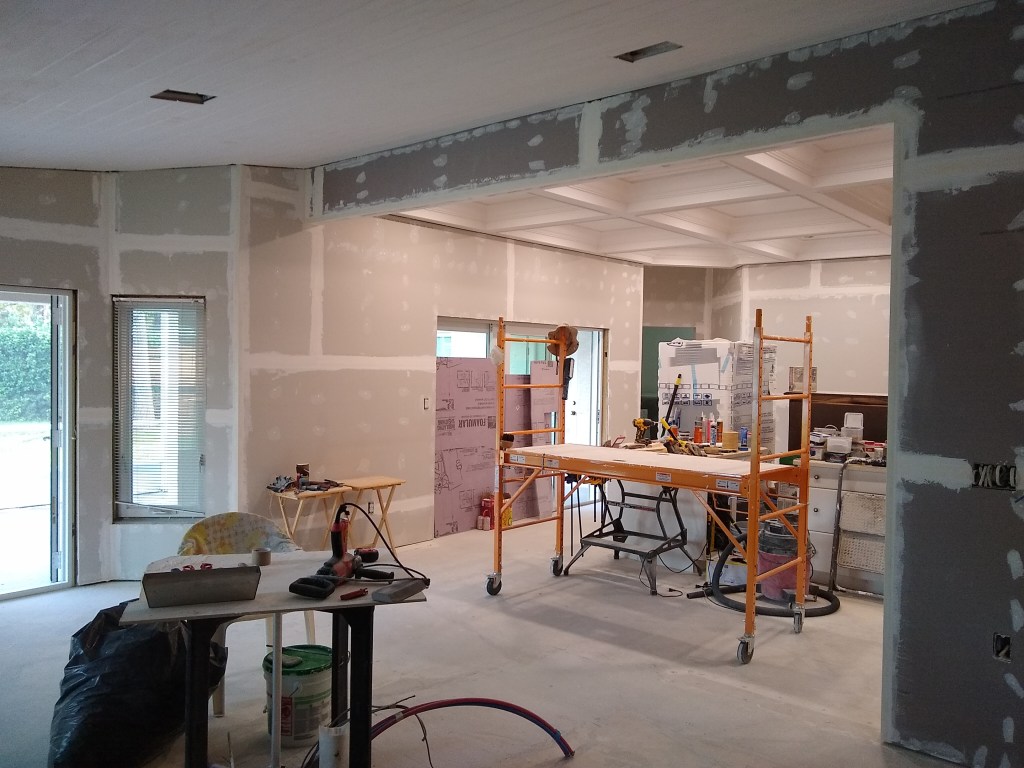
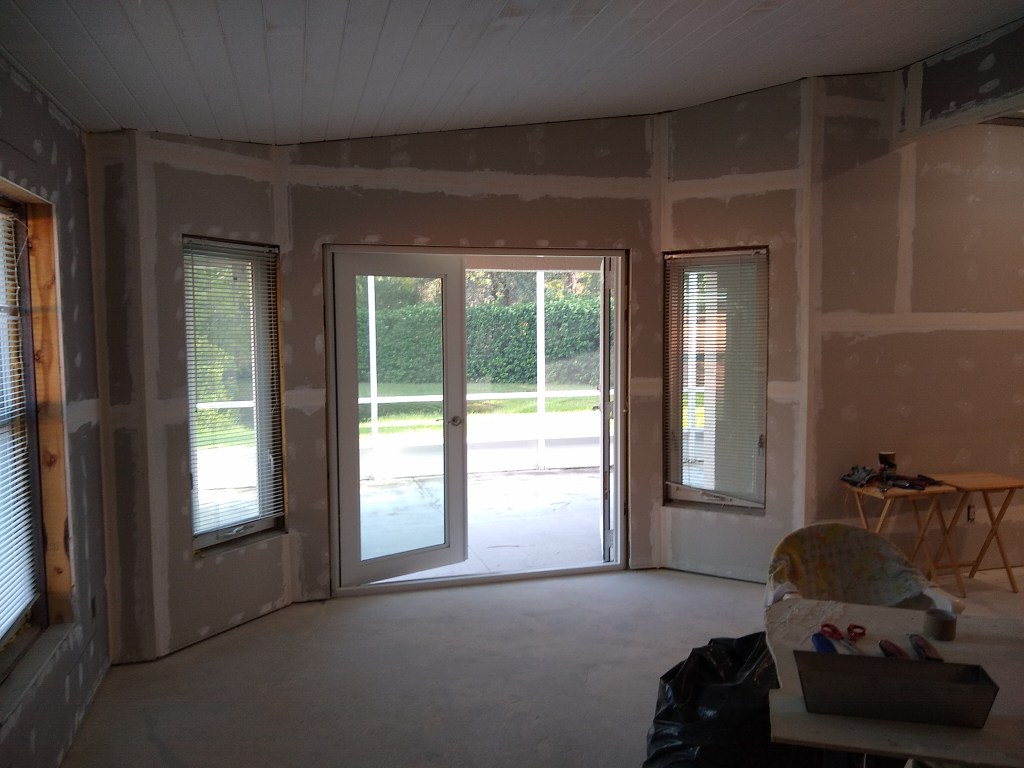
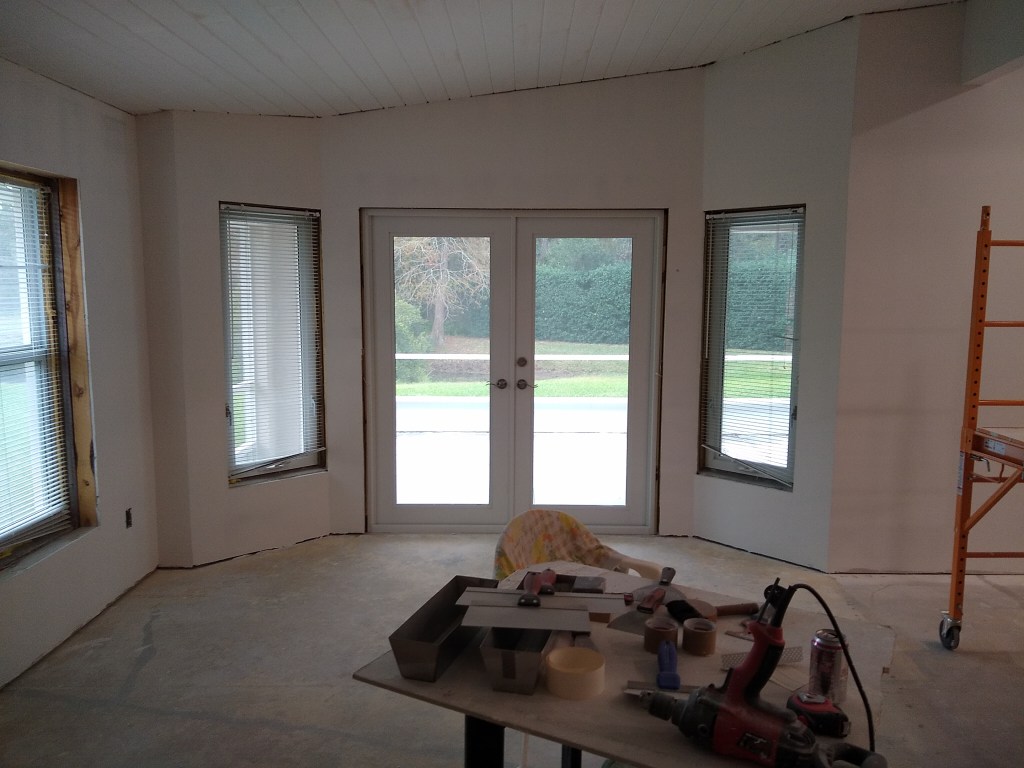
I didn’t strictly tape the kitchen first, then move onto the great room and such. Instead, I focused first on vertical flats, then horizontal flats, and then inside and outside corners. I do this because I want to have the tape ends covered by successive taping so there are no dangling tape ends. That is, after doing the vertical flats, the ends of the tape will be covered by the runs of horizontal flats. The ends of the horizontal flats will be covered by the inside or outside corner beads. The ends of the corner beads will be covered by trim (either baseboard, crown, or something else). This isn’t really that important because it all gets covered during the coating phases, but I like overlapping the tape ends this way. So, even though I present the pictures by room, it wasn’t done in that order. Here are the other areas I taped.
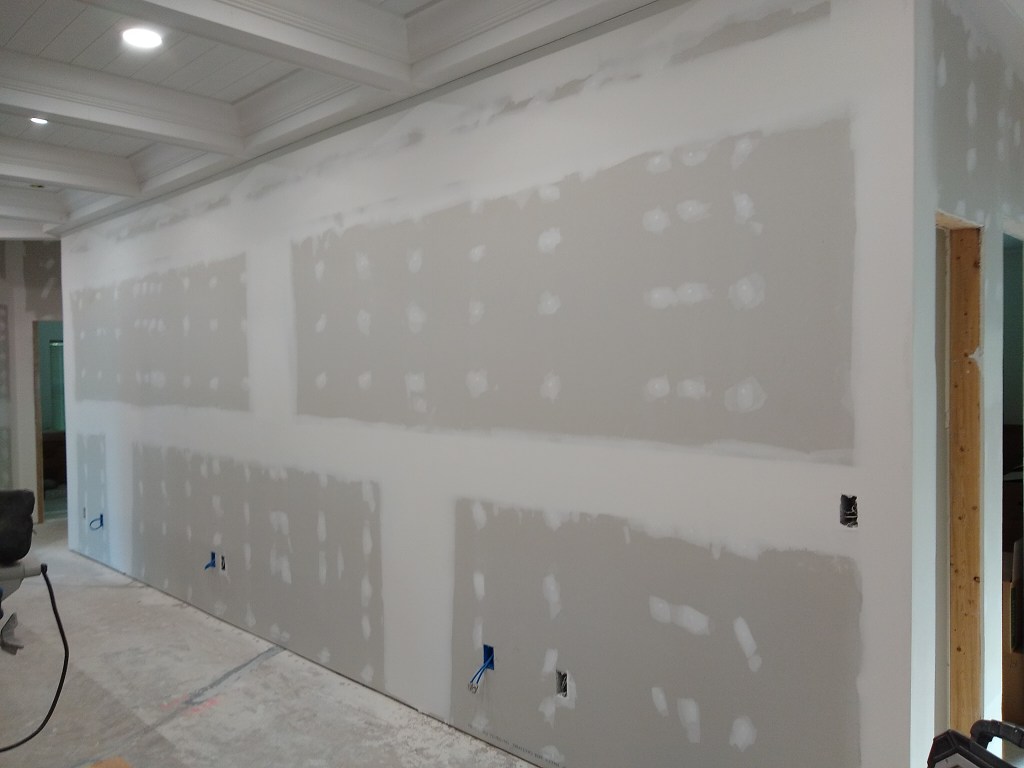
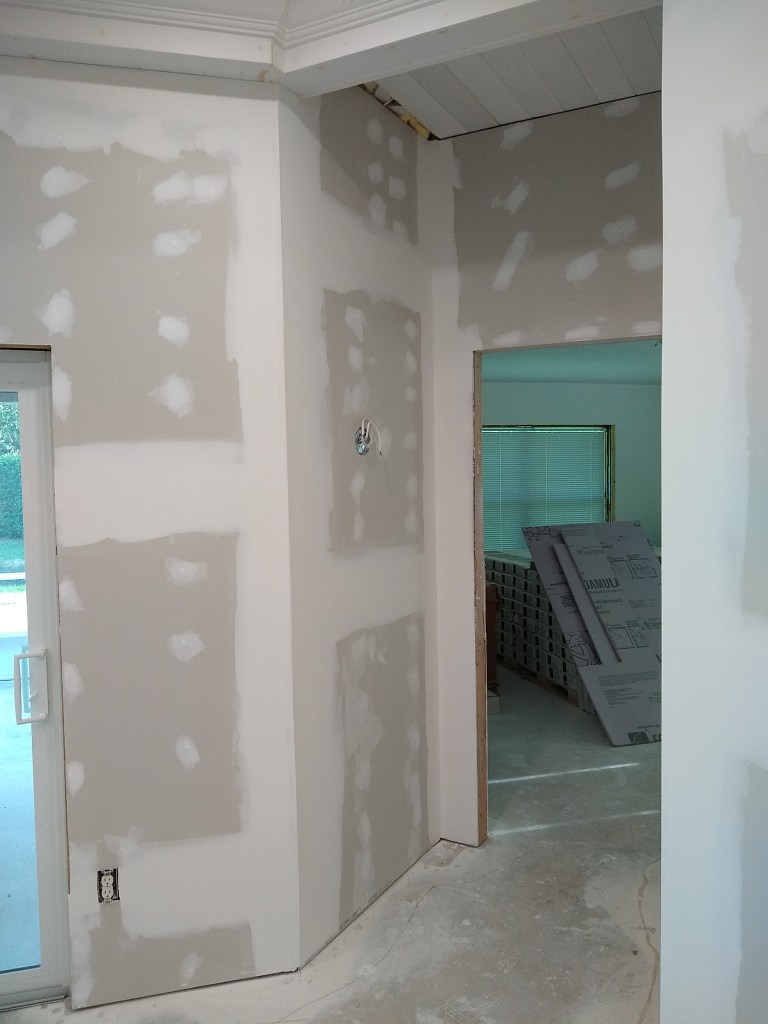
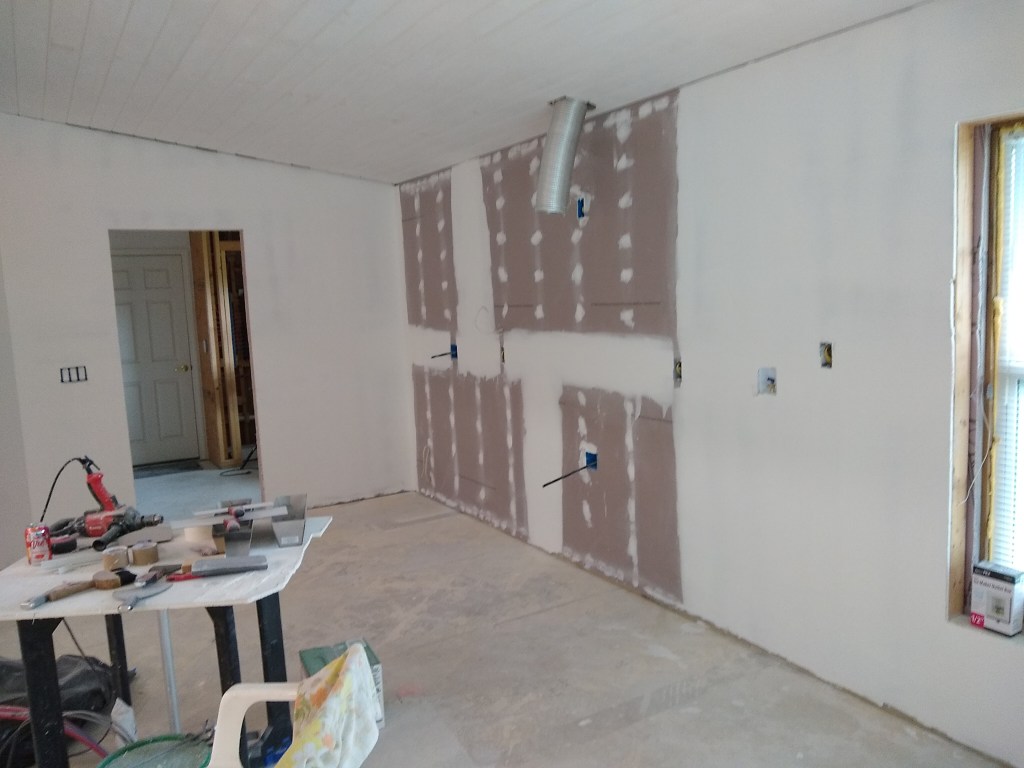
Note that in the images above, the top edge of all the walls that adjoin the coffered ceiling still have gaps. This area is addressed using a tear-away bead, which I mentioned in a previous post. Here are some images after the tear-away bead was installed.
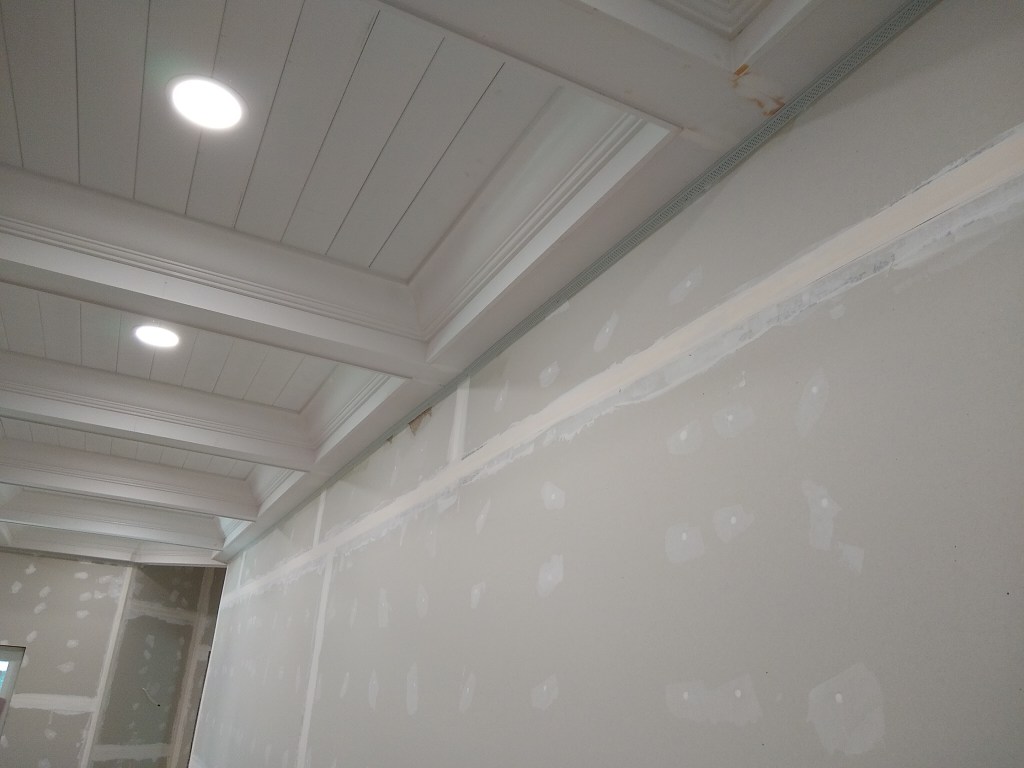
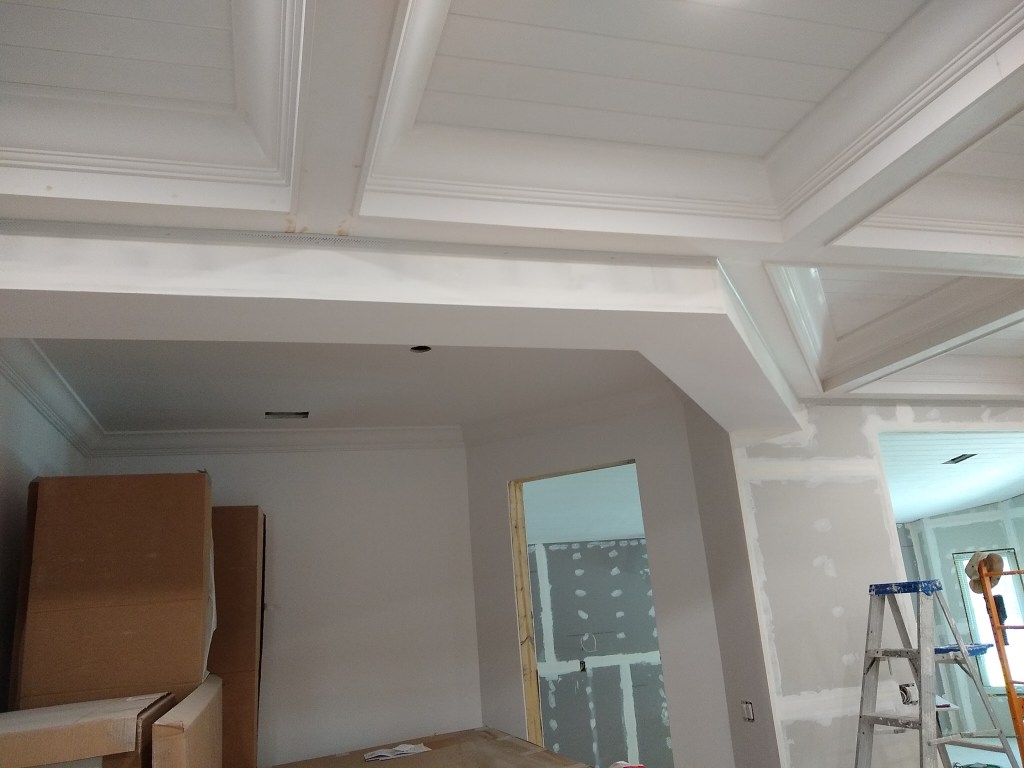
Notice how the gaps are now closed. Here are some closeups along the bulkhead adjoining the dining room
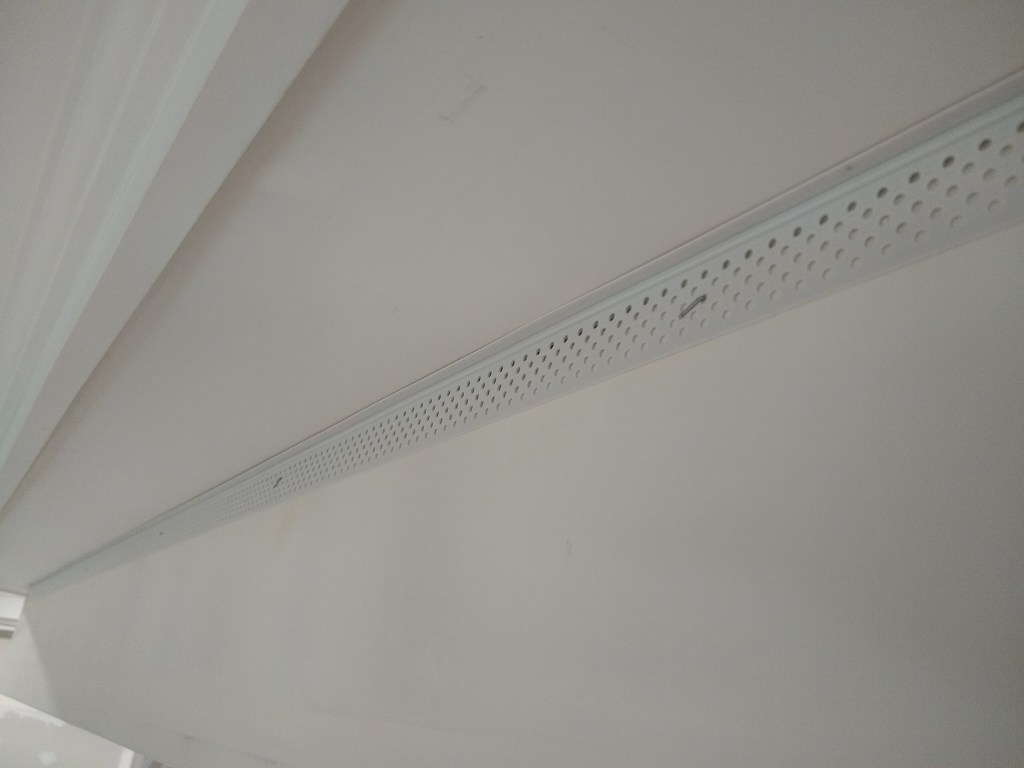
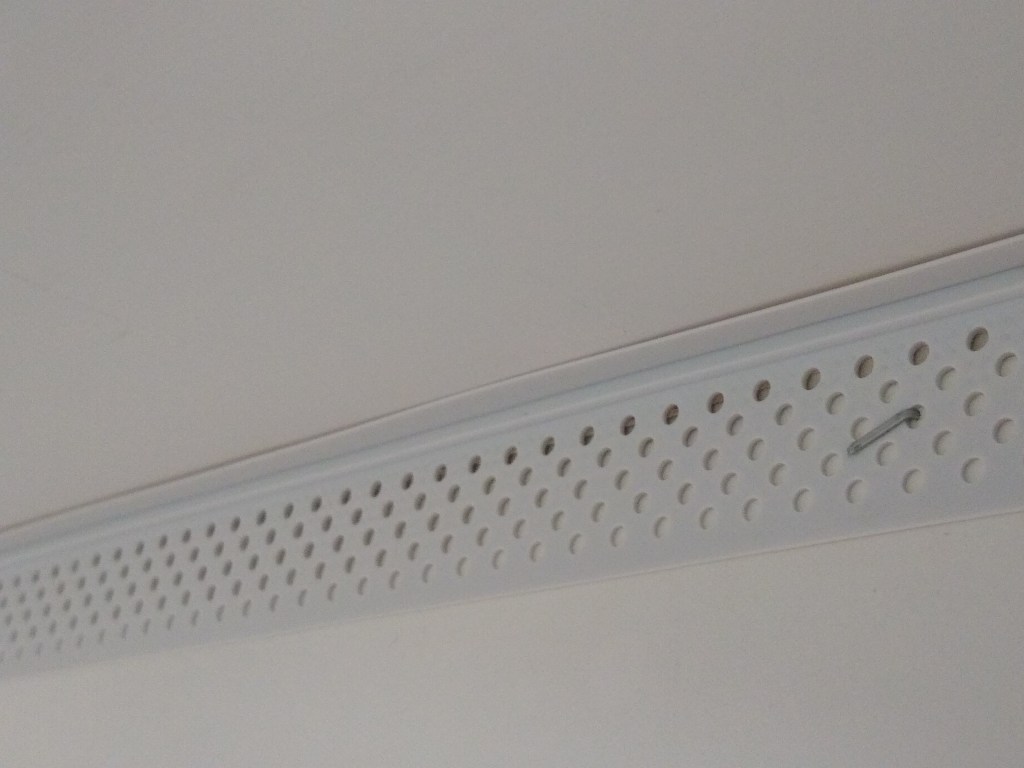
The tear-away beads are both glued and stapled. The glue is sprayed onto both the vinyl bead and the drywall. After you give it a bit of time to get tacky, you press it in place. Whether the staples are necessary is questionable, as the glue is very strong, but I did it just to be safe. Here is the same image I showed in a previous post of how tear-away beads work.

Drywall mud is used to cover the bead, using the little lip under the tear-away strip as a surface to guide the drywall knife as if the knife were a screed. Once the bead is sufficiently coated, the tear-away strip is pulled off (shown above) to leave a crisp straight edge along the adjoining surface. At least that is how it’s supposed to work. What’s important is that once the tear-away strip is removed, the gap between the wall and ceiling should be very small, and easily filled using caulk. I like the idea of having the two surfaces (drywall and wood) neatly interface without the need for trim. Using this approach still leaves me the option of using trim if it doesn’t turn out the way I’d like. However, at this stage I was optimistic about this approach.
With the taping done, I moved on to cover coating. I applied two cover coats over the tape and the tear-away beads. For cover coating in general, I use lightweight mud for both coats. However, for the first cover coat of the tear-away beads, I used all-purpose mud. This was to ensure the vinyl strip was well adhered and covered. I used the lightweight mud in this area for the second cover coat. Here are the images.


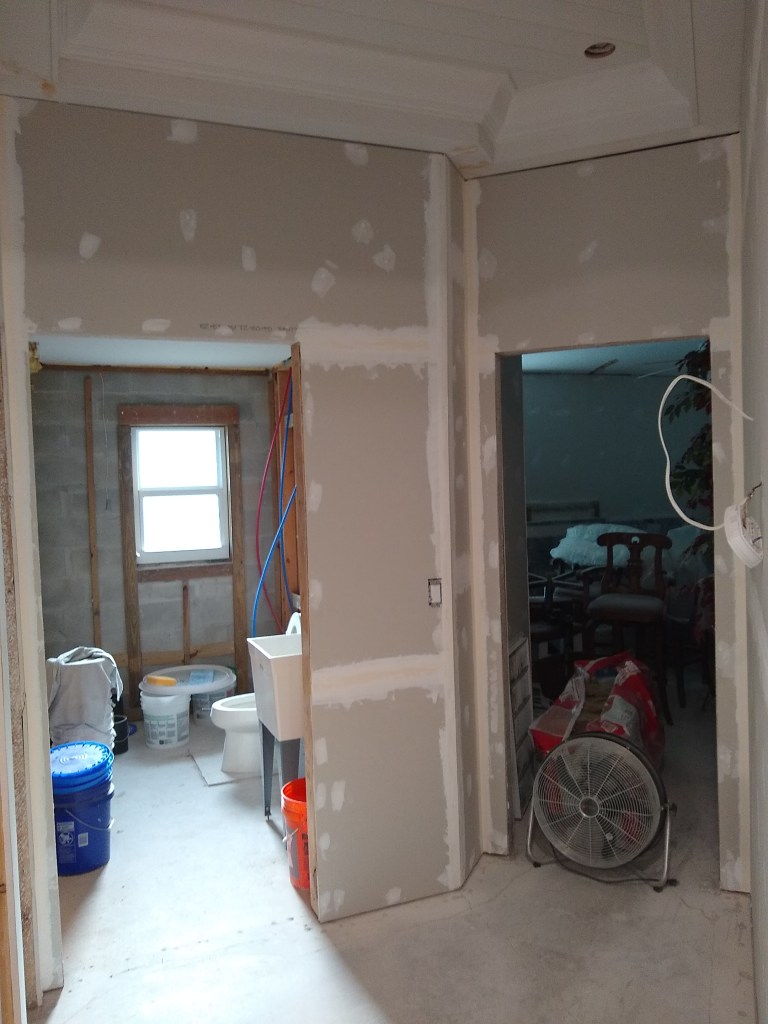
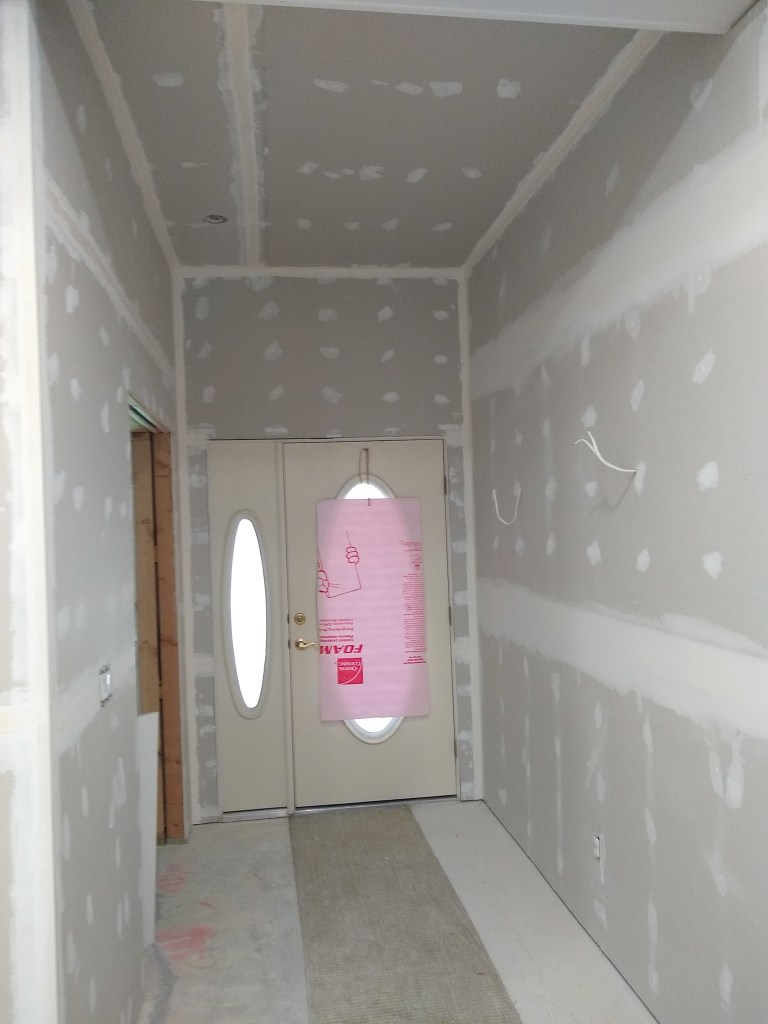
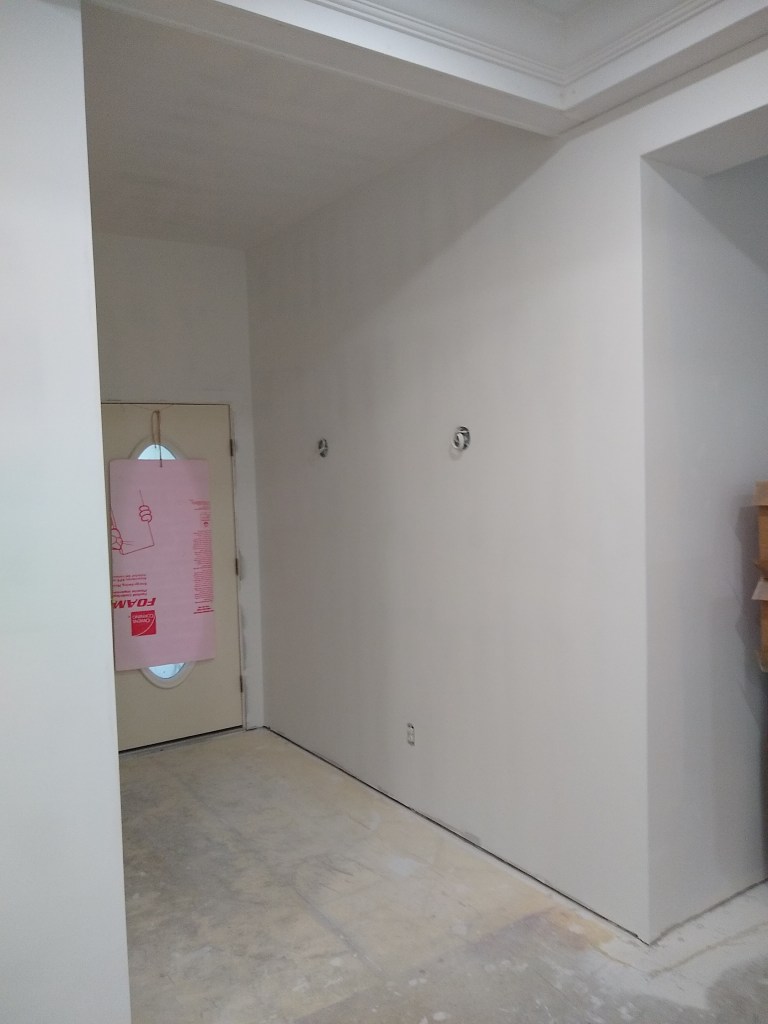
You can also see in the last three images above that I added junction boxes for the sconces: two in the foyer, one in the guest hallway, and one in the entrance to the master bedroom.
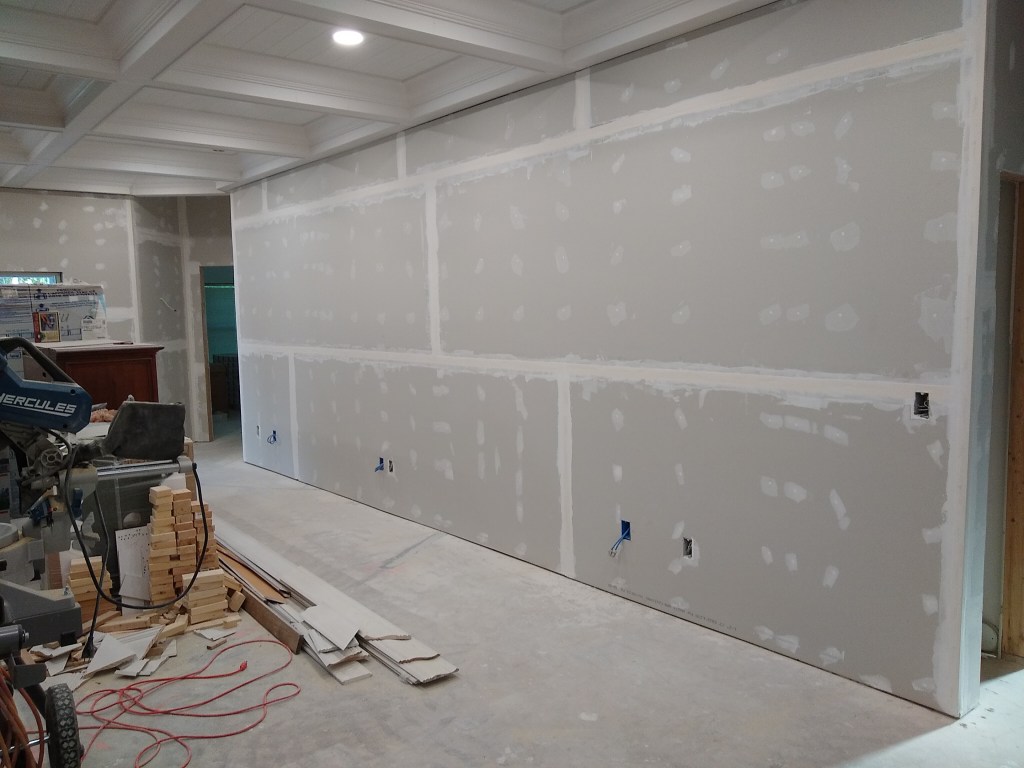
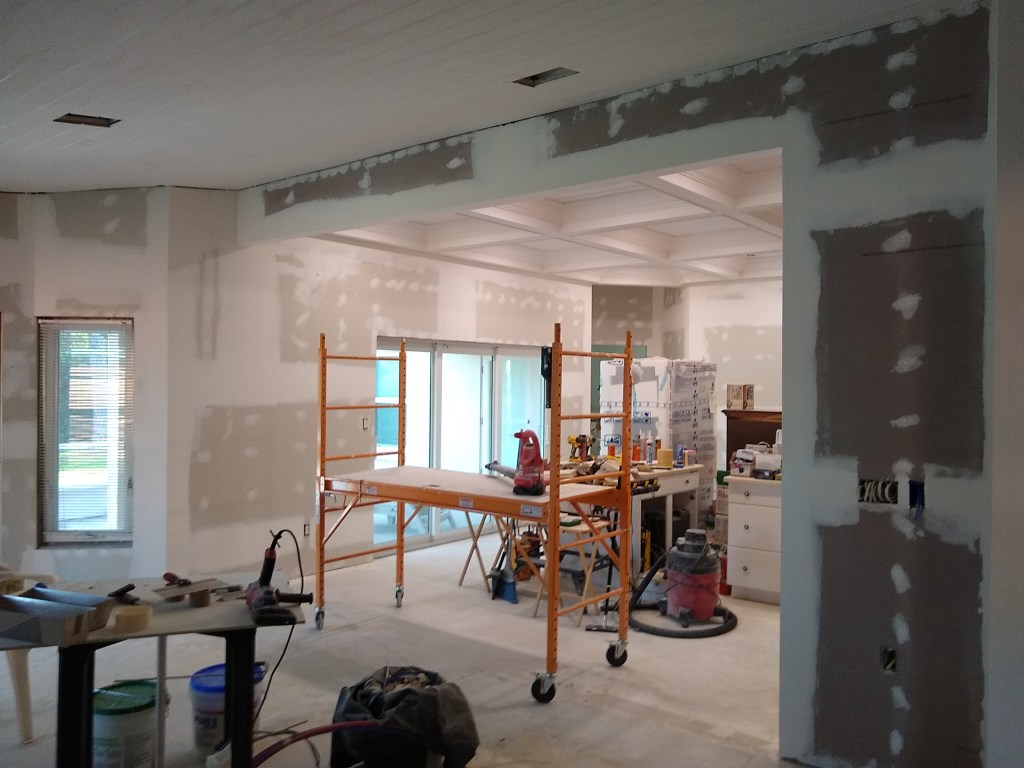
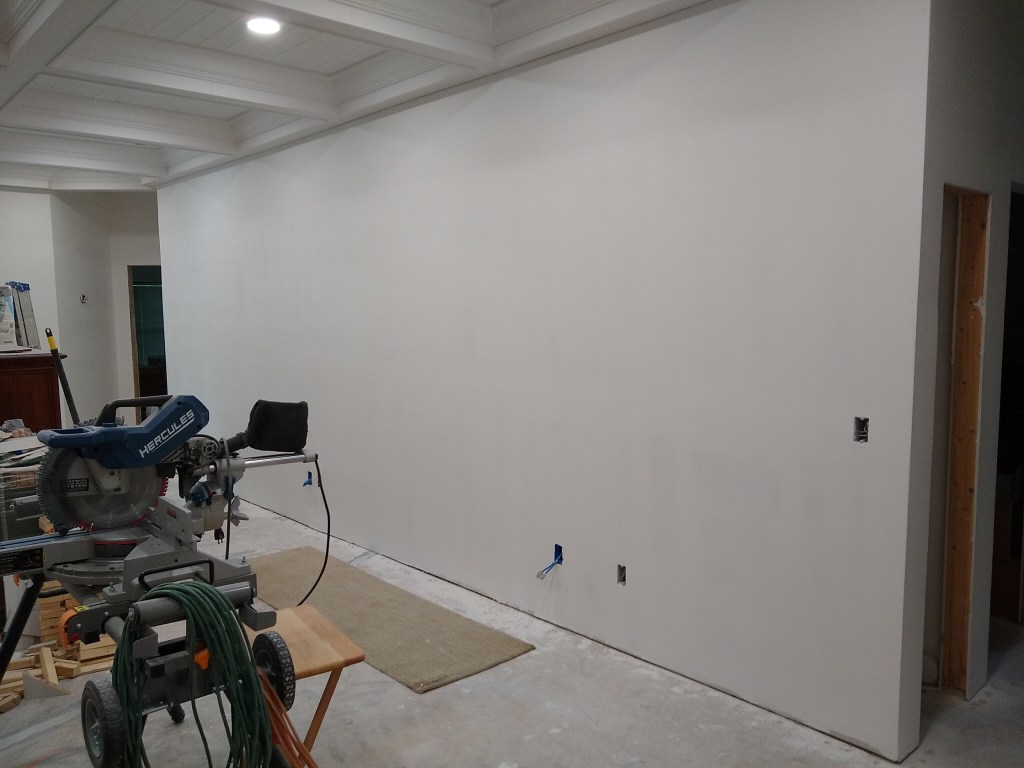
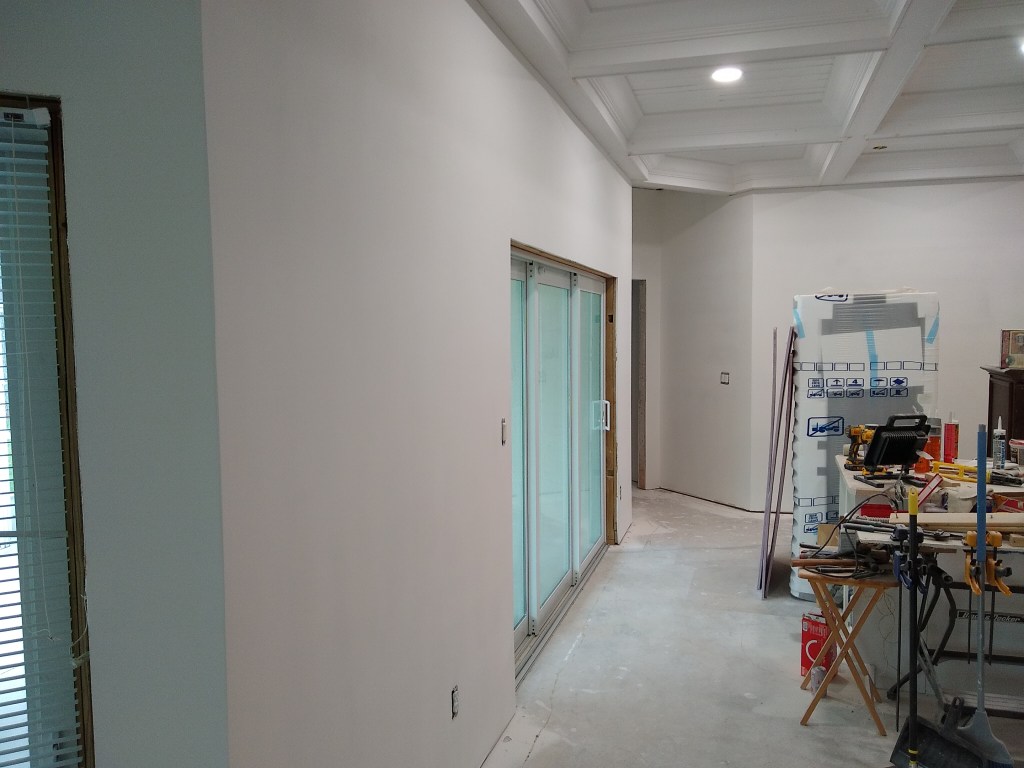
I then proceeded to skim coat all the surfaces. The first skim coat was a thicker one than the second. After each skim coat, I sanded. After the first skim coat, I sanded using my sanding poll with some hand sanding. After the second skim coat (a tight skim), the sanding was done strictly by hand and with an inspection light to make sure it was just right. So this took a long time. The pictures below only show the final result because it would not add a lot of value to show intermediate stages, which I’ve done before. Although it looks like the walls are painted, they are not. Priming and painting will be the next stage in finishing the walls.
In the image above, I did not skim coat the area where the cabinets will go. No point skimming a wall that will be covered by cabinets.

After the second skim coat, I pulled off the “tear-away” part of the tear-away beads. Here is a closeup of that.

I was very pleased with how that went. It left a nice line between the drywall and the wood of the coffered ceiling. I will fill the small gap with caulk in preparation for painting. I think it will look very seamless once I’m done. In all images that follow, the tear-away beads have been removed.


With the walls skimmed out, the next job is to put up crown molding in the foyer, entrance to master, and in the kitchen. Then it will be time to do any additional prep work before I start priming the ceiling and walls in these areas. That will be covered in the next post.
