After finishing the work I wanted to do in the dining room, I had to do something that would trigger another inspection. My permit was due to expire October 8th and I needed to do something that would get the date extended. Whenever you get something inspected and checked off, it adds another six months to your expiration date. I could have returned to the master bathroom and started working on the shower pan, which would require an inspection, but that would be new work for me and I wasn’t sure how long it would take. So I decided to finish up the electrical and plumbing work in the kitchen, which I am comfortable with, wouldn’t take too long, and would culminate in an inspection. Once the inspection was completed (approved), I would be free to hang drywall.
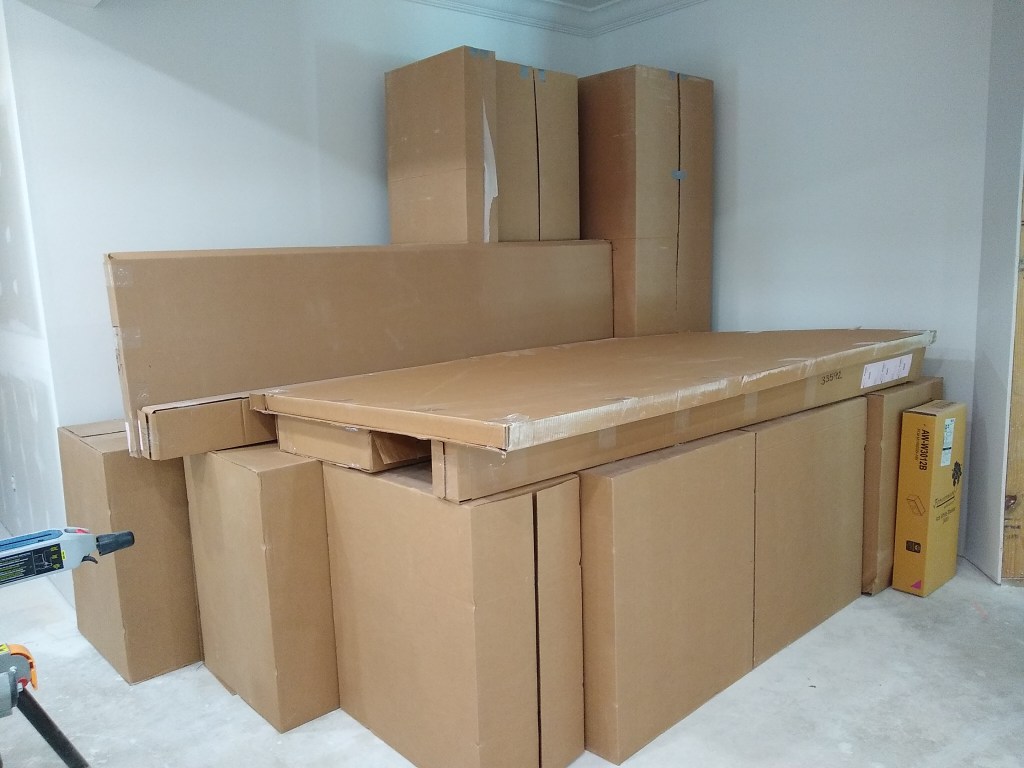
That decision also had me thinking about postponing the work on the master bathroom until I have finished all the drywall in the kitchen and great room (and adjoining areas). With that done, the place would look almost livable. At least it would look less like a construction site, which would be kind of nice. I decided I’d make that call after I’d finished hanging the drywall in the kitchen. However, before I could start on any work in the kitchen, I first had to move the boxed cabinets out of the way. Hmm, where could they go? I know, how about the dining room!
With the kitchen space freed up, the first thing I did was install the ice maker outlet box for the refrigerator.

You can see from the water on the ground that I tested it. Zooming in a bit, you can see how the water line was secured. I added a piece of blocking between the studs to which I attached the 90 degree bracket.
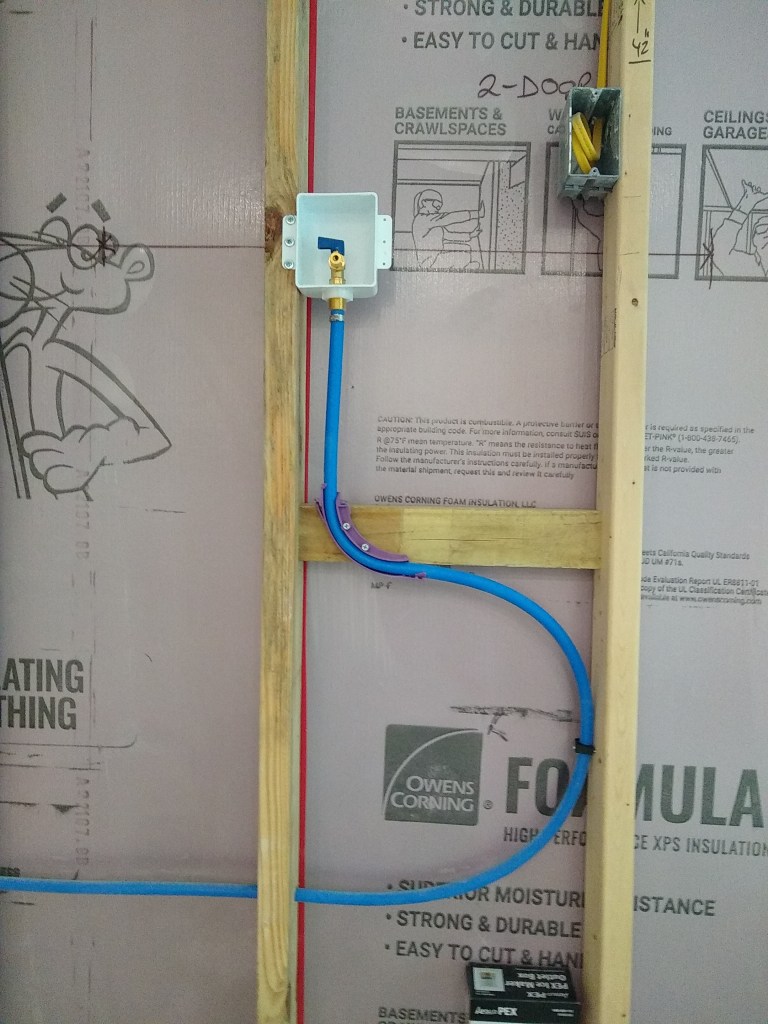
And for good measure, here’s a closeup. I know I’ve overdone the pics on this simple task, but I took three, so I might as well show them.

After that I got busy installing new junction boxes for the wall oven/microwave combo unit, the cook-top, and the range hood. I also added blocking for the cabinets so that fastening the cabinets to the wall would be easier. Without the blocking, I’d be limited to fastening the cabinets to the studs, which offered a much smaller target. Here’s the result of the work.
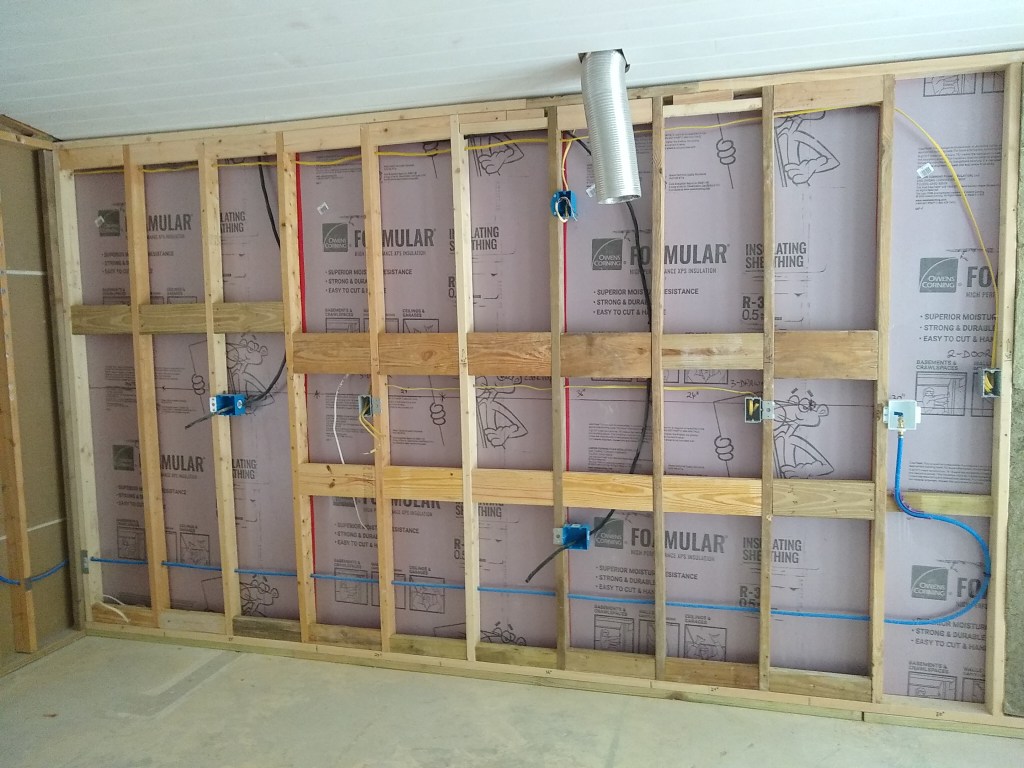
This was inspected and approved, so my permit date was extended and I was free to enclose the kitchen walls with drywall. So I filled the spaces with insulation.
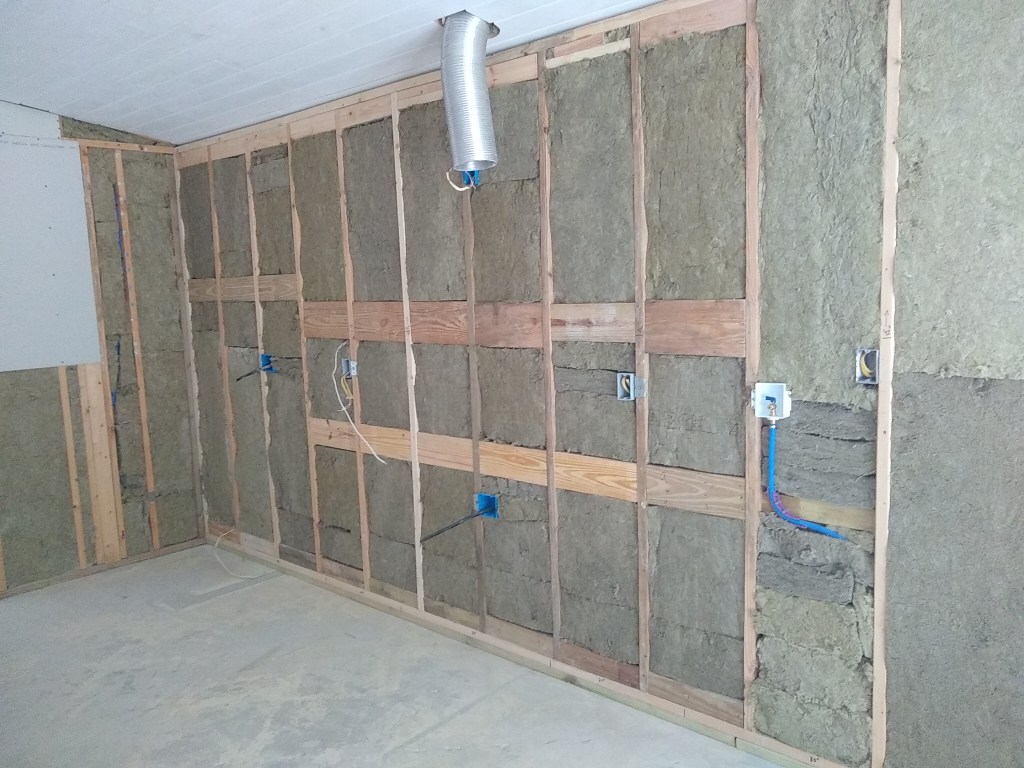
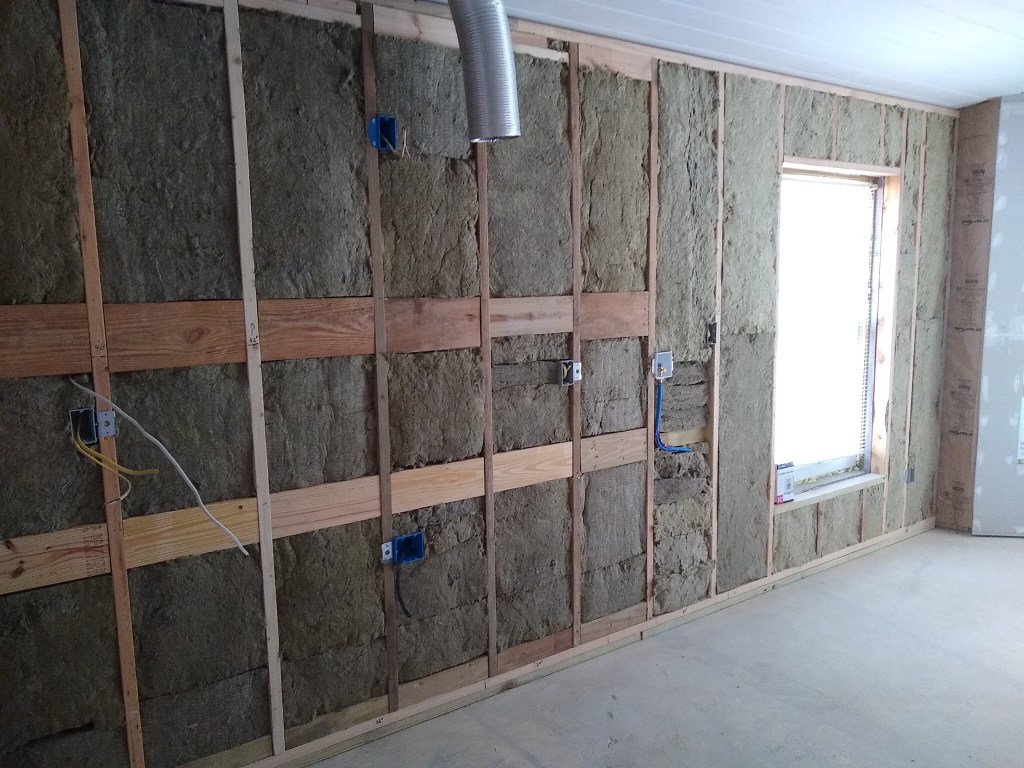
This wall gets the morning sun, so that should keep the cool in during the hottest months.
Then came the drywall. You’ll notice in the images below that the drywall is purple-ish. This is due to a mistake when I purchased it. I was buying eight 4×8 sheets, so I asked the staff pull it and load it on the truck I rented. Consequently, I did not actually take the product to the cashier, who entered something different from what I intended. I discovered the mistake when it was being loaded, but since the price difference was almost none, I decided not to exchange it. So my kitchen has moisture resistant drywall instead of the usual, which is fine by me.
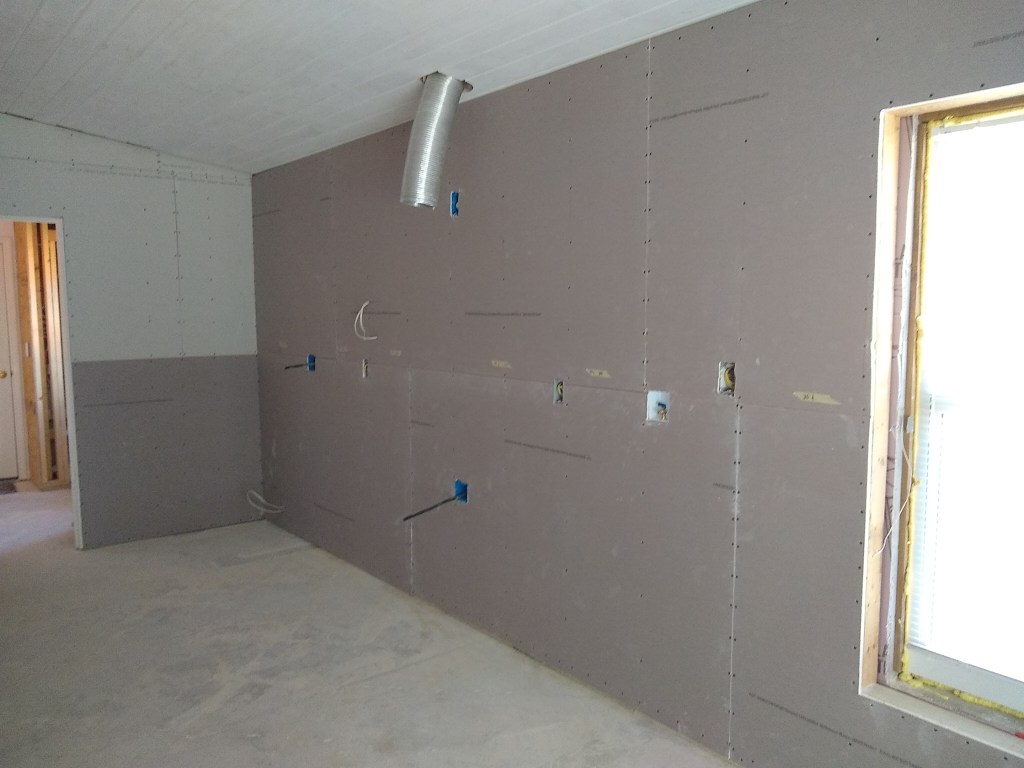

Of course, I did the other side of this wall too.
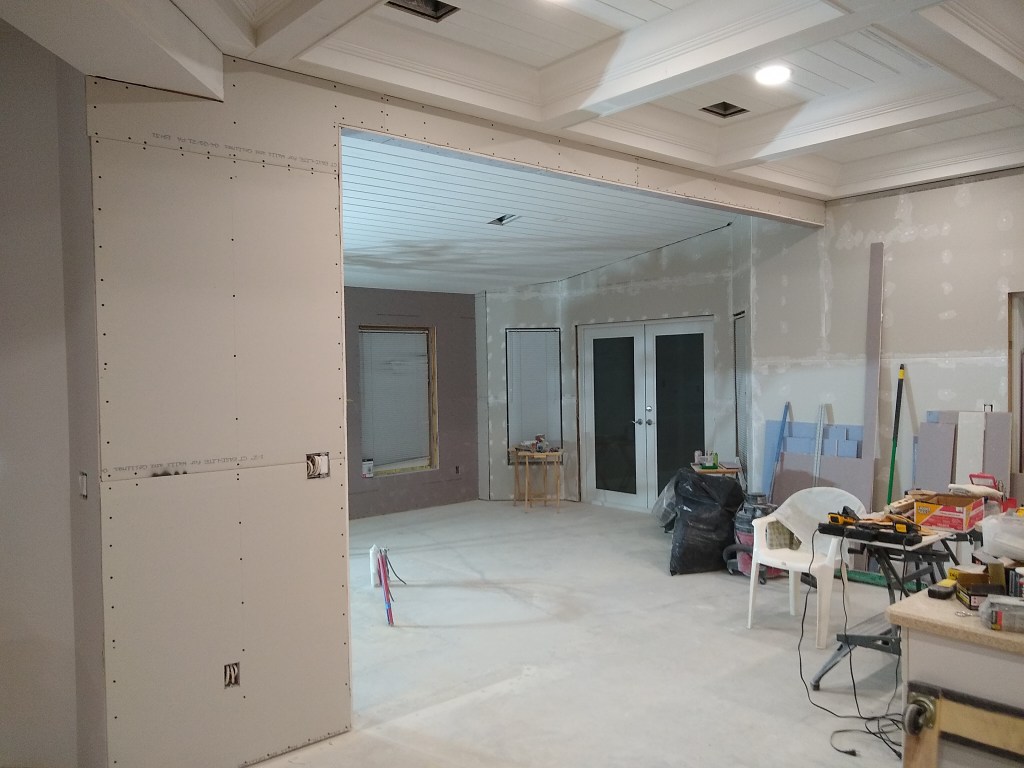
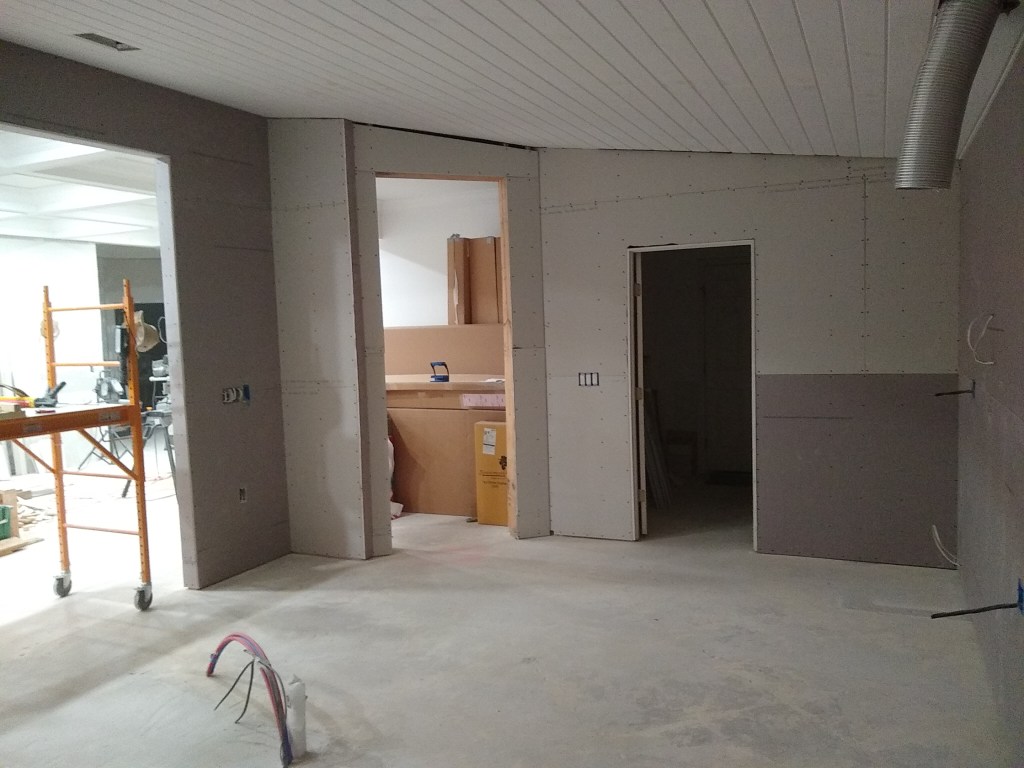
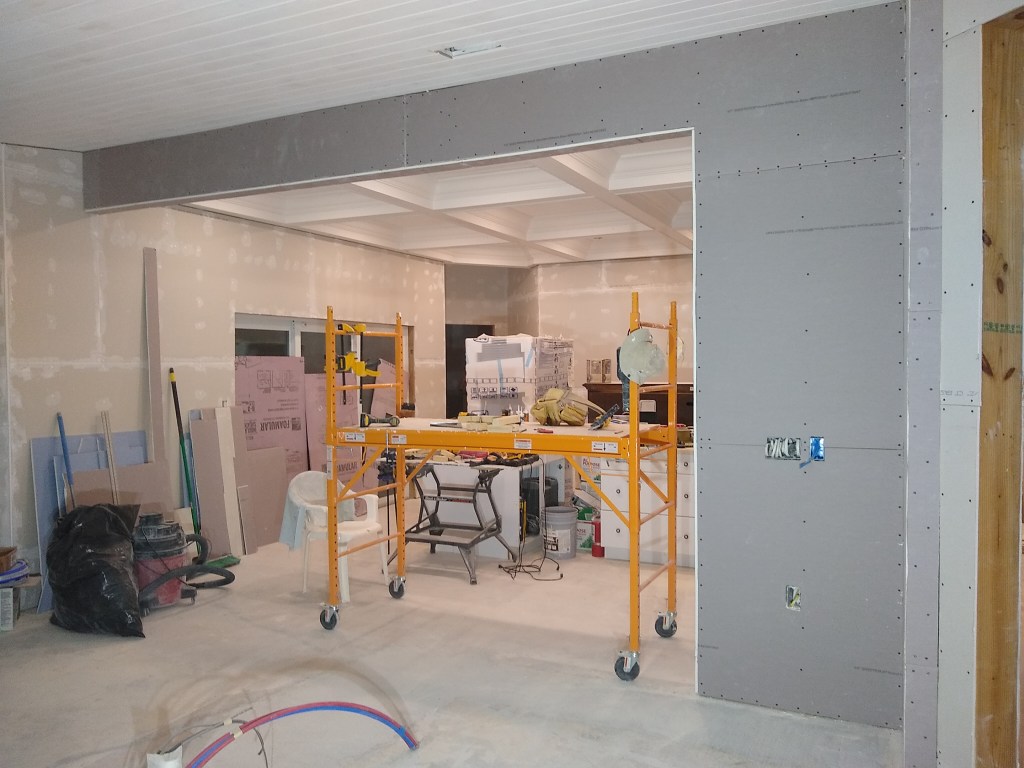
With the drywall hung, it was time for another inspection, which went without issue. So I was cleared to start finishing the drywall. At the end of this stage I decided I would tackle all the drywall in the kitchen, great room, foyer, and guest hallway. So it’s going to be all about drywall for many weeks to come. This time, rather than providing the details of the process, as I did when showing the work in the dining room, I’m only going to show summary shots of the various stages. I’ll do that in the next post.
