Before any shower walls go up, there is some preparatory work required. I added a nailer to the left side of the wall and, of course, the sound insulation had to go in.

Before putting up the Kerdi board, and in order to make tiling easier, I spent some time locating the high and low spots in the framing so that they can be compensated for. The idea is to make the walls as flat as I can so that I don’t have to struggle with undulating surfaces during tiling. To do this I employed a technique known as wet shimming. I discovered this online and thought it made good sense, so I gave it a go. The idea is to identify the parts of the studs that need to be brought out a bit and put thinset mud on them. Then, when applying the boards, you use a straight edge (my longest level) to press it into place. The thinset should collapse a bit under the pressure applied by the straight edge. I used the screws and washers to keep it in place, but did not secure them. That would be done the next day after the thinset had setup and was strong enough to maintain its shape.
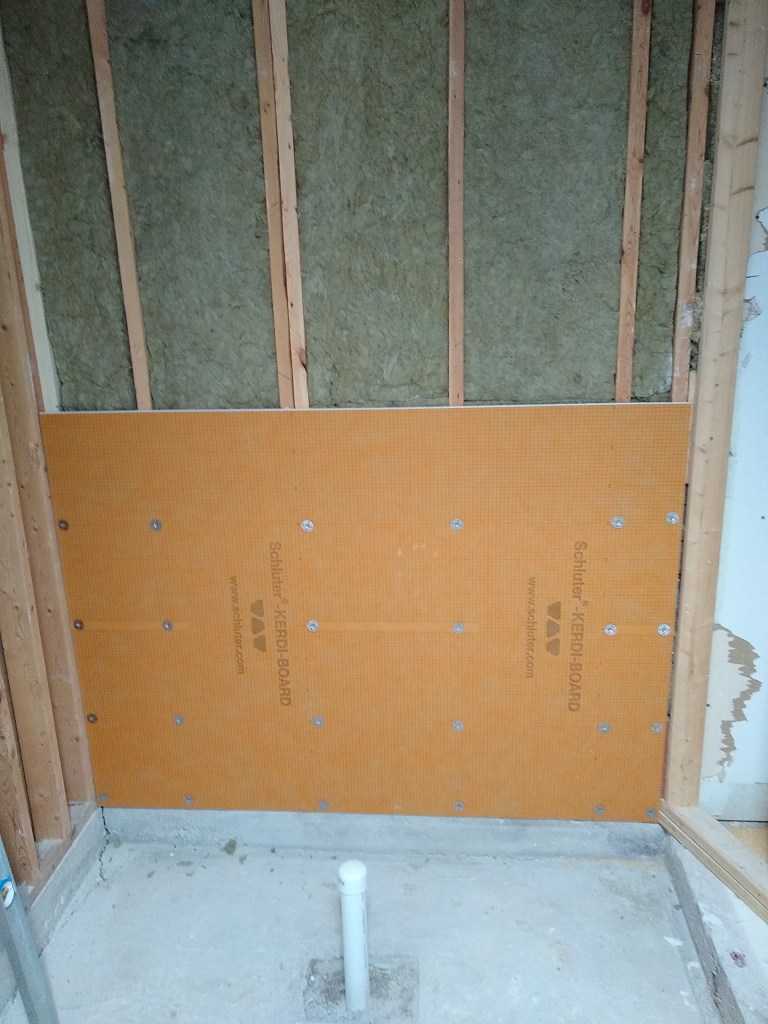
And here is the first Kerdi board set in place.
The next wall I tackled was the one where the shower head would emerge. It proved to be difficult because it was not at all flat.

If you look closely, and at previous pics, you’ll notice that I removed a stud. That stud was severely bowed. I started by planing it, but that would have taken forever. After realizing it wasn’t supporting anything (no drywall screws on the other side), I pulled it out. I then cut it up into shorter pieces and straightened them on my little 4″ jointer to use them as nailers for the shower head wall. You can see them if you look in the corner. That made things much better. I still needed some wet shimming, but not too much.
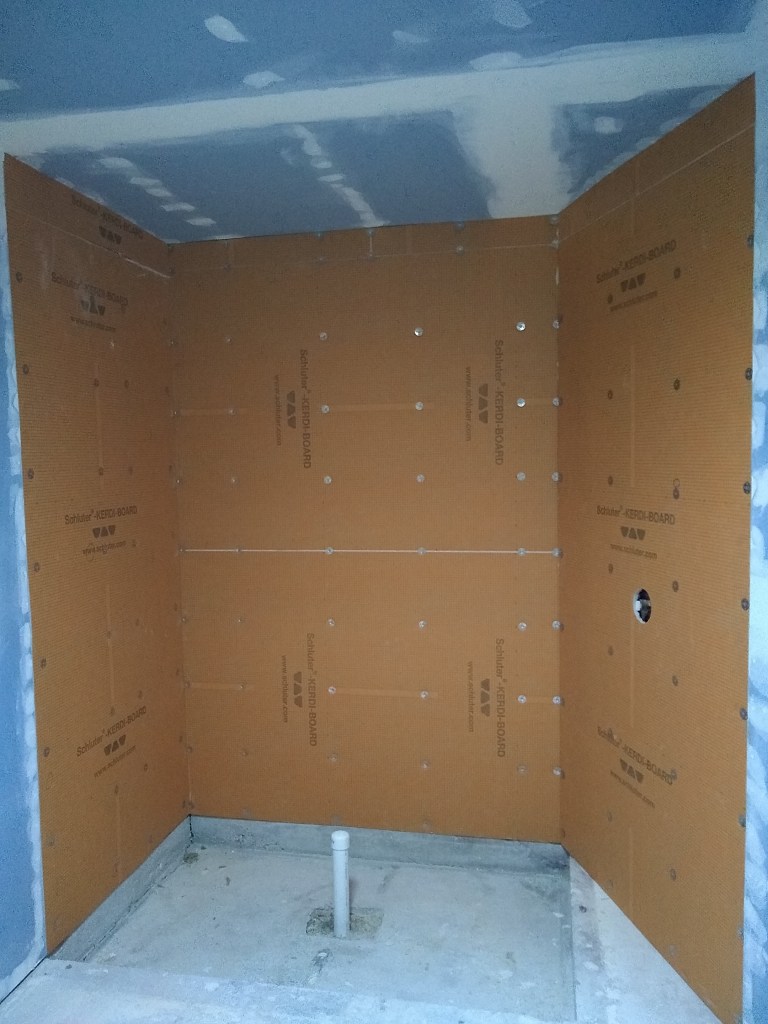
The Kerdi board for that wall went up vertically, as opposed to how I did the back wall. Doing it this way meant less seems to address later.

The wall with the mixing valve was next, along with the bits remaining on the top.
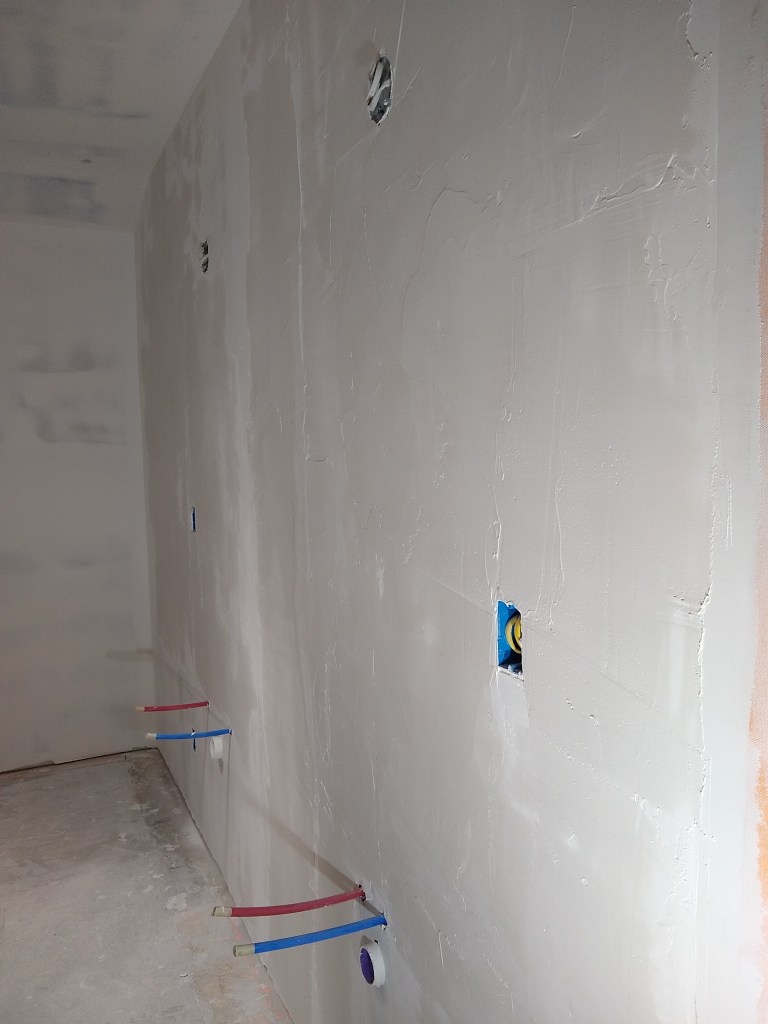
Something I should have done before putting up the Kerdi board, was test the water connections for leaks. That was a silly mistake and one I won’t make when I do the shower in the guest bathroom. If there was a bad connection, I would have to pull off some of the Kerdi board to address it. So I attached a small bit of PEX to the drop ear elbow where the shower arm will go and hooked up the water lines. I turned them on and was happy to see there were no leaks. Actually, I would have been surprised if there had been any because I’ve never seen a PEX crimp connection fail. Still, it was a relief to see no leaks. You can see the makeshift shower head I created in the image below. I did this just before I started adding Kerdi band to waterproof the walls.
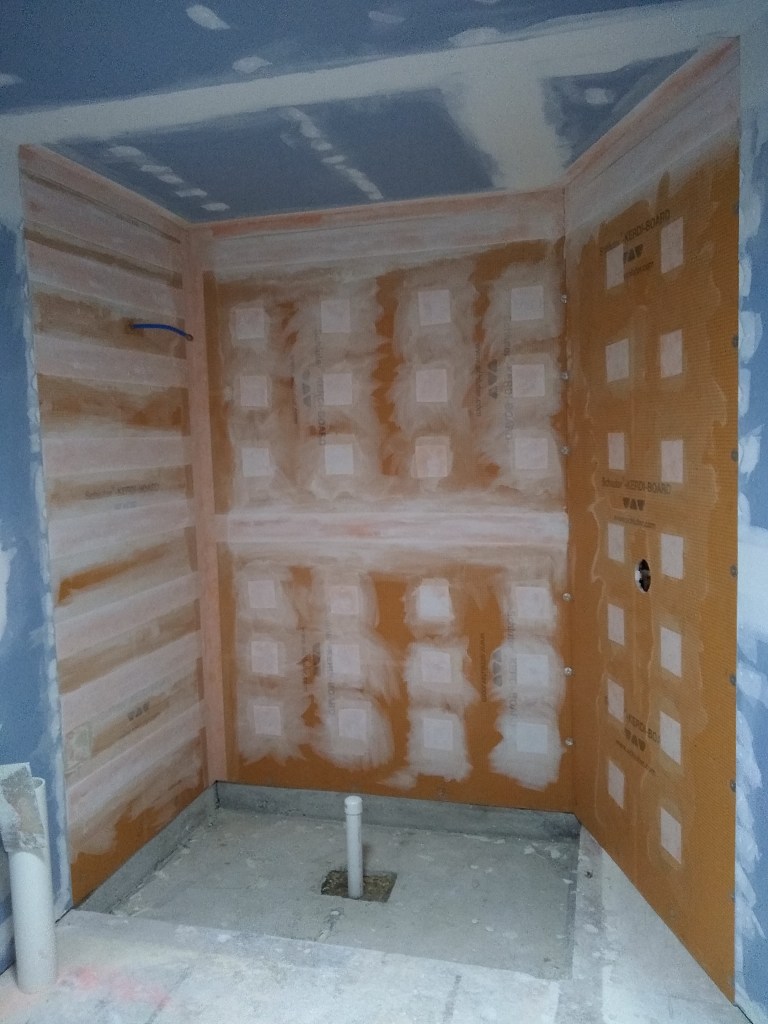
To waterproof the walls, all seems must be covered along with all fasteners and any other penetrations (intended or accidental). Kerdi band is applied much like drywall tape, except using a special Schluter thinset. I started with the horizontal seems.

For the shower head wall, which is the shortest length wall, I decided to use a full length of Kerdi band rather than cutting little squares. I did this because I saw it done online and thought it would be a good idea. For the longer back wall, I did it the usual way by covering each fastener separately with a square piece of Kerdi band. After trying both, I actually preferred doing the little squares. It seemed easier to me, and faster. Perhaps with more experience I will change my mind. After this, the thinset I mixed up ran out, so decided to call it a day.
The next day I tackled the inside corners, including one vertical and the three that meet the ceiling.
Once again, I didn’t mix up the right amount of thinset, so I ran out before completing the job. You can’t store thinset, so you have to guess how much you’ll need. Mixing it up is a process. You have to get the ratio right and then it takes 5 minutes of continuous mixing, followed by 10 minutes to let it “slake”, then another 3 minutes of mixing. And you can’t just put the new stuff in the bucket with the remains of the old stuff you just used, like you can with drywall compound. So cleaning up is also a process. It’s not just about cleaning the mixing bucket, but also the tools have to be cleaned, and the dirty water used to clean everything needs to be disposed of outside so it doesn’t mess up your drains. Consequently, I only want to do the cleanup at the end of my day. So when I ran out of thinset this time, with time still left in the afternoon, I bailed out and decided to do the cleanup and then head home rather than mix up another batch.
The next day I replaced my makeshift shower head with the real thing, since that opening would need to be waterproofed too. In doing that, I ran the water again to make sure there was no leak between the shower arm and drop ear elbow in the wall. Even though I placed a bucket under the shower arm, there was still some spillage. You can see evidence of that by the water in the pan area.

With that done, I added the remaining Kerdi band, finishing up with the two circular pieces: one around the mixing valve, and the other around the shower arm. Further waterproofing will be needed between the walls and the shower pan, once installed. But I won’t do that until the walls and ceiling in the bathroom are skim coated and primed. I’ll also wait until the ceiling is painted; not only to eliminate the risk of spilling anything on the shower pan, but also so that I don’t have to put a ladder, or whatever else I need to reach the ceiling, on the shower pan. Once the shower pan is in and waterproofed, it will need to be guarded to ensure nothing punctures it until the tile is in.
Before starting the first skim coat on the ceiling, I had to cover coat the Kerdi band between the shower and the drywall, which included the ceiling. I used all-purpose mud for that. After that dried, I applied the first skim coat to the ceiling.

As with the other rooms, I give each new surface (walls and ceilings) two skim coats before primer and paint. I let the first skim coat dry overnight then gave it a light sanding before applying the second skim coat.
After the first skim coat I discovered an issue. Before leaving for the day, I decided to take my 6.5′ level and check for flatness along the walls. The long wall where the vanity will go was not at all flat. It was quite wavy, actually. For some reason I never thought to check for that before hanging the drywall. It would have been at that time when I could have easily corrected for it. In one area it was 7/16th of an inch out. This would be evident once the vanity was in place and the backsplash installed, so I had to do something to even it out. This meant “mud framing”, which involves adding a ton of mud to make up the difference.
I started by simply applying all-purpose mud to the low spots to build them up. With such an amount of mud, it would take a couple of days for it to dry before I could put another layer on. So I decided to switch to hot mud, which would dry in a matter of hours. Also, I decided that rather than just slap it on and slowly build it up, as I started out doing, it might be a good idea to create “mud ridges”; a term I just made up. The idea is to just put down mud in the deepest troughs and use a straight edge as a screed to flatten the ridge relative to the higher parts of the wavy wall. They look like this

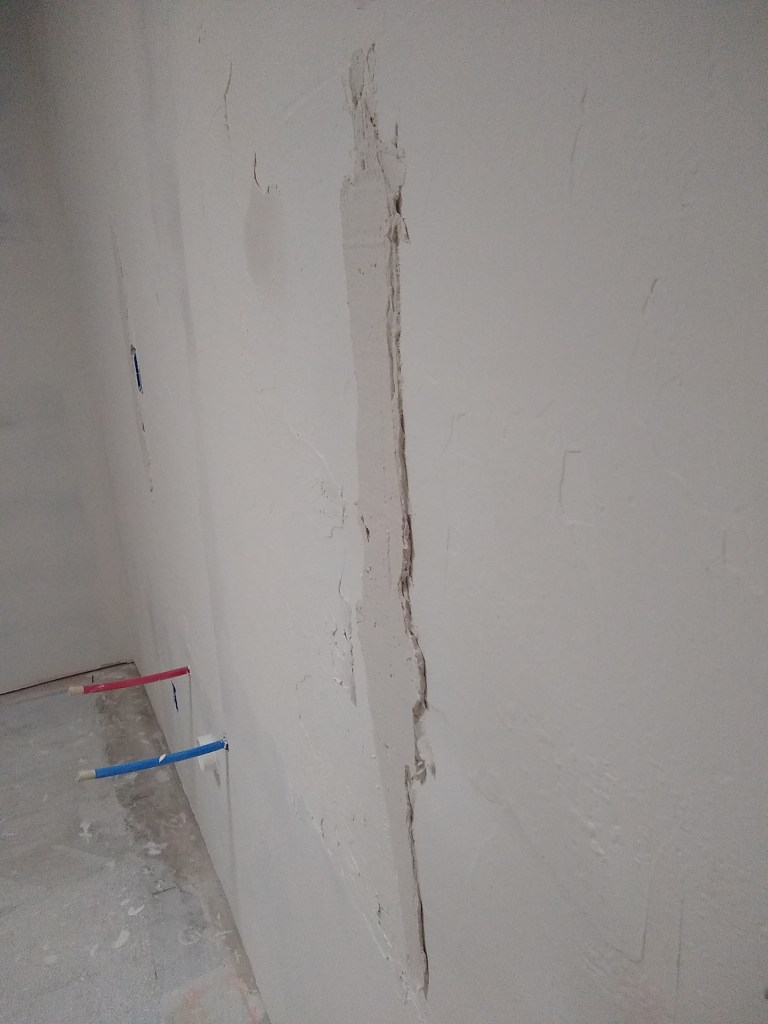
In the closeup you can see how thick the mud is. That is how much was required to bring it up to the level of the adjacent parts. Once that dried, I would use it and the other end of the wall that were at the same level to support the screed and even out the mud.
Creating these mud ridges didn’t take long, so I had to find something else to do while I waited for them to dry. I could have started the second skim coat on other parts of the bathroom, but I’d just ordered a set of skimming blades by a company called Level-5, and wanted to wait for them to arrive. So I decided to do some prefilling of the drywall I installed long back in the guest hallway and elsewhere.
The next day I returned to the master bathroom to build up the recesses in the vanity wall to meet the mud ridges. I used 90 minute hot mud.
As you can see, the mud ridges are no longer obvious. The surface is still pretty rough, but improving. At this point I just had to let the mud dry overnight before checking for flatness. Even though I used 90 minute mud, it was put on quite thickly, so it would take some time to dry. I didn’t expect it to be flat yet. I just wanted to see evidence that I was getting closer.
My fancy skim blade set arrived.

The longest blade in this set is 32 inches. My hope was that it would speed up the skimming process and provide me with nice flat surfaces. I tried using them on the wavy vanity wall as I continued to fill it, but they didn’t help much. I think they are best suited to skimming walls that area flat to start with. So I ended up building up the wall using my 14″ blade (not part of this set) until it was close enough. Eventually I got it to a point where it was far from flat, but good enough that it shouldn’t be obvious with the vanity and mirror in place, which is all I ask.
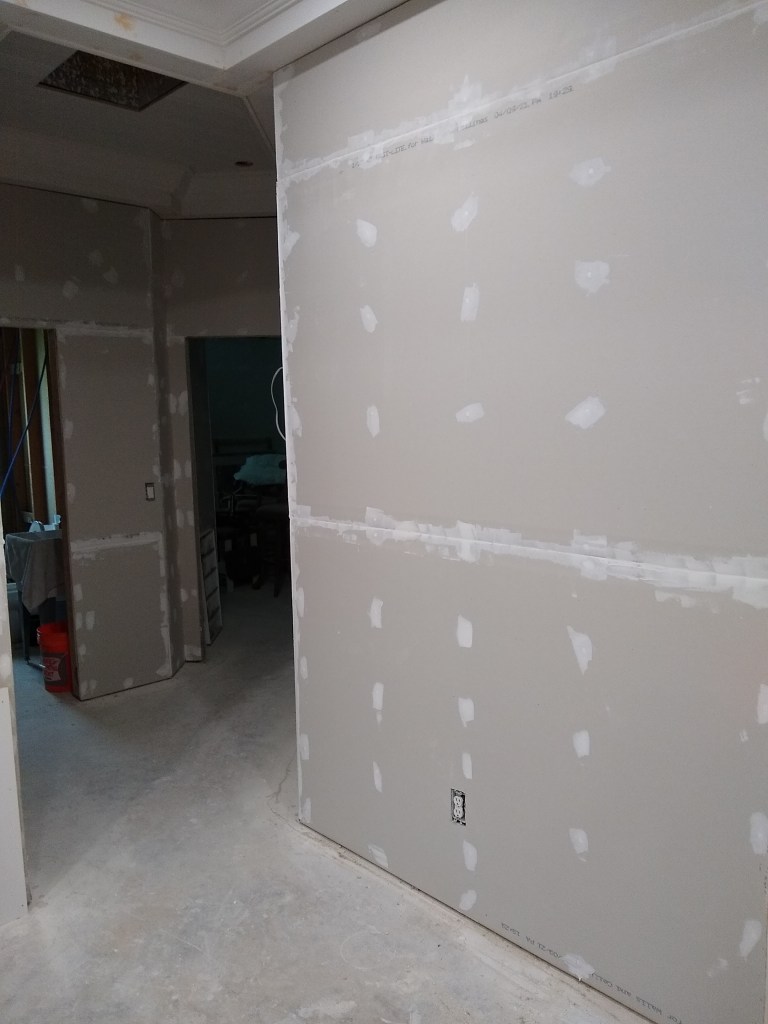
I then proceeded with skim coating the walls. As usual, I did two skim coats and it resulted in this:

In the images above, it not only received two skim coats, but also was prepped (i.e., sanded) for primer. It almost looks like it has been painted, except you can still see some of the blue drywall color in places. I was pretty happy with the result. Definitely a level 5 finish.
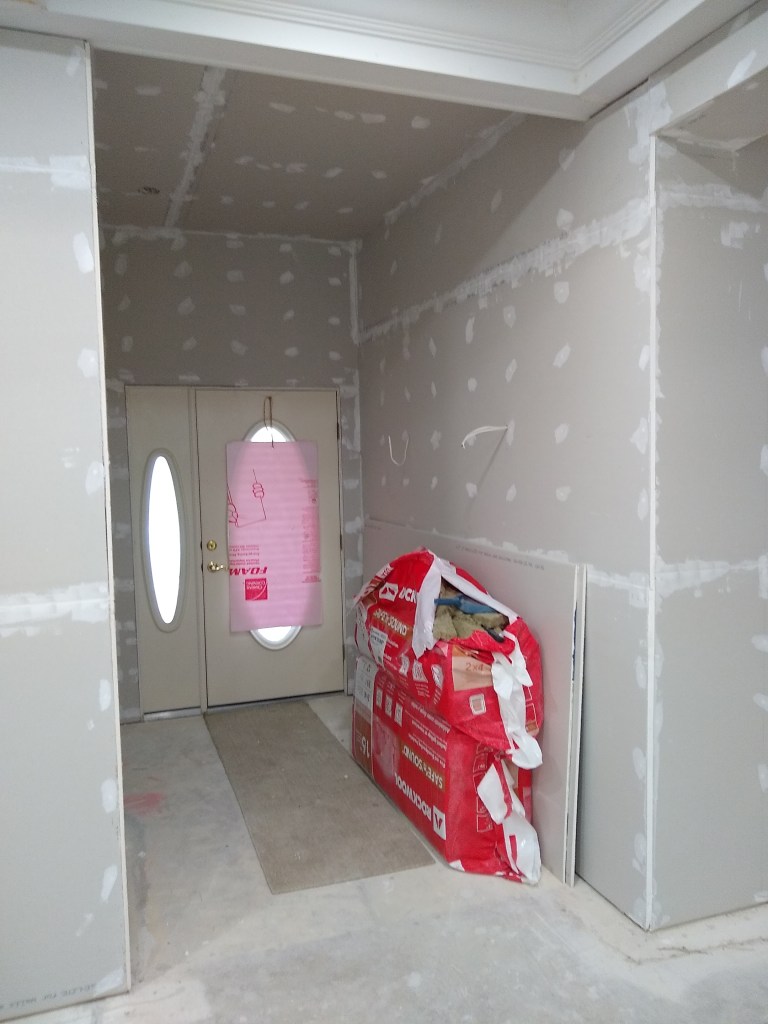
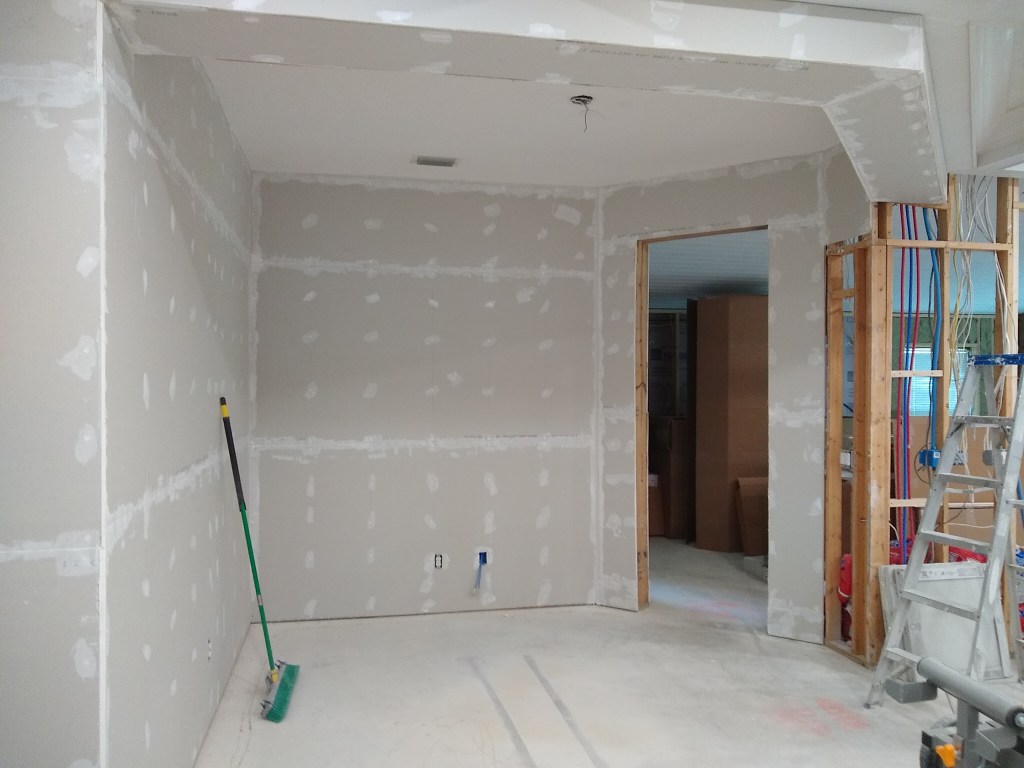
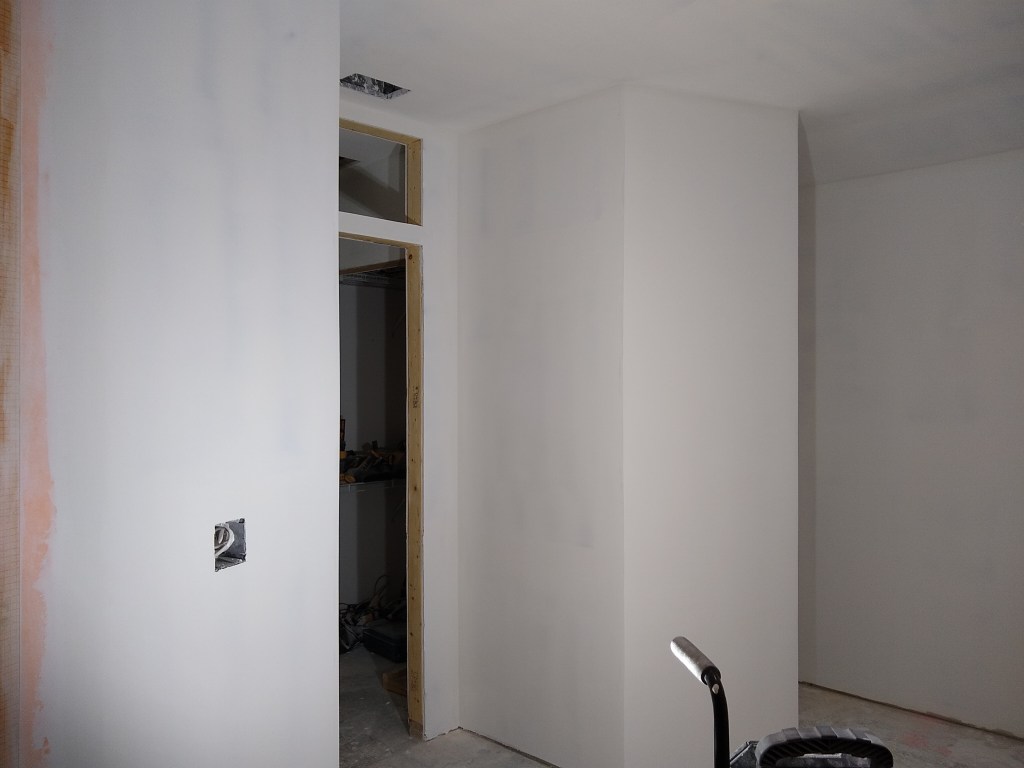
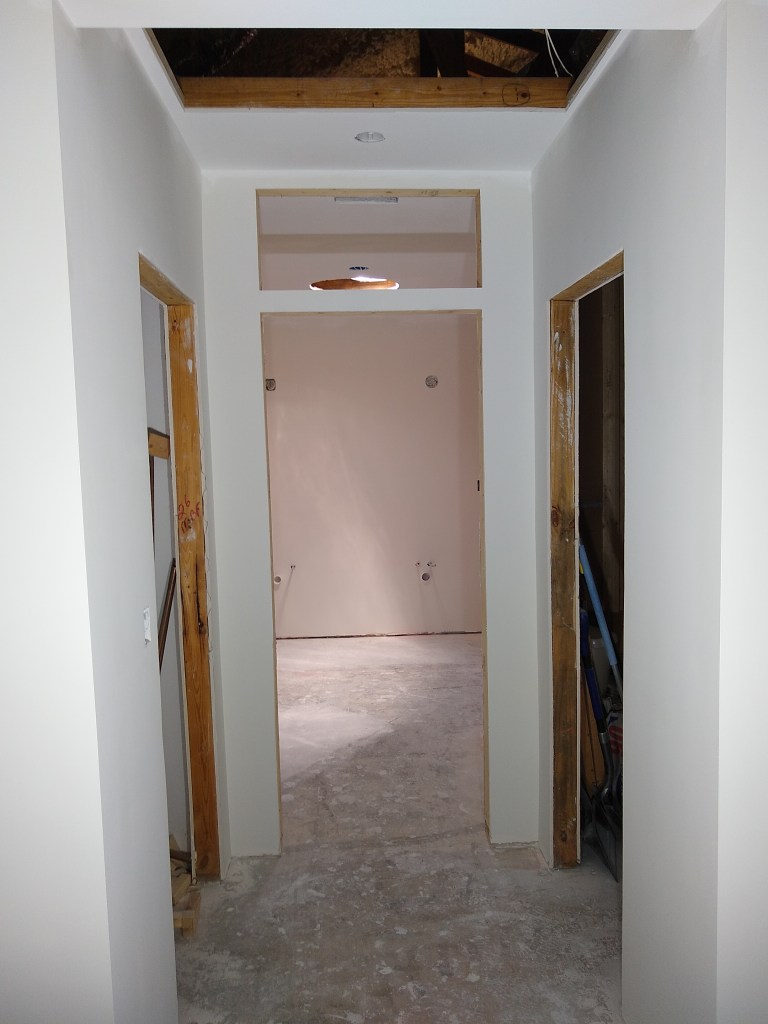
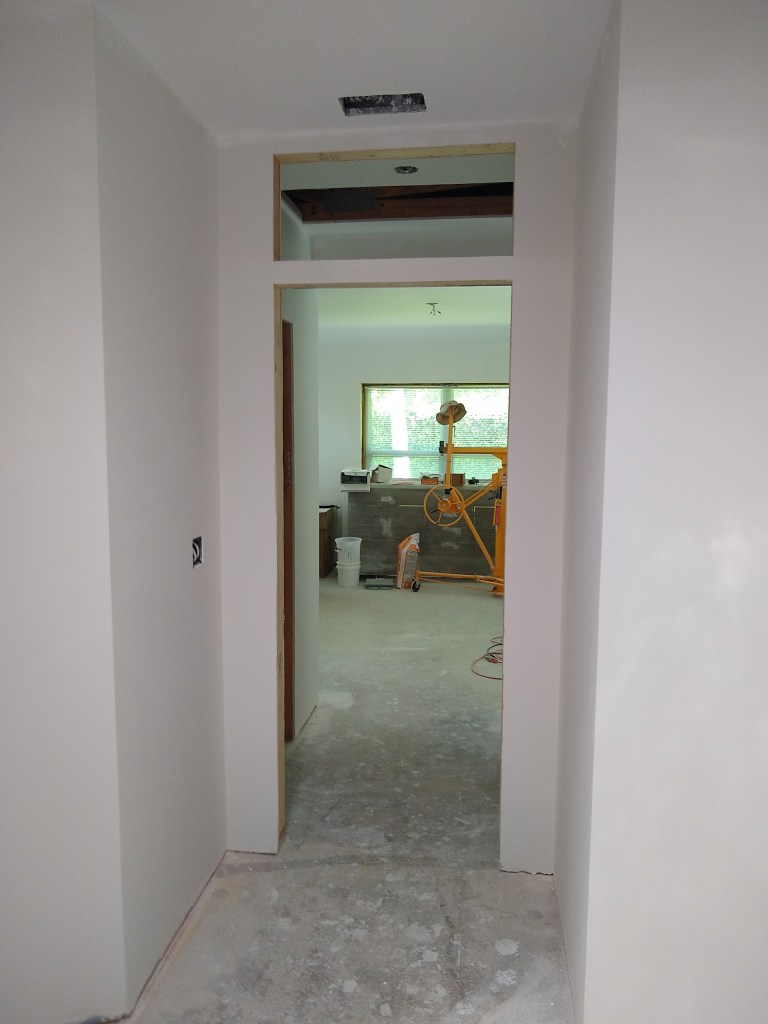
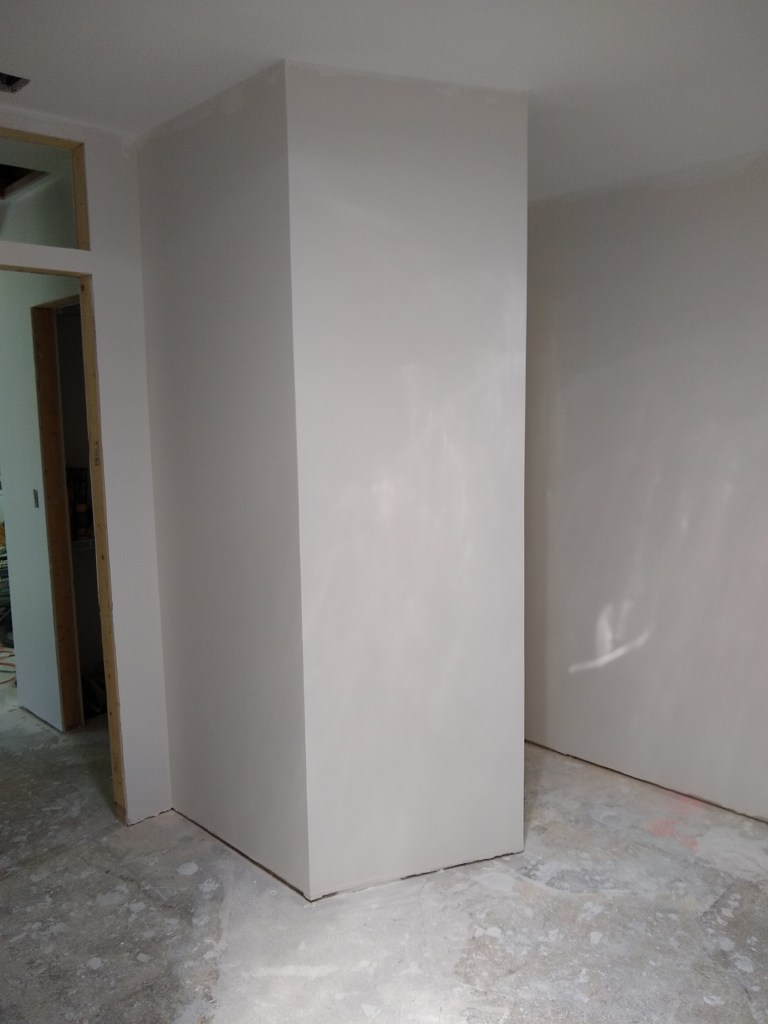
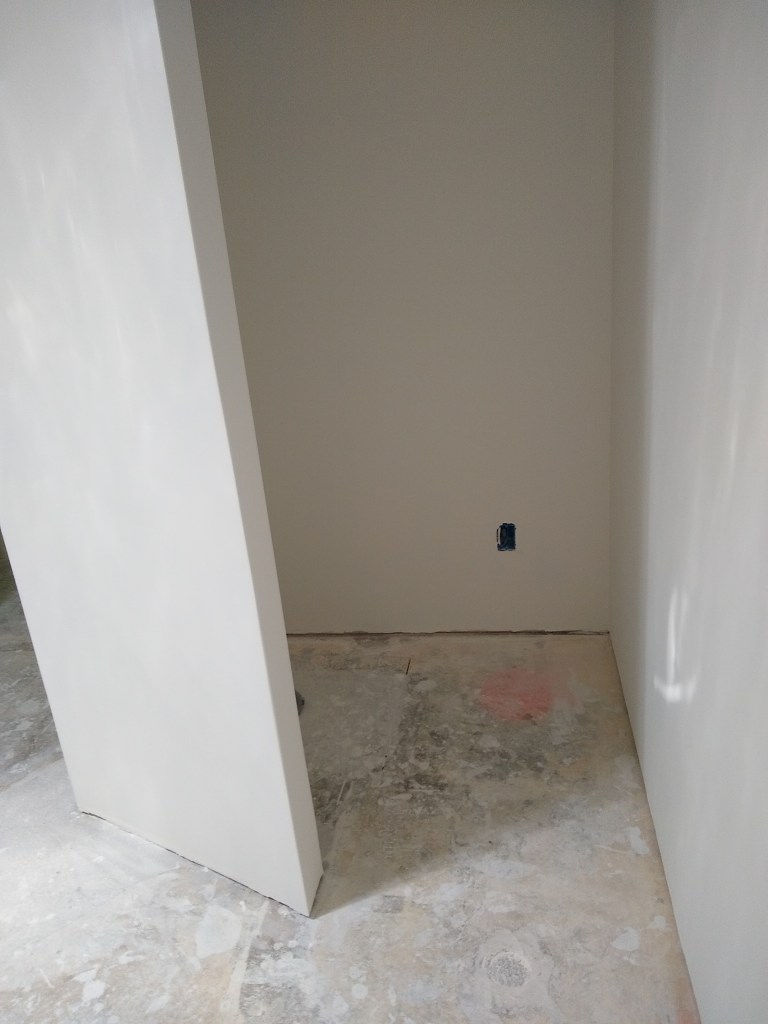
The next few days was all about priming and painting. As with the master bedroom, I primed all surfaces with a single coat, then applied two coats of paint to the ceiling. I will leave the walls with only primer for some time. I’ll probably do the final painting just before I’m ready to put the flooring down. Following are images of the walls and ceiling after priming and painting. Because the walls are still to be painted, I did not mask them off when painting the ceiling, letting the ceiling paint get on the walls at the junctions.
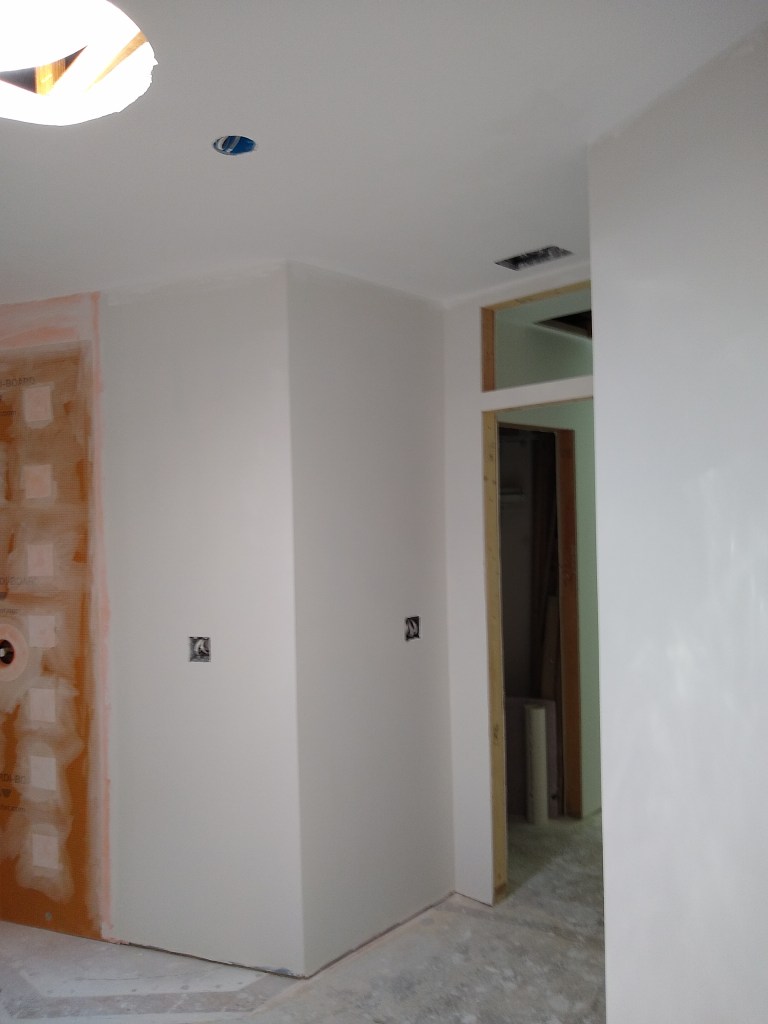

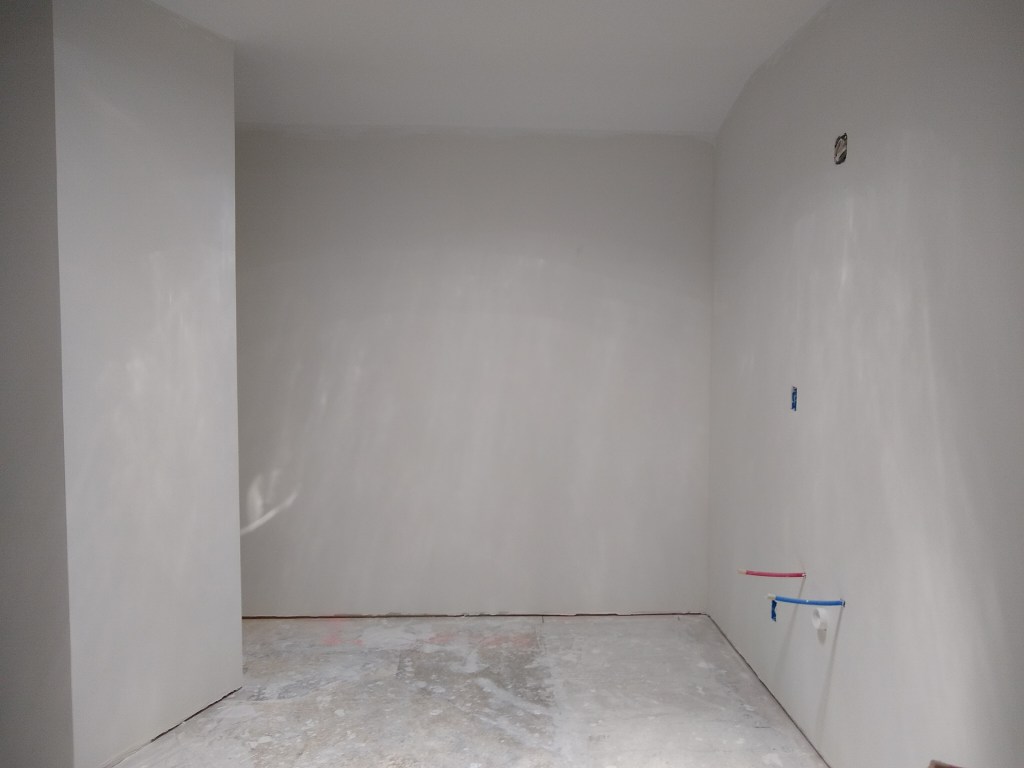
In the image above you can get a sense of how the vanity wall came out. It looks fine to the naked eye. Let’s hope it remains so once the furniture is in place. Also, the walls look a bit streaky in the picture above. They are not. That is just some light reflection. The primer on the walls looks good and consistent.

At this stage I am ready to put the shower pan in, but that will be put on hold until I address something else. I ordered my wood flooring quite a while ago, thinking I would need it by the fall. The company I purchased it from was willing to hold it that long, but after doing some estimating, it is clear to me that I won’t be ready for that for a very long time; well into next year, given my pace. As a result, I am going to have to find space in the house to store the flooring, since they will grow impatient with me after the fall. I’ve decided to store it in the dining room. In general, I’d like to have all the painting (walls and ceiling) done before the flooring goes down to avoid the need for drop cloths. However, once the flooring arrives and is stored in the dining room, it will seriously limit access to that area. So I’ve decided to finish the walls and ceiling in that area before the flooring arrives. I’ll return to the master bathroom once that is done. In the next post I’ll be covering the work in the dining room.
