As I did in April 2023, I divided my time between work on the kitchen and master bathroom and, just like last month, I’ve created two separate posts. The work in May started in the kitchen, so it’s best to start with this post. Within it I’ll mention when I switched to working in the master bathroom, which you can choose to jump to if you wish to follow the sequence.
My concrete saw arrived right on time, but the blade took a week to arrive, which was frustrating. I was keen to get going. When the blade arrived I got right on it and started extending the existing trench at a 90 degree angle toward the small wall where the services would be. Below you can see that I removed half of the trench and am working on the second half.
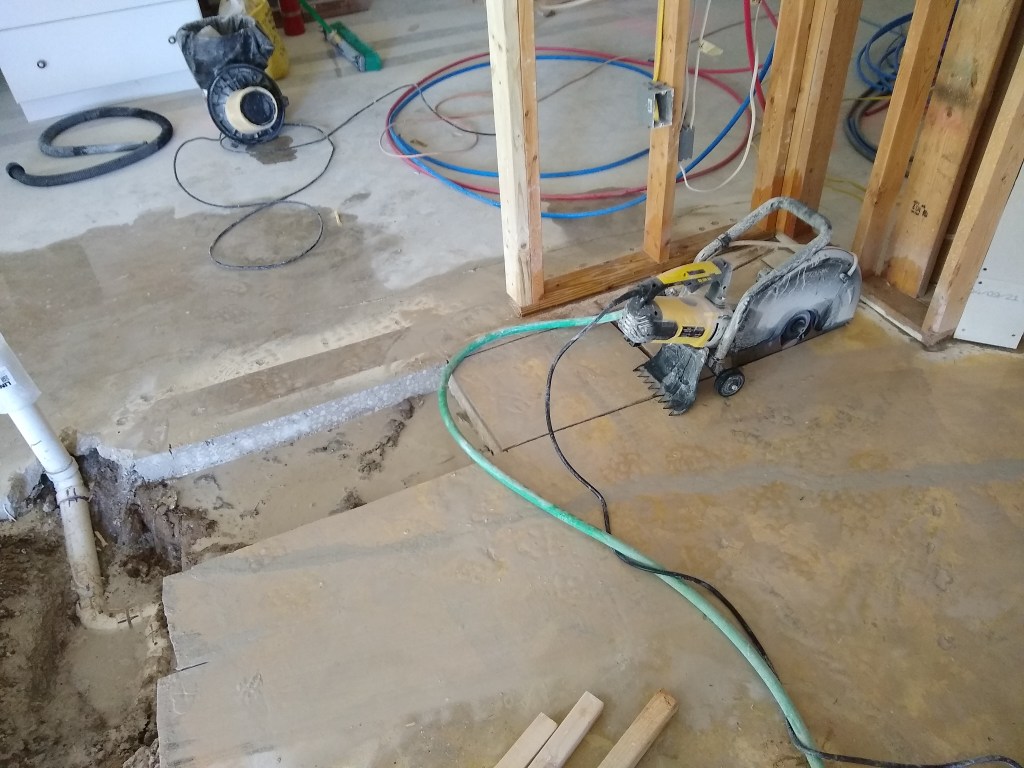
I was happy with the performance of the saw. It is rated at 15 amps and I had it plugged into a 15 amp circuit, so I had to go easy with it, which I discovered the first time I tripped the breaker. It was a bit tricky getting into that corner. I got as close as I could. Here’s as far as the saw would take me.
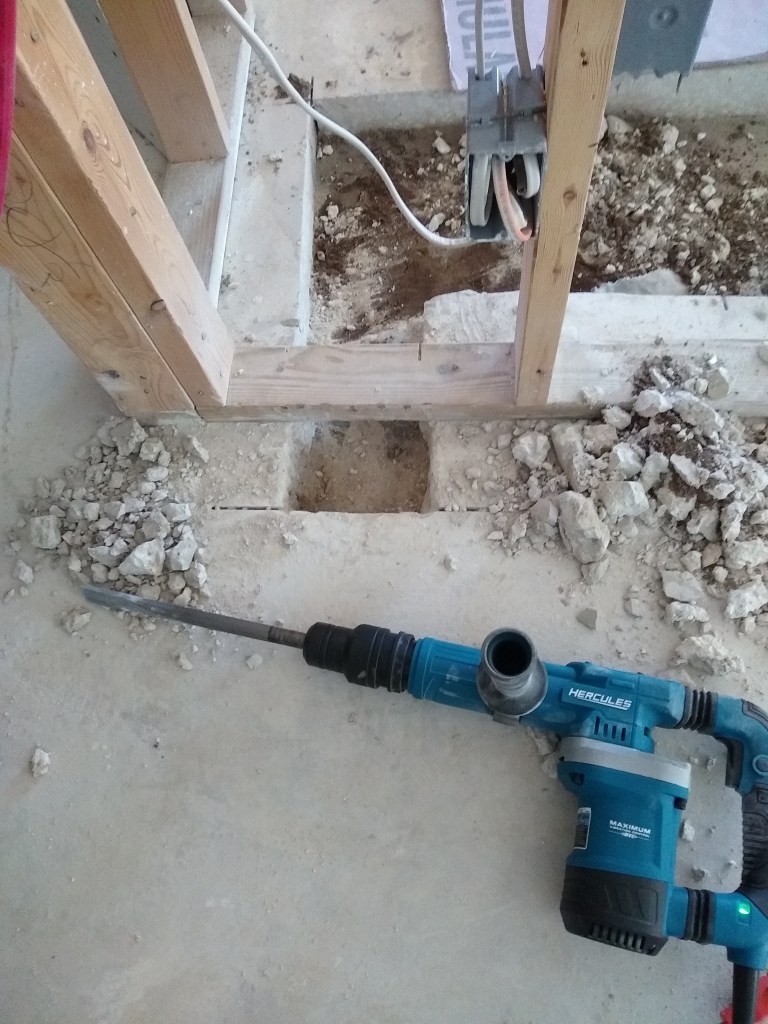
The next part would be tricky because I had to remove the concrete from under the bottom plate of the wall so I could feed the water and electrical lines down. I used my big honkin’ saw to get as close as I could, but resorted to a drill bit and cold chisel and hammer to get the rest of it.
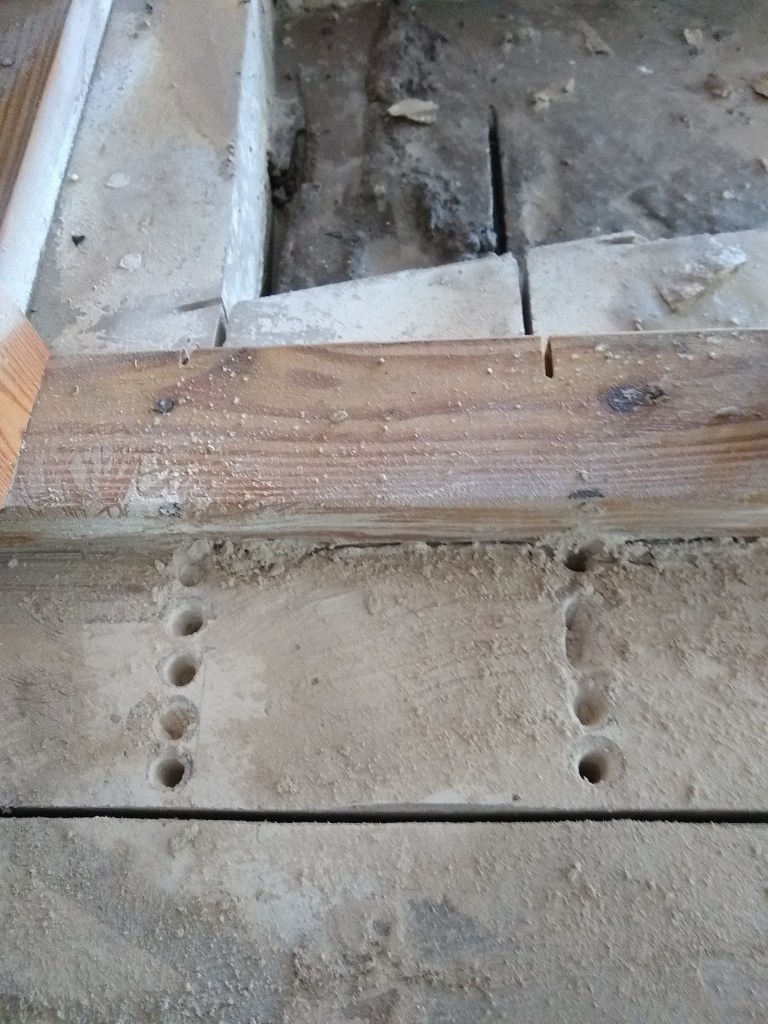
You can see how I used the saw to get as close to the bottom plate on the one side (cutting into the plate a bit) and how I used the saw again to give me a starting point on the other before resorting to the drill. I chipped away at this for some time using a hammer and cold chisel before giving up. So I went home to look into renting a small powered jack hammer. While exploring that option, I decided to buy one instead since I expect I’ll need it for the two showers too. So I picked one up from Harbor Freight and it made quick work of it.

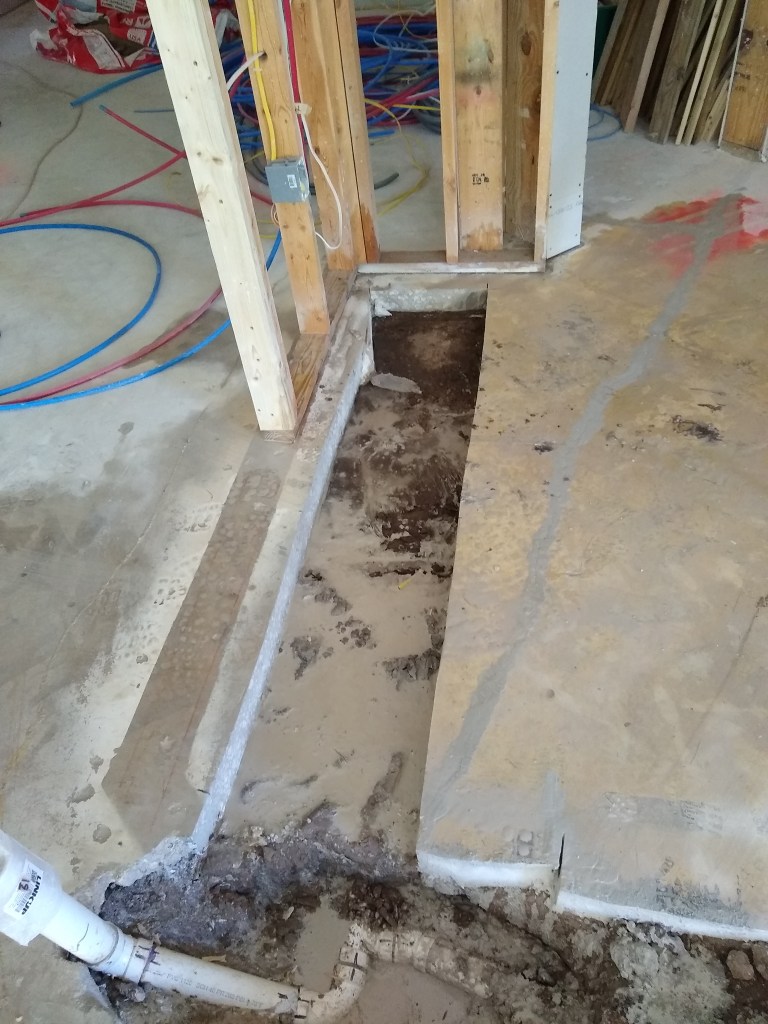
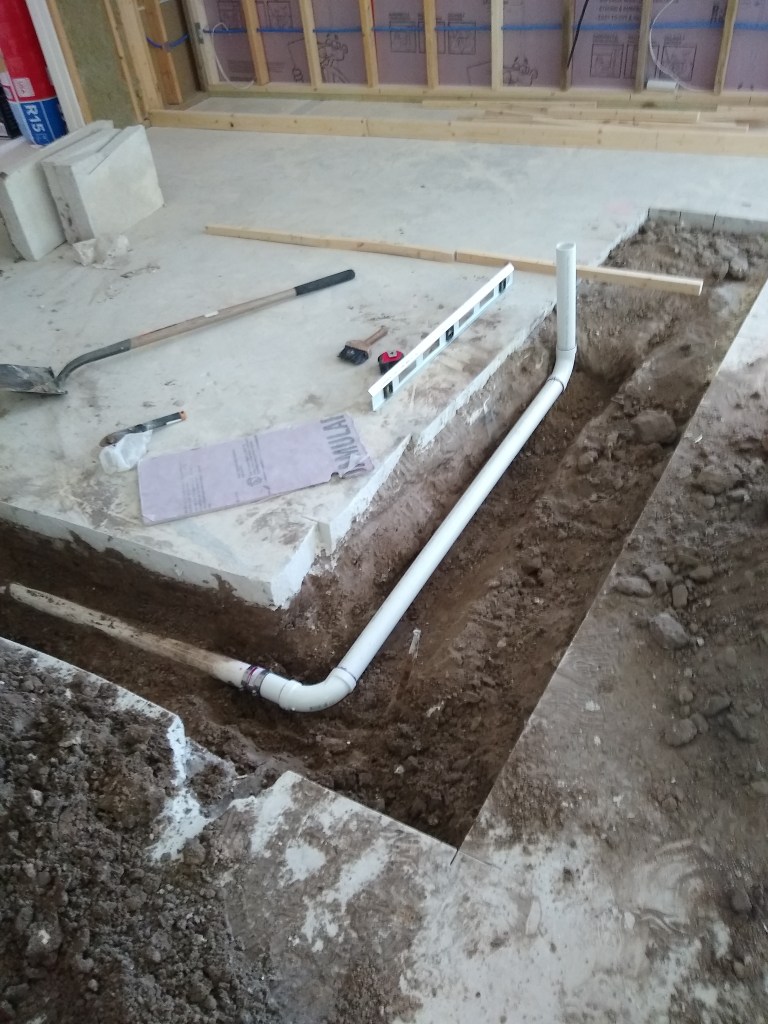
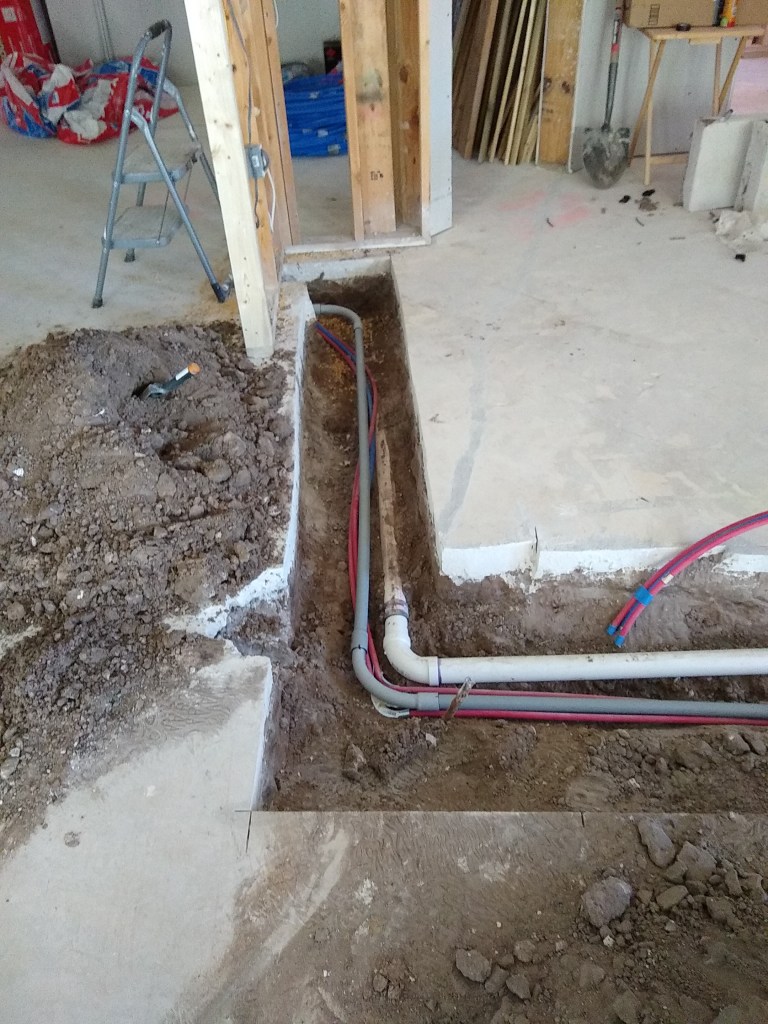
Next, I cleared away the dirt to get at the existing drain and connected the new section to it, as shown below. The new section will come up into the bottom of the cabinet that will house the sink. The dishwasher, which will be located next to the sink cabinet, will also tie into this drain.
I placed a hose in the drain and ran the water for a while, feeling under the joints for any sign of leakage. The joints were well sealed, so no evidence of water around them.
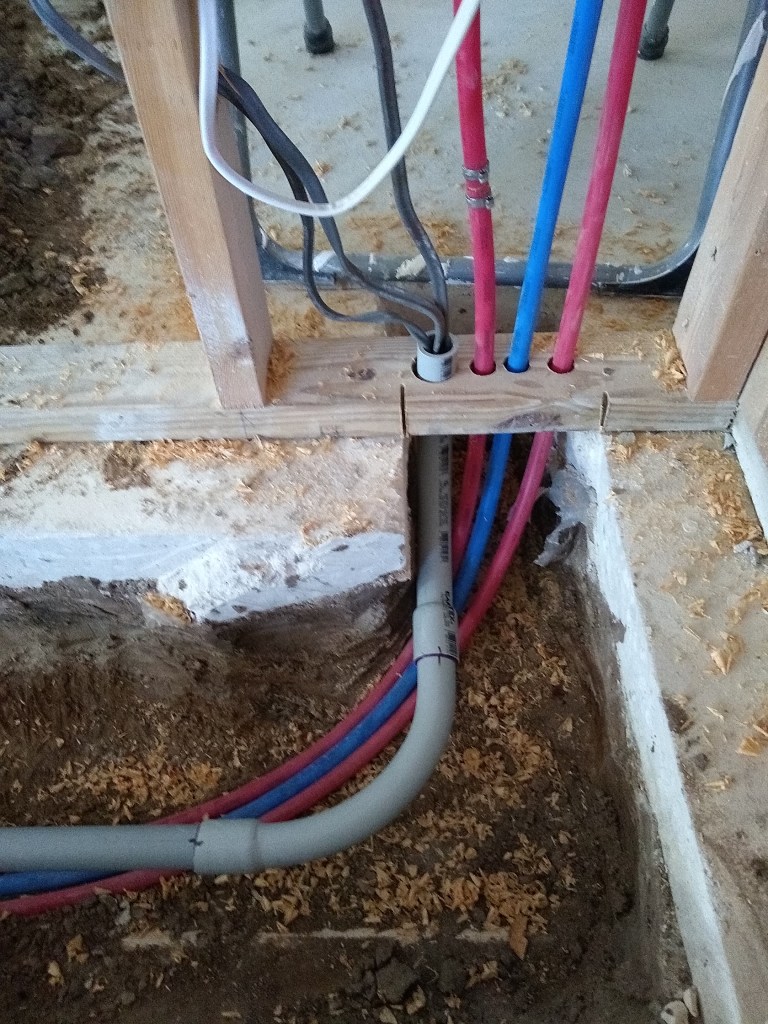
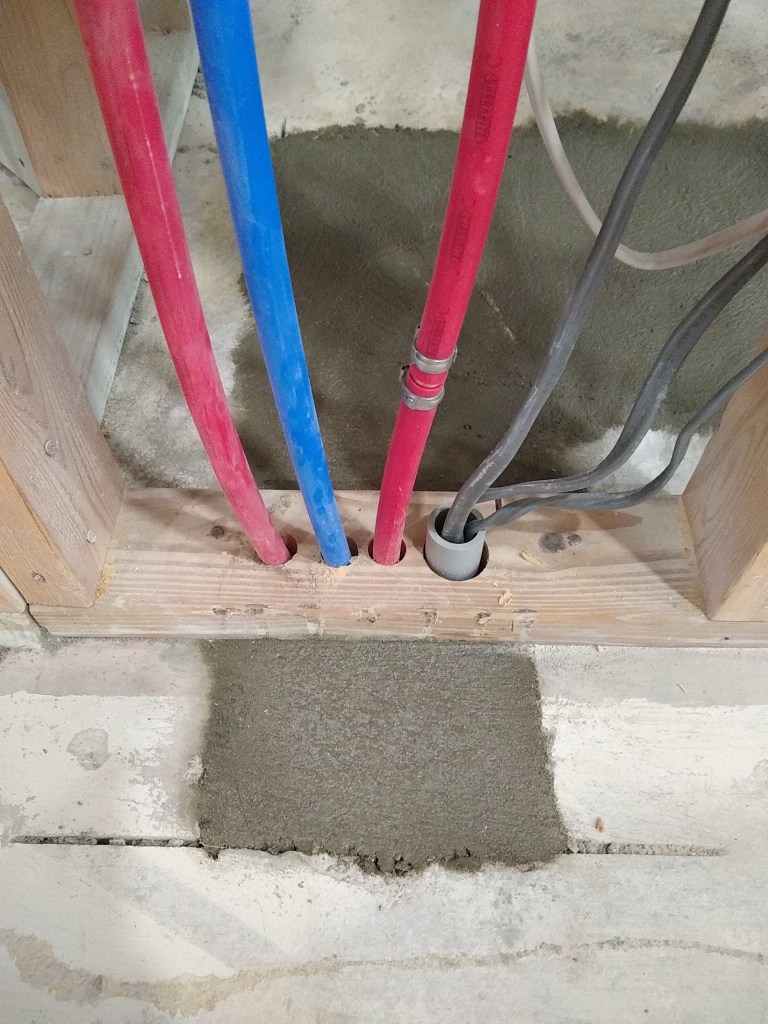
Running along side the drain are the water supply lines for the sink (red and blue) and dishwasher (red).

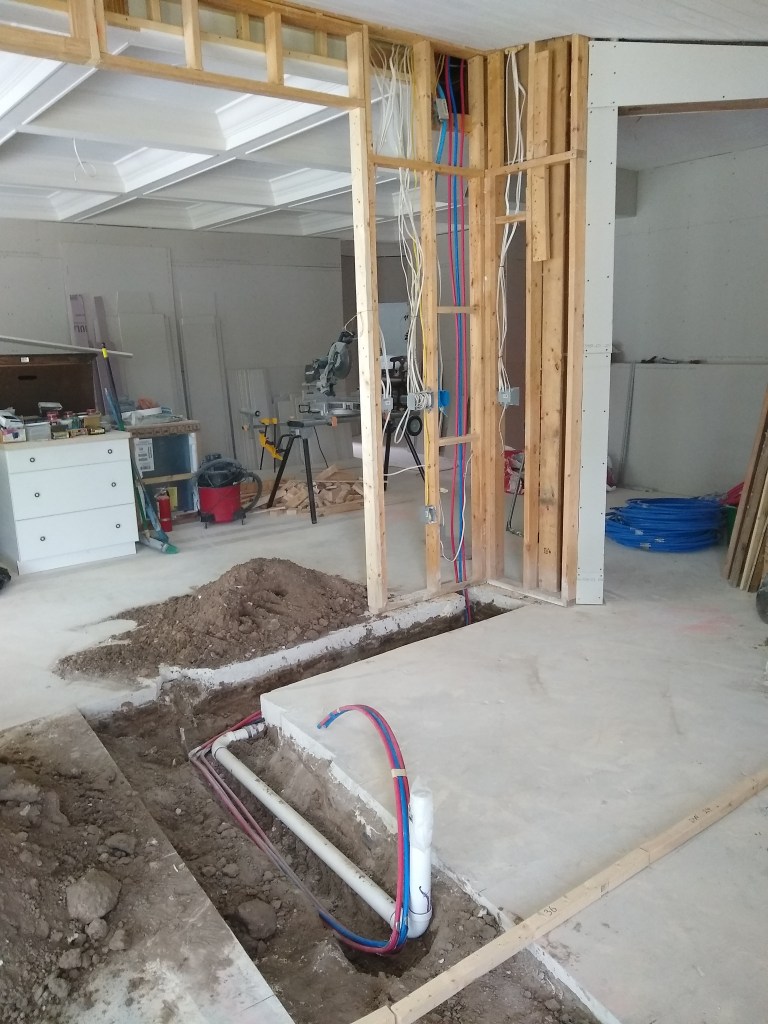
Here they are coming down from the ceiling entering the trench. Note the bracing I added to support the lines within the wall.
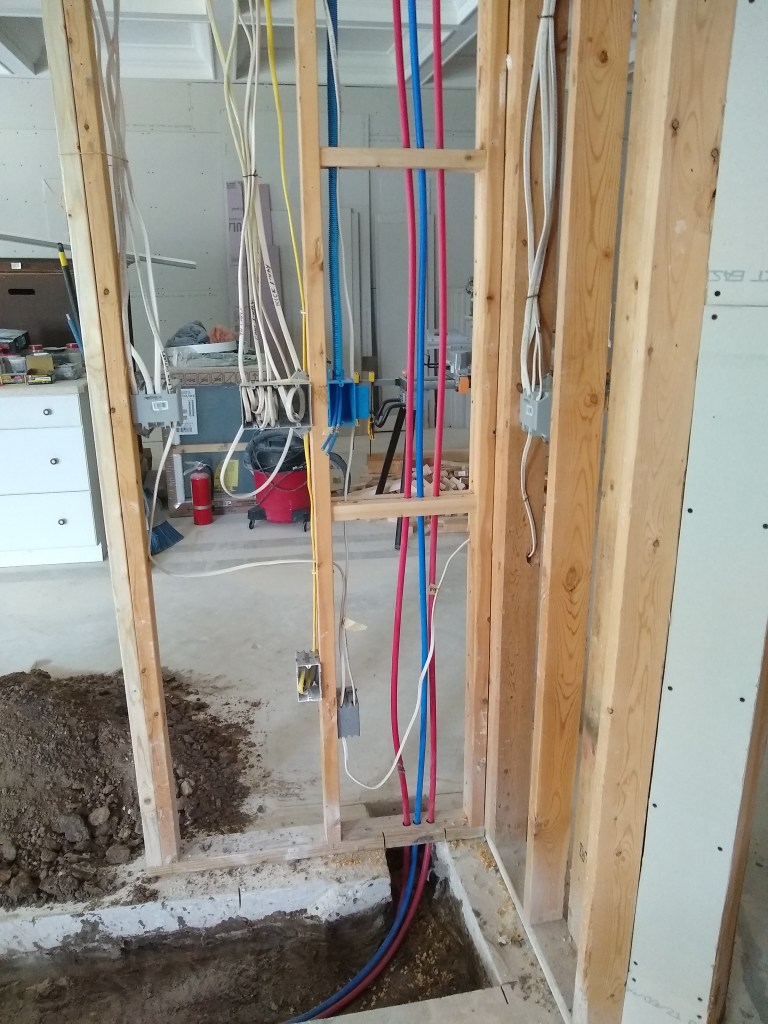
Here is another angle.
With this done, it was time to call for a plumbing inspection. I had to wait a day because it was the weekend, so I shifted my attention back to the master bathroom (see that post).
The inspection went well and I used the time to ask about how best to run the electrical lines to the island. Online there were differing opinions about whether one should use a conduit under a slab. After speaking with the inspector he said that no conduit was needed if you used underground feeder (UF) cable, which is what I was planning to use. This is considered fine for direct burial. However, he recommended I use a conduit anyway, so that’s what I did. So off to the store I went to pick up a 1″ conduit that would house 3 wires (two 12/2 wires – dishwasher and GFCIs, and one 14/2 for kick plate lighting).
A wire fishing line was required to pull the wires through the conduit. I pulled one at a time. The last one required a lot of effort because the space in there was getting limited. Here are the wires entering the conduit from the wall.
Here they are en-route to the island.
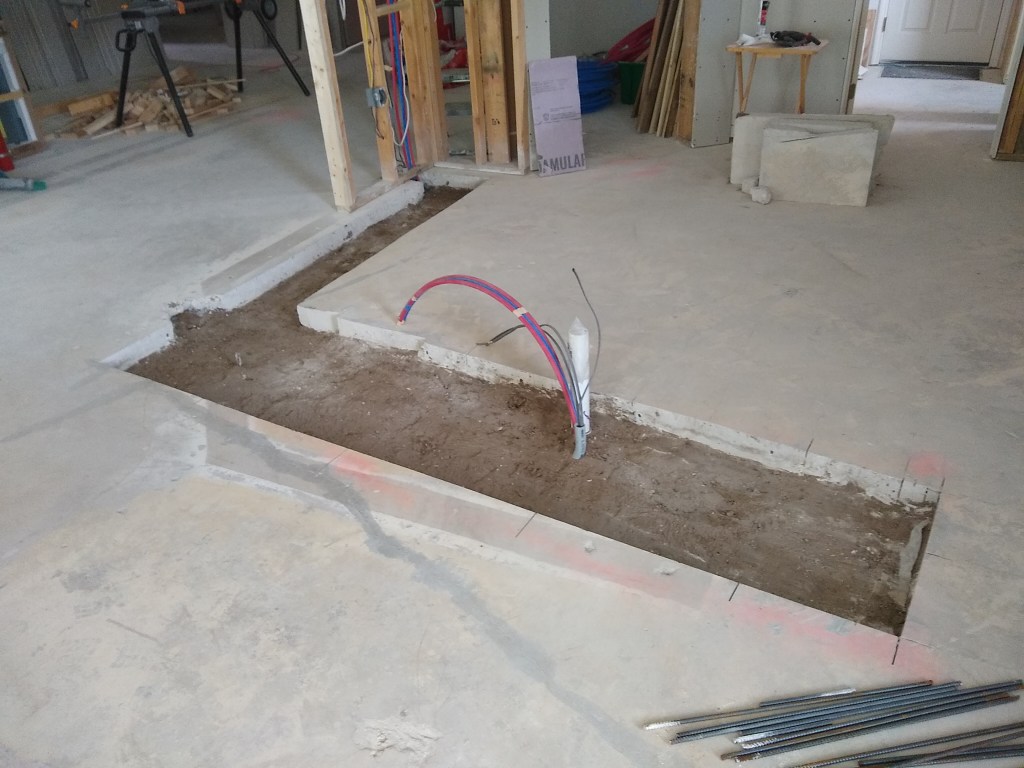
And here they are emerging at the the island location.

The conduit was made up of a single 10 foot section of PVC and four 90 degree bends. They are glued in the same was as the drains. Before entering the conduit, I put the wires in their respective junction boxes ready to be hooked up. The wire for the dishwasher was not long enough, so I introduced a junction box in the attic where I spliced in a new length of wire that would reach the island. I wired it up and tested it.
So it was time to get this inspected. While waiting for the inspection I drilled the holes for the rebar. Rebar is needed if the width of the trench is over 22 inches, so I only needed rebar along the wide section of the trench. The part of the trench that runs along the wall is only 15 inches, so that does not require reinforcement. Shortly after drilling the holes, the inspector arrived and gave me the okay to fill in the trench, as you can see below.
I had a couple of days to wait the pest control guy to arrive and treat the soil for termites, so I returned to work on the master bathroom. I also made a run to the store to get all the concrete I would need. I estimated seventeen 60 lb bags based on what I used in the master bathroom, which, coincidentally, was about the same amount of area to fill.
After the soil was treated, I prepared the trench for the pre-pour inspection, which was scheduled for the next day.


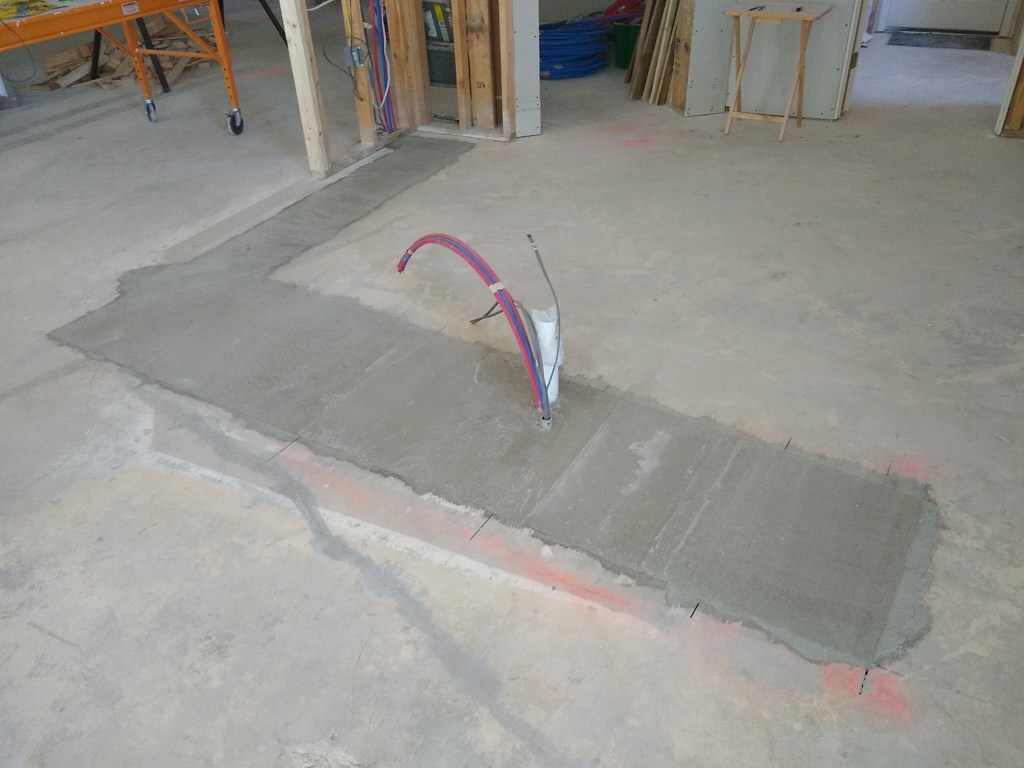
The inspection went without incident and I began the process of filling in the trench with concrete.
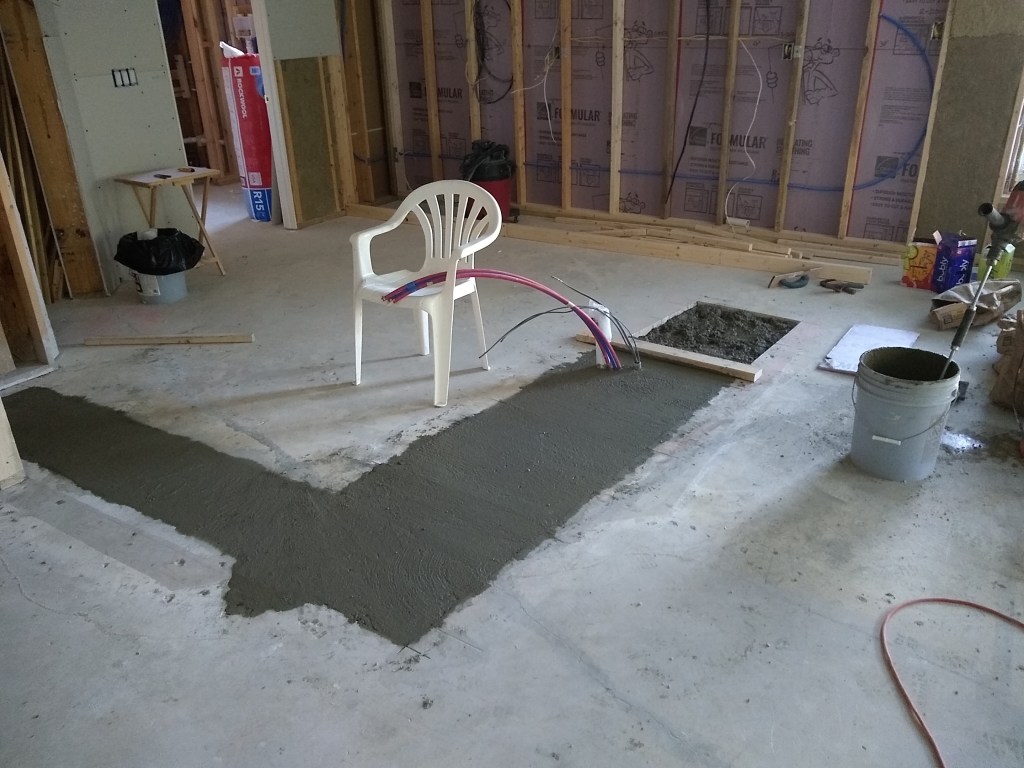

And here it is finished.
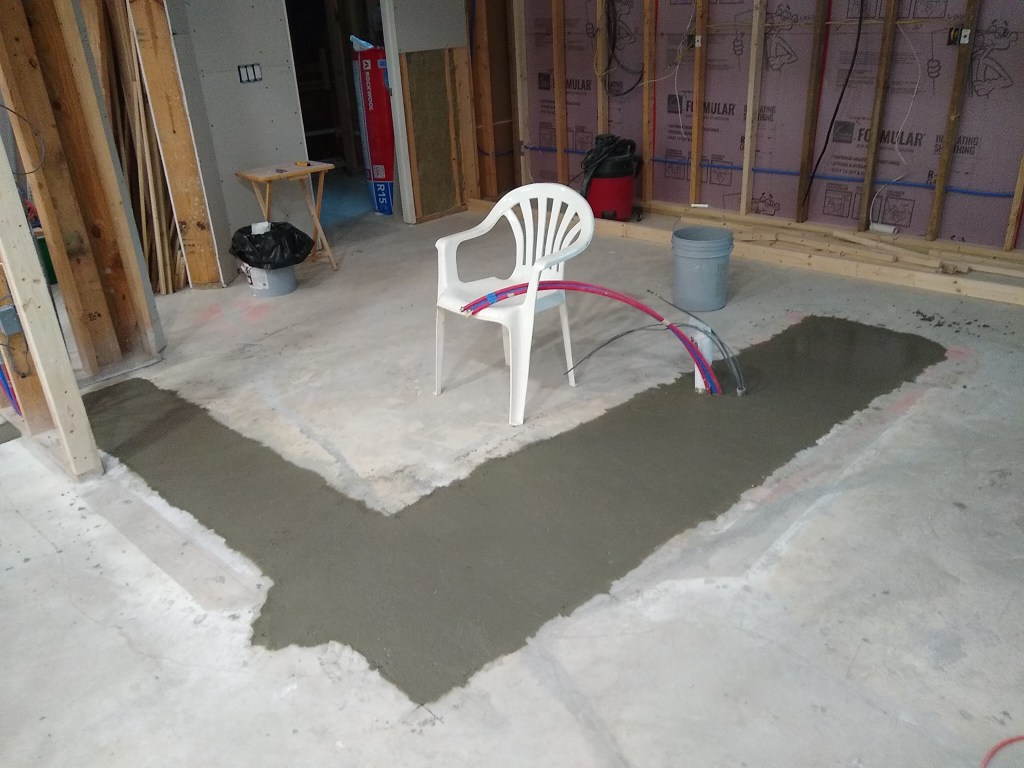
Here are a couple of closeups of the area where the services enter.

The next day it looked like this.
You might be interested to learn that I used almost all of the seventeen bags I bought. There was very little waste, so I was pleased. After this I returned to the master bathroom to start removing the existing shower pan.
As mentioned in the post about the master bathroom for this month, I had a period where I had to wait on deliveries, so I decided to grind smooth the concrete I had poured in the master bathroom and kitchen. Here is an image of the trench in the kitchen after I smoothed it out.

That’s all for the kitchen in the month of May.
