When I returned from a really fun mini-vacation in Mexico, I arranged to have an inspection of the drywall I recently hung in the master bedroom and workshop so I could move forward with those walls. The inspector not only approved them, but could see that I was doing a thorough job, so gave me a drywall final approval, meaning that all the drywall was approved, even though I had not hung all of it. This was really great because it means that I no longer need further inspections when it comes to drywall. Of course, there will be many other inspections to come, but I have a lot of drywall work ahead of me, so it’s nice that I don’t have to bring an inspector in for that part.
After the approval, I got right to prefilling the walls in the master bedroom, which involves adding a quick-set mud to all cracks and seems before taping. This mud has a hardening compound, so it dries very hard. I used a 90 minute quick-set mud, which means you get about 90 minutes to work with it before it becomes too stiff to manage. By prefilling, one hopes to reduce the likelihood of cracks developing down the road. In the interest of speed, the prefill phase is often skipped.
I also used the quick-set mud I had remaining after the prefill to cover the screws. The screws will receive several coats, but the first one will be with the quick-set mud. Subsequent coats will be with whatever mud I am using.

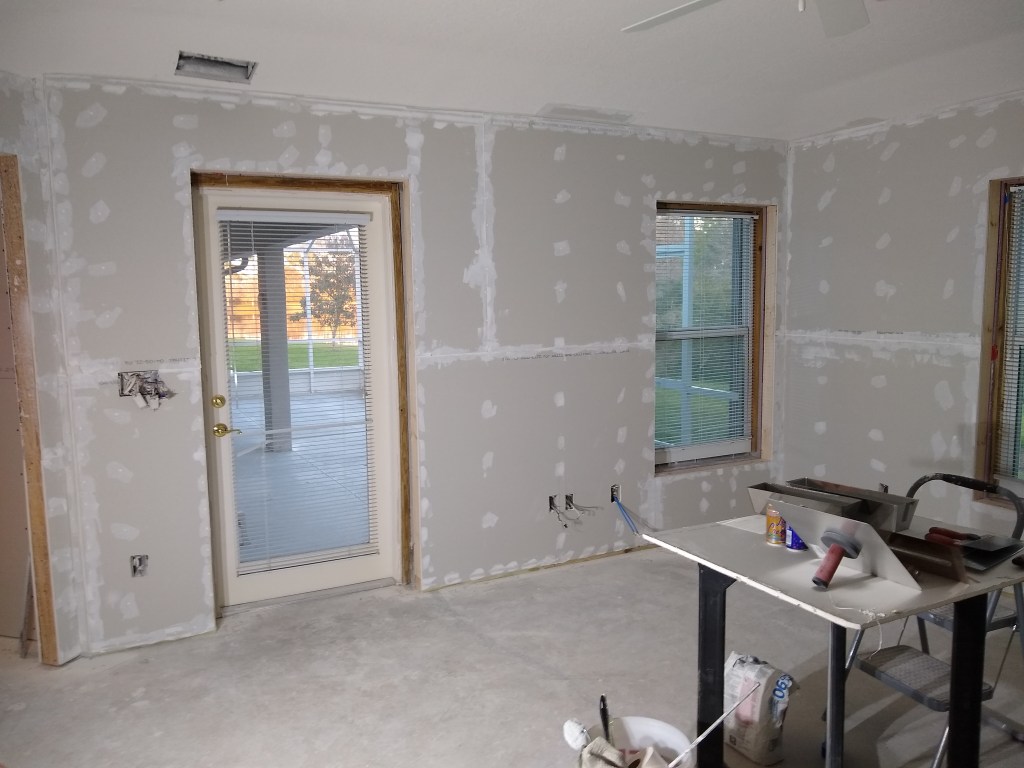

The next step was taping the joints, but first a bit of theory. Drywall is manufactured with beveled edges along the long sides of the board. The short sides are not beveled. When two beveled edges meet they create a tapered edge, which provides a place for the mud to go when taping and coating the joint. The mud will fill the recess, bringing it up to the level of the rest of the board. A butt joint is one that is missing this taper. Without the recess, the mud that is applied to the joint will create a small hump (think speed bump). To hide the speed bump, one must apply mud in such a way that extends the speed bump, making it very gradual. It will be there, but hopefully not visible. Because of the need for this extra effort, one strives to minimize the number of butt joints and, when unavoidable, place them in places that are less noticeable.
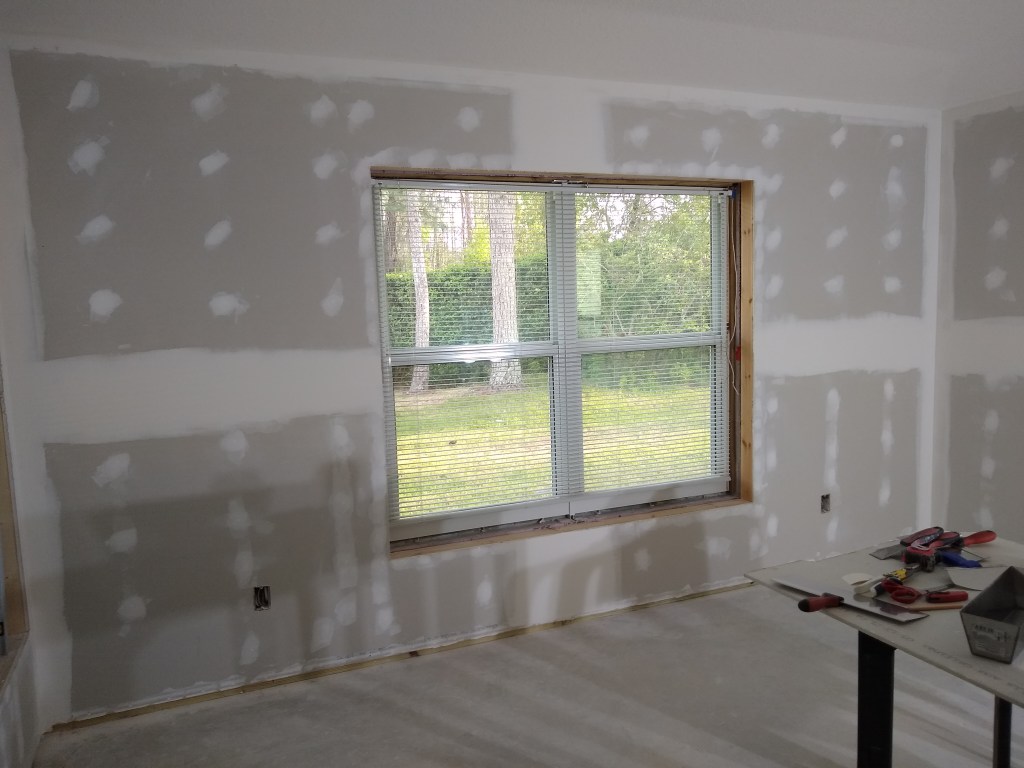
I put most of my butt joints above and below the windows. This way they are not very long and in places that are unlikely to show. My largest butt joint runs vertically between the door and window on the east wall. I also have a butt joint at the bottom edge of the window on that wall. So on the east wall I have two butt joints: one long and one short. Alternatively, I could have arranged it in a way where I had a butt joint above the door and one above and below the window, resulting in three short butt joints. In retrospect, I think I should have gone for the three short butt joints. I think it would have made finishing easier. I’ll keep that in mind in future.
I started by taping the flat joints, beginning with the butt joints (vertical joints). By doing that, I was able to avoid any “dangling” tape ends. That is, the ends of the tape of the butt joints would subsequently be covered by the tape used to cover the horizontal flat joints. The tape ends of the horizontal flat joints would be covered by either window/door casing or meet another wall, so they would not be dangling either.
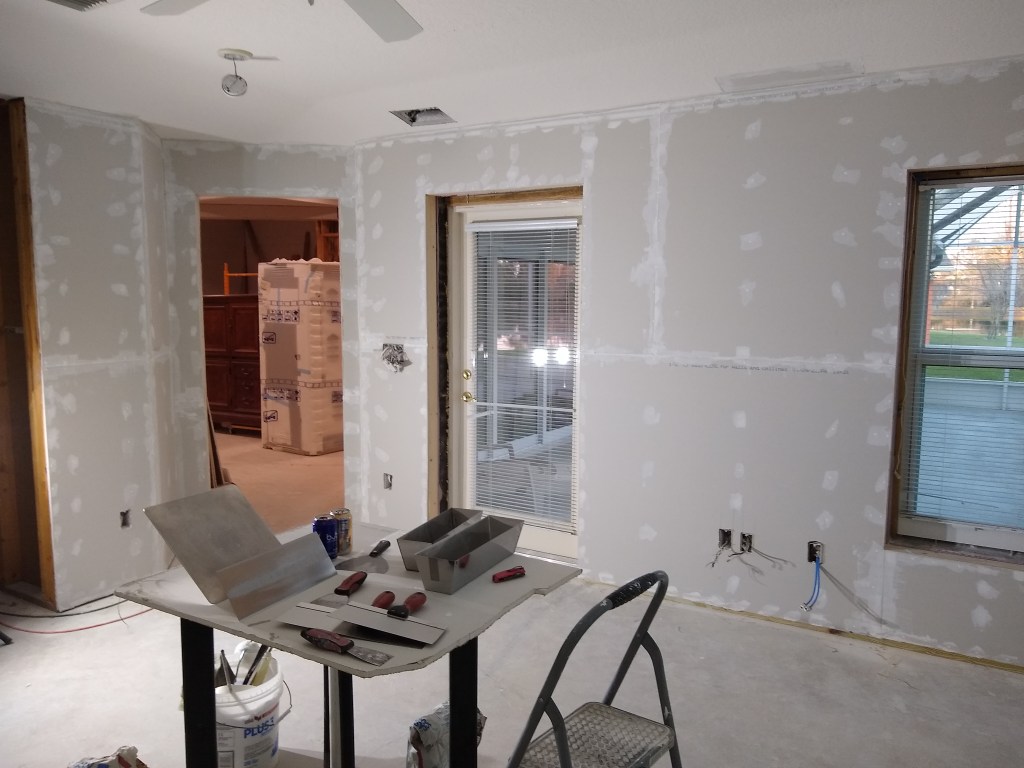
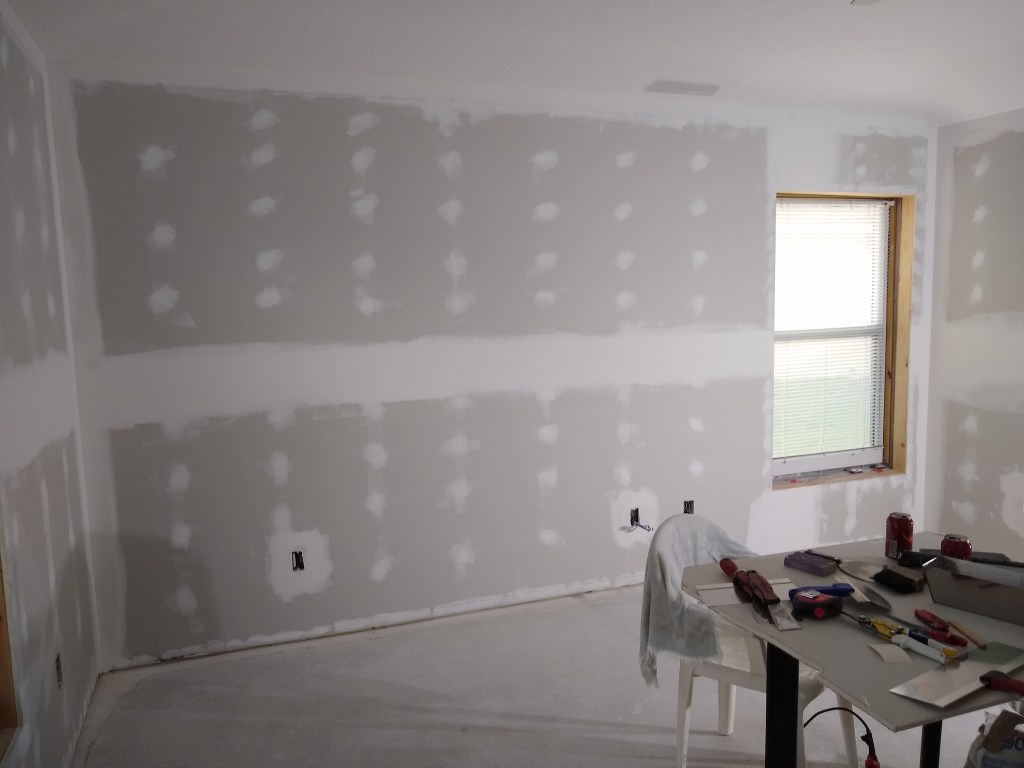
After taping the flat joints, I did the inside corners where the walls meet. After that, I did the outside corners, then finally I taped the inside corners where the walls meet the ceiling. After that, the screws were coated again using the all-purpose mud I had remaining in the pan. Here is the result.

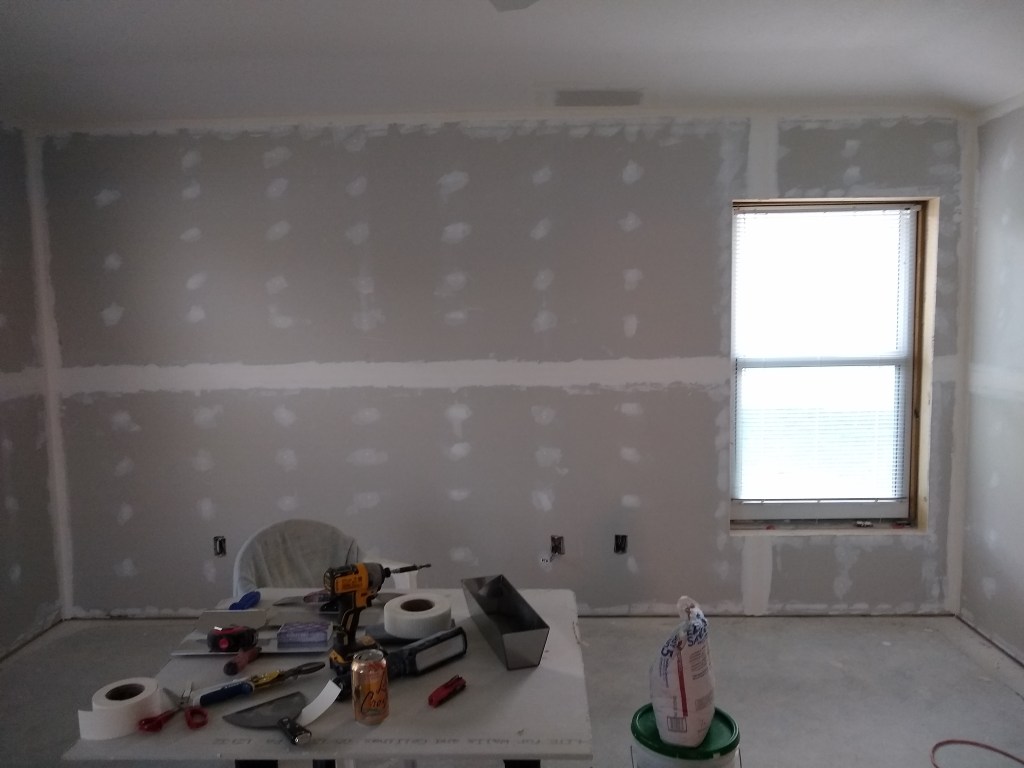
The next step is to coat the taped joints. I used an all-purpose mud to apply the tape. All-purpose mud is a heavier mud than the mud I use for coating. The all-purpose mud provides better adhesion, but is more difficult to work with and to sand, so once the taping is complete, I switch to the lighter and more friendly topping mud.
Cover coating the taped joints is done to make the joints flat (or appear flat). I’ll be doing two cover coats. The first one is to cover/hide the tape and, in the case of the flat beveled joints, bring the joint to, or near, the level of the rest of the wall (filling in the recess). For the butt joints, the objective is to taper the hump, consequently, butt joints have a wider coat.
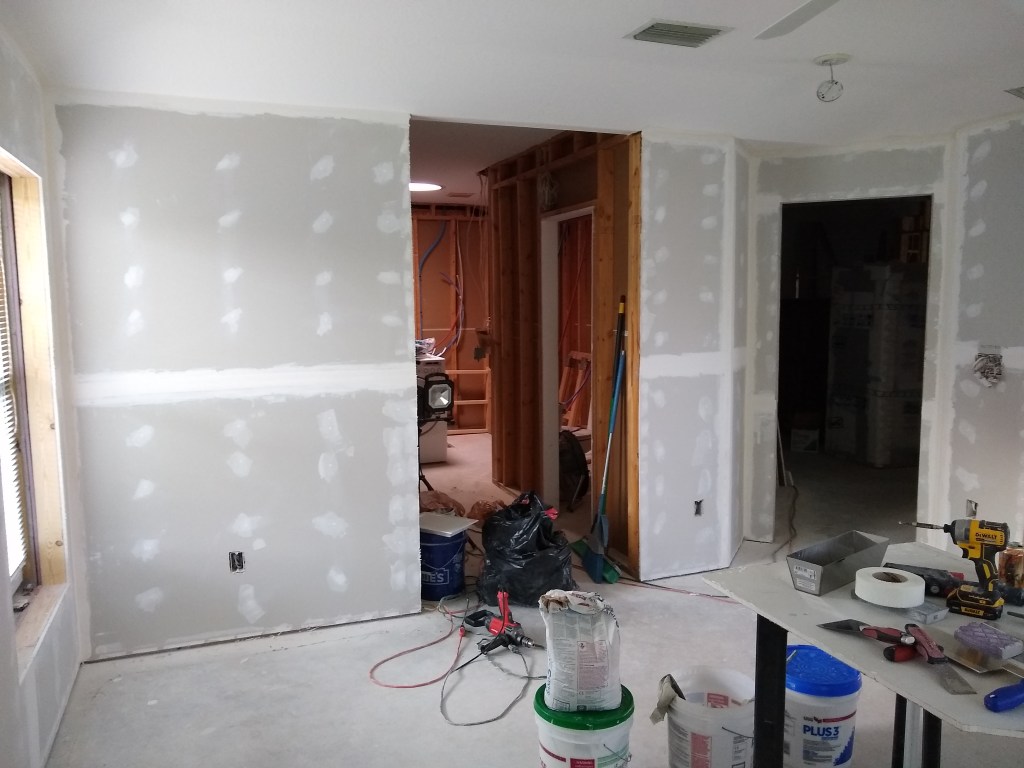
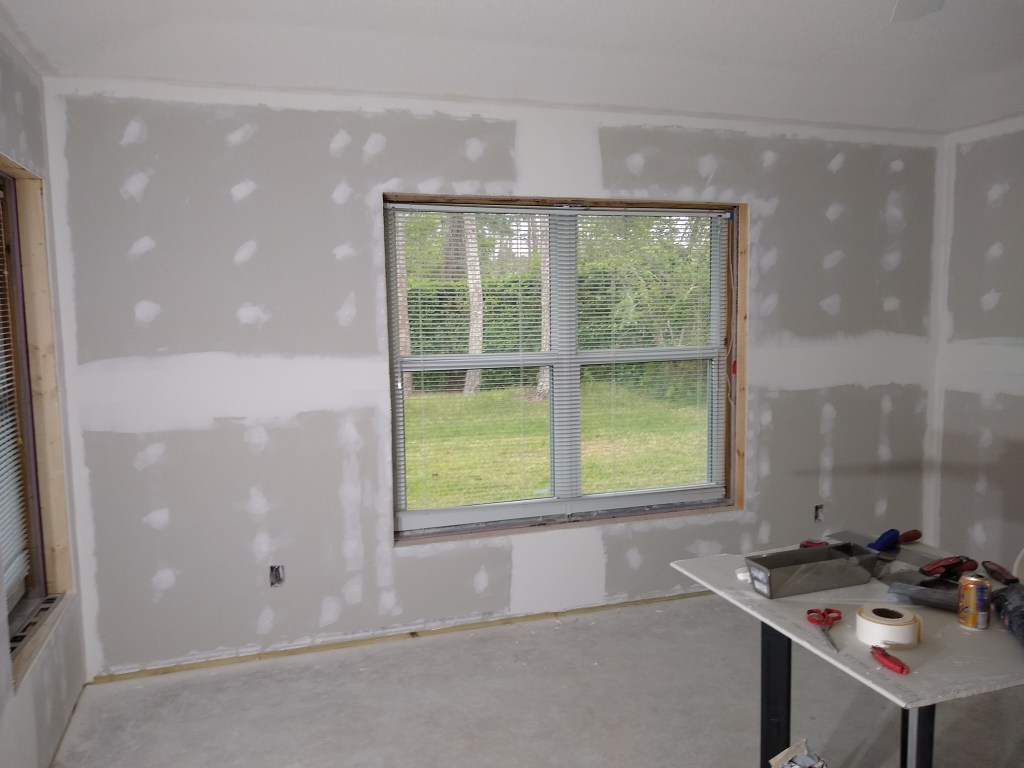
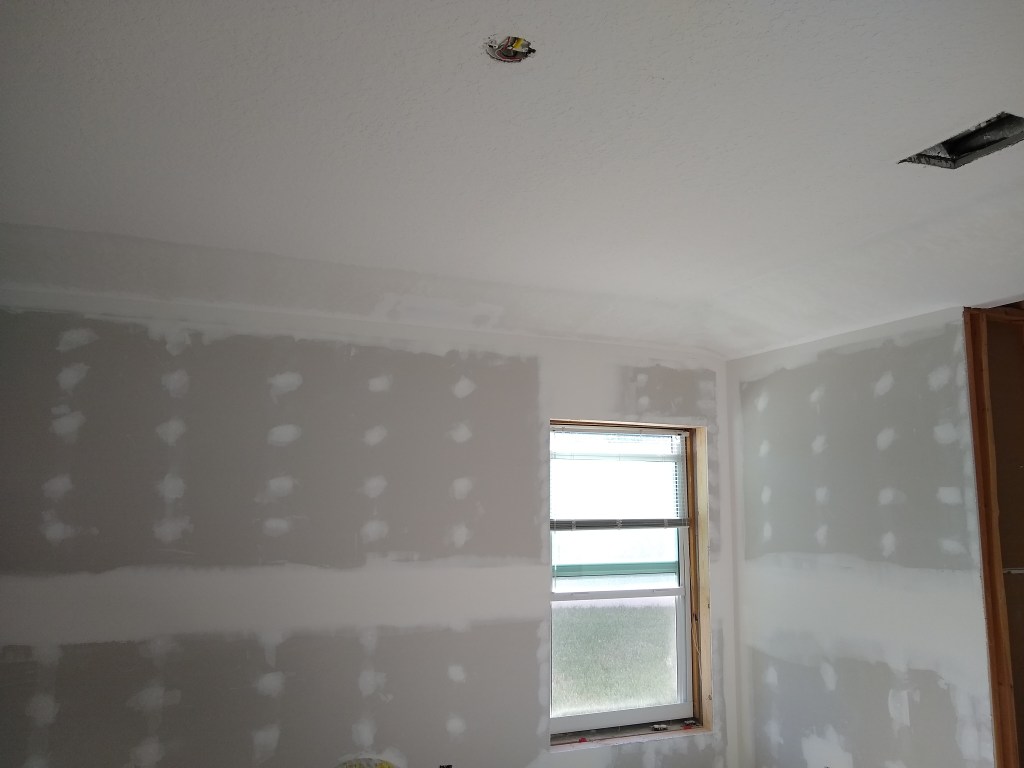
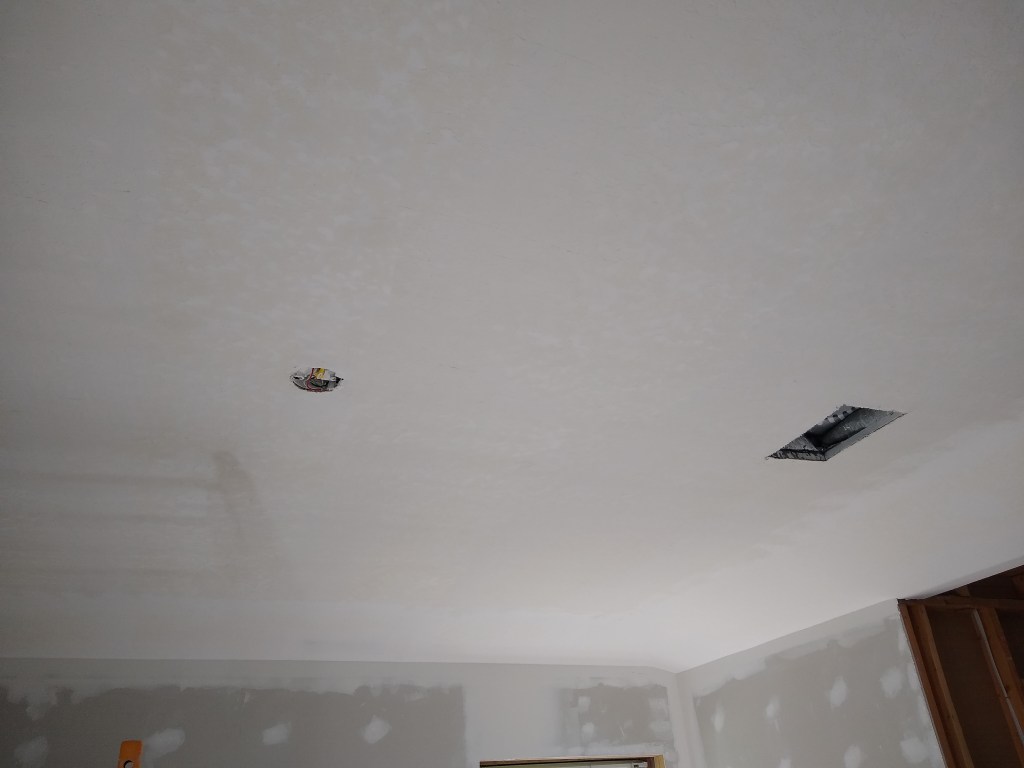
For inside and outside edges, I coated only one side, waited for it to dry over night, then coated the other. As a result, it is a two day job. After finishing the first coat I taped around the outlet box openings where I did a poor job routing them out. I’m getting better at using the roto-zip tool to route out the box openings, but it’s still a “fingers crossed” operation. I had a few with significant gaps that required some attention to make them snug to the box. This was done with paper tape and quick-set mud. Here is the result after the first coat.


The second cover coat is used to provide a surface that is ready for paint (or primer). In my case I will be skimming the walls in order to get the best finish I can (level 5 – see https://nuntawob.com/2021/08/01/drywall-level-1-june-july-2021/ for definitions), so the second cover coat is more about flatness and getting the walls to a point where I could paint them. I will also be skimming the ceiling, changing it from knock-down texture to flat, so for the second coat I will not be touching the tape on the ceiling where the walls meet. That will be addressed when I skim the ceiling. Therefore, the second coat is only focused on the walls.
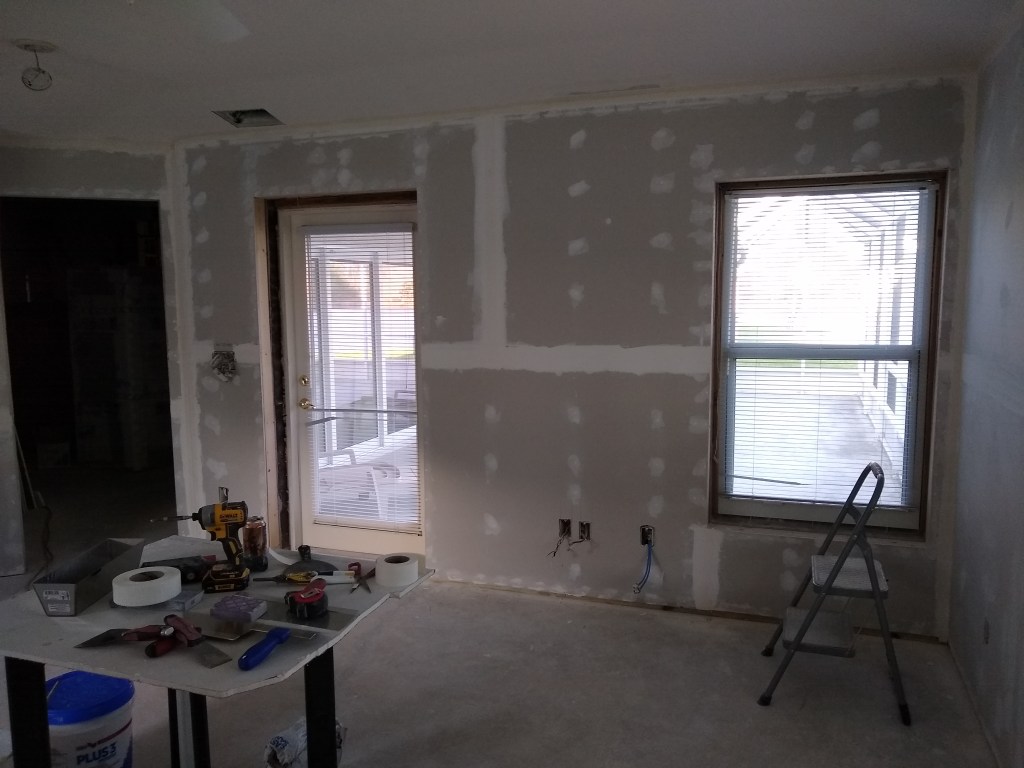
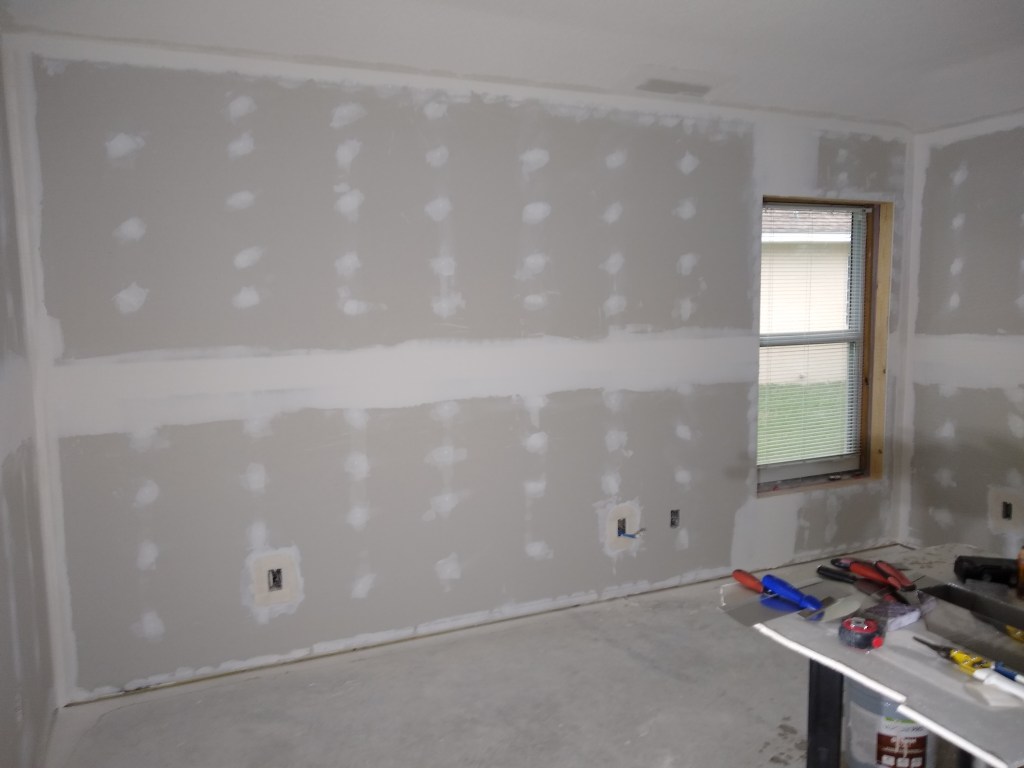
Prior to applying the second cover coat, I quickly and lightly sanded the first coat to remove any significant irregularities that the second coat could not cover. Not a lot of difference to see, but here are images of the walls after the second cover coat.

Rather than move on to skim coating the walls, I decided to work on the ceiling first. As previously mentioned, I will be skim coating the ceiling, changing it from knockdown texture to smooth. I did this in the guest bedroom and was happy with the result, so I will do it in the master too. I’m switching to the ceiling at this stage because it’s likely that while doing the ceiling, mud will drip onto the walls. I don’t want to be scraping mud off my newly skimmed walls. Once the ceiling is done (but before priming and painting), I will return to the walls and prepare them for skimming.
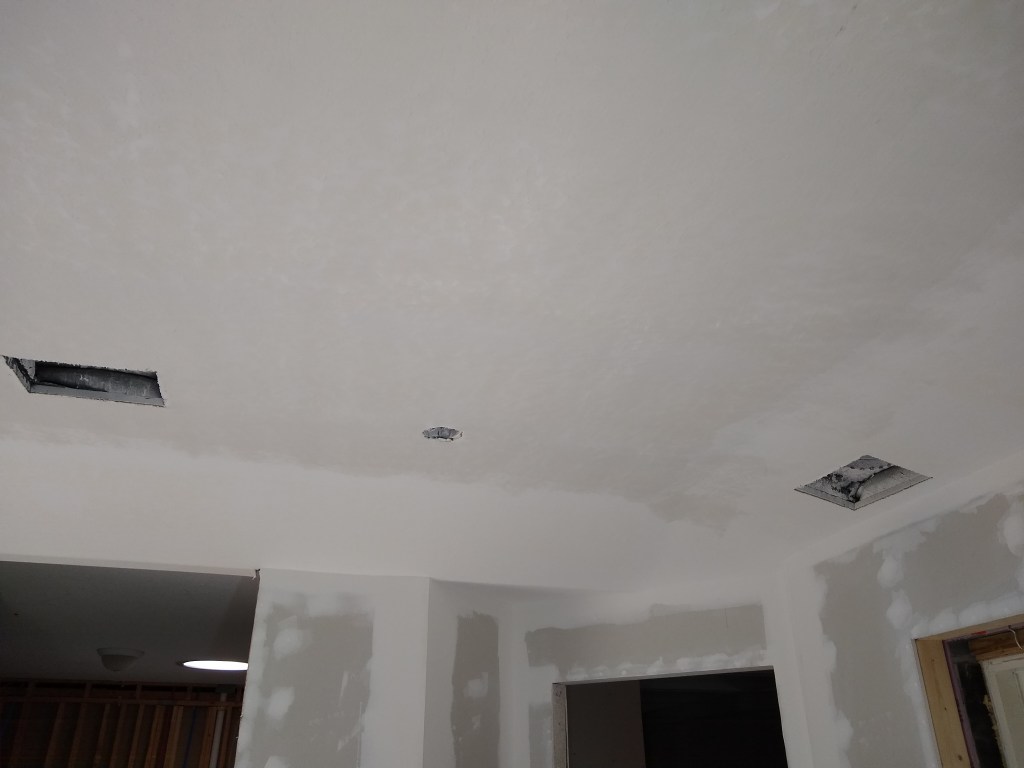
The first thing I have to do to address the ceiling is to coat it with all-purpose mud. As with the taping, I’ll use this first due to it’s superior adhesive qualities compared to the Plus 3 mud I’ll use to skim over top of it. The ceiling is a tray ceiling, so the perimeter meets the wall at an angle, so I started covering that first.


I did not have enough all-purpose mud after finishing the perimeter to work on the main part of the ceiling, so I finished for the day. After I picked up another bucket of all-purpose mud I got to work on the rest of the ceiling.
Since the perimeter has had time to dry, you can see how much lighter it is compared to the rest of the ceiling.


Here is a close up of the south west corner.

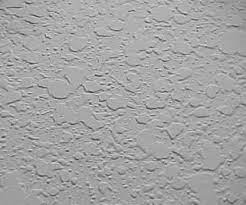
This image shows a relatively smooth surface compared to the original knockdown surface which, to remind you, looks like this.
The splotchiness you see in the closeup is due to the fact that part of the cover coat is still wet and that the cover coat has not completely concealed all evidence of the knockdown texture. The next coating will be with the lighter mud and should make all the difference.
Before starting the skim coat, a light sanding is required to remove any obvious lines or other types of irregularities. It doesn’t need to be completely smooth, just enough to make the job of slimming a bit easier. I did two skim coats of the ceiling and then did the same on the walls. By skim coating the walls I am creating a surface that is consistent, not a mix of joint compound and bare drywall. If I did not skim coat the bare drywall, which is optional, the texture difference might show through depending on the paint used and the lighting. Here is the result.
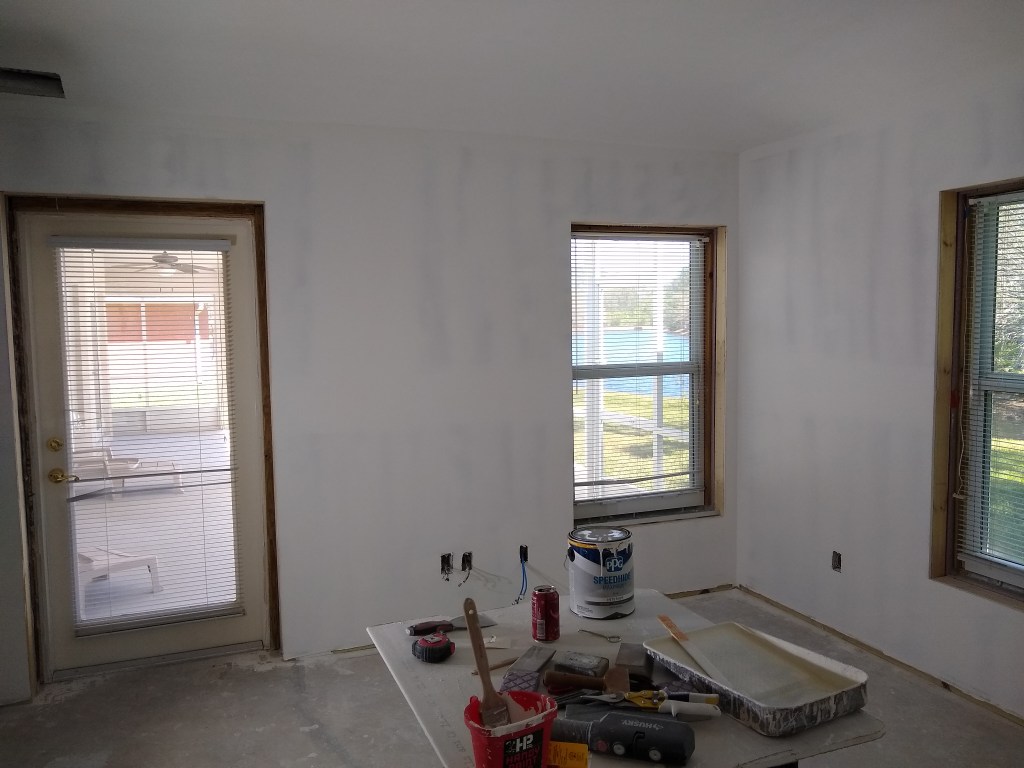

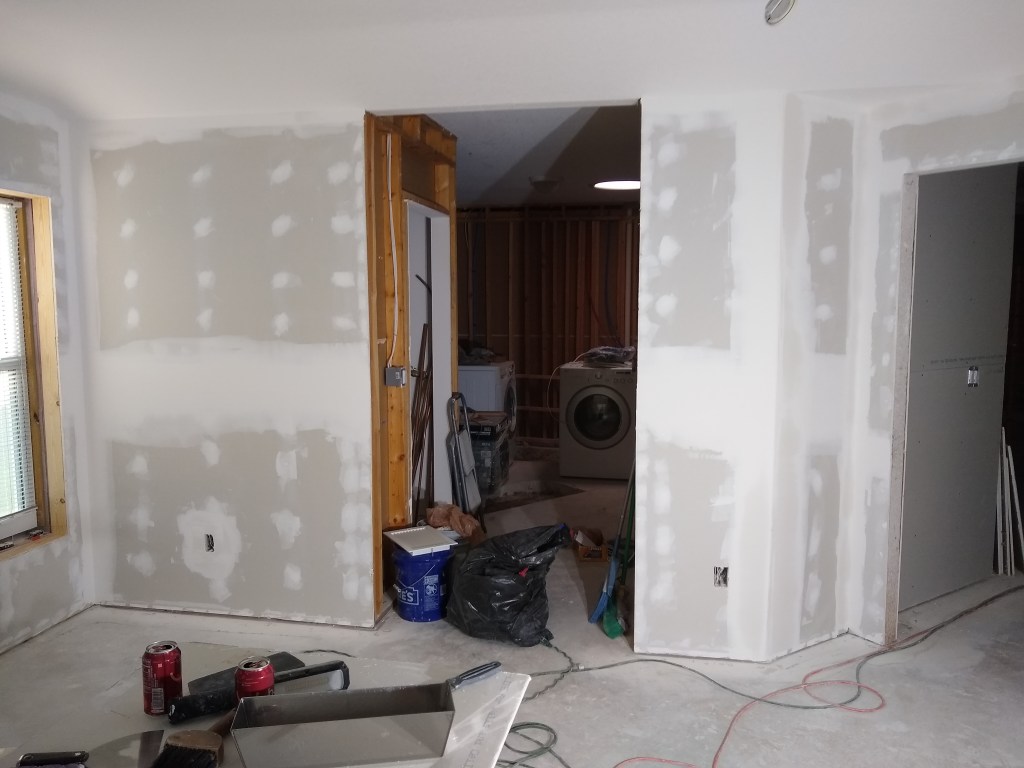
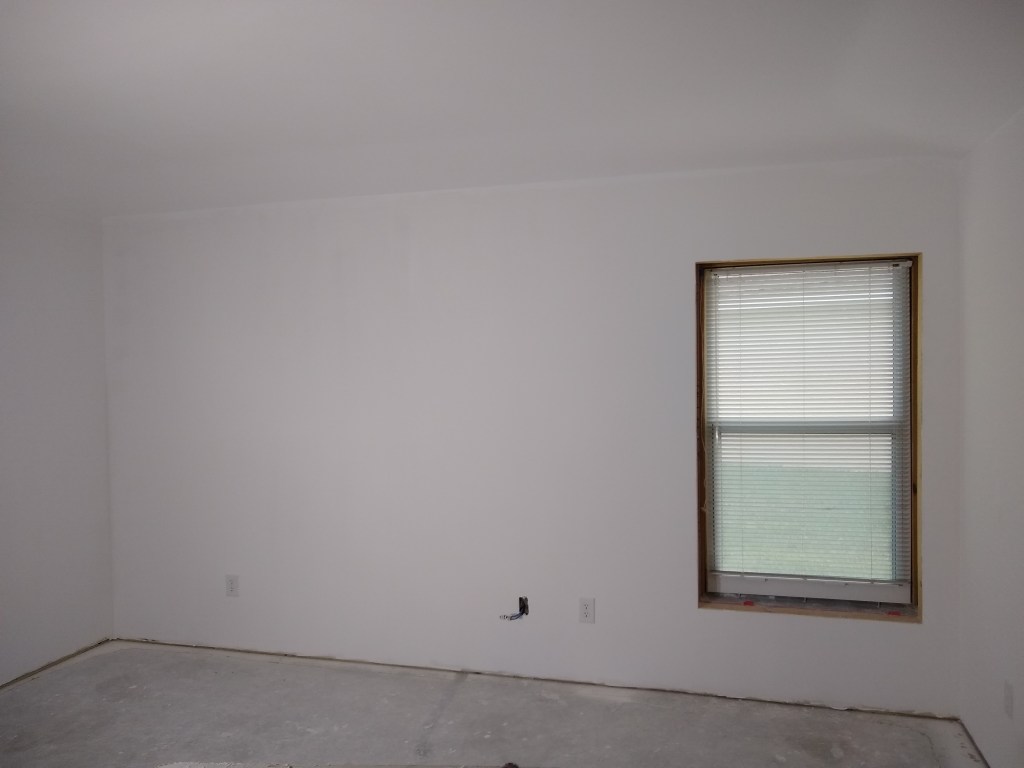
As you can see, the walls and ceiling are looking much better. They are now ready for priming and painting. The type of primer I used was “high build”. This type of primer is a bit thicker than the one I used in the guest bedroom and supposed to be better for filling in small scratches and such, so I thought I’d give it a try, even though I was happy with the regular primer (Kilz) I used before. It seemed to work well, but I can’t honestly say it was noticeably better than the Kilz. In the images I present below, the walls have been primed and the ceiling has been primed and also given two coats of paint. Both the primer and paint is white, so I didn’t see much point in showing images of the various coats, so what you see below is the final product, at least until I decide what color to paint the walls. For now, I am done with the walls and ceiling in the master bedroom.

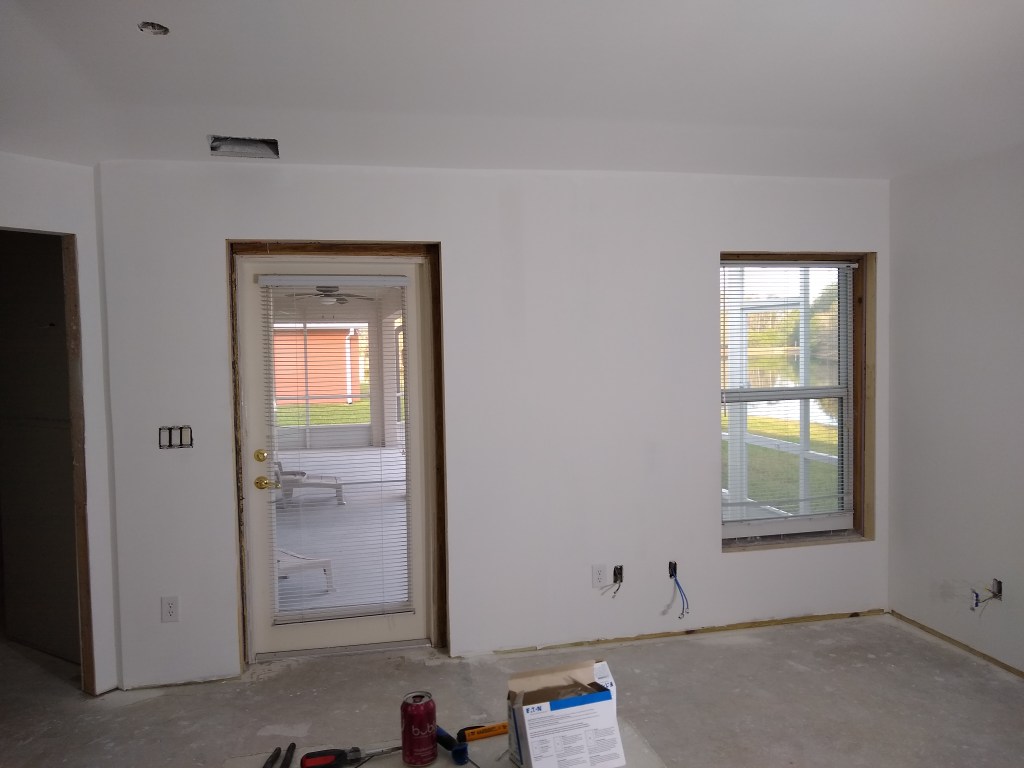
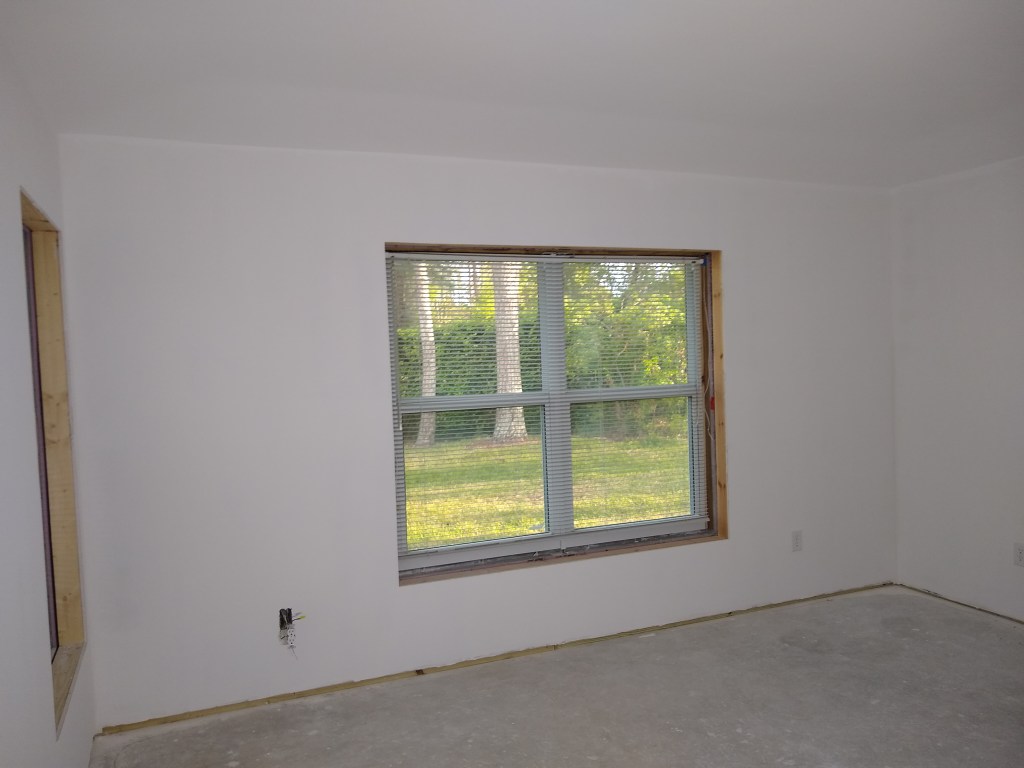

I also added new outlets and face plates (except for one on the south wall because I was missing a wire nut). The outlets were installed so I could supply power to the master bedroom. I intend to start work on the master bathroom next, so I wanted to have a power source nearby. I’ll not bother adding face plates for the Ethernet and cable connectors until much further down the line.
I’m pretty happy with how this turned out. On to the master bathroom. Lot’s of unknowns to deal with there (I’m frightened Auntie Em, I’m frightened!).
