In the last post I just finished framing the exterior wall of the master bathroom. My next job was to clear out the tools and such from the master bedroom and get to work framing its three exterior walls I imagined the job of clearing out the master would be a big one, but it didn’t take me too long, so I was able to get right to putting up the foam board on the south wall.
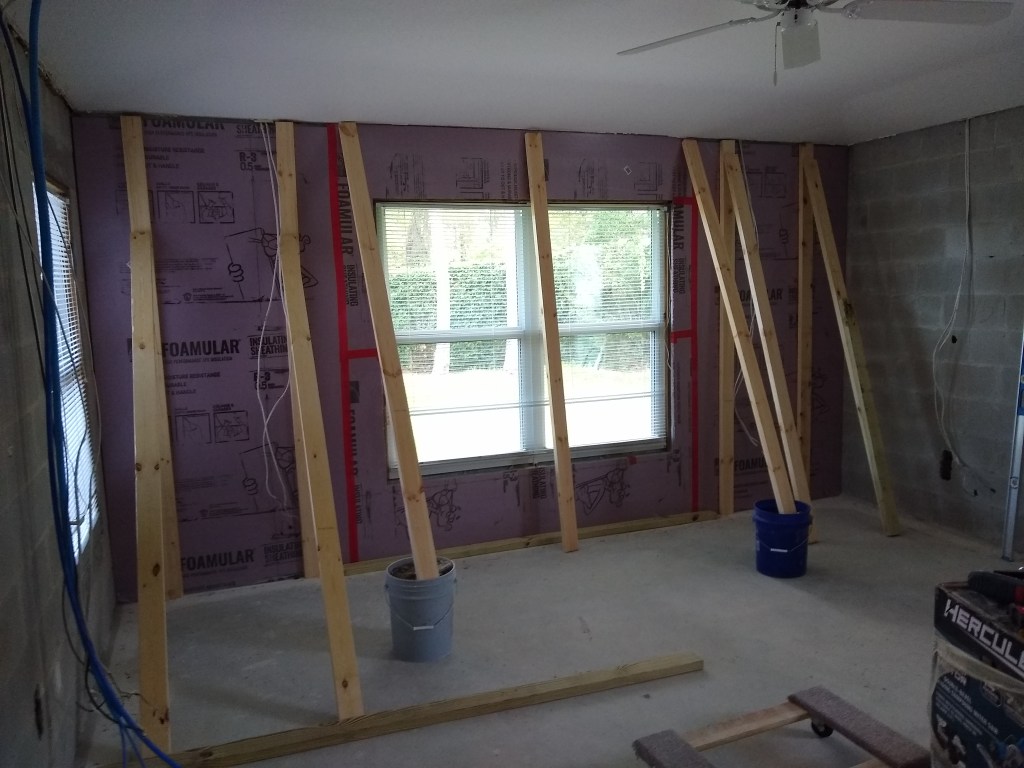
As you can see, I used some of the many 2x4s to help keep the foam board pressed against the wall as the adhesive takes hold. I also put down the pressure treated 2x4s that attach to the concrete slab with tap-con screws. While doing that I realized that I had to put up the foam board for the adjacent walls in order to get the dimension for the pressure treated boards correct, since they would be butting up against the foam board on those walls too.

The next day I returned to do the actual framing of the south wall.

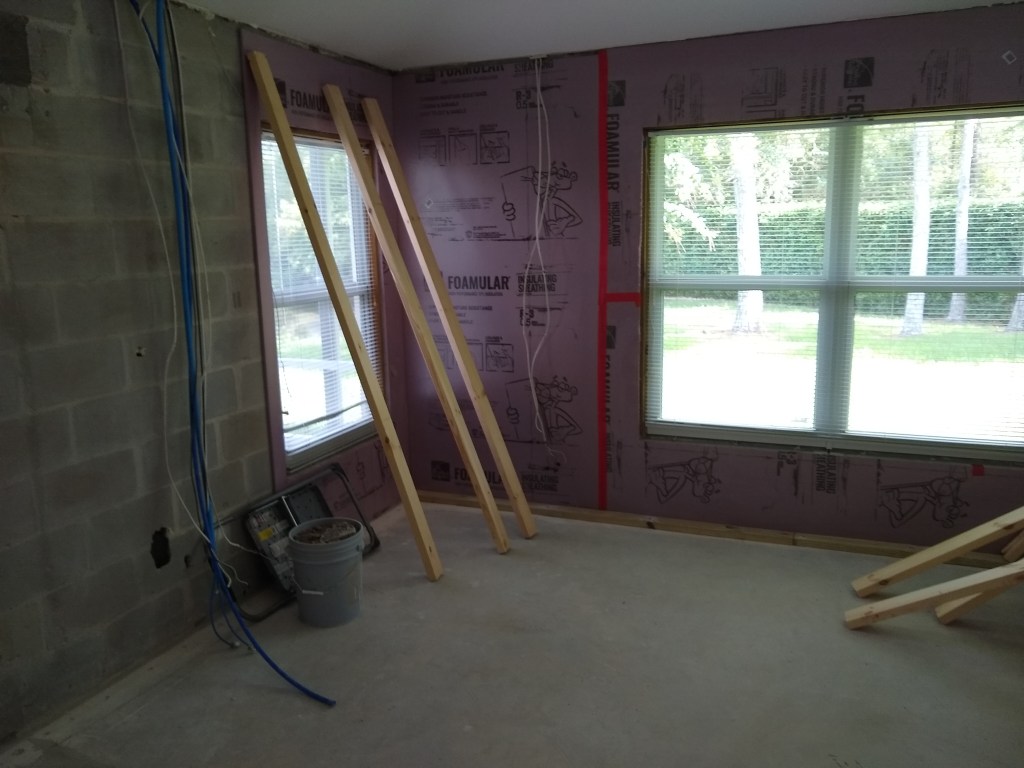
The next day I started on the west wall and managed to get the foam board up and half the wall framed. So I was getting faster.
Having made good progress the previous day, finishing up the west wall didn’t take long the next day.
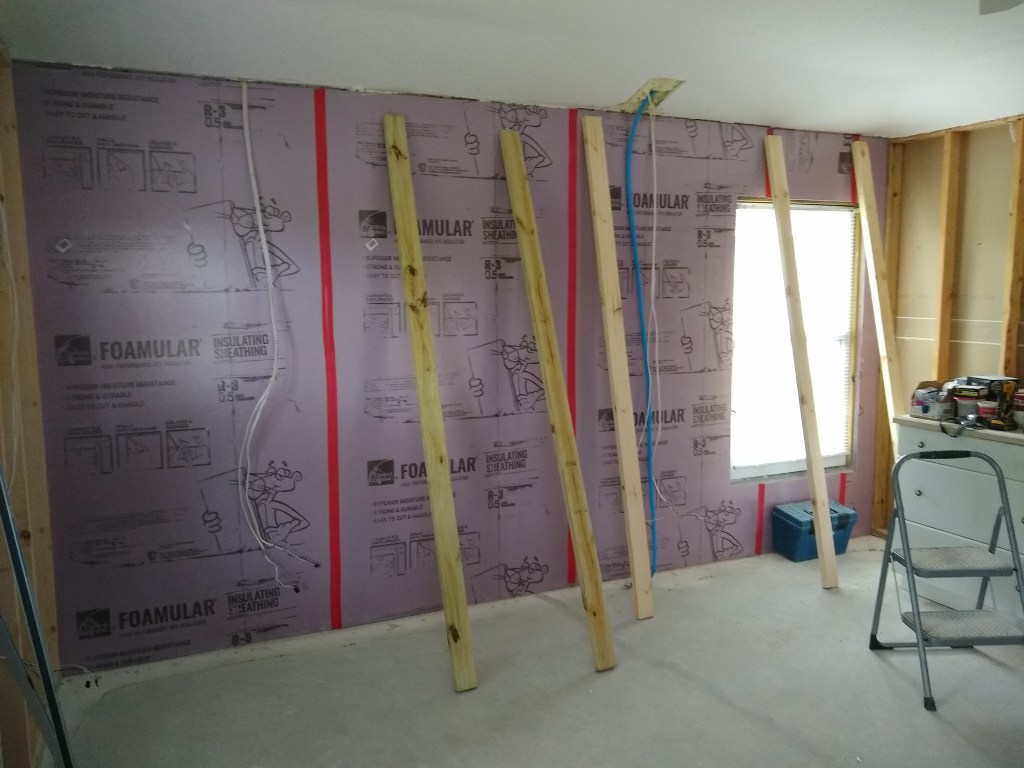
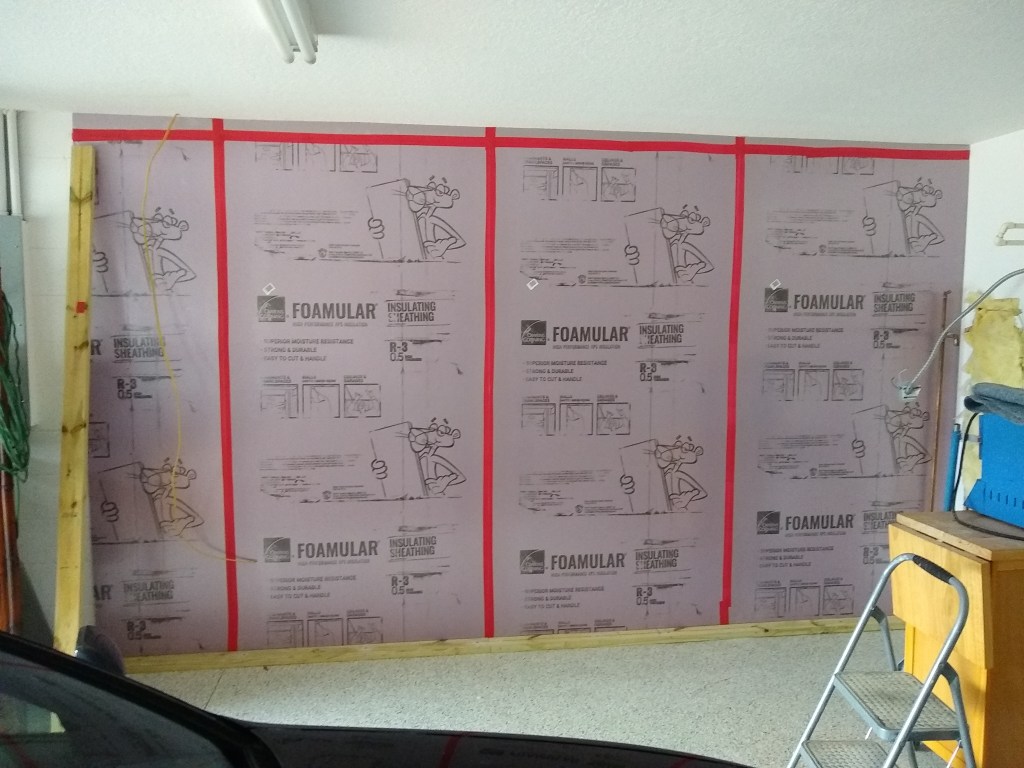
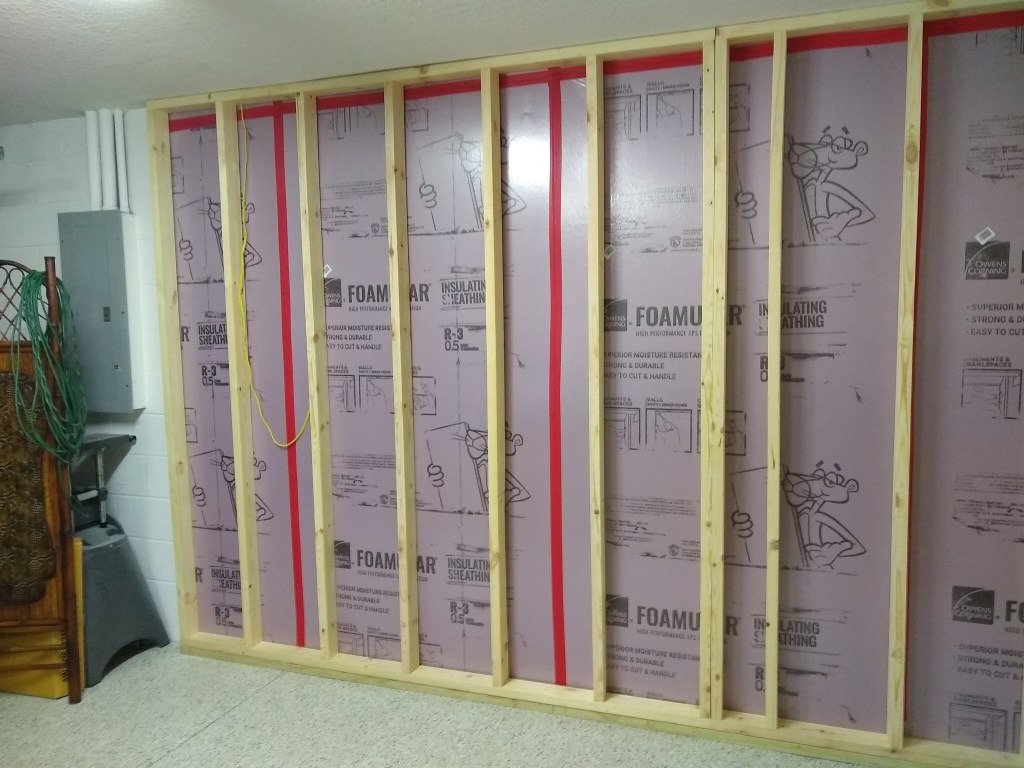
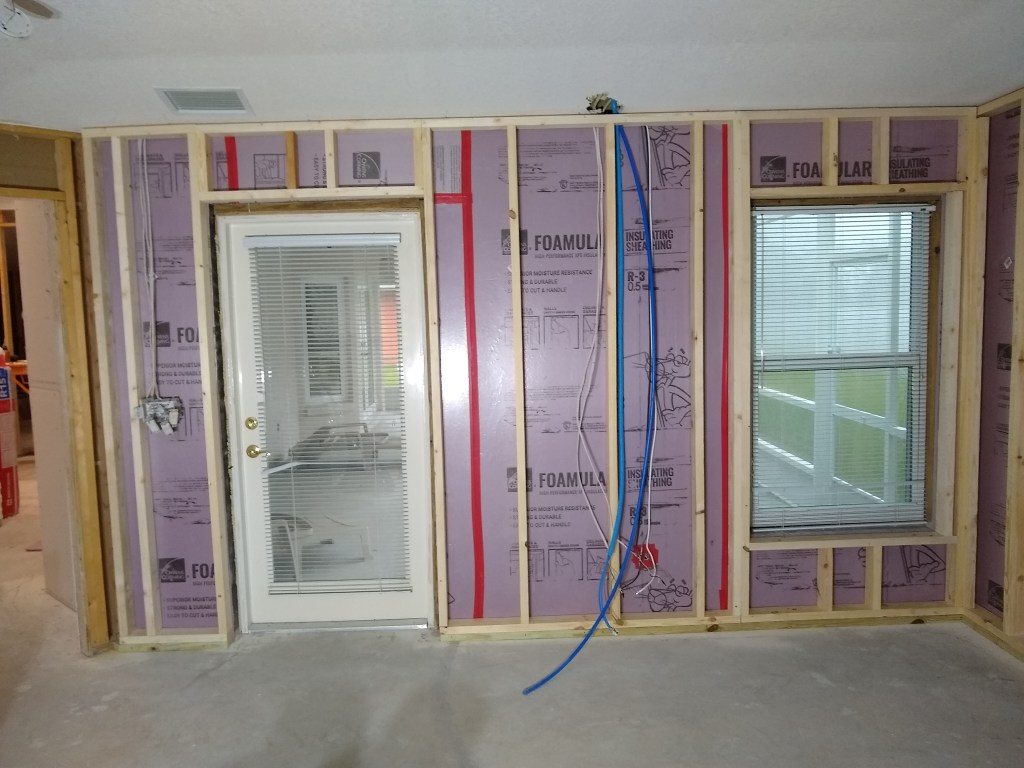
Although I made quick work of the remainder of the west wall, I could not start on the east wall of the master because I had to install a spigot on the outside of that wall, and for that I was waiting for the delivery of a special drill bit to create a 1-1/2″ hole through the concrete block. Not wanting to end my day early, I turned my attention to the garage wall that will receive cabinets. As usual, it begins by putting up the foam board.
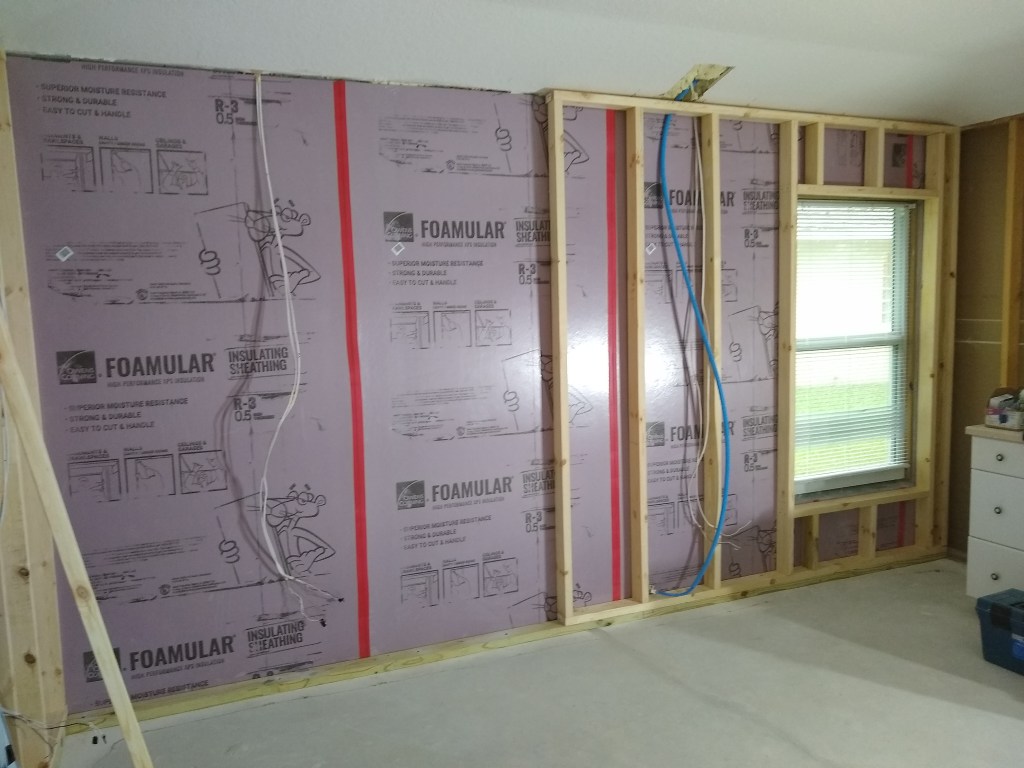
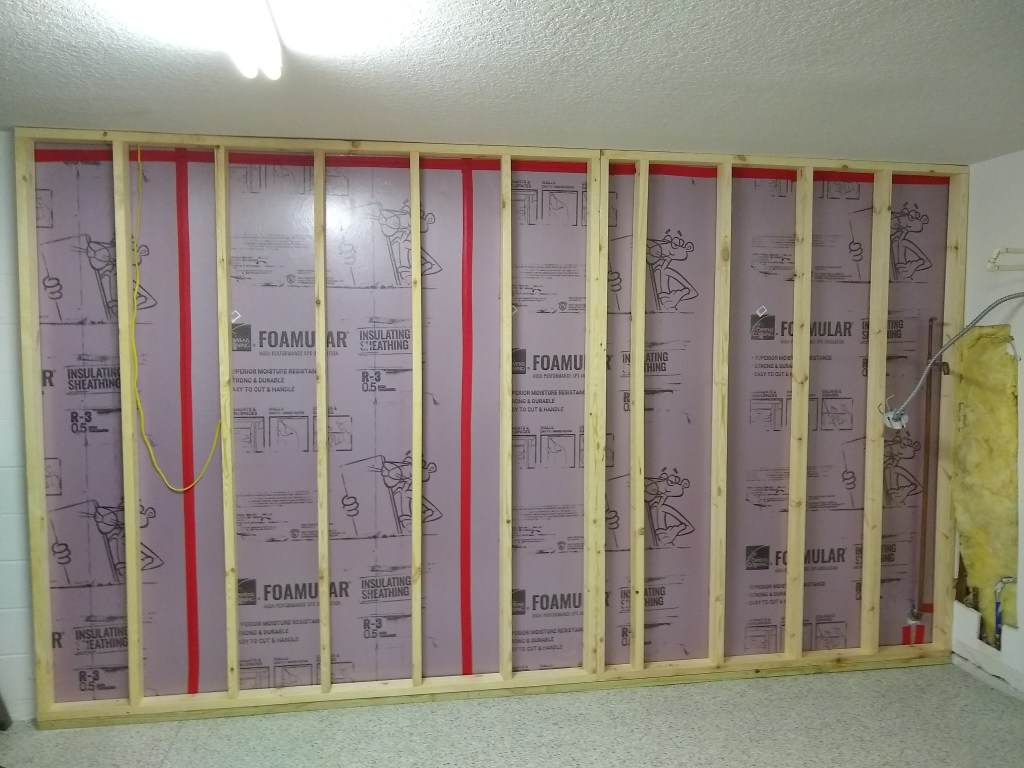
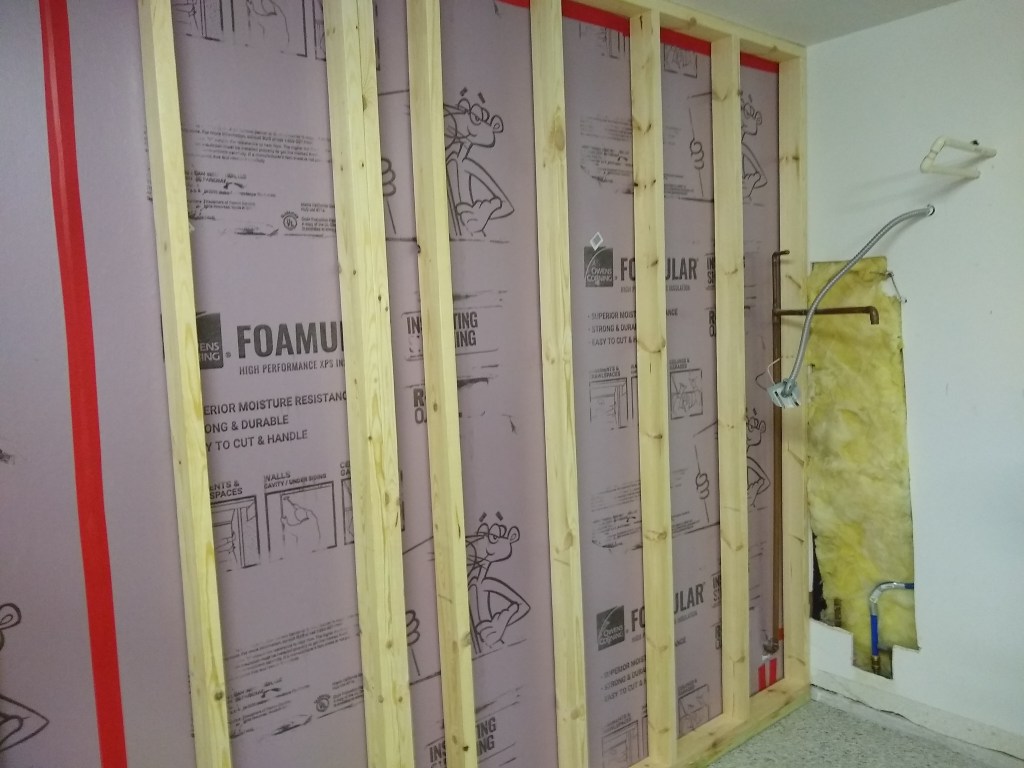
You’ll also notice if you look closely, I fed the electrical wire down from the ceiling. This will power the outlets along that wall. The next day, I framed it.
The day after finishing the garage wall, Jennifer (the interior designer) came to the house. We had a good chat. The next step was for her to send me a proposal of the services they would provide, which should arrive in the next week or so. In the meantime, I would continue with the framing.
While working on the garage wall, the 1-1/2 inch coring bit I ordered arrived. That was nicely timed, as it allowed me to return my attention to the east wall of the master bedroom. I was a bit apprehensive about drilling out the hole for the spigot. I’d never drilled such a bit hole through a concrete block wall. I did a lot of exploring online and it seemed straight forward enough, but there is something unsettling about drilling a big hole in your exterior wall. But it all went very well. I fashioned a little jig out of a piece of 2×4 lumber to prevent the drill bit from wandering as I tried to get the hole started. Below you can see the jig and the long coring bit attached to the drill.
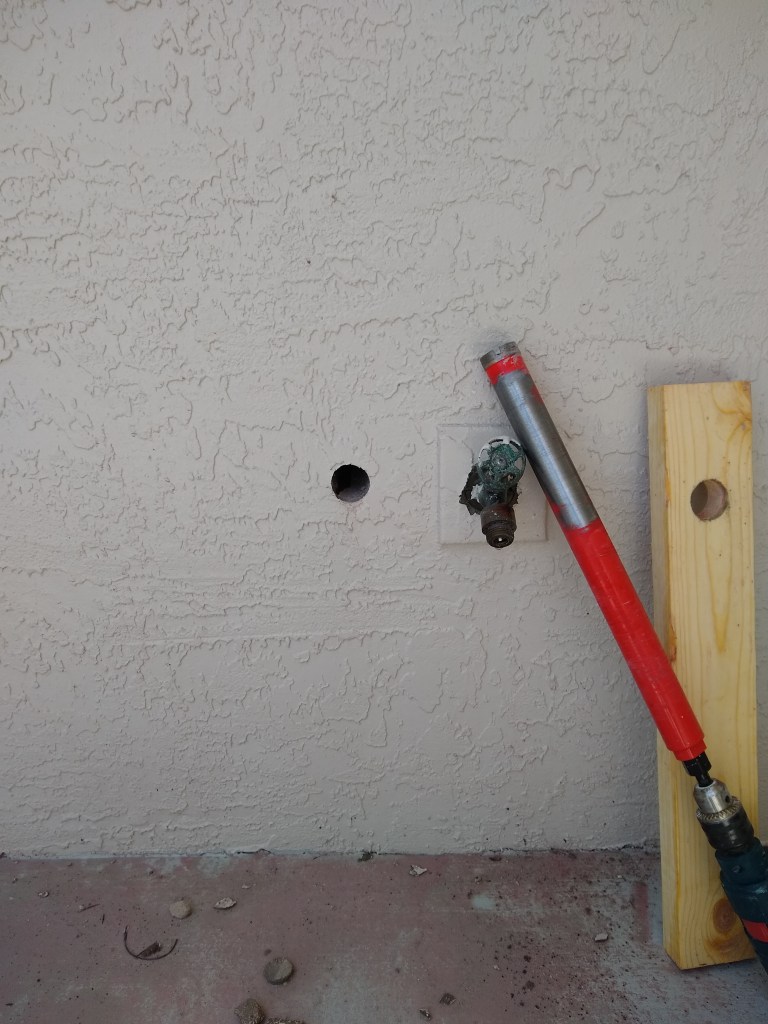
I kept the jig in place using my foot as I pushed the spinning coring bit into the wall. Once the hold was started, I was able to remove the jig and carry on. While drilling I used a hose to keep the hole wet. The drill bit is a hollow steel tube with diamonds on the end. It was originally painted red, but as you can see, that didn’t last long once drilling started. I would push the drill in for a bit then pull it out and spray some more water in. It went quite well and it didn’t take long before I was through to the other side (about 8″).
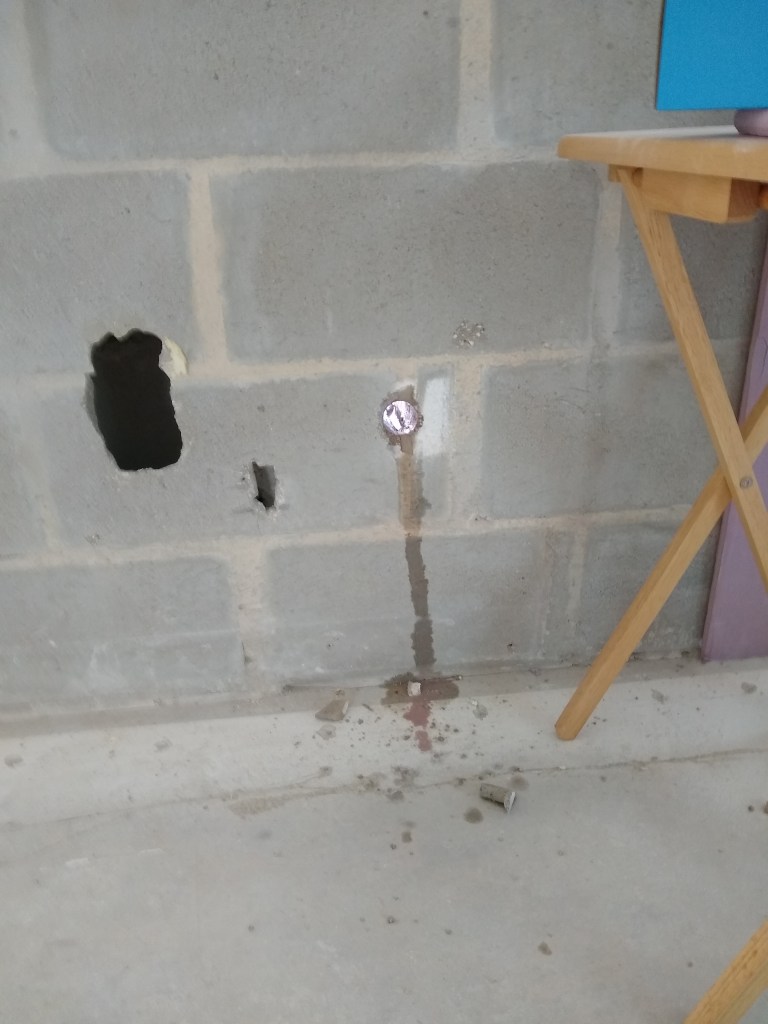
I was happy with the result. It left a nice clean hole. I fed the new spigot through from the outside and it extended just the right amount.

And here is what it looks like from the outside.
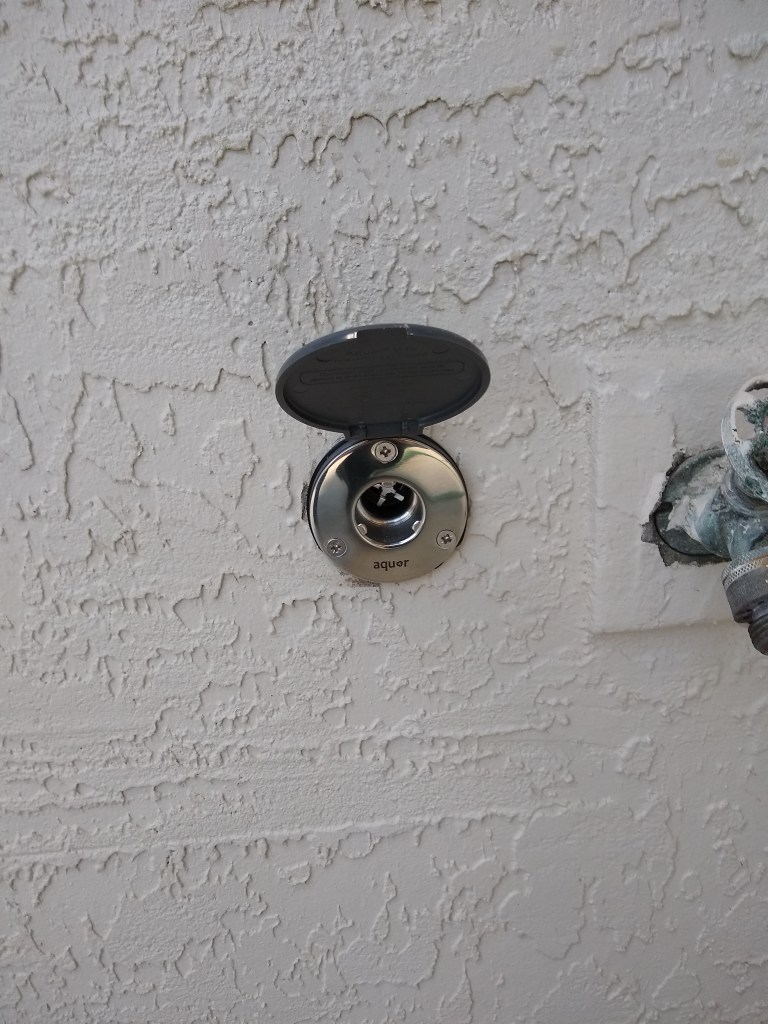

You’ll notice that the old spigot that is attached to the copper piping is still in place. That will just twist off and I will replace it with a cap, which I’ll eventually paint to match the exterior color, so it won’t be too noticeable.
You’ll also notice that the new spigot is kind of different from what you’re used to. it has a separate male attachment that connects to your hose and plugs into the opening revealed when you raise the cover.


When looking for a spigot to buy, I came across this and was impressed. It prevents anyone from making use of your water unless they have the appropriate attachment. I will add another one to the west wall, but will not replace the one on the east wall because it is attached to the main supply line, before the supply line feeds into the PEX manifold. So I’d have to take extra steps to take it out of the loop. For now, I don’t plan to do that, but I may change my mind once I’m moved it and fancy another project.
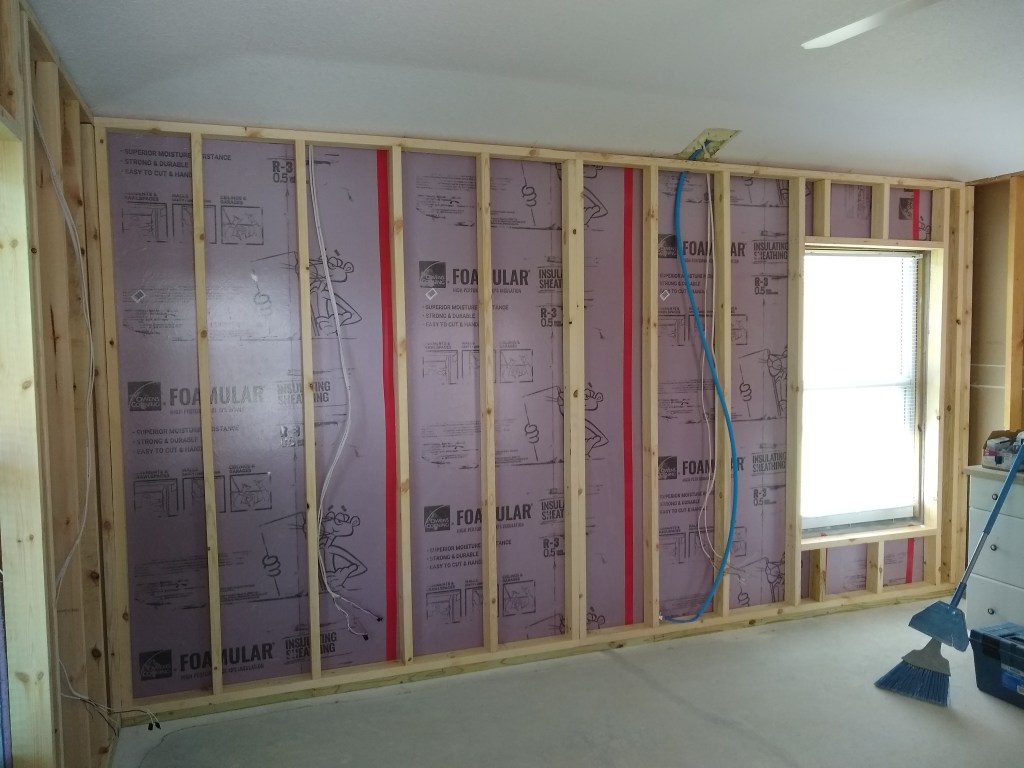
With the spigot installed, I could now return to framing the east wall of the master. And here is the result.
As far as I am aware, that is the bulk of the framing complete. I still have to create the closet in the laundry room for the plumbing, but that will wait until after the drain to the laundry tub (to be located in the garage) is hooked up.
Next, I turned my attention to repairing the framing of the kitchen extension. This was a job I was not looking forward to. The extension wall, although plumb, was not properly done (I didn’t do it). Two of the three vertical studs did not line up with the studs of the existing wall. If left alone, the drywall would have a slight but noticeable bend. So I had a lot of shimming and trimming to do. On one side of the each of the two studs I had to fill in the concave part of the bend, while on the other side I’d have to chip away wood to ease the convex part.
What made this so tricky was that the shimming was not uniform. It tapered along the lengths of each stud. To make this more manageable, I did each stud in sections. The studs are about 10 feet tall, so I created three separate shims to make up that length. Using my table top 4″ jointer, I planed down each shim a bit at a time, then took it to the wall to see how it fit. I did this over and over again until it lined up with the studs to the right of it. Once satisfied, I used wood glue and a lot of clamps to hold it in place.
Here you can see two of the shims clamped in place. The shims are from left over furring strips I had, so they are wider than the 1-1/2 inch ends of the studs, but that was okay. The extra width didn’t do any harm. Below is an image taken after completing the first stud (it’s a bit blurry, but you get the idea).
On the other side of the stud I used a jigsaw to make horizontal cuts to the appropriate depth every quarter inch or so all along the length of the stud. To determine the depth of each cut I used a level to determine how far out the stud projected relative to those of the existing wall, creating a series of marks over the length of the stud. I then “connected the dots”, so to speak, producing a line at which I could aim. Note that this is just rough framing that will be covered with drywall, so it didn’t have to be precise. It just had to be close, so this approach worked fine. I then used a hammer and chisel to chop out the wood between the cuts. I did not get a picture of the result of this because there was not much to see. I suppose I should have taken a picture or two of the process, but it was a lot of work so story telling was not on my mind. So this is how I went about correcting the misaligned framing. Below are images of the end result with clamps removed.
The overhead section did not require a shim over its entire length. It gradually lines up, so the shims you see above taper down to almost nothing. This means it is a bit wider at one end than the other. I don’t think this will be noticeable once the drywall is up and finished. If it is, then I will address it with trim.
At this point I believe I can call for a framing inspection, which I’ll do next week. While waiting on that I have another error to fix. Something I messed up. I’ll report on that in the next post.
