I was planning to post this only when I had finished hanging all the drywall, with the exception of the master bedroom and bath (haven’t decided what to do there yet), but I ran into a snag in the kitchen that will require the assistance of an electrician. This required me to stop for a bit, so I decided to use the time to catch up on this. I am writing this in early January of 2022, but the work I will be describing took place in November and only the first week of December. After that I took several weeks off and visited family and friends to celebrate my 60th birthday and the holiday season.
At the end of the last post, I had finished hanging the drywall in the dining room. From there I began with the hallway by the guest bathroom. Unfortunately, I only have a couple of pics from that.
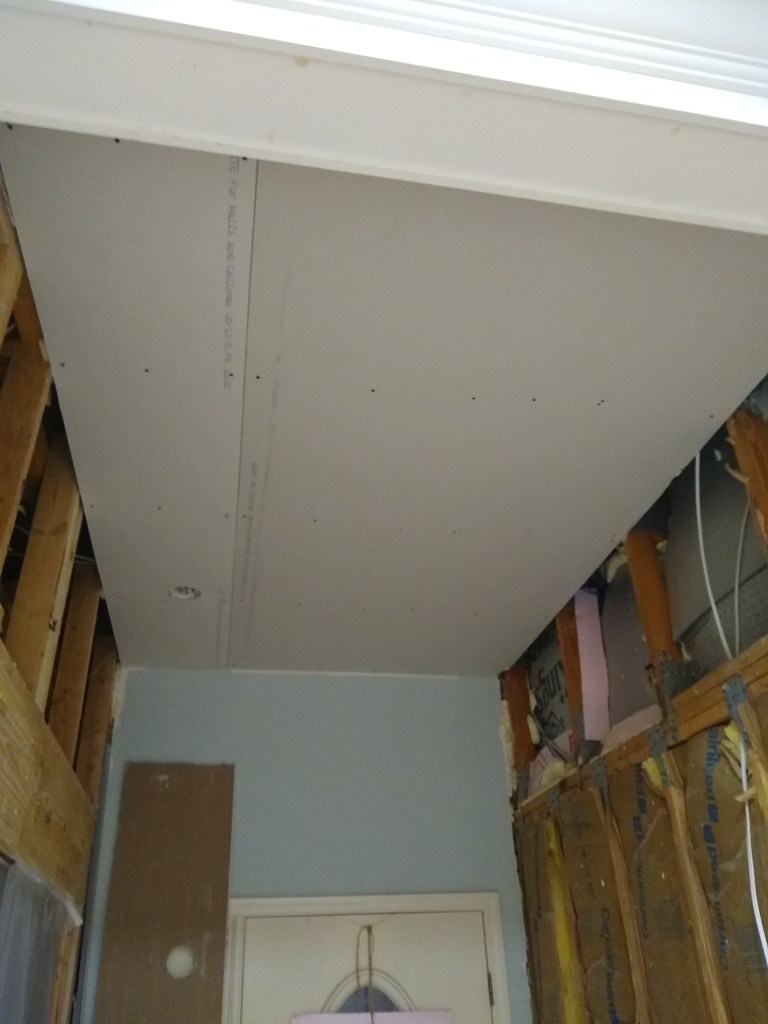
I think I neglected to take more pictures because I ran into a problem along the way that took my attention away from picture taking. In the image above, the intersection between the drywall and the ceiling at the inside corner was not square. This left a gap (not shown here because this picture was taken after I fixed the problem). I was aware of the gap, but thought it was small enough to be covered up by the thickness of the drywall. I should have measured it to be sure, because I was wrong. So I had to come up with a solution. What I did was fashion an special piece of left over finger pine (the white wood used for the coffers) and glued it to the existing piece. I wasn’t concerned about the joint, as wood glue is very strong and more than sufficient for the job. I was concerned about how to clamp the new custom piece to the existing board. Fortunately there was a joist right next to where the new piece would be placed, and I was able to use wedges to maintain the pressure as the wood glue set. The tricky part was to get the butt joint lined up properly, but I managed it. With that in place, I moved to another area to resume drywall hanging so the glue could set up undisturbed.
Some time ago I hung the drywall on the ceiling of the foyer. I was not happy with the results because there was a dip in the center. The joists were not properly aligned. I thought I had addressed this problem a long time ago, but it was not sufficient. It was not really noticeable by eye, but it bothered me. So I pulled down the drywall and got busy creating furring strips to level the joists. With the aid of my thickness planer, this made all the difference. I rehung the drywall I pulled down and was happy with the result.
I labelled the above picture “first attempt” because it is the only clear image I have of it. This is the uneven ceiling before I pulled it down. I included it because, as I mentioned above, you can’t tell that it is uneven from the picture (it dips down in the center), so it’s what you would see if I had a clear image of the correction.
After hanging the foyer ceiling, I returned to the hallway where the glue for the repair was fully set. I finished hanging the drywall there. The pics shown above of that hallway are all I have (sorry).
I then went back to the foyer and started on the walls.
I also ran a second wire from the first to accommodate two sconces. I completed hanging the drywall in the foyer over the next couple of days.

The next step was to work on the long wall in the great room. I’ll call it the Great Wall from now on. However, before doing this I had to do some reorganizing of the workplace as the drywall was stacked in front of the Great Wall.
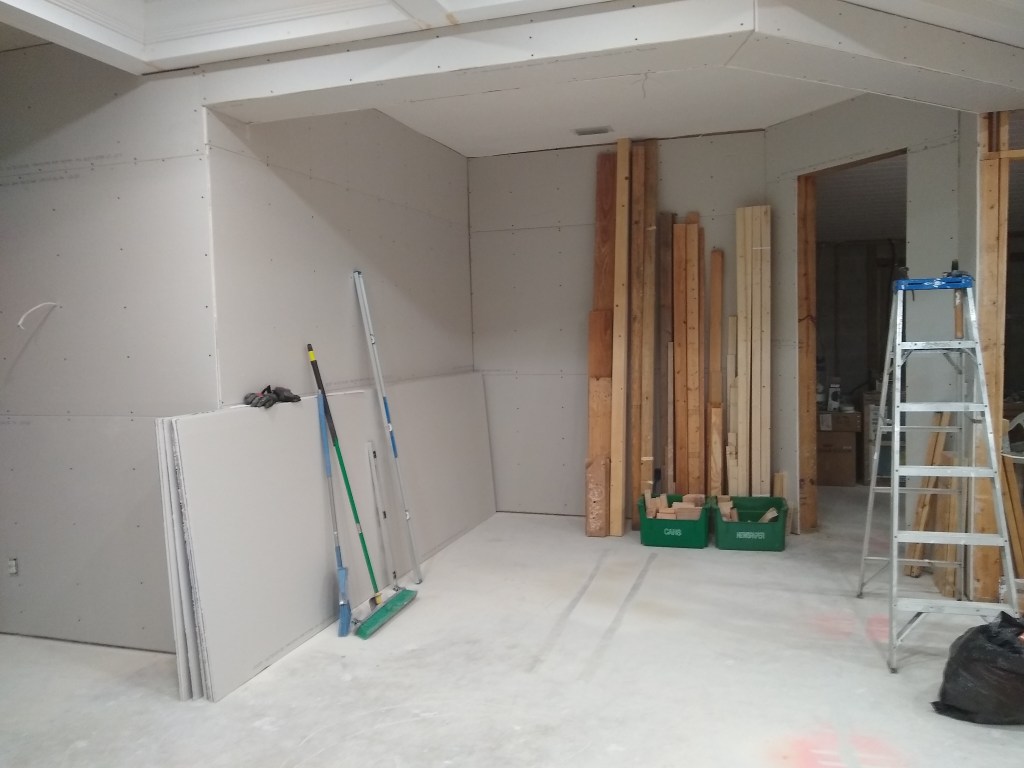
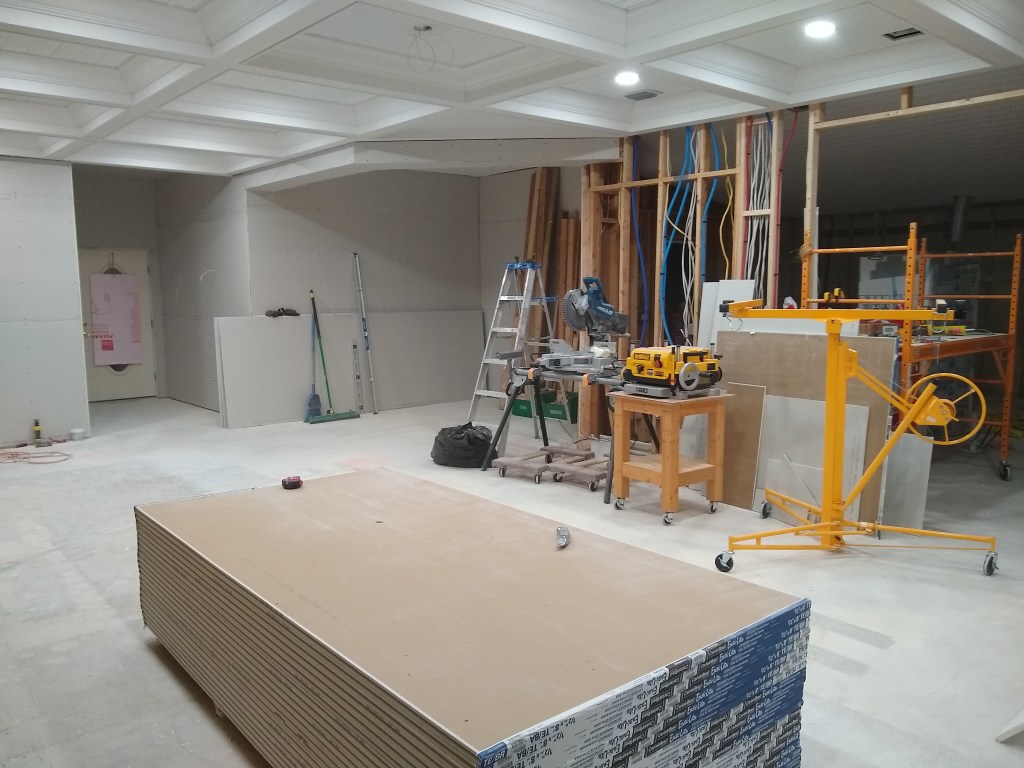
I moved the many 2x4s that lay along the base of the Great Wall and stacked them in the dining room as shown. I also moved the 12 foot sheets of drywall to the dining room. I left the 8 foot sheets where they were (as shown above) for the time being, as they were not in the way to start the hanging. Once I completed part of the Great Wall, I would move them.
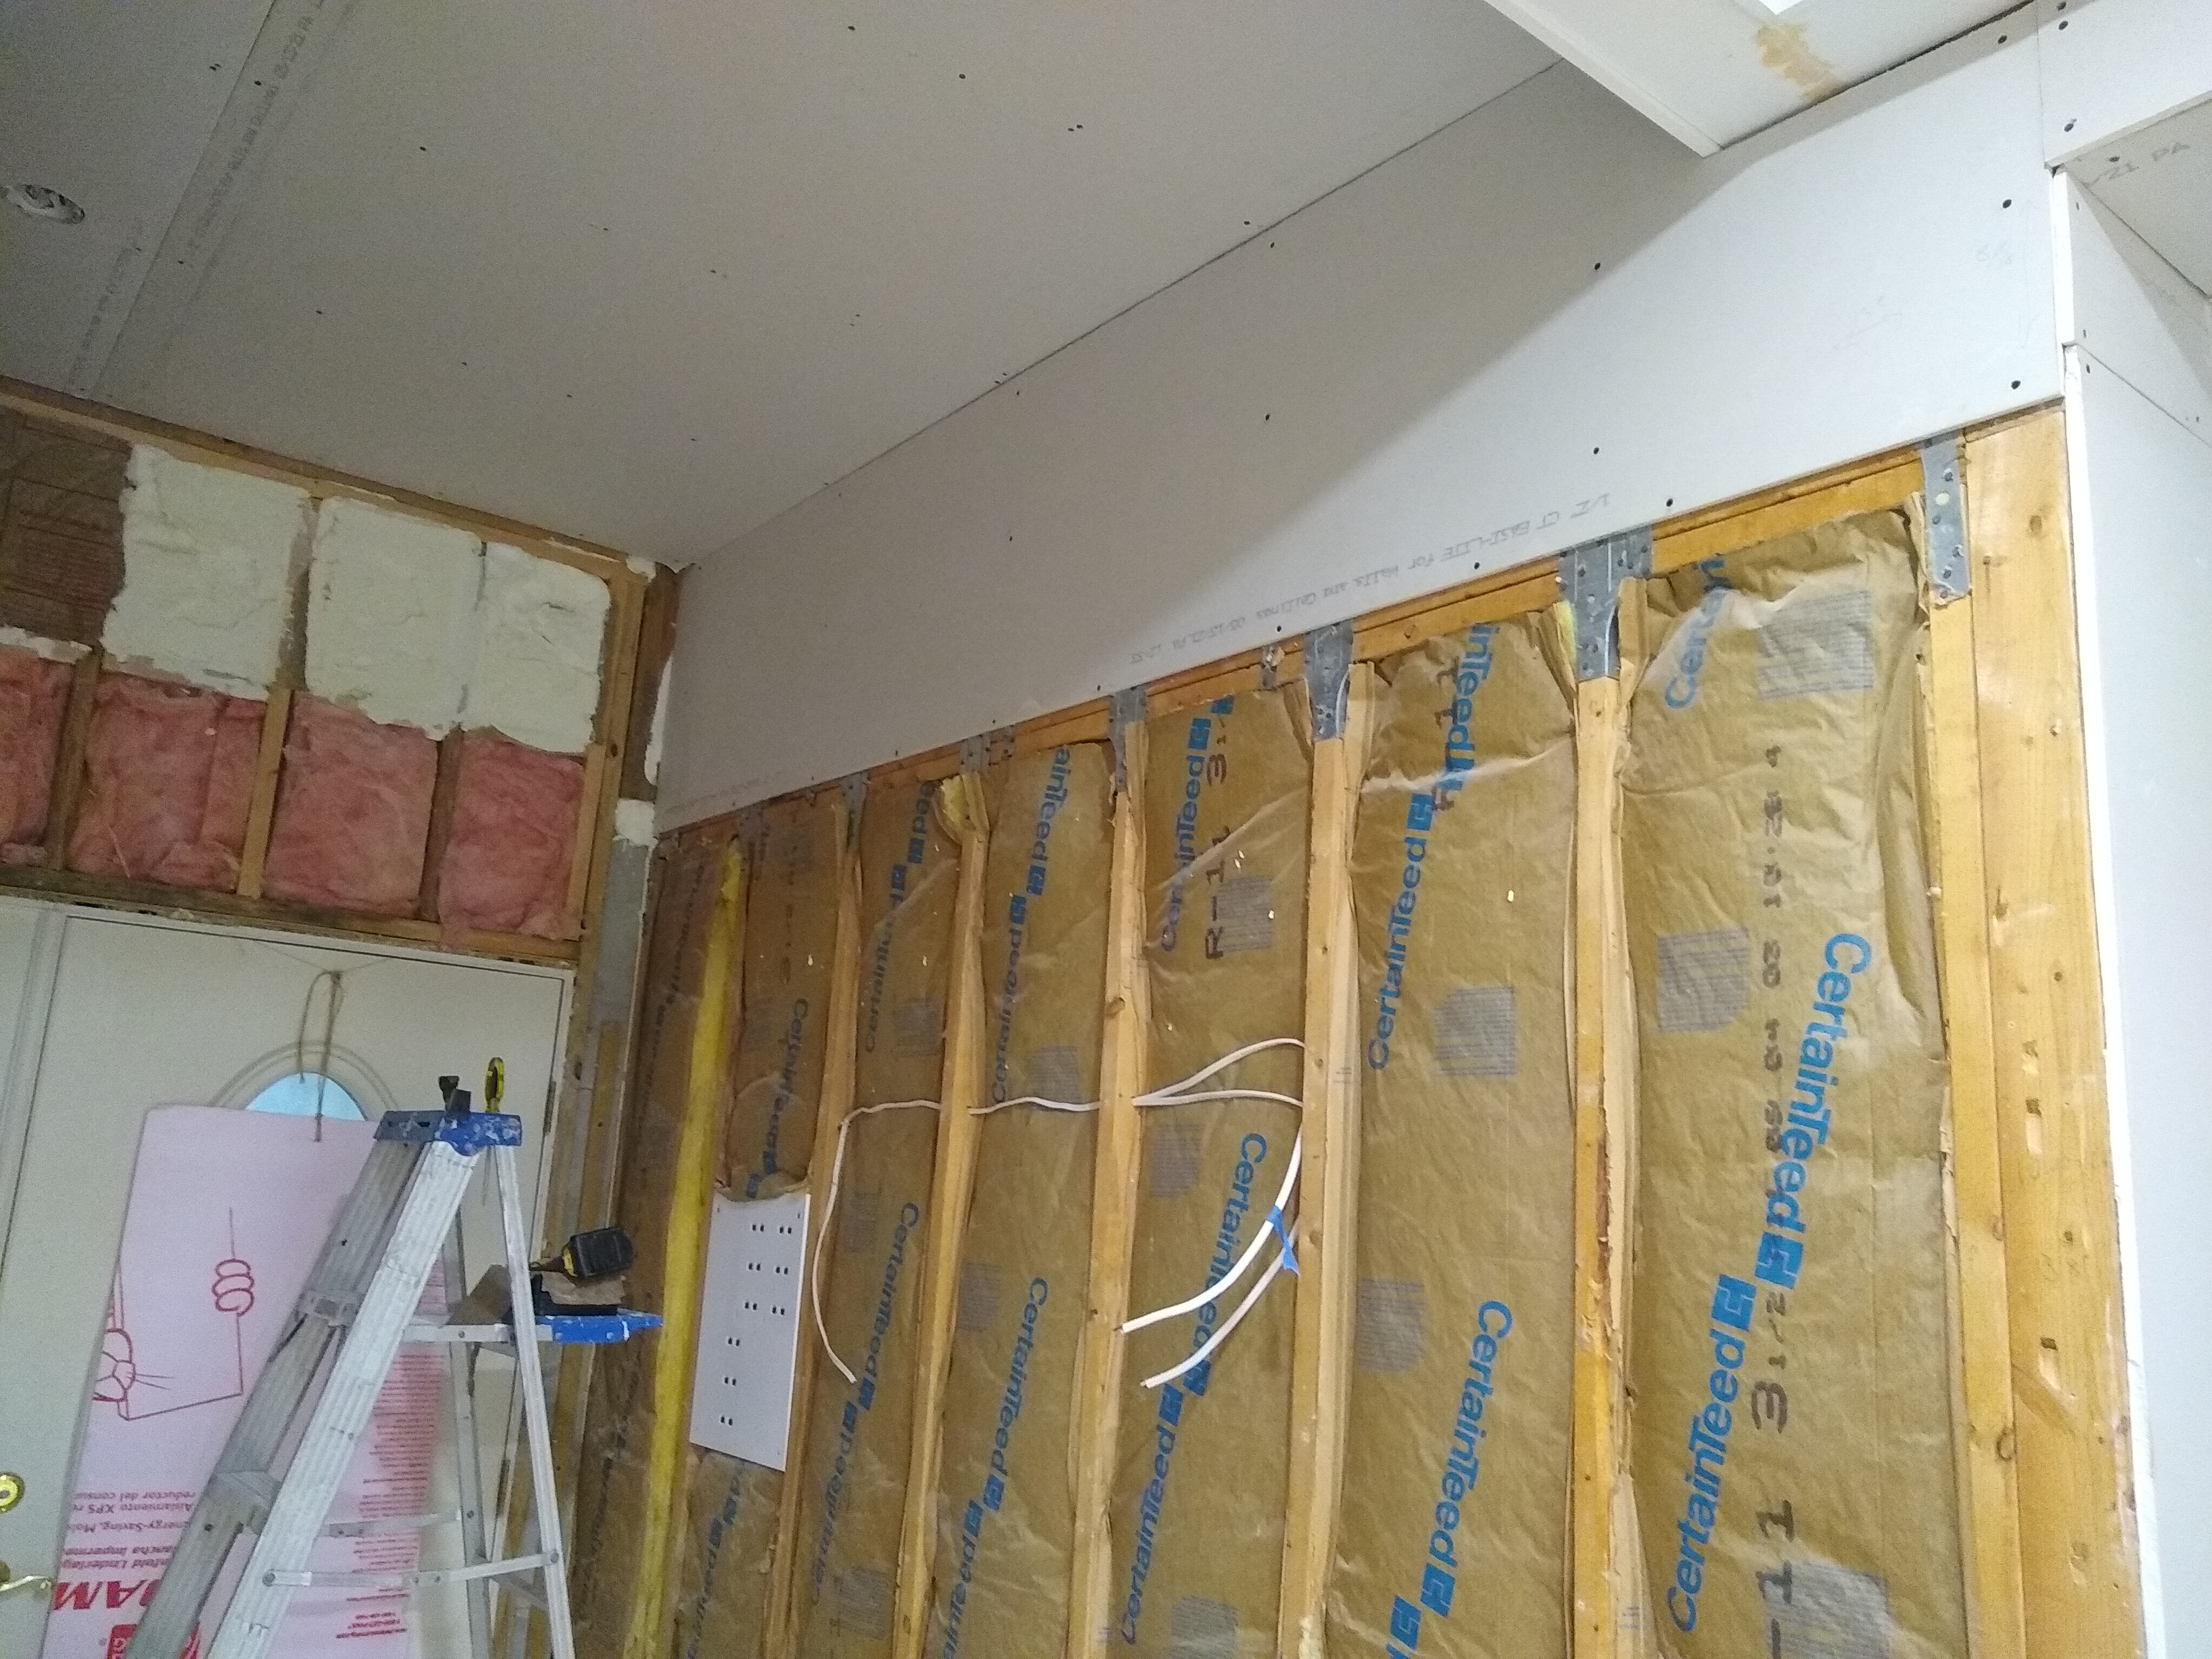
Before I could hang any drywall along the Great Wall, I had to put up the sound insulation.
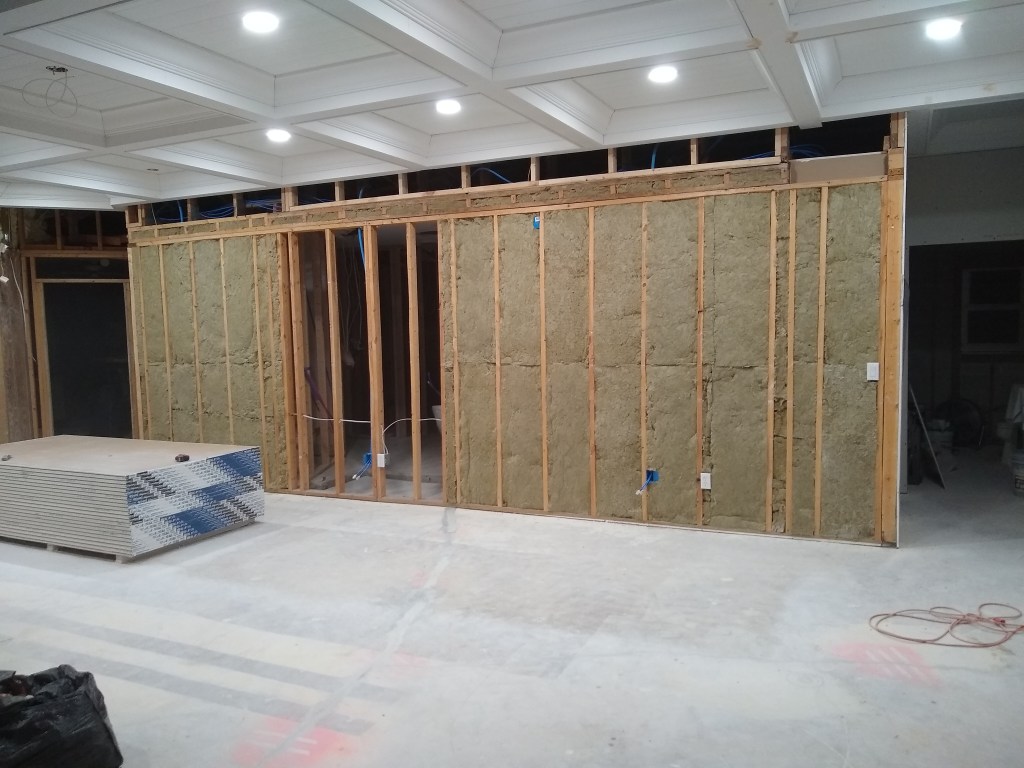
The section missing sound insulation looks through to the master shower area. That will be filled in before I put the board up on that side.
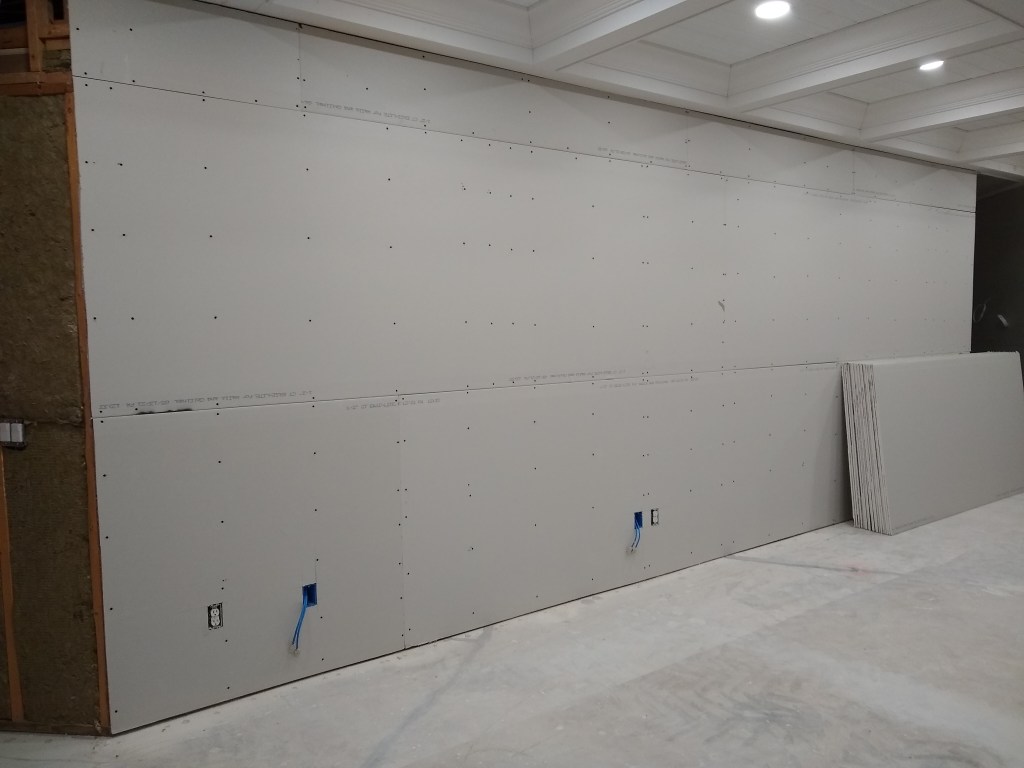
I started hanging drywall along the Great Wall by doing the top section first (approximately a 2 foot strip). I then added the first 12 foot sheet.

The next day I completed the Great Wall and in the process relocated the 8 foot drywall sheets so that they were out of the way.
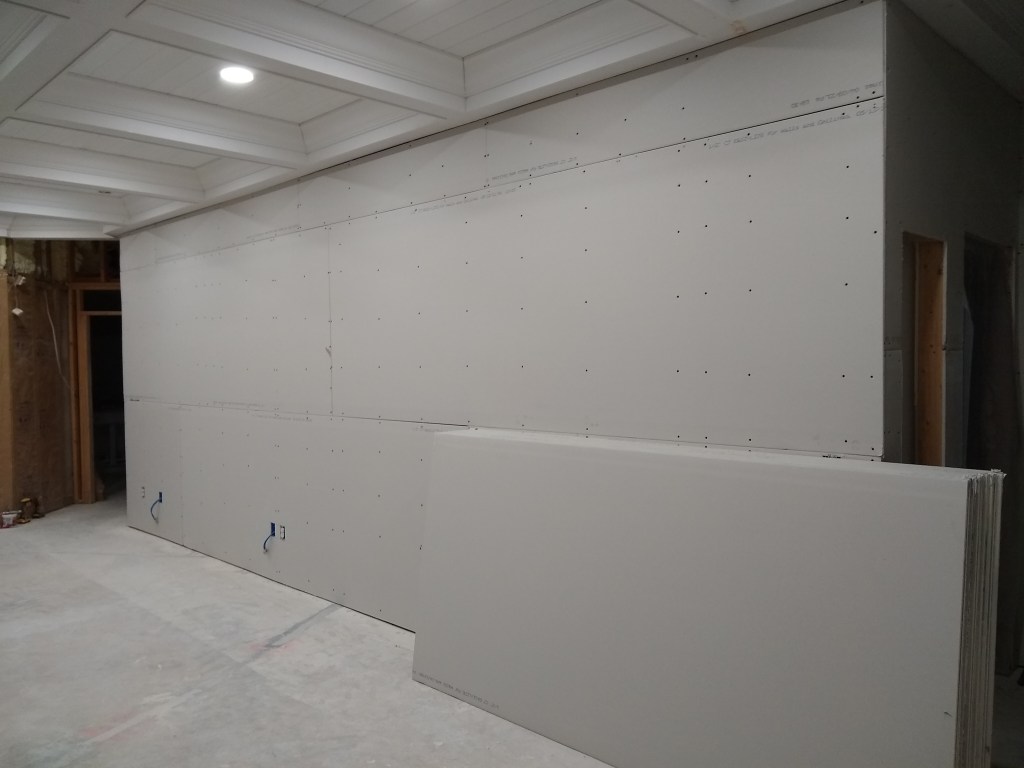
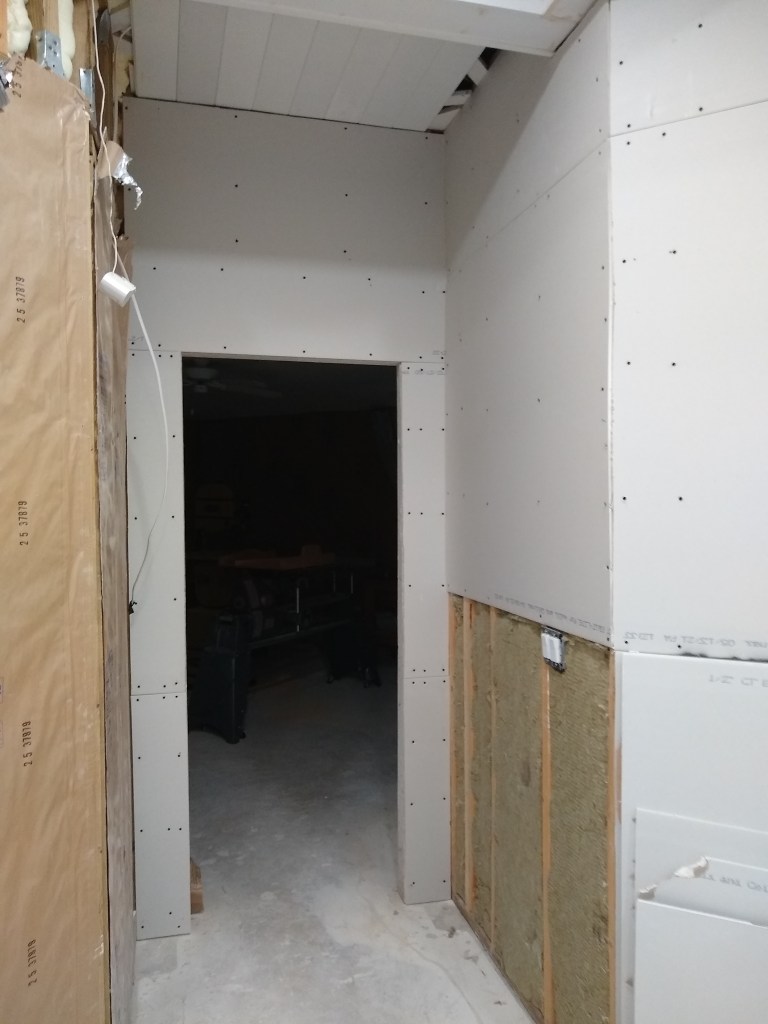
I moved onto to the entrance to the master bedroom and then to the south wall of the great room.
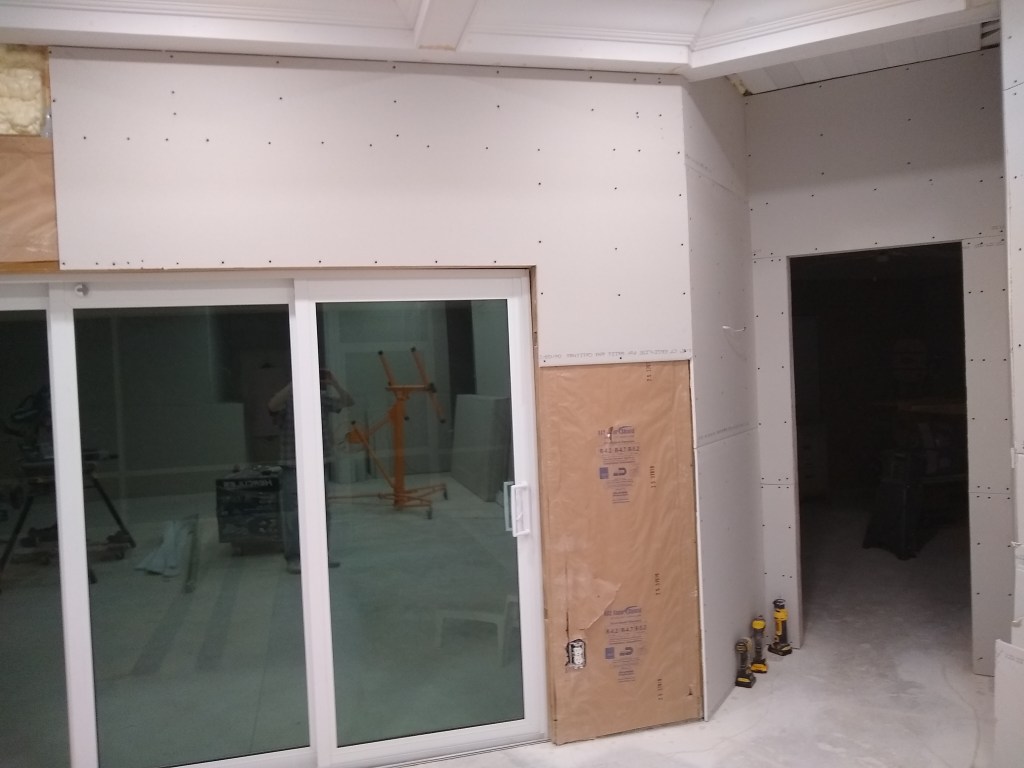


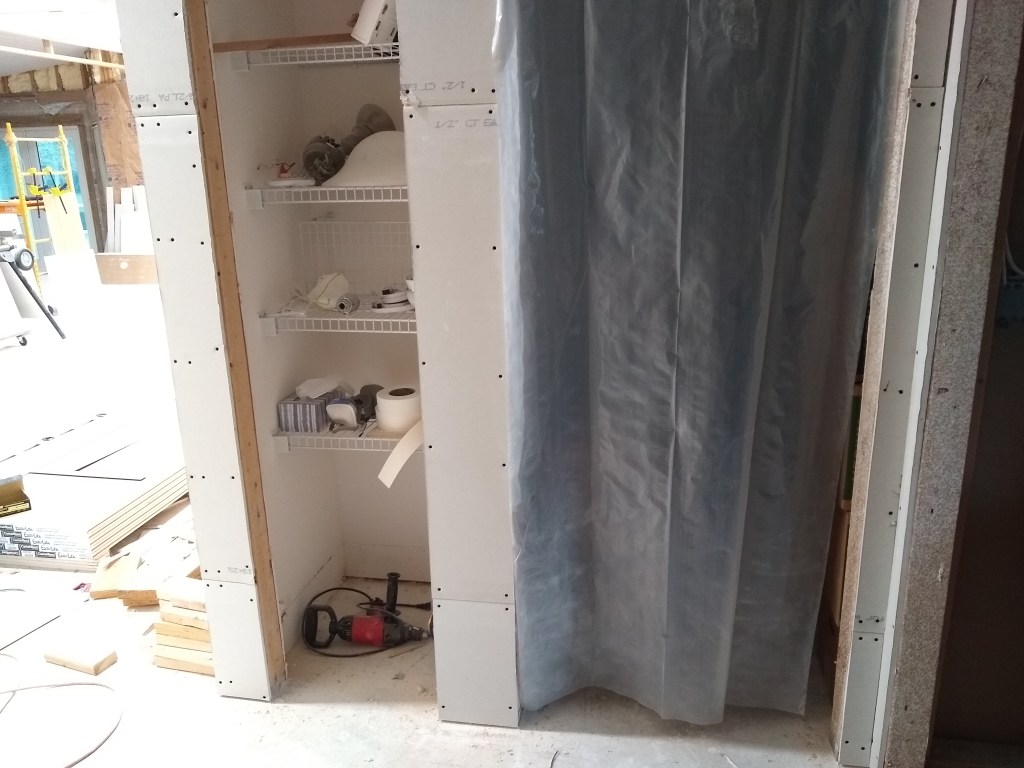
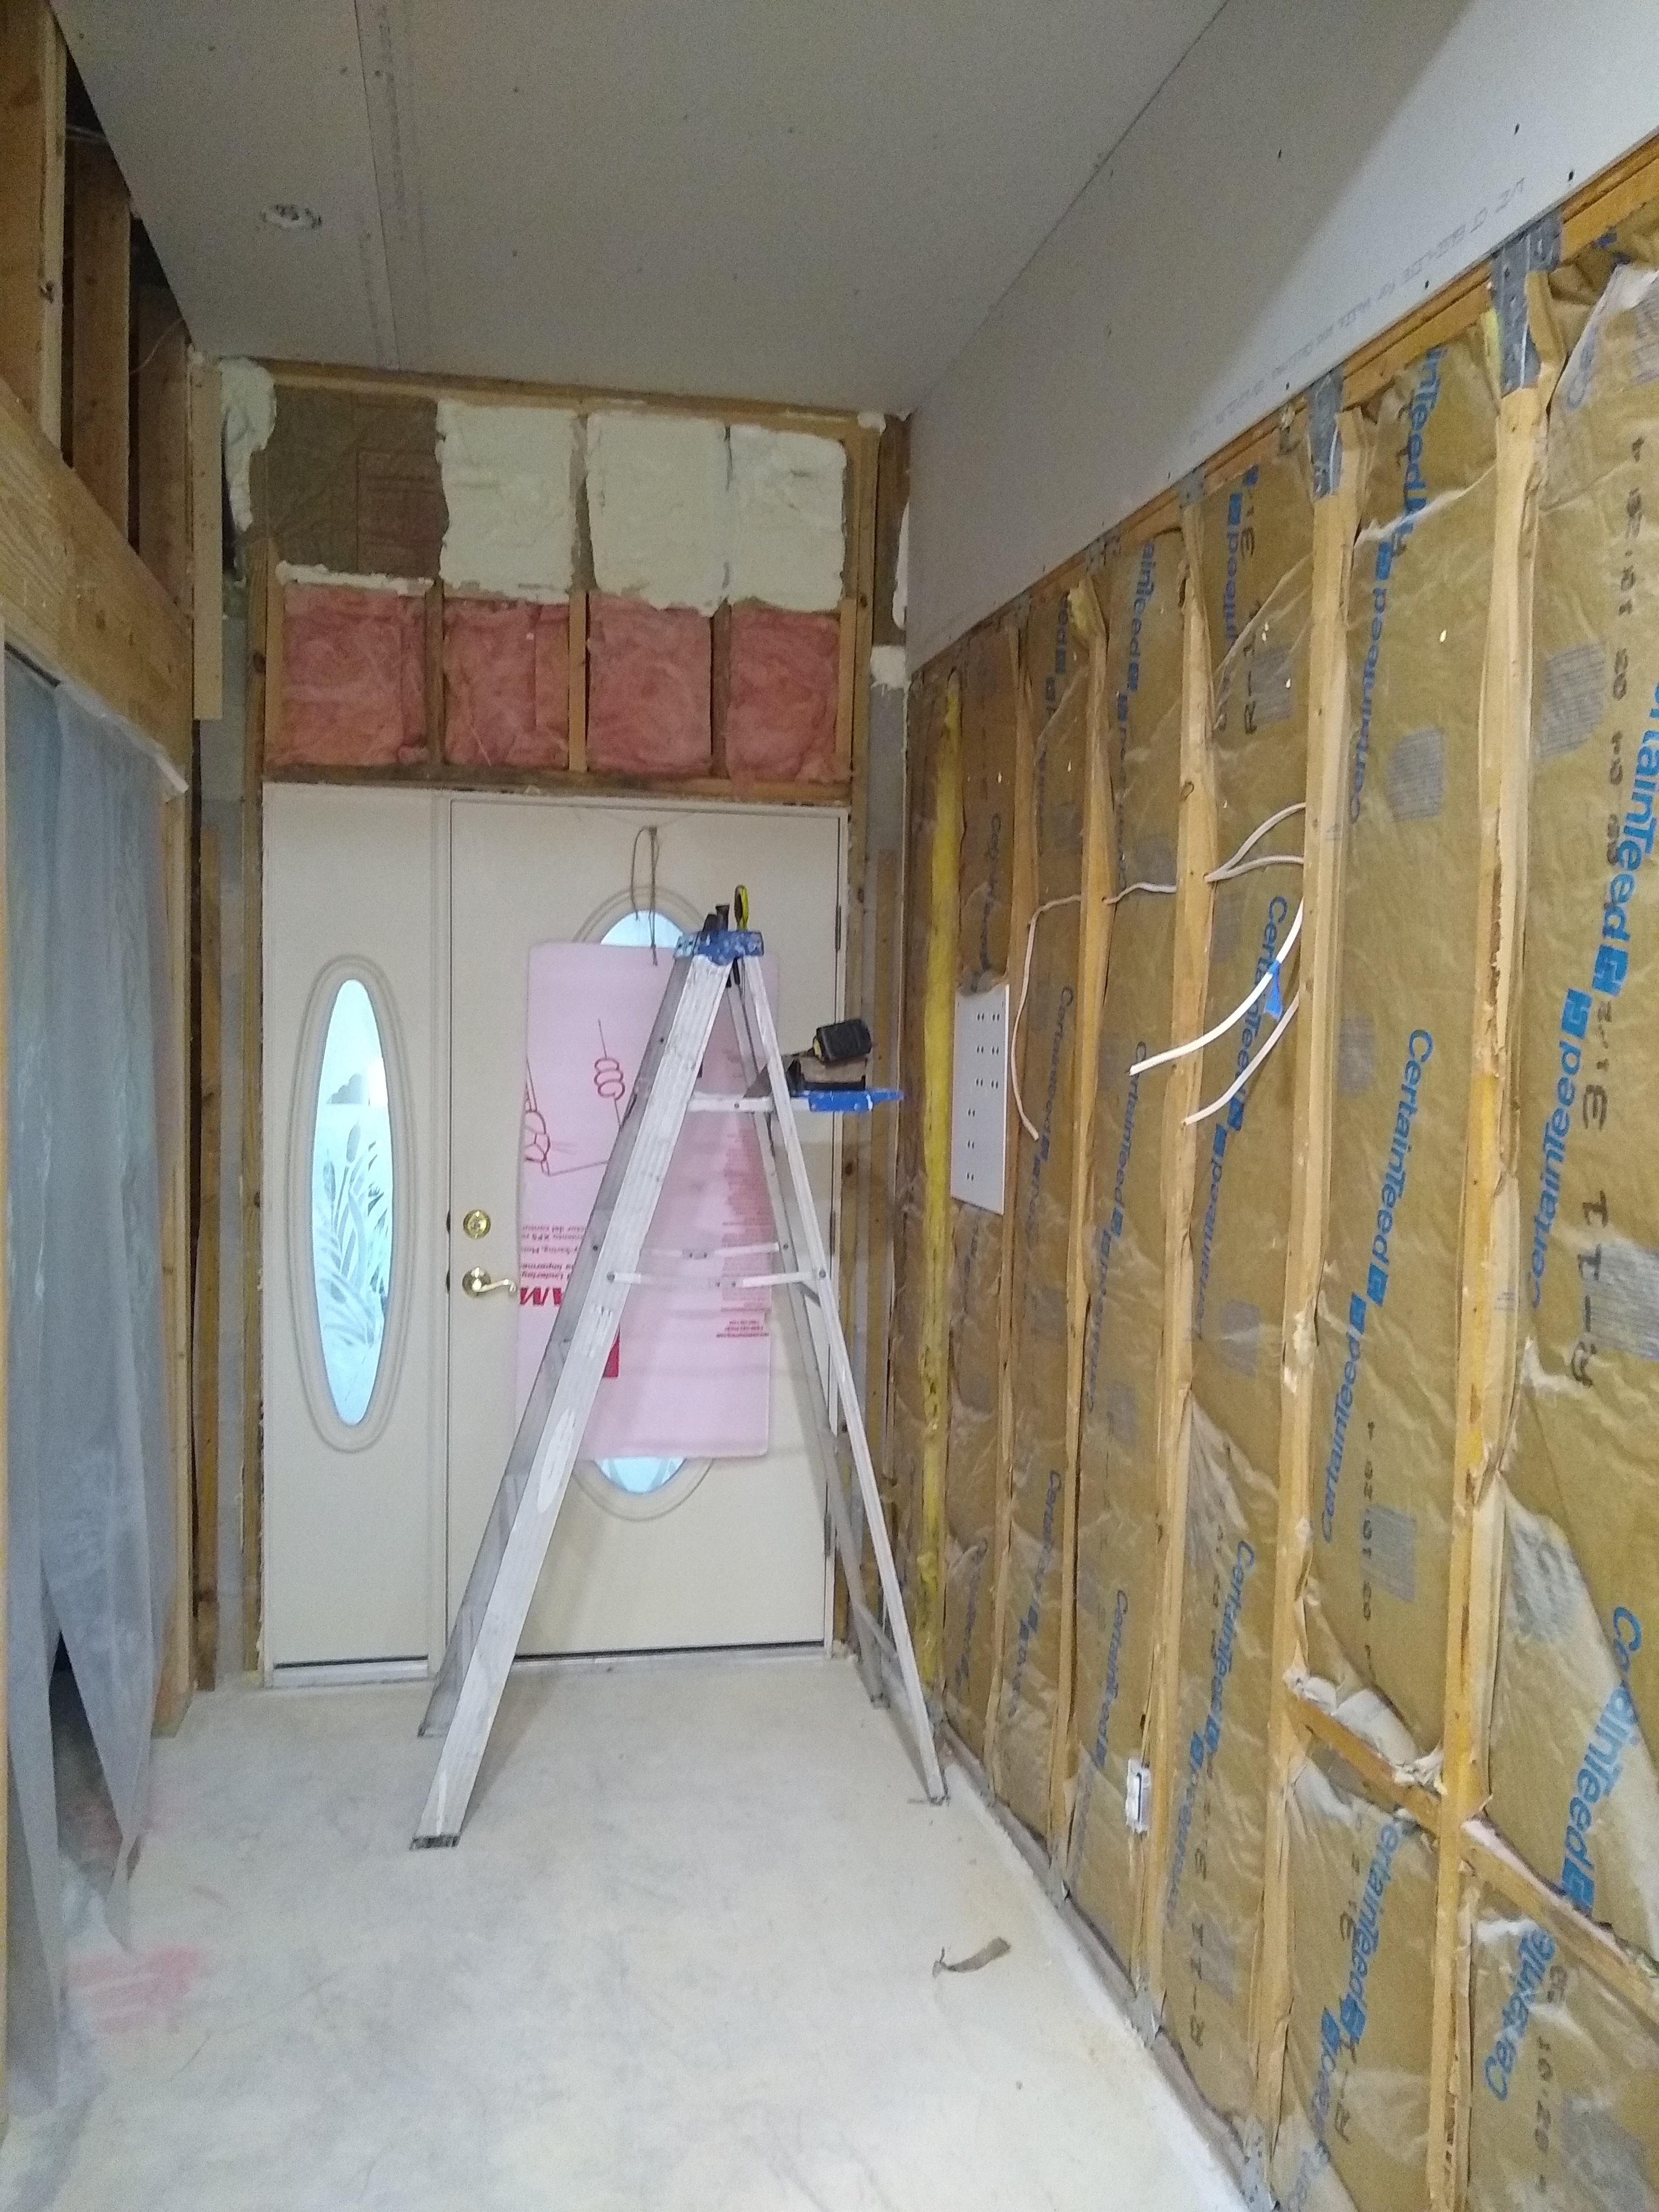
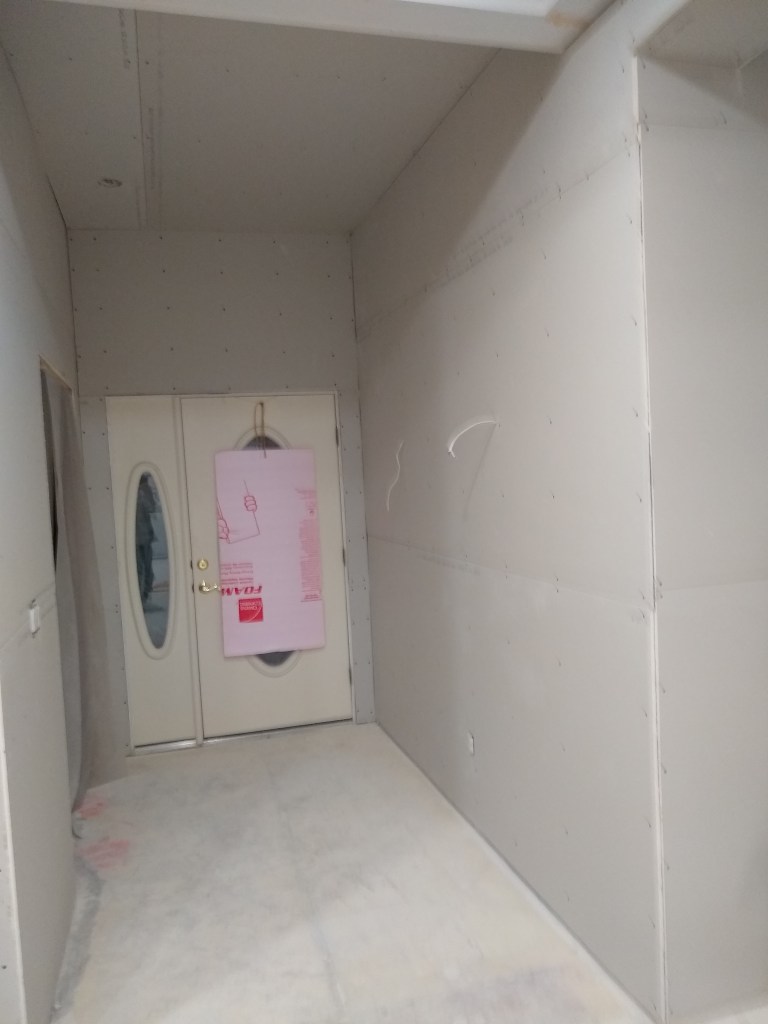
Next up was the area around the french doors. To accommodate the french door installation, I had to remove most of the vapor barrier, so that had to be replaced before hanging the drywall. That’s the brown paper you see on the third image.

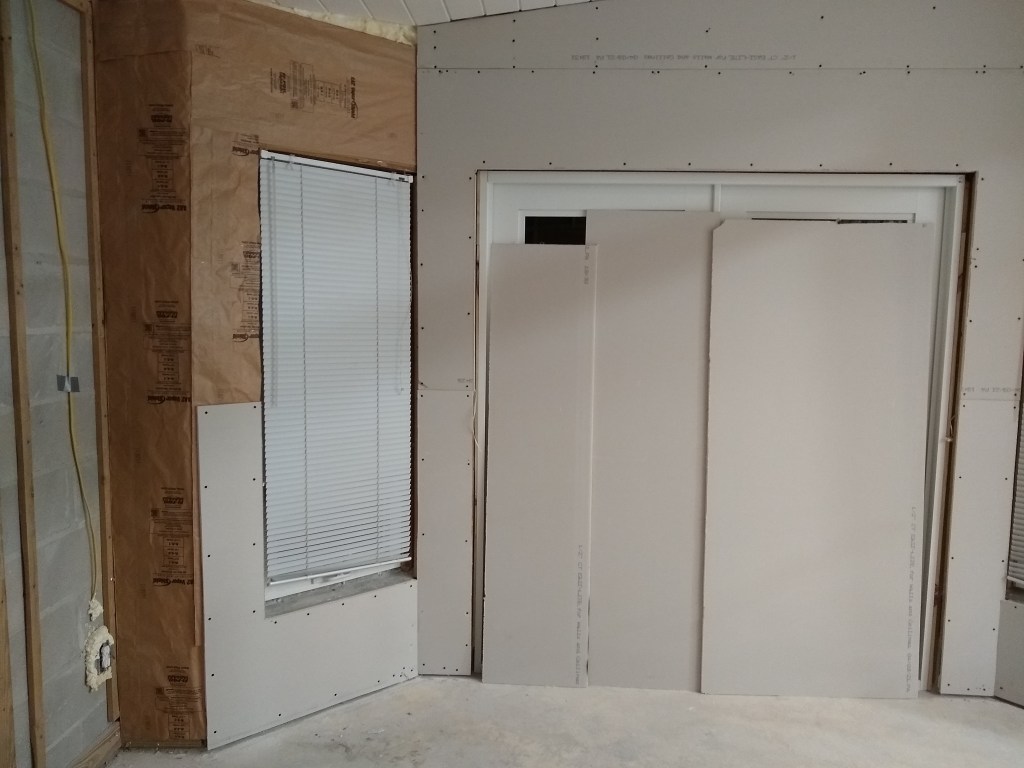
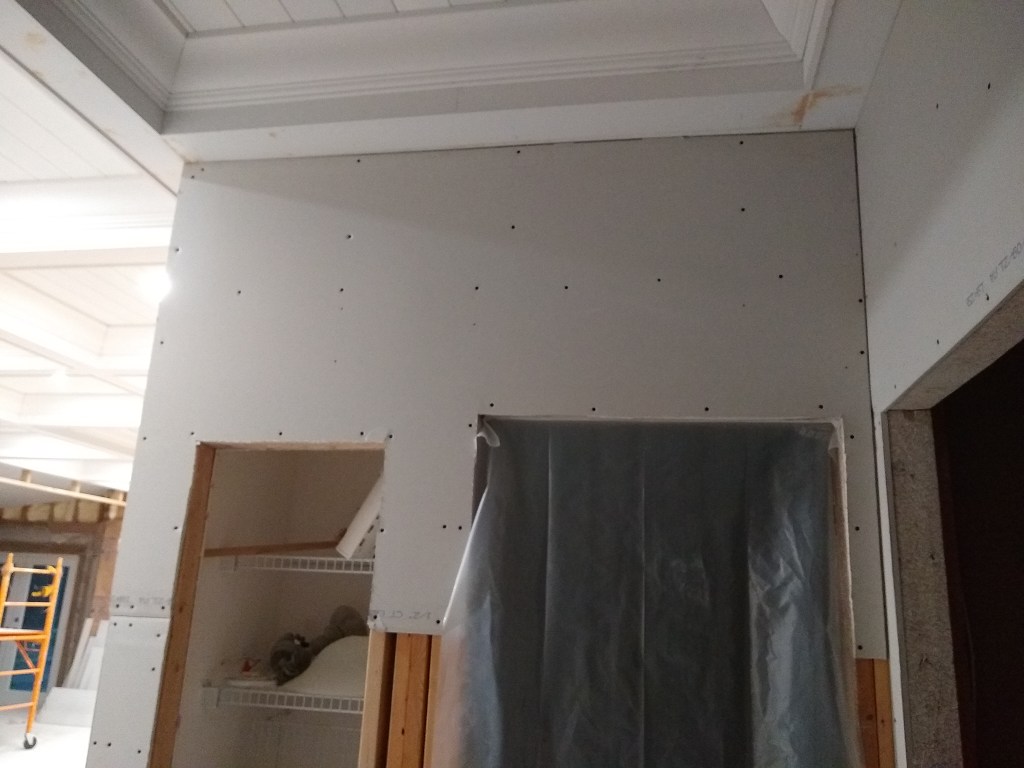
When the french doors were installed, I no longer had any window covering to provide privacy, so I am using a few drywall off-cuts to do the job. Although it is pretty private in the back, I have a lot of valuable tools strewn about the place, so I don’t want to advertise.
Before hanging any drywall on to the east kitchen wall, I had some more vapor barrier to install.

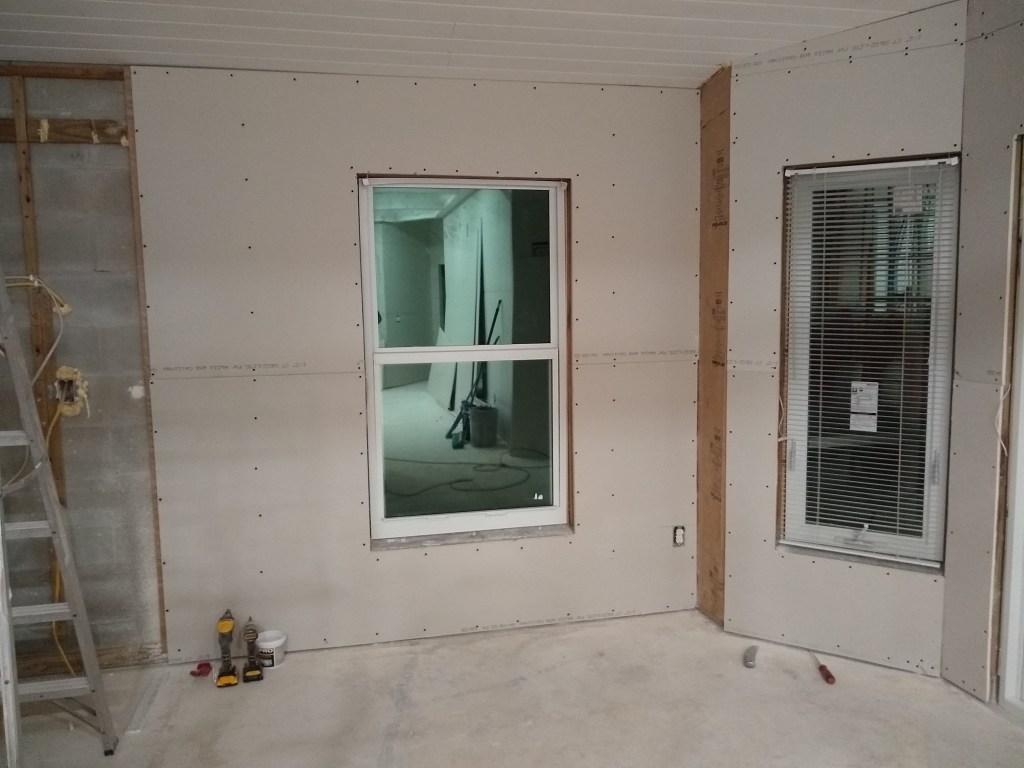
The next section of the east kitchen wall required a bit of thought because it is where most of the appliances and cabinets will be, so I decided to forego that for now and tackle the north wall of the kitchen because it would be easier. I added sound insulation and started hanging.


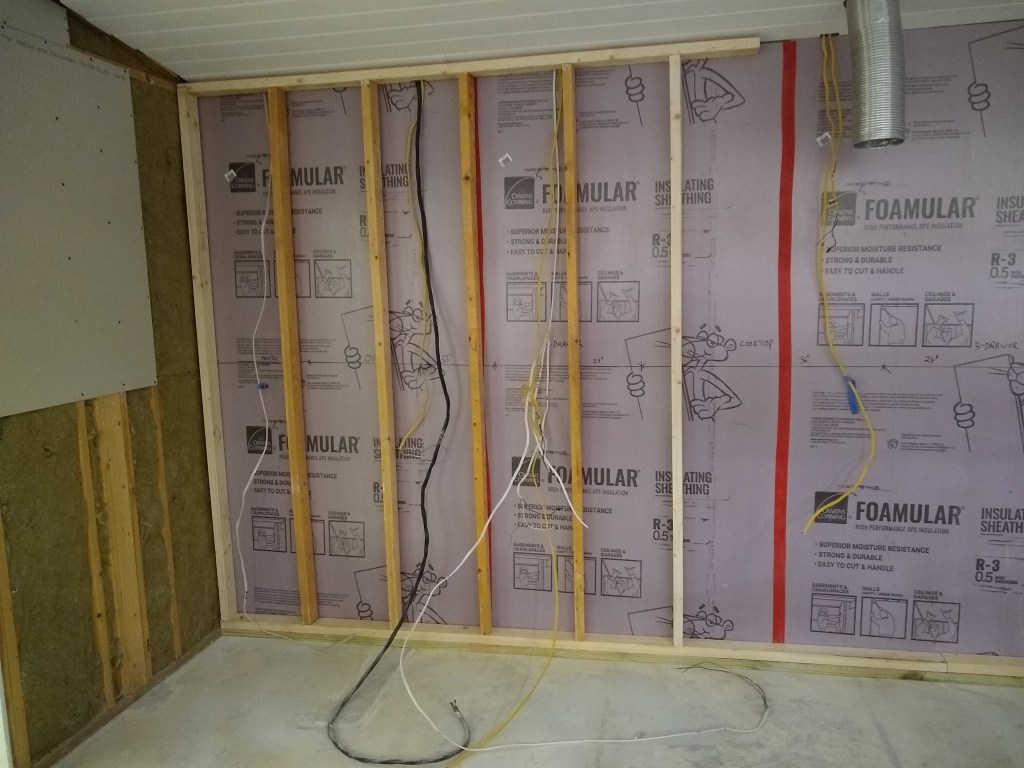
It was time to prepare the east kitchen wall. This involved verifying I had the wiring I needed and adding nail plates to protect them from errant drywall screws and such.

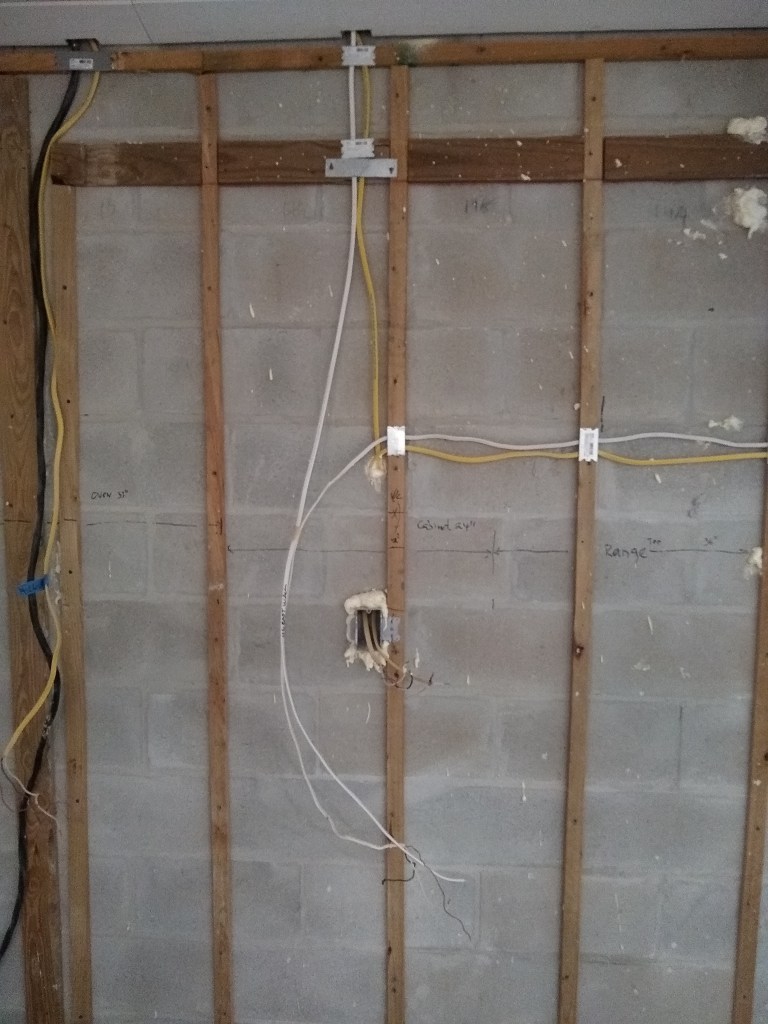


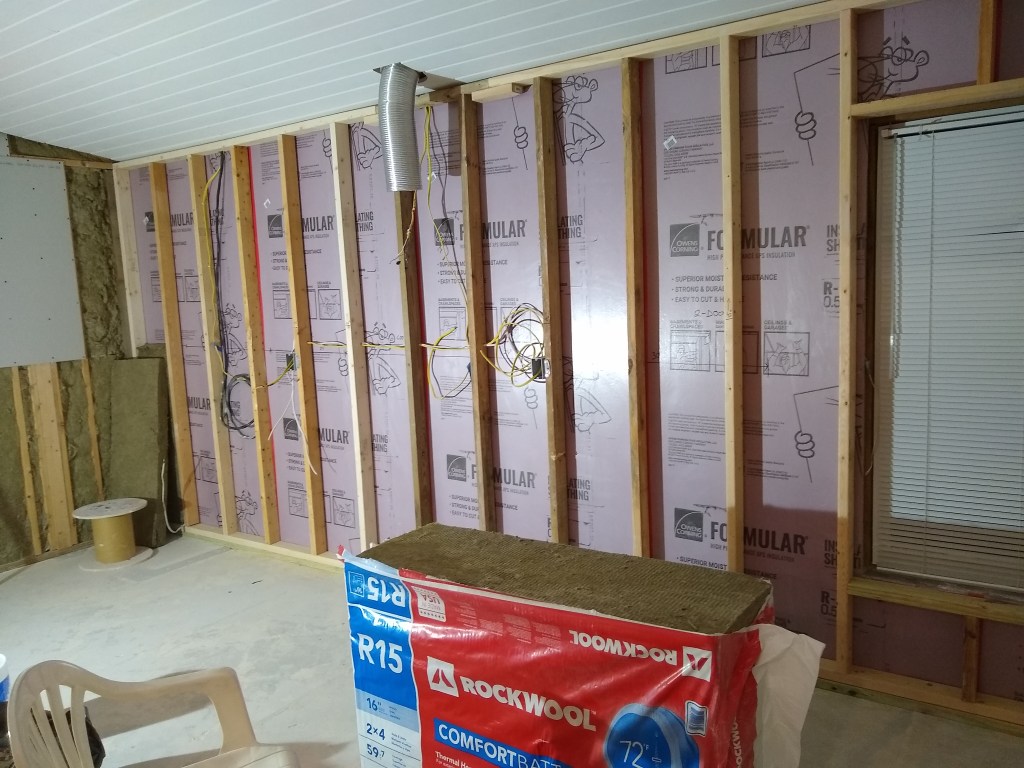
Even while prepping the wall, I was not entirely comfortable with the arrangement. The wooden strips you see anchored to the concrete block are only 3/4 of an inch thick. That is probably sufficient for hanging the drywall and cabinets, but is very limiting in terms of adding outlets and running wire. You’ll notice that the two outlets shown above are actually recessed into the concrete block. That is, sections of the block had to be broken to make room for the outlet boxes. So I toyed with the idea of re-framing the wall using 2x4s. The 2x4s would reduce the kitchen area by 2-3/4 inches along the length of the wall, but would provide a much stronger wall and provide ample room for running wire. I could even add some proper insulation. The loss of space was negligible, so it didn’t really factor into my decision. The effort (and cost) versus benefit was the main consideration. After some serious deliberation, I decided to do it.
The first job was to remove the drywall I had already put up around the window and all the furring strips and outlet boxes.

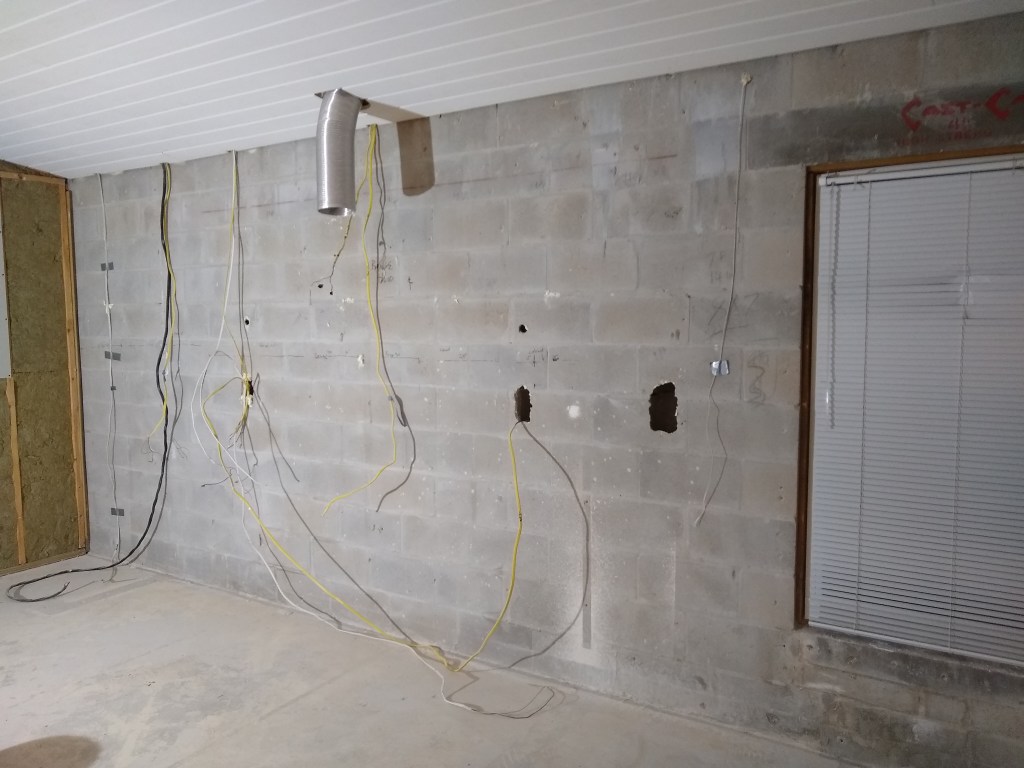
In the images above, you can more easily see the openings in the block to accommodate the outlet boxes. These openings will be covered by sheets of foam-board that I would glue to the concrete block before framing the wall. They provide minimal insulation, but serve well as a vapor barrier.
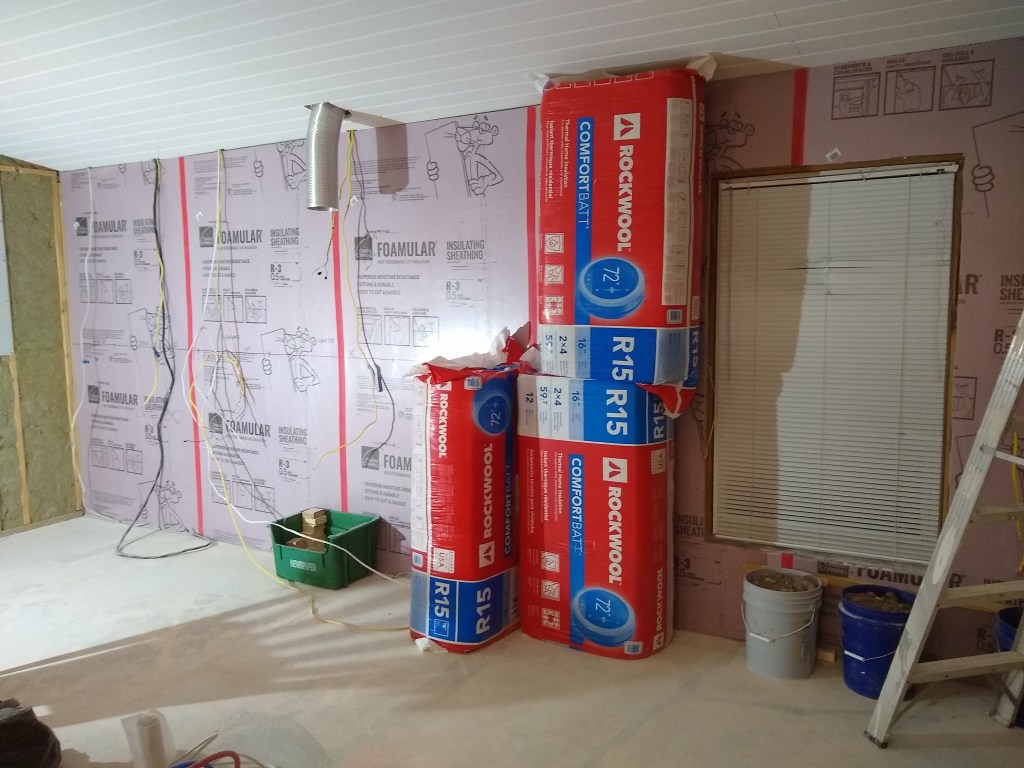
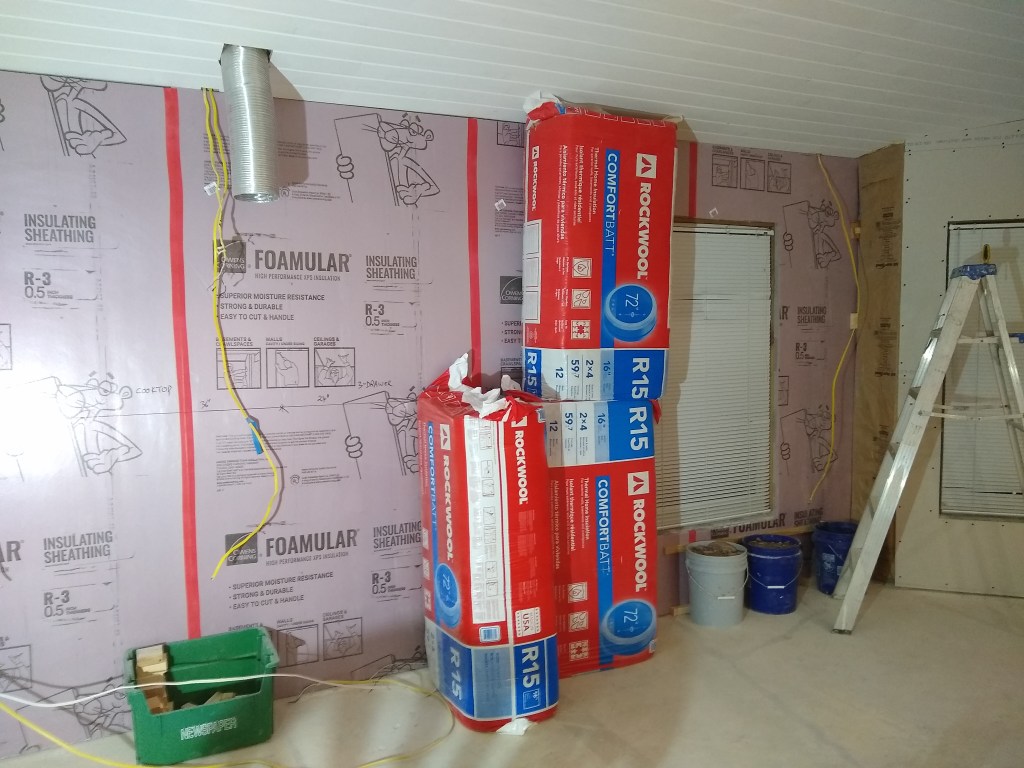
The red bags of R15 insulation shown above will provide the real insulation along that wall. In the images above, I’m leaning them against the foam-board to apply pressure while the glue sets.
The next day I started framing the wall. I started by putting down a base plate of pressure treated 2x4s, which I secured to the concrete slab using TapCon screws. The rest of the framing built upon it.
Notice that I did not complete the drywall hanging on the part of the north wall adjacent to the east wall. This was because I needed to have the east wall figured out before I would know how far to place the drywall. So that part will be completed only after drywall is hung on the east wall.
After completing this section, I moved to the opposite end and continued from there.
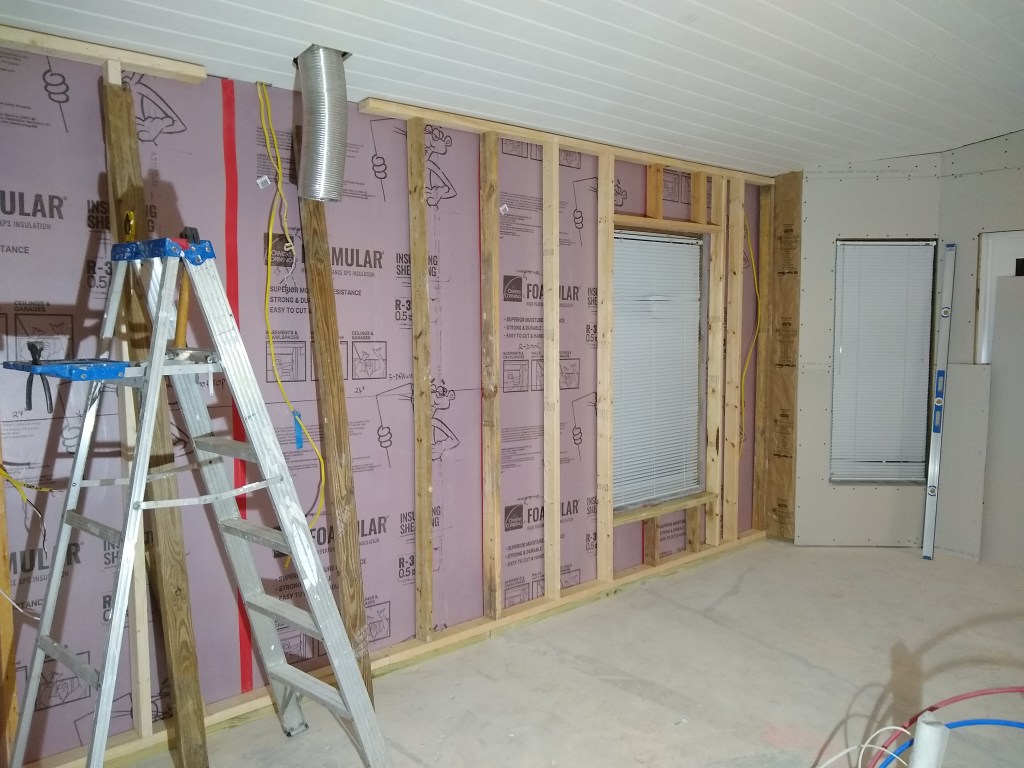
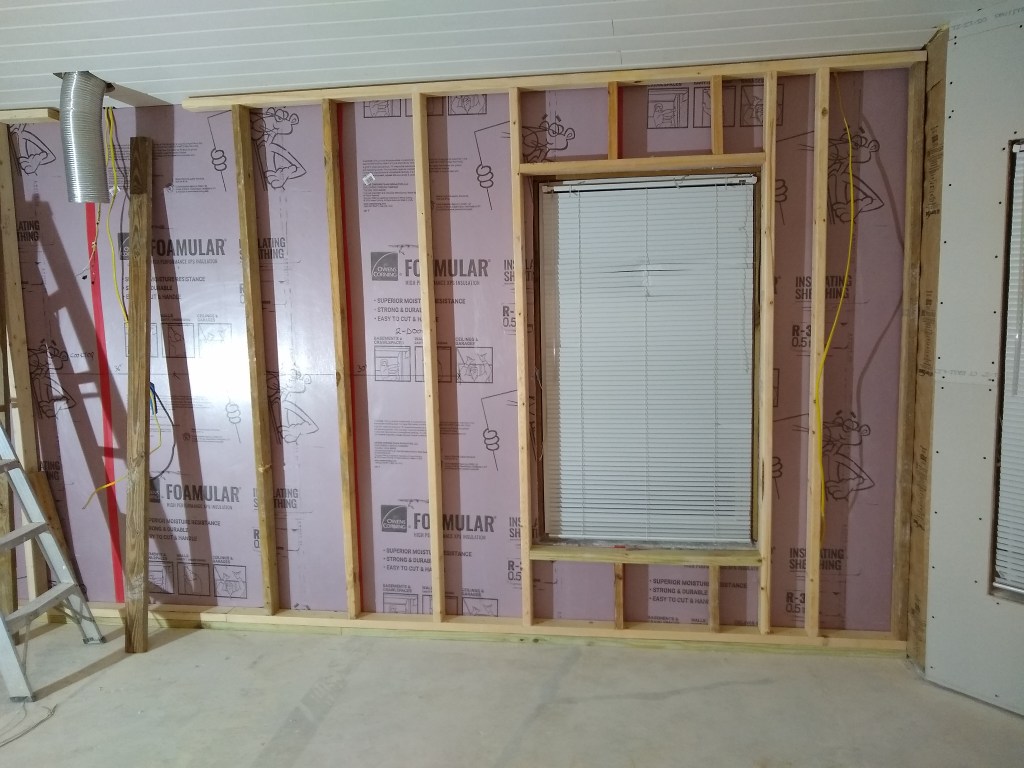
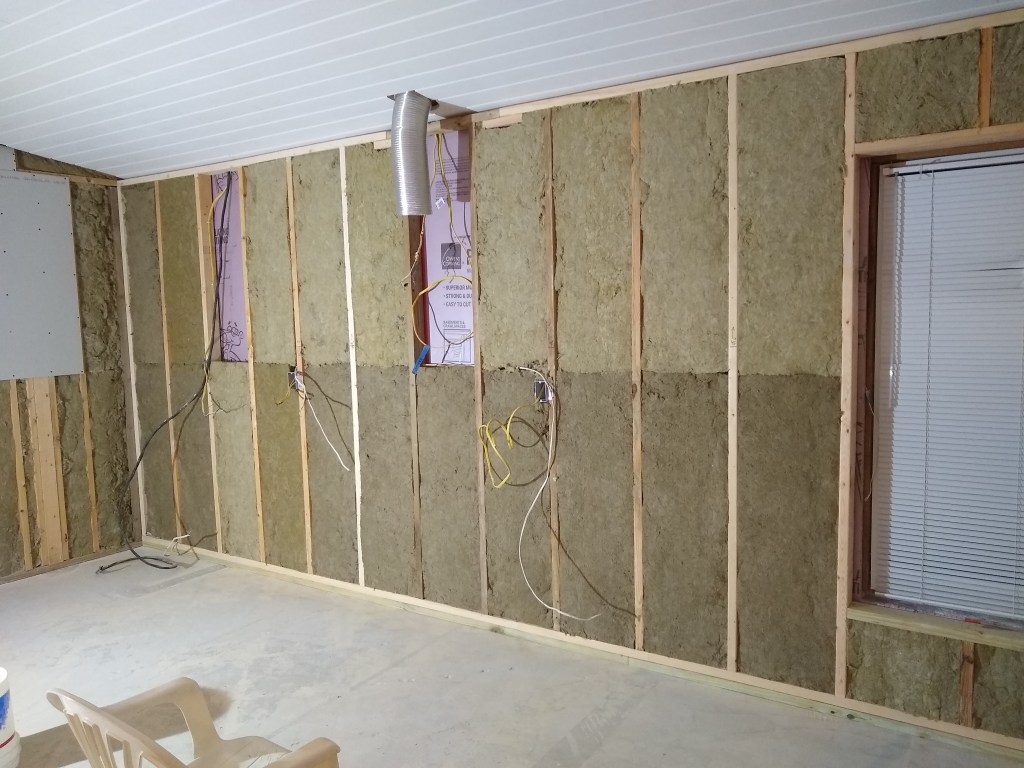
Because of the vent hanging down in the middle, I could not frame the entire wall at once. I had to do it in three sections, leaving a small section for last that I could slip around the vent. I had quite a few 2x4s left over from demolition long back. I was able to make use of almost all of them here. You can see that in the different colors of the vertical pieces.
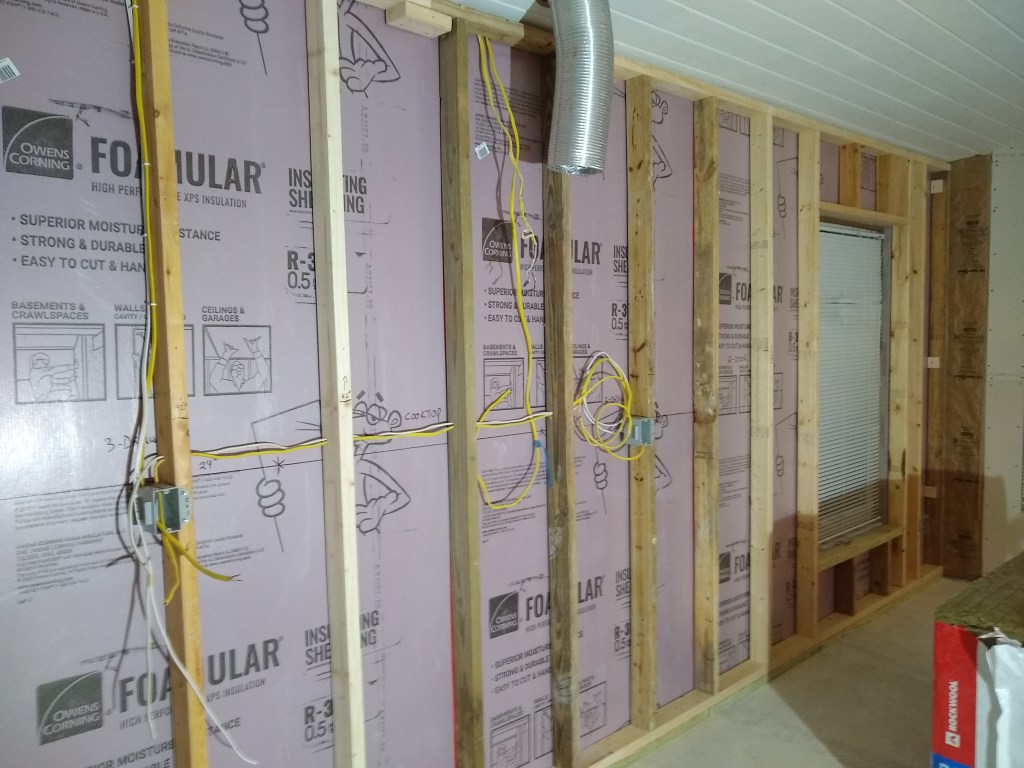

With the wall framed, I added new outlet boxes and drilled holes in the vertical members to accommodate the wires. I also added the insulation.
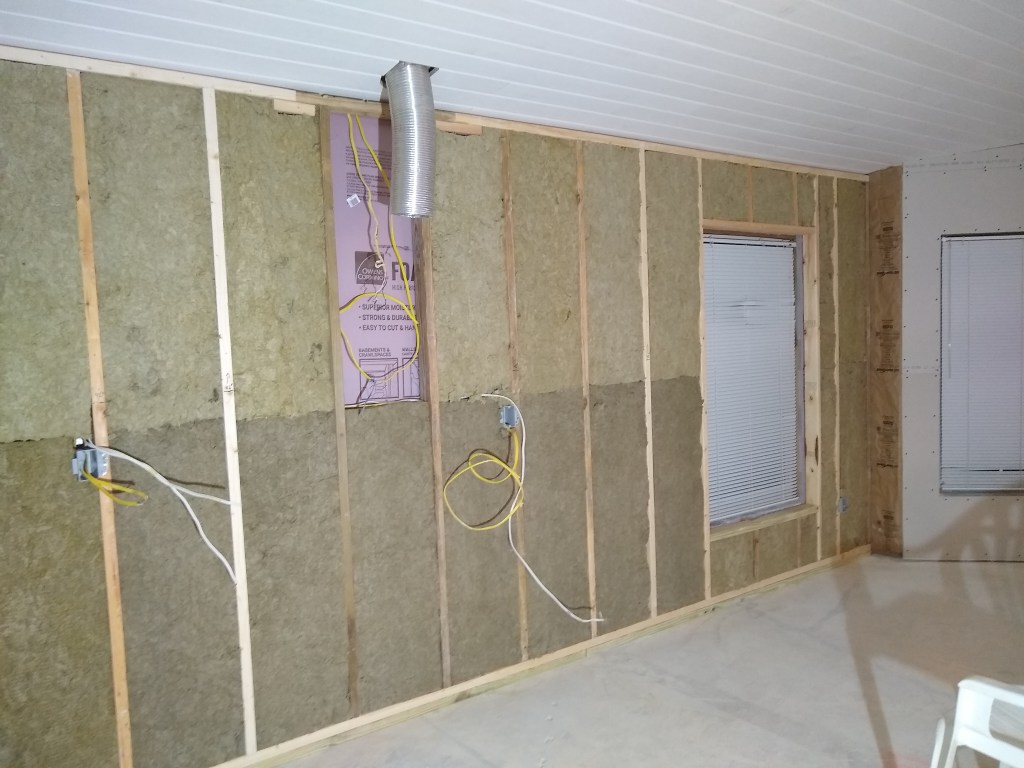
I left a couple of sections bare because I still had to figure out exactly where the wiring for the oven, microwave, cook-top, and vent hood would have to emerge from the drywall. But that would have to be figured out in the new year, because I was about to stop work for the holidays.
When I returned from vacation, I thought I would get right back to it, which I did until I hit a snag. I discovered that the cook-top required a 240 volt line, not the 120 volt I had assumed. Silly of me not to notice. When speaking on the phone with an electrician, I learned that it would have to be a separate line from the one feeding the oven. I was prepared to run the new line from the existing one, but was not comfortable introducing a new line from the breaker box. For that I will get an expert, whom I will meet tomorrow. In the next post I will describe what transpired and hopefully will show more drywall in place.
