In this post I describe the work I did on the ceiling of the guest bedroom.
All ceilings in the house were knockdown textured, which looks like this:

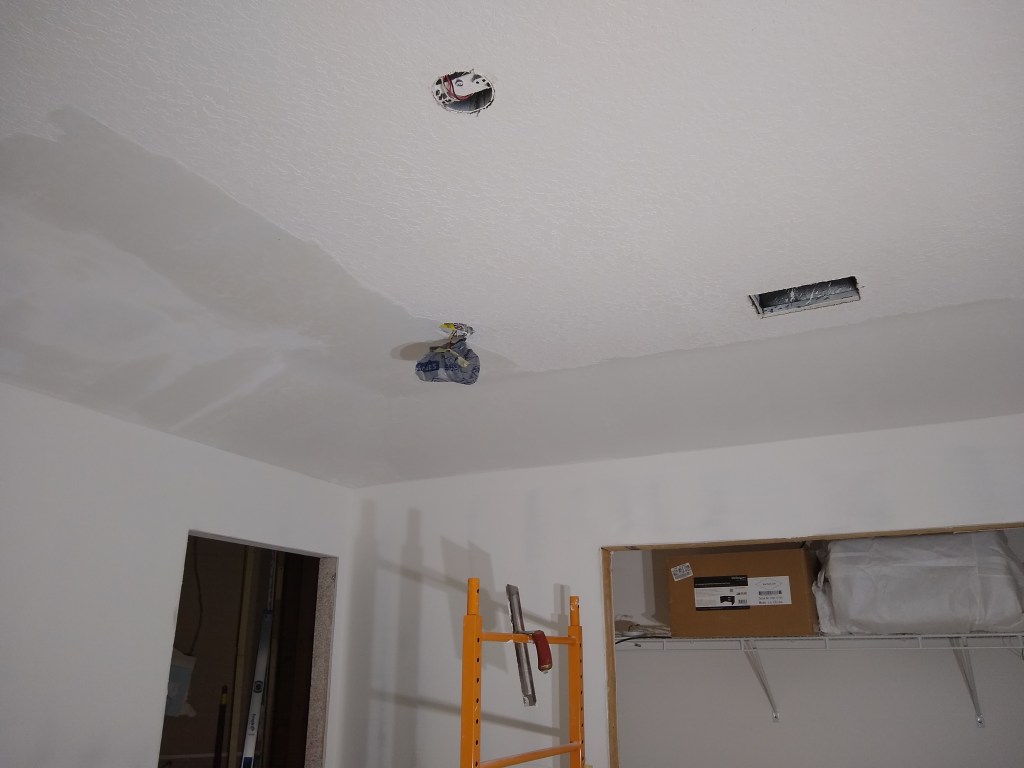
Since the guest bedroom ceiling required a repair (shown in previous posts) I was faced with how to make the patch match the existing ceiling texture. I decided that rather than attempt that, I would skim coat the entire ceiling (existing knockdown) and re-texture it. By doing this I wouldn’t have any issues with matching, and I might even be able to avoid texturing altogether if the skim coated resulted in a really nice smooth ceiling. So that was what I did.
Because I would be skimming over a painted surface, I needed to use an all-purpose premixed mud rather than the lighter variety I had been using for the walls. The all-purpose mud contains some adhesive elements that make it bond better to painted surfaces. The skimming process will require two passes. For the first pass, I used the mud straight out of the bucket.
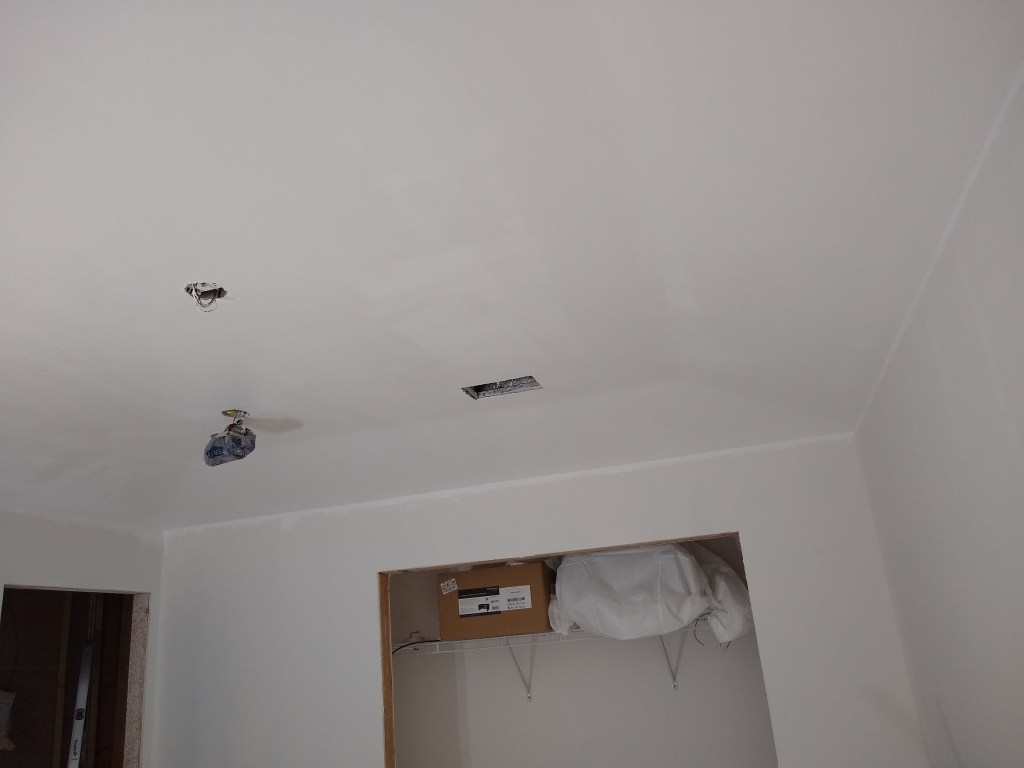
The guest bedroom (all bedrooms) have a tray ceiling, so after removing the light, A/C grill, and smoke detector (I wrapped the bit hanging down in a plastic bag) I began by skimming the angled perimeter first.

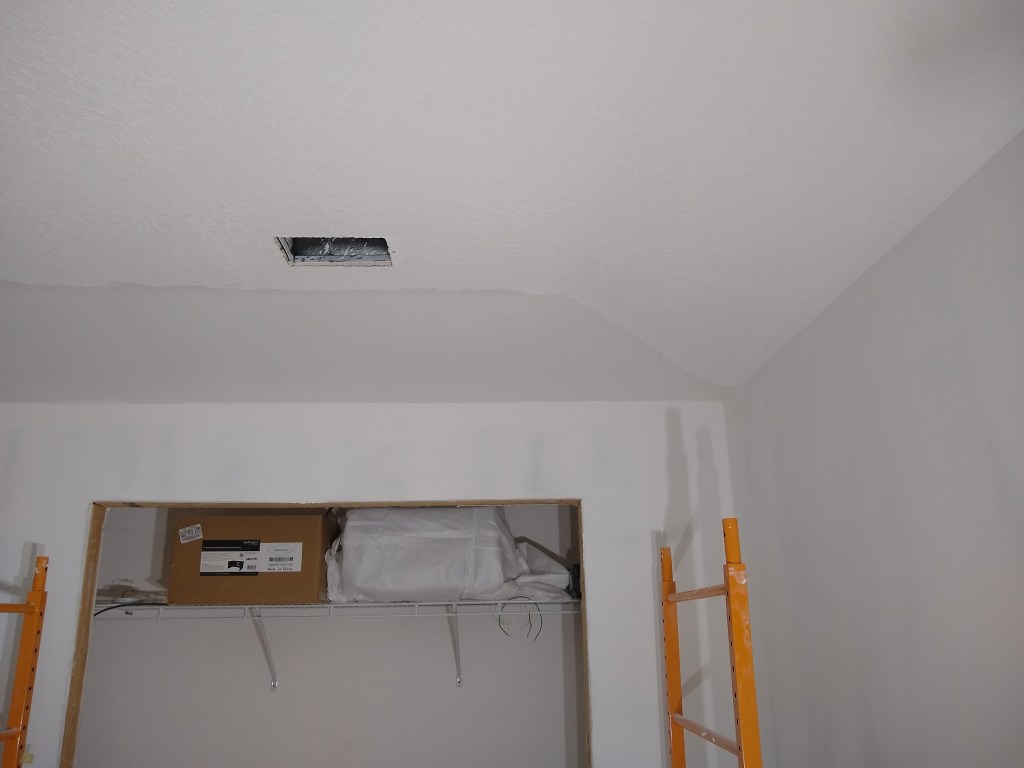
I was pretty pleased with the result. It seemed to smooth out the texture easily. I wasn’t expecting it to look so smooth right away. I finished the first coat the next day. The images below were captured while most of the mud was still wet, so it looks kind of splotchy, but it is pretty smooth.
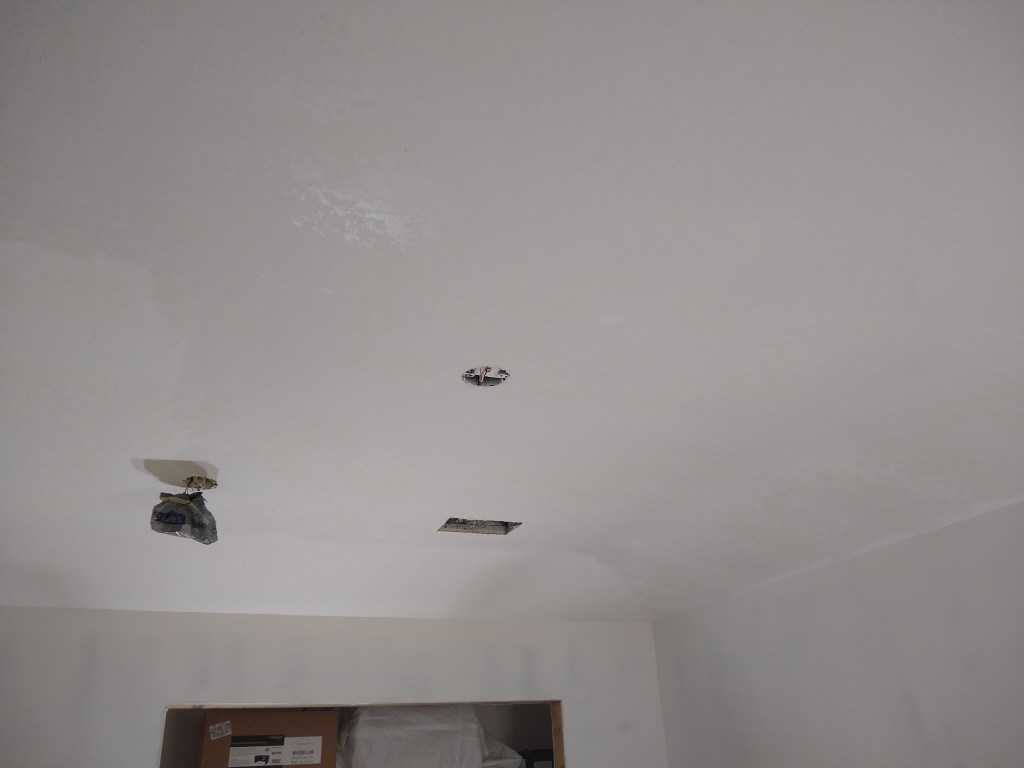


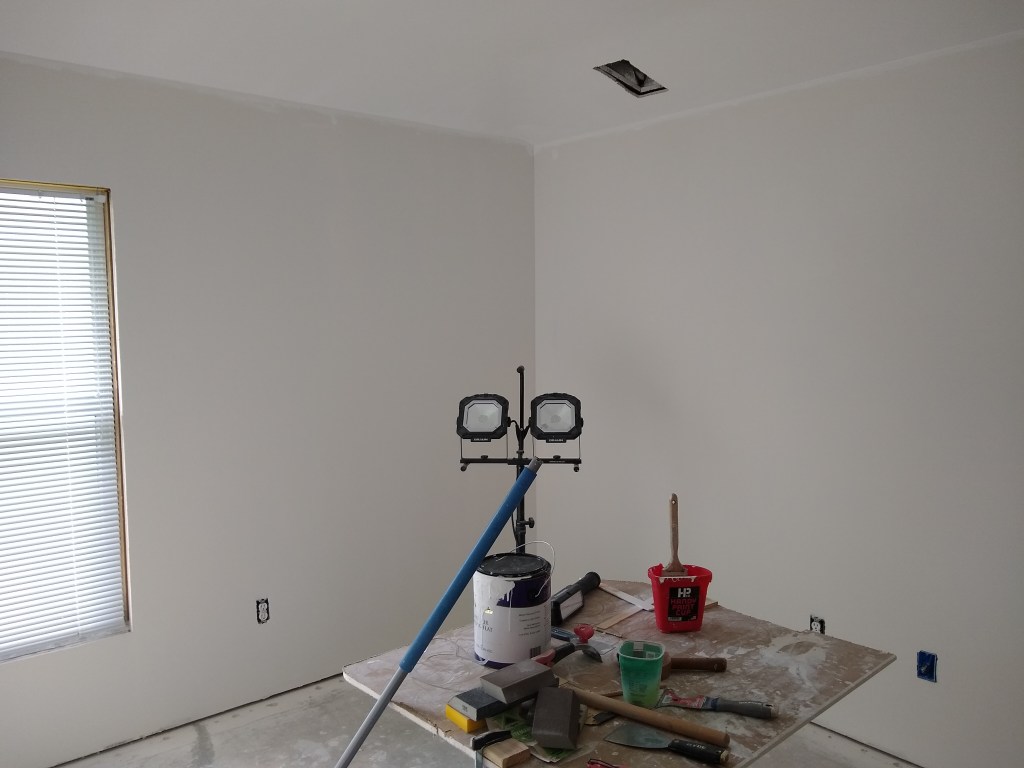
The next day, when the first skim coat was dry, I got up close to scrape and sand the really rough bits (no need for a full sanding). There were definitely some rough areas that were not obvious when viewed from a distance. I did not attempt to smooth them out completely. I only cleaned them up a bit in preparation for the second skim coat, which I expected would cover or fill them in. I decided to use the Plus 3 mud for the second, and hopefully final, skim coat. I was already familiar with it since I used it on the walls, and it would be much easier to sand than the thicker all-purpose mud.
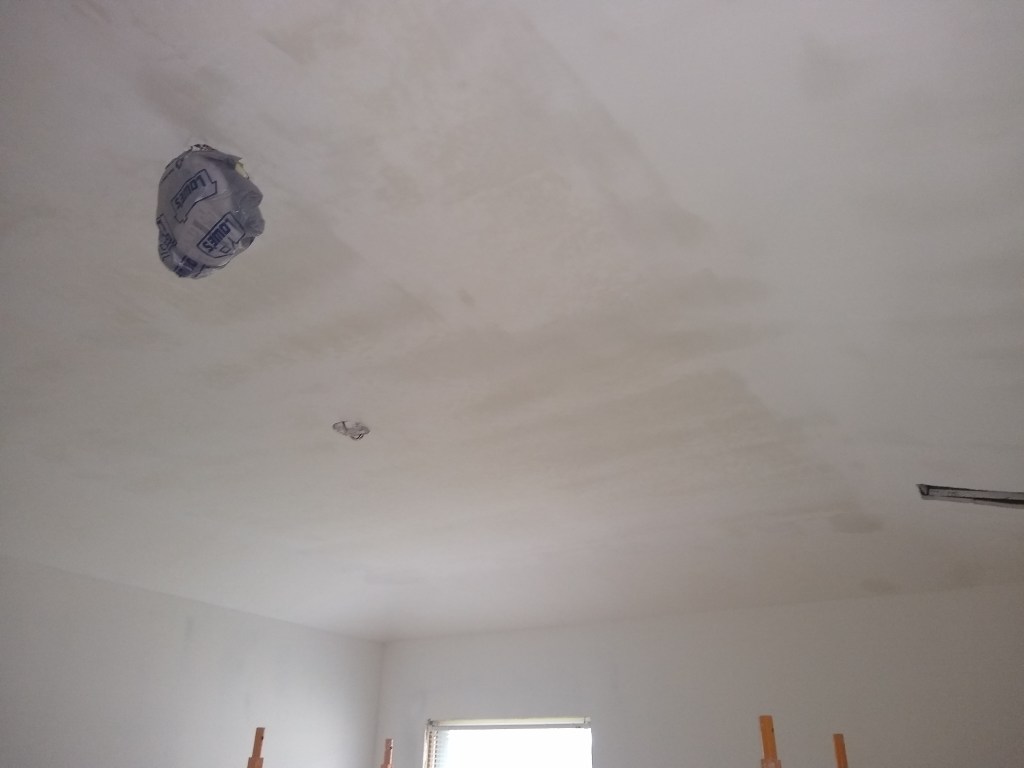
I watered down the Plus 3 mud to a thick yogurt consistency and applied it to the angled areas first, just like the first coat. Being the finish coat, I did my best to limit the lines between pulls of the 14″ knife, keeping pressure mostly on the leading edge. This worked well for the flat areas. The corners of the tray were a different matter since I could not get any of my knives to smooth them out. So I resorted to a sponge. I put enough mud over the area, then used a wet sponge to smooth them out. I left a little bit mud in those corners to sand to get the result I wanted. Here are some pics of the second skim coat before I left for the evening.


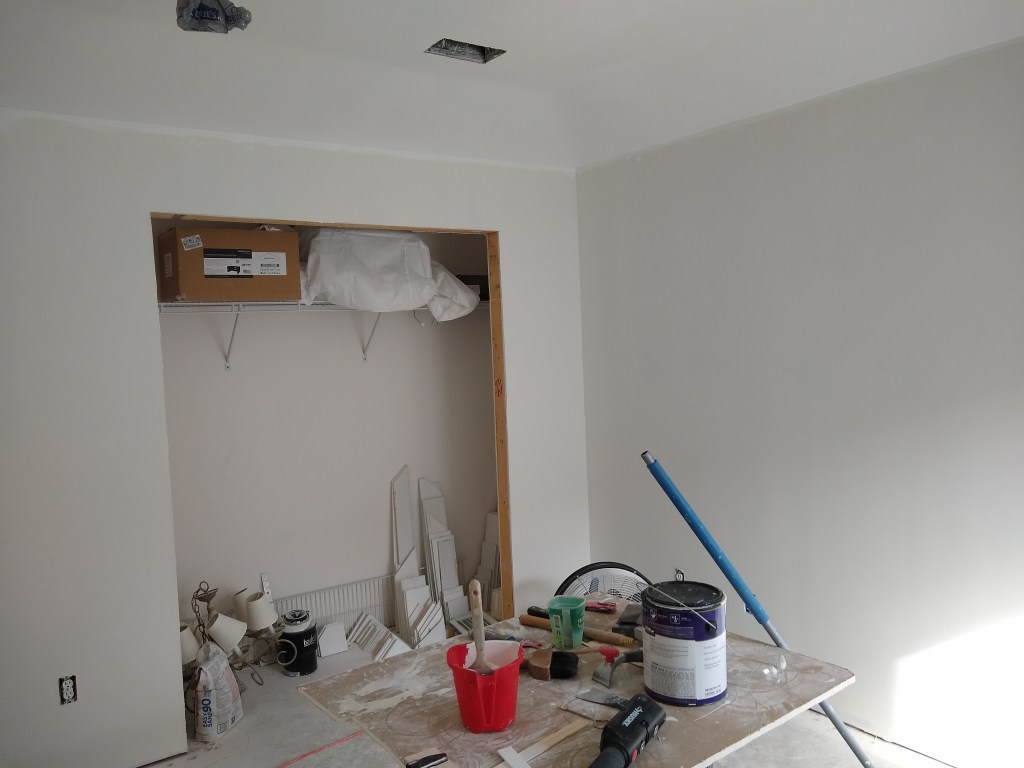
The next time up, I sanded the ceiling and touched up a few places. After that, the room was ready for primer (ceiling and walls). I picked up a gallon of KILZ original primer and applied it to all inside corners of the walls and ceiling before applying it to the ceiling. With the primer I had left, I applied it to the west wall. The next day I picked up another gallon of primer to finish the priming of the remaining walls, but also picked up a gallon of ceiling paint. It was my intention to prime all surfaces, but only paint the ceiling, since I knew it would be white. When I figure out what colors I will paint the walls, they will be ready.
After the primer was dry on the ceiling and west wall, I used my 4″ drywall knife and a sanding sponge to scrape and smooth out any obvious lines from the priming. During this process I found some areas on the unprimed walls that were not well sanded. This was missed because it is not easy to see them due to all surfaces being white. So I purchased a hand held light wand to help me direct the light more easily and identify defects. It worked really well and helped me sand out small patches I missed the first time. Following that, I primed the remaining three walls.
The next day, I sanded/scraped what I’d primed and then painted the ceiling with the first coat. That was followed up with the second and final coat the next day. I’m only showing pictures of the final result rather than between coats because there’s not much to see. So here is the final result.

You can see that I was not concerned about the ceiling paint getting onto the walls where they meet. When I eventually paint the walls, I will cut in properly to make a nice edge.
I’m happy with how the ceiling and walls turned out. That I did not have to texture the ceiling was very pleasing. I was hoping I could have a smooth ceiling, and now I do.
With the walls primed and ceiling painted, as far as drywall is concerned this room is done. My objective was to learn all the lessons I could in this room before proceeding any further with the other rooms. So I will resume hanging drywall in the rest of the house.
However, before doing that, I will suspend work on this house for a while and turn my attention to the house where I reside. My primary residence is about an hour and fifteen minute drive from the house I am renovating. I am getting tired of the drive up and back each day. I spend about two and a half hours driving and only around three hours working. My personal circumstances are such that I no longer need to remain where I am, so I intend to sell my primary residence and get a place very close to the reno. That will save a lot of wear and tear on my car and allow me to spend more time working on the reno. To prepare for this I have to do some minor work on my primary residence to have it ready to show. I’m not sure how long this will take, but it will take my attention for the next few weeks. During this time I expect the windows and doors will be replaced, so I will need to drive up for that. So unless that is delayed, I think the next post will be about the that.
