In the first post about drywall, I neglected to explain what “Level 0” meant in the post title. I could go back and update that post, but now that I will be discussing level 1, I’ll just do that here. There are five levels of drywall finishing. For most of the walls, I will strive to achieve a level 5 finish. The levels are as follows:
- Level 0: Simply hanging the drywall itself. No finishing at all.
- Level 1: All joints and interior angles have tape embedded in joint compound. Excess joint compound, tool marks and ridges are acceptable.
- Level 2: All joints and interior angles have tape embedded in joint compound and wiped with a joint knife leaving a thin coating of joint compound over all joints and interior angles. Only a single coating is required. Also, all screw heads have been covered with joint compound. Tool marks and ridges are acceptable. Achieving this level is good enough for the surface to receive tile or for a garage.
- Level 3: Same as level 2, but an additional covering of screw heads, and tool marks and ridges must be removed. Achieving this level is sufficient when the surface is to be covered with a heavy textured finish, which will hide any imperfections. In my case, reaching this level on a ceiling intended to have a “knockdown” texture, is acceptable.
- Level 4: Same as level 3, but an additional coat of joint compound is required to cover flat joints. Screw heads and accessories require three coats (an extra from level 3). This level of finish is sufficient for walls that will take a mat paint finish or will be lightly textured.
- Level 5: Same as level 4, but a light skim coat is required to cover the entire surface. This level of finish is required when a smooth wall finish is desired and a non-flat paint is to be used.
In this post I will describe the work I do in the guest bedroom. As mentioned in the last post, I decided to stop hanging drywall after getting three of the rooms hung (almost – more on that later in this post). I decided to circle back to the guest bedroom and move forward through the levels so that I can gain experience that I can use when I move on to the other rooms.
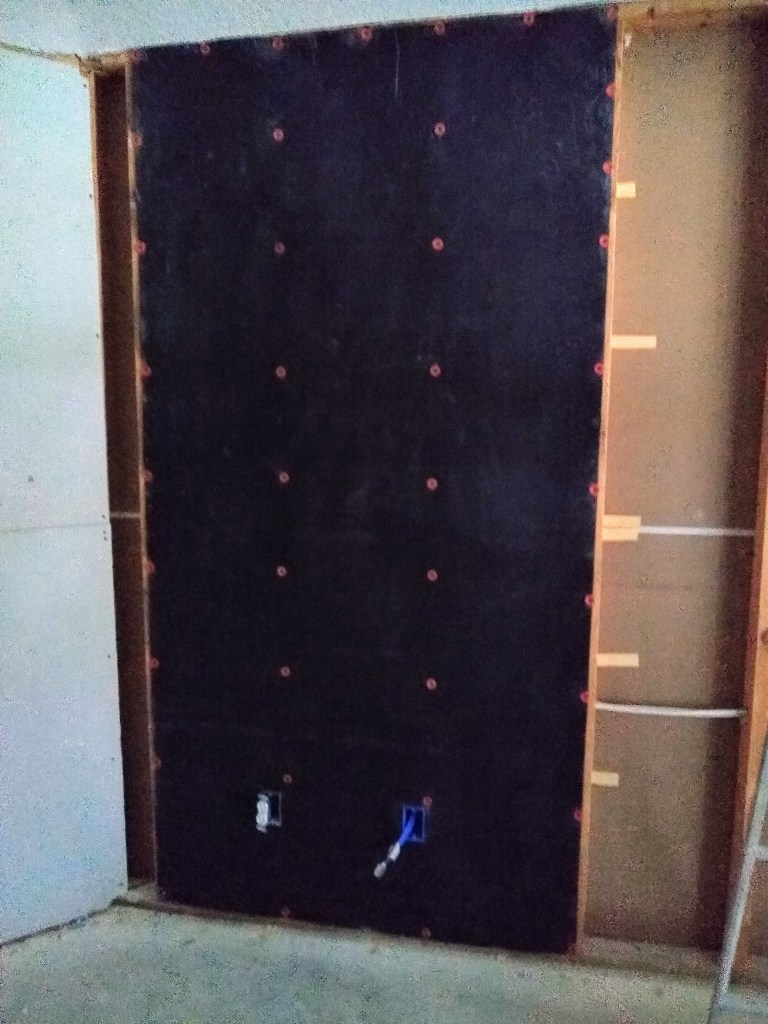
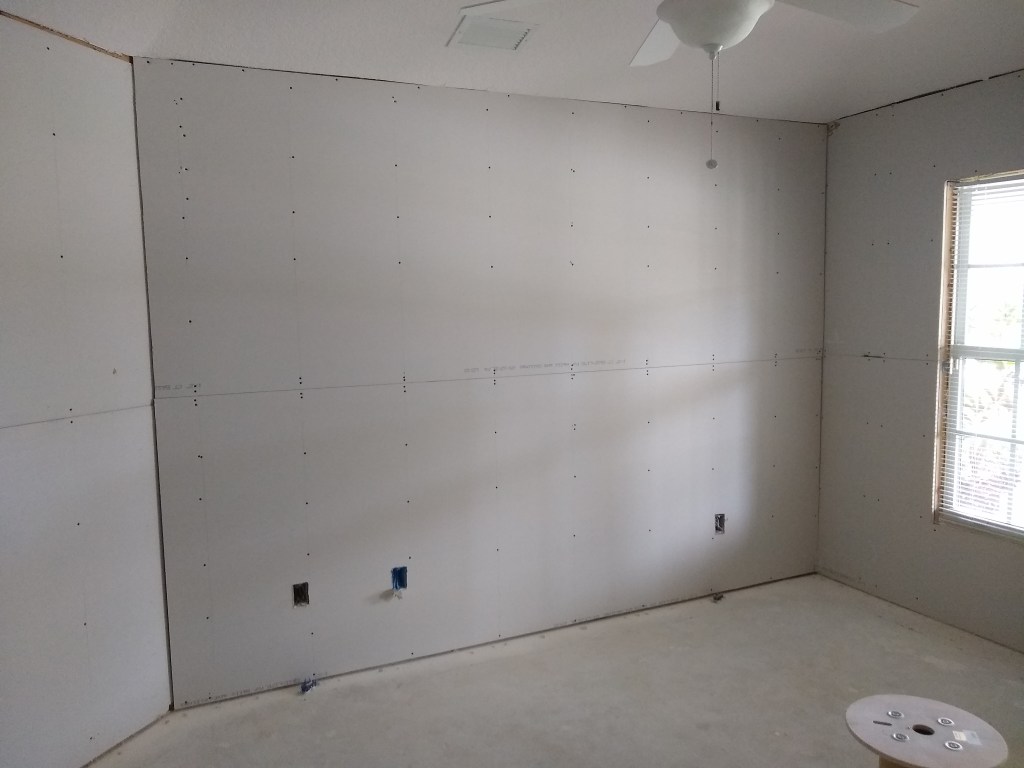
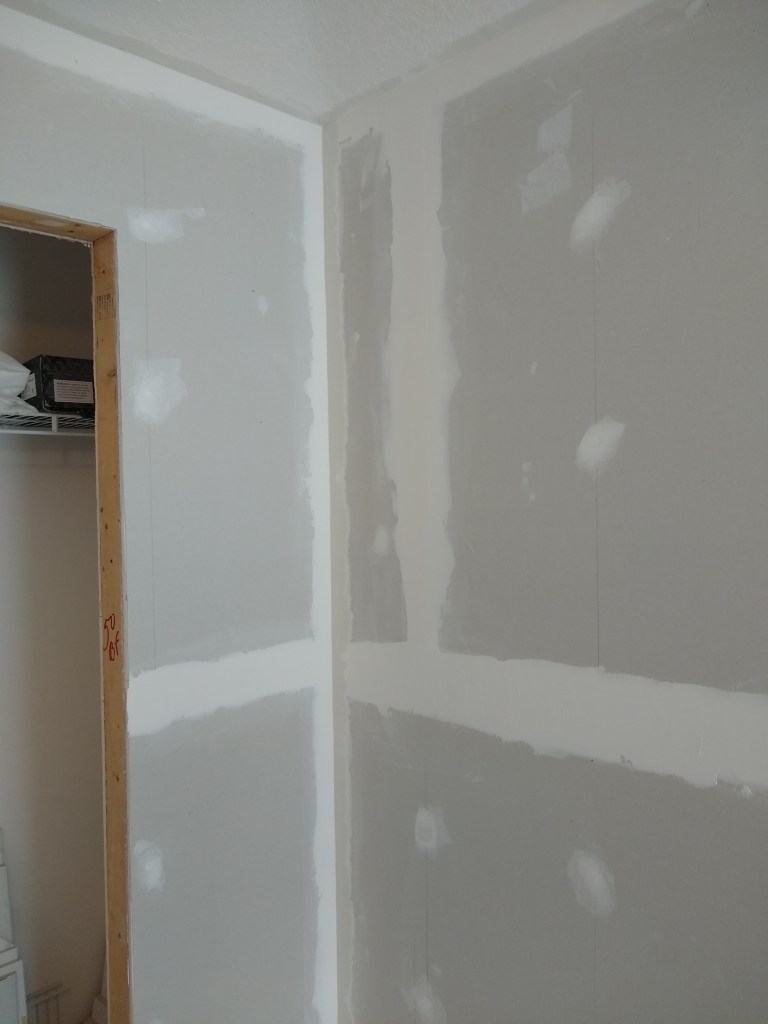
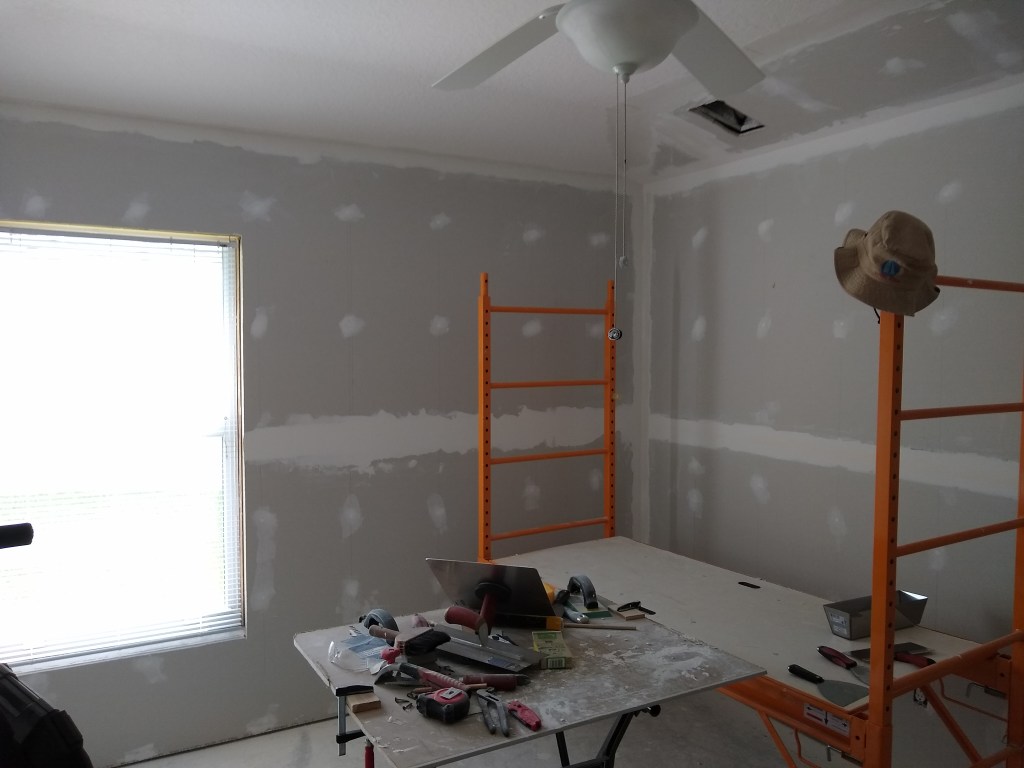
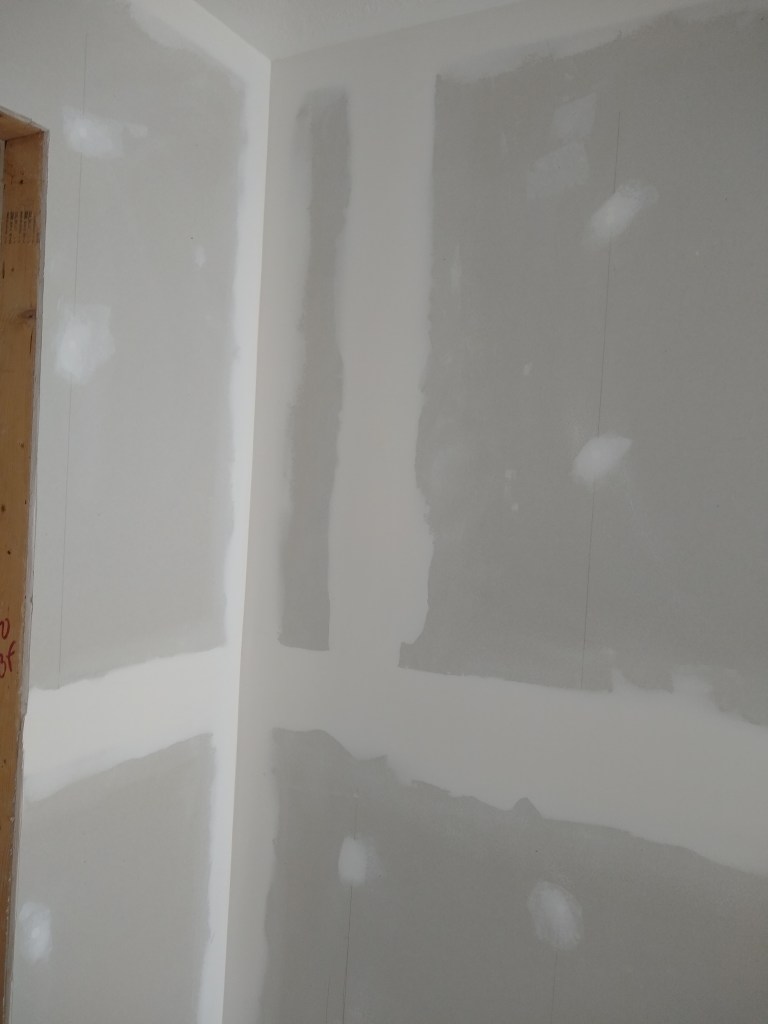
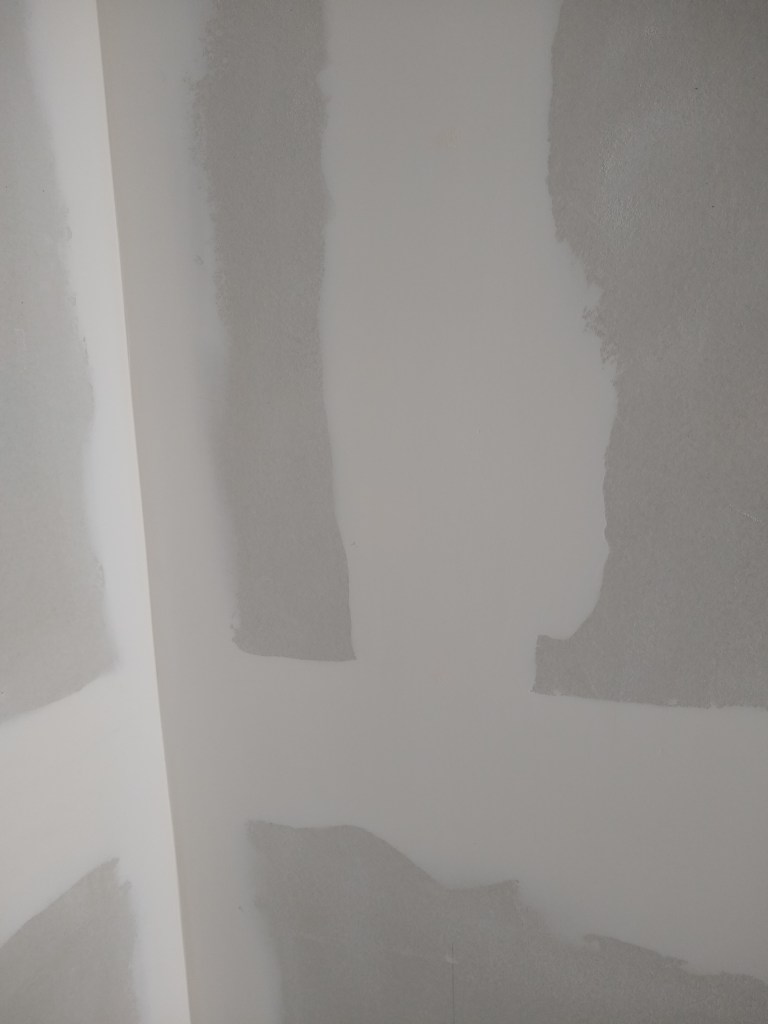
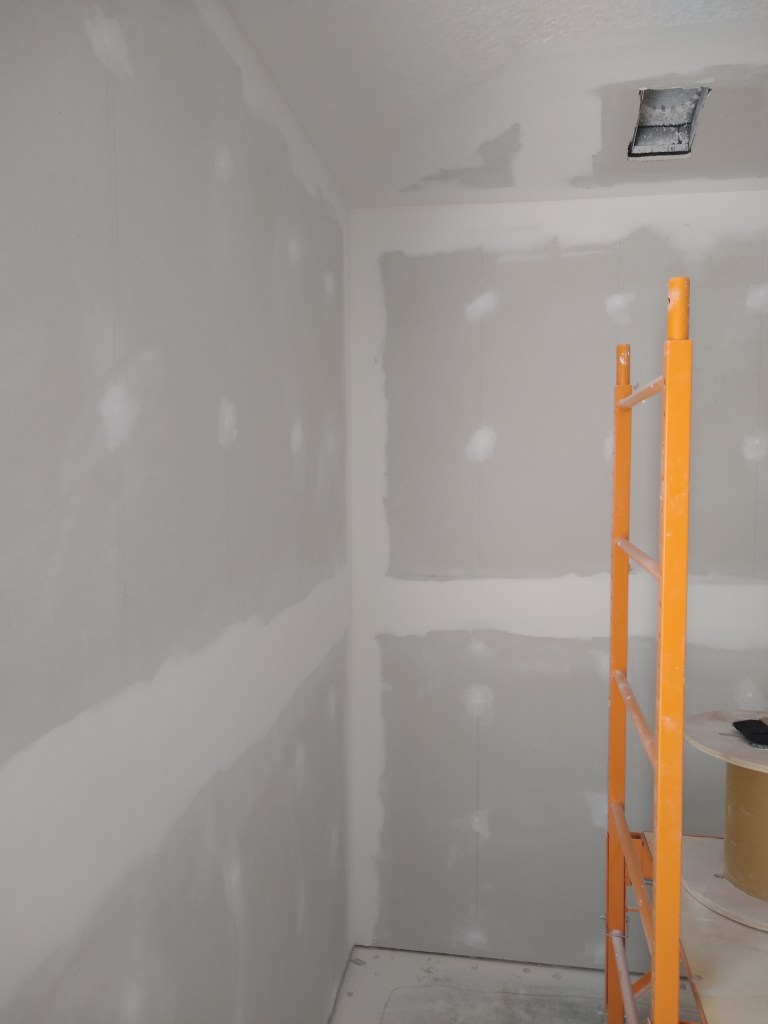
I found a great YouTube channel called Vancouver Carpenter, which has helped me a lot That guy is a really good instructor. In one of his videos he discussed the need to prefill all joints before attempting to tape. Prefilling involves using a setting compound (as opposed to a joint compound) to fill all gaps. The idea is to have a surface that is ready to accept tape, where the tape will not get sucked into the gap. The setting compound contains a hardener and has minimal shrinking after drying, so it will be a pretty strong surface upon which to tape. Here is a before and after of the first wall I hung in the guest bedroom.
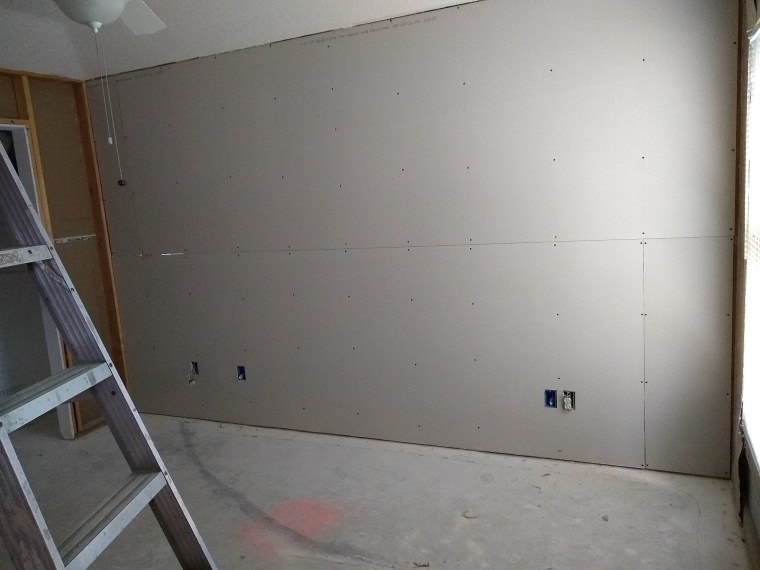
Notice that the setting compound is applied to all seems. The gaps between the wall and the ceiling are all filled. Even the factory edges (horizontal edges with bevels) are prefilled. For the vertical butt joints (non-factory edges), I use a utility knife to cut a small v-groove into which the setting compound will go. The claim is that by prefilling even the non-gappy seems, you will reduce the likelihood of cracks appearing later on.
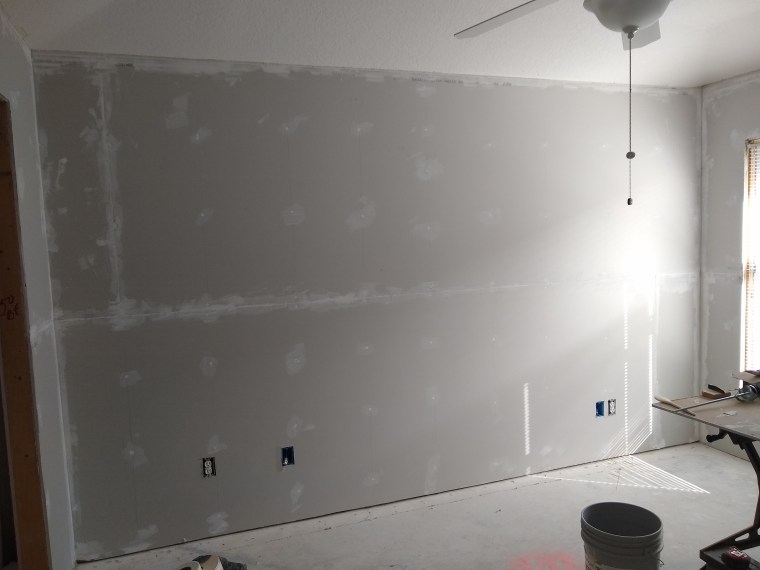
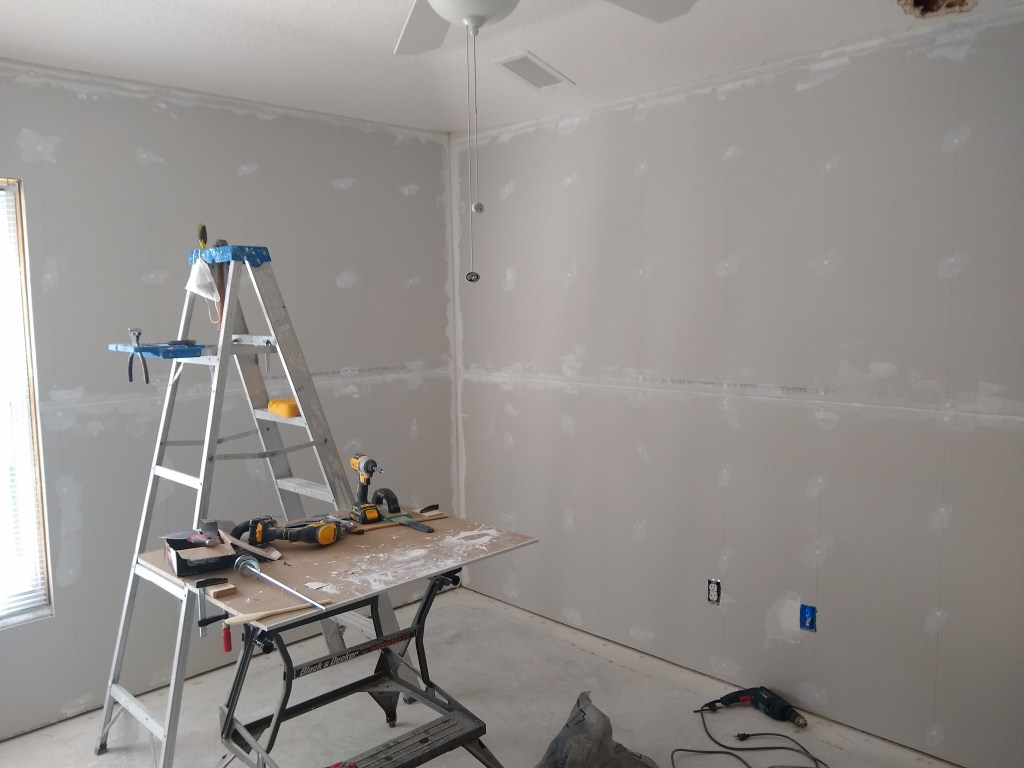
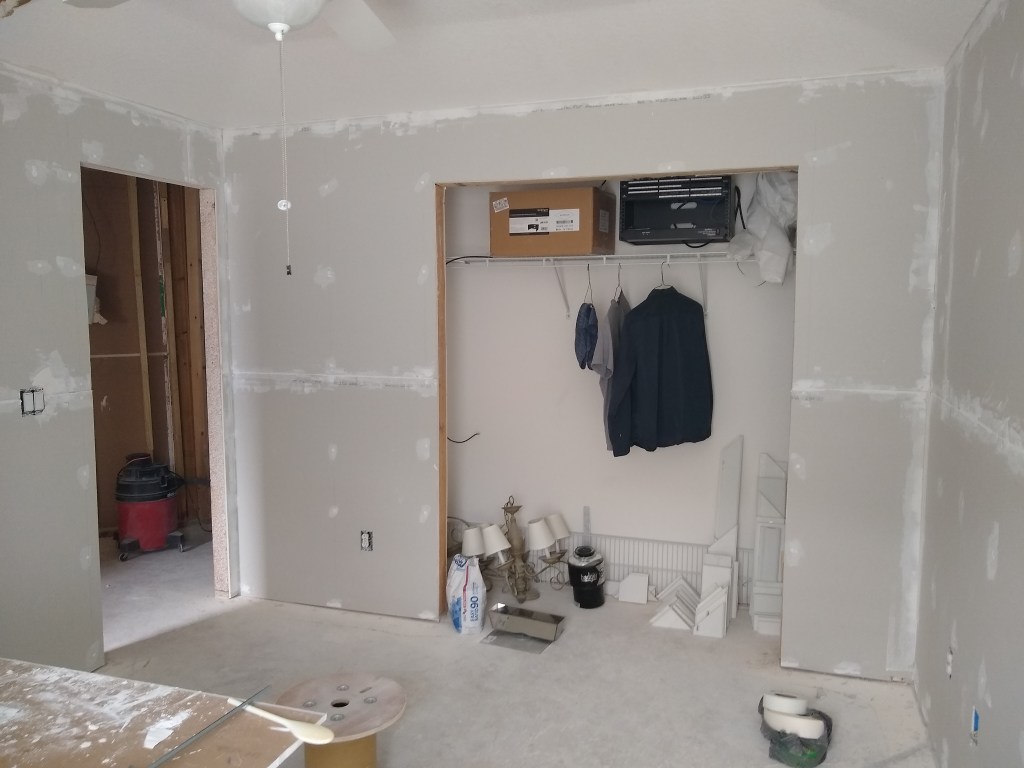
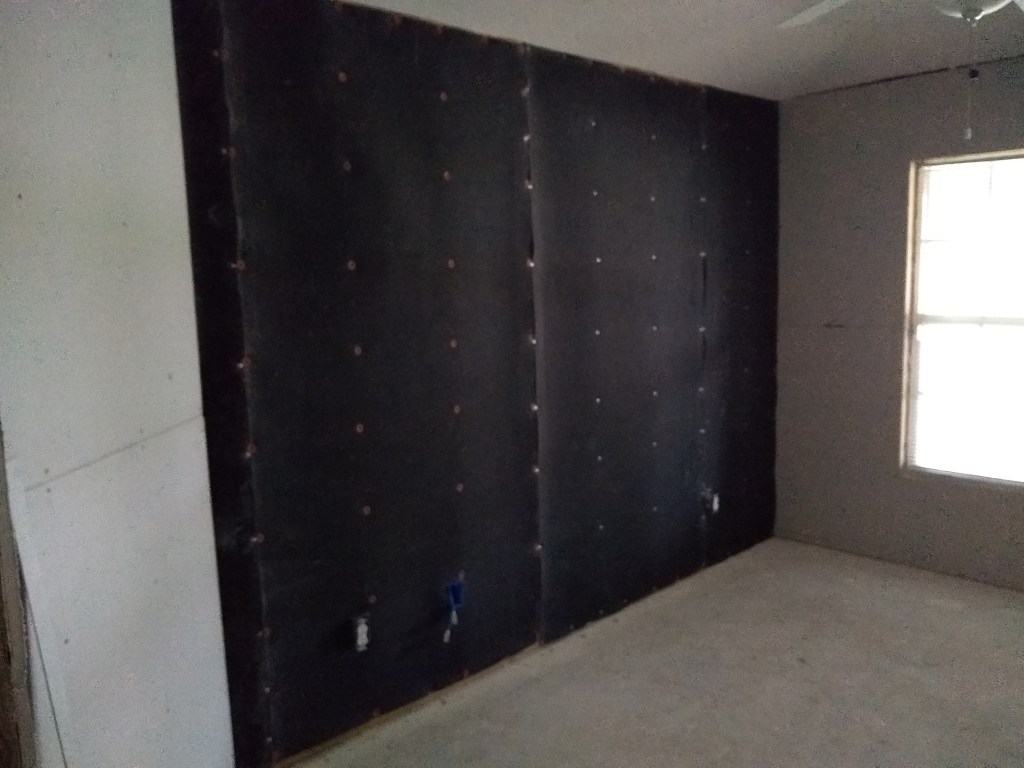
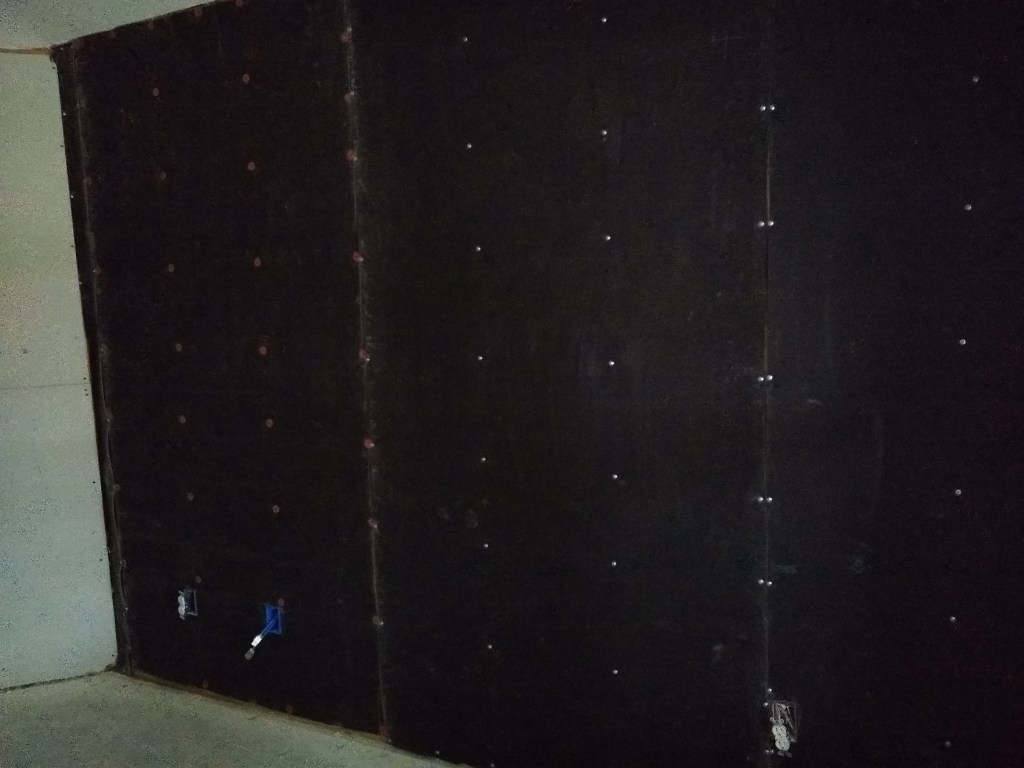
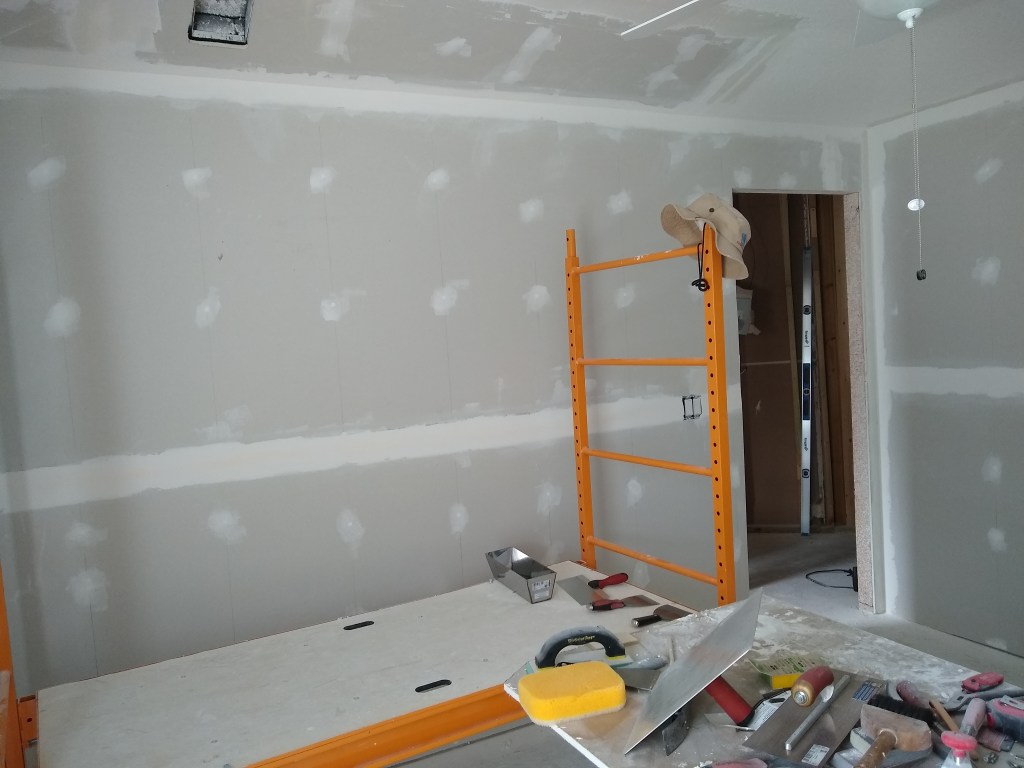
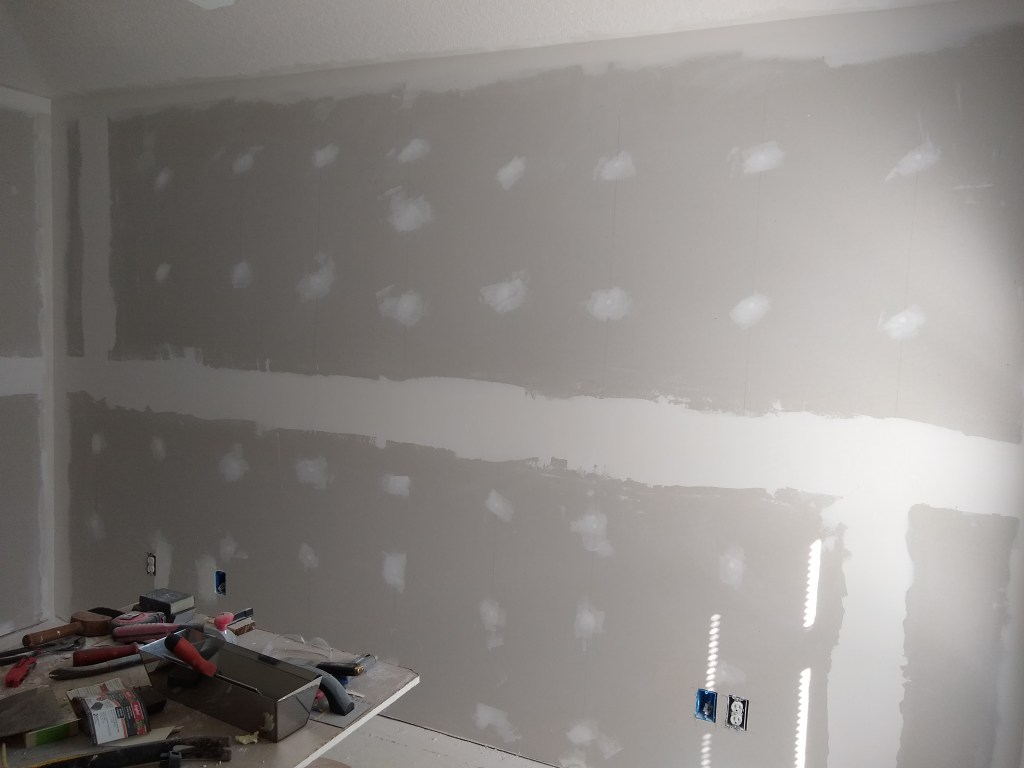
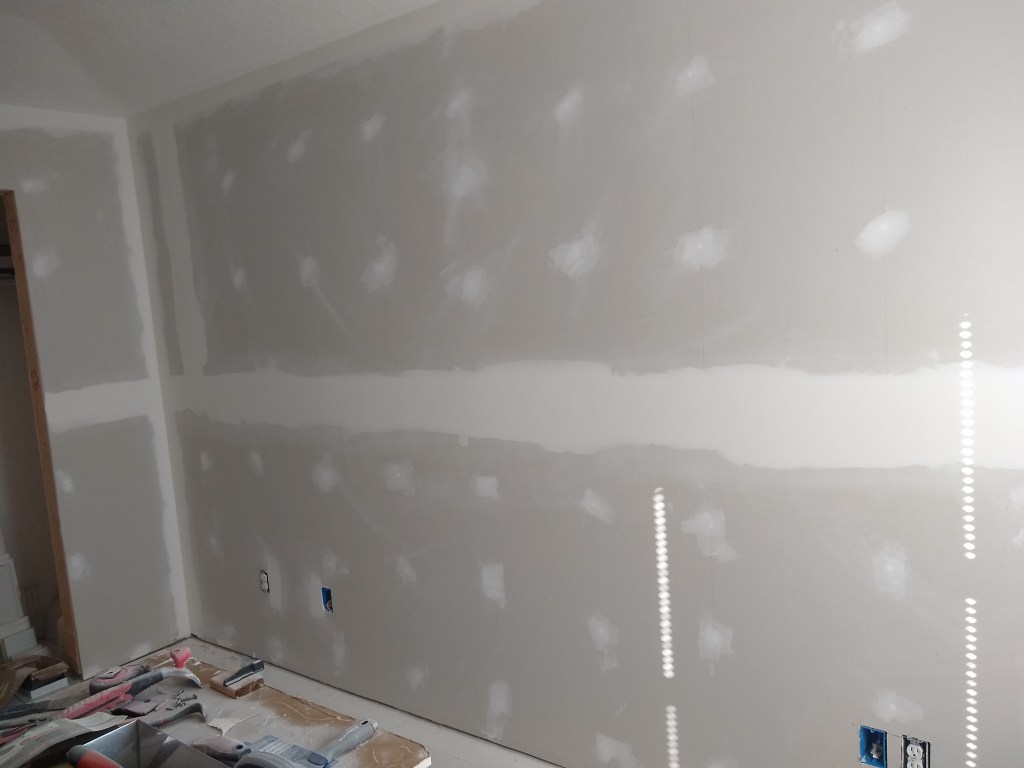
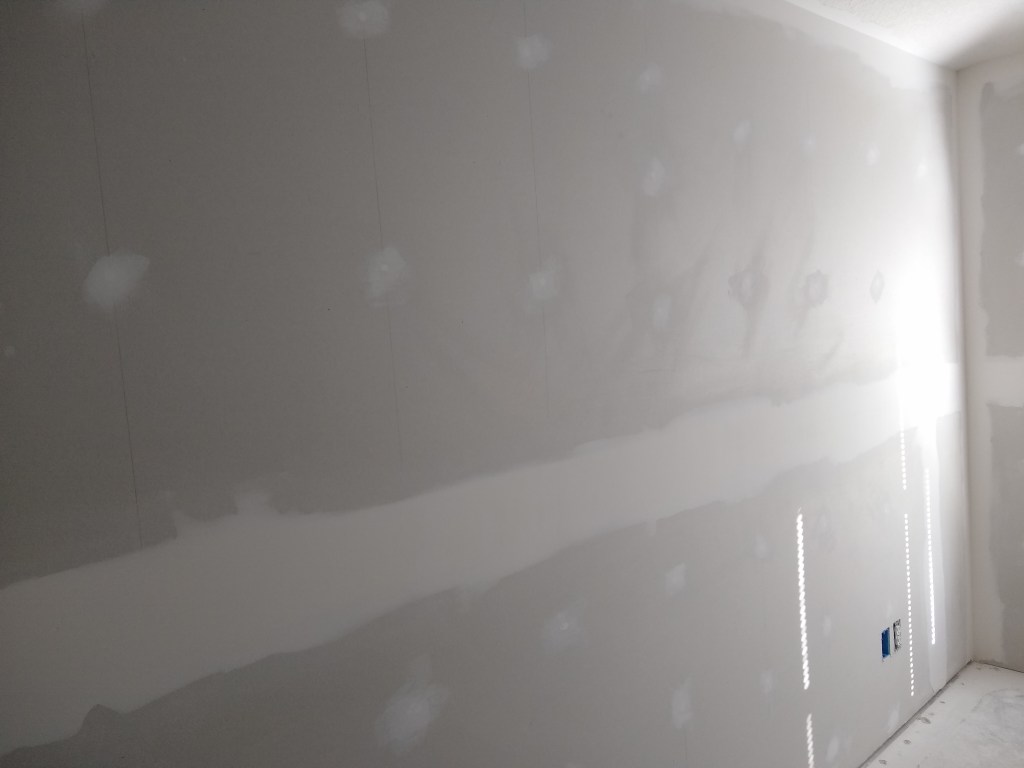
Here are more images of the other walls. Although not required for level 1, I also covered the screw heads. It’s not pretty, but the gaps are filled.
Following this work, my order for 100 feet of mass loaded vinyl (MLV) for sound insulation arrived, so I set about putting it up on the remaining wall in the workshop; the one that borders the office.
I attached this using drywall screws and plastic caps from roofing nails. It worked well enough, but I switched to a screw with wafer heads for the remaining portions.
Next, I covered the MLV with drywall to finish the drywall hanging for the workshop. As alluded to in the beginning of this post, this was the true last bit of drywall I would hang before circling back to finish the drywall in the guest bedroom
After doing all this, it was time to determine if the MLV provided some level of sound insulation. To do this, I played a song on my phone and placed the phone behind the wall (in the office). I then compared what I heard with what I heard when the I moved the phone where no sound insulation was in place. Unfortunately, I did not notice any difference, which surprised me. So I will try using a different material next time and see if it improves things. MLV is expensive and hanging it is difficult because it is so heavy, so I am happy to try another material. But that will have to wait until I am ready to continue hanging drywall. For now, it is back to the guest bedroom.
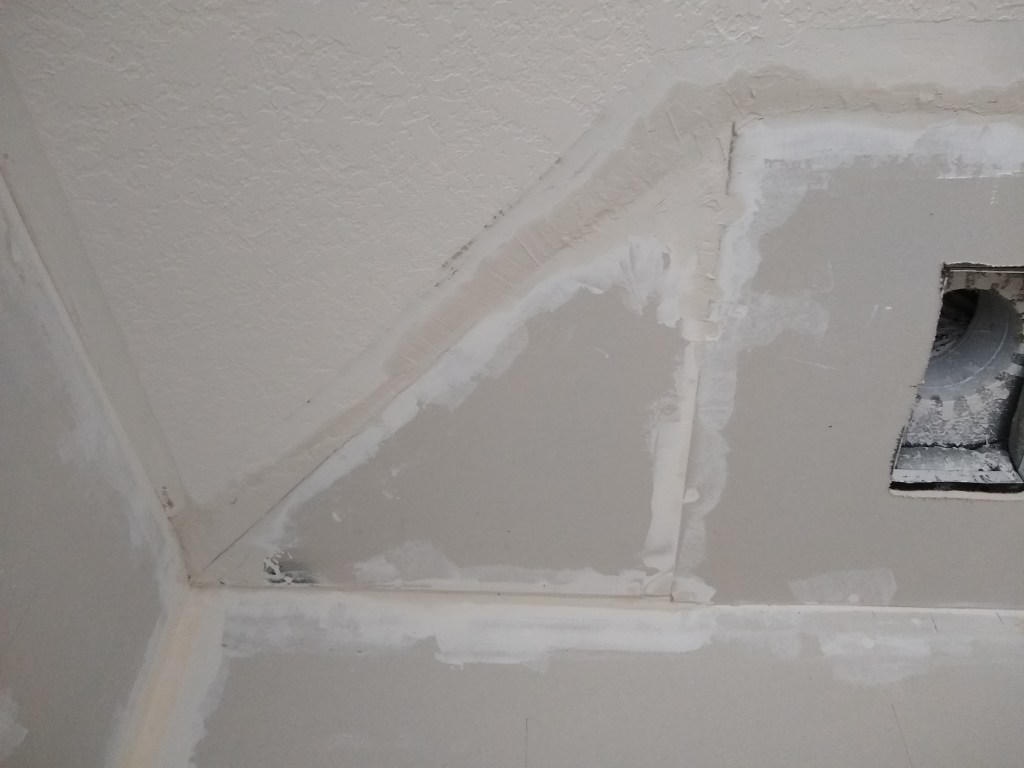
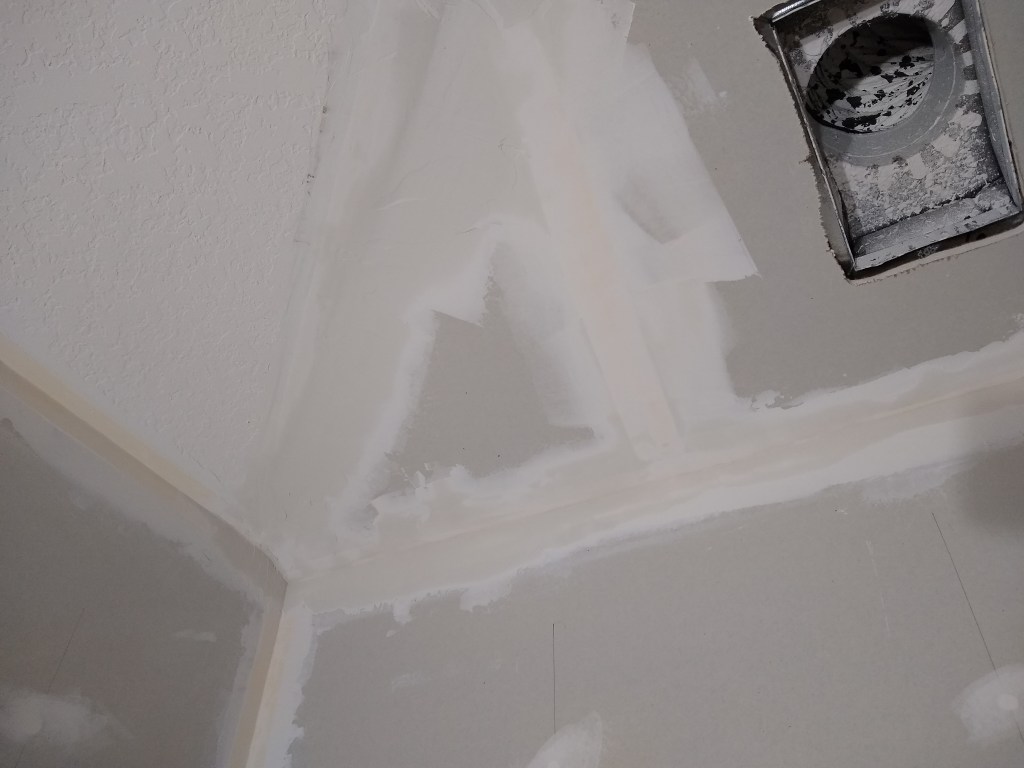
I decided to address the opening in the ceiling of the guest bedroom first. We opened that area long ago to see why the ceiling and the wall in the corner were not straight. It didn’t really reveal anything obvious, so I decided to open it up further.
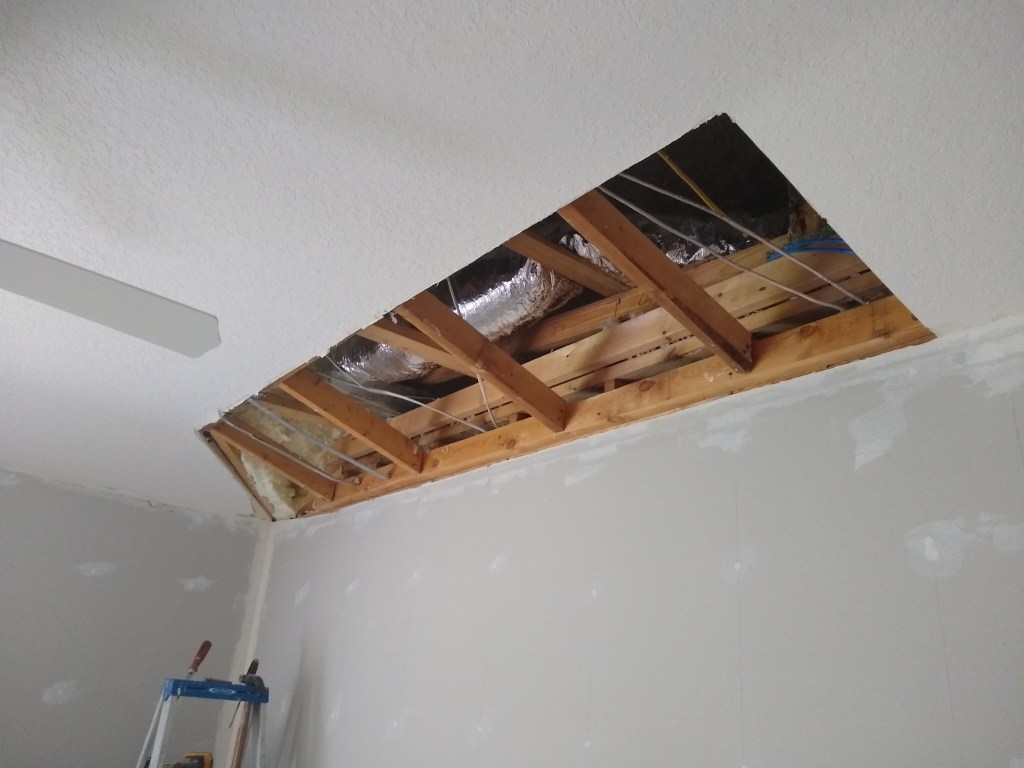
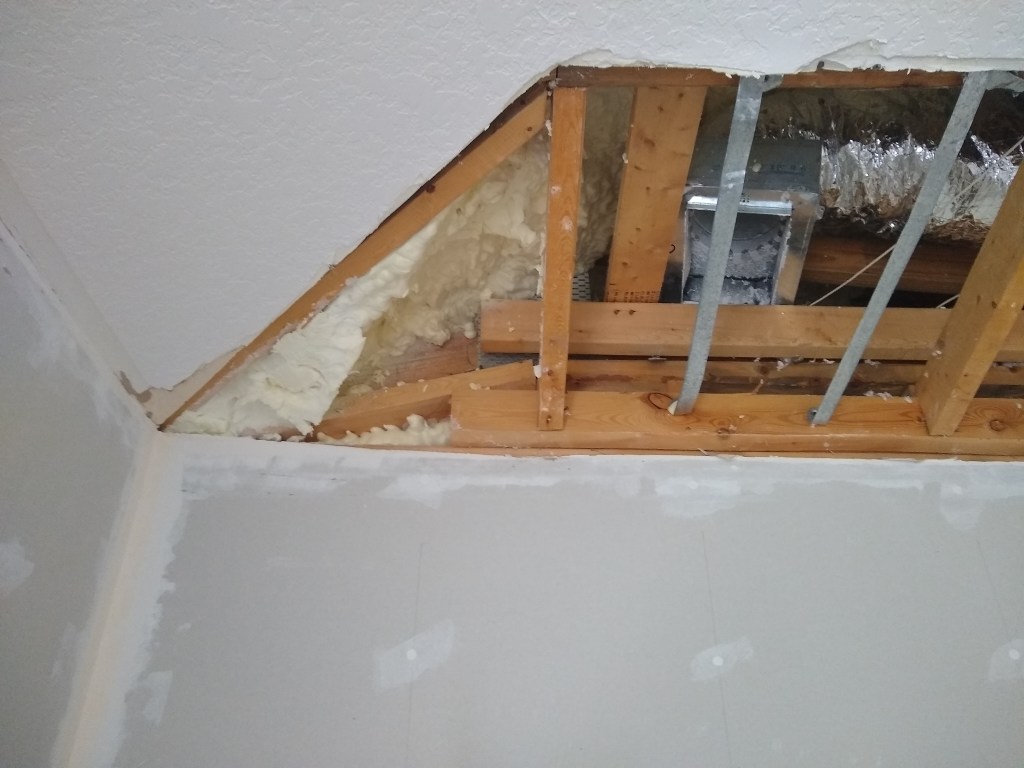
I discovered that the corner was poorly aligned due to some makeshift framing. To improve it, I added a few nailers (sorry, forgot to take pics) then patched it with drywall that would bring it closer into alignment.

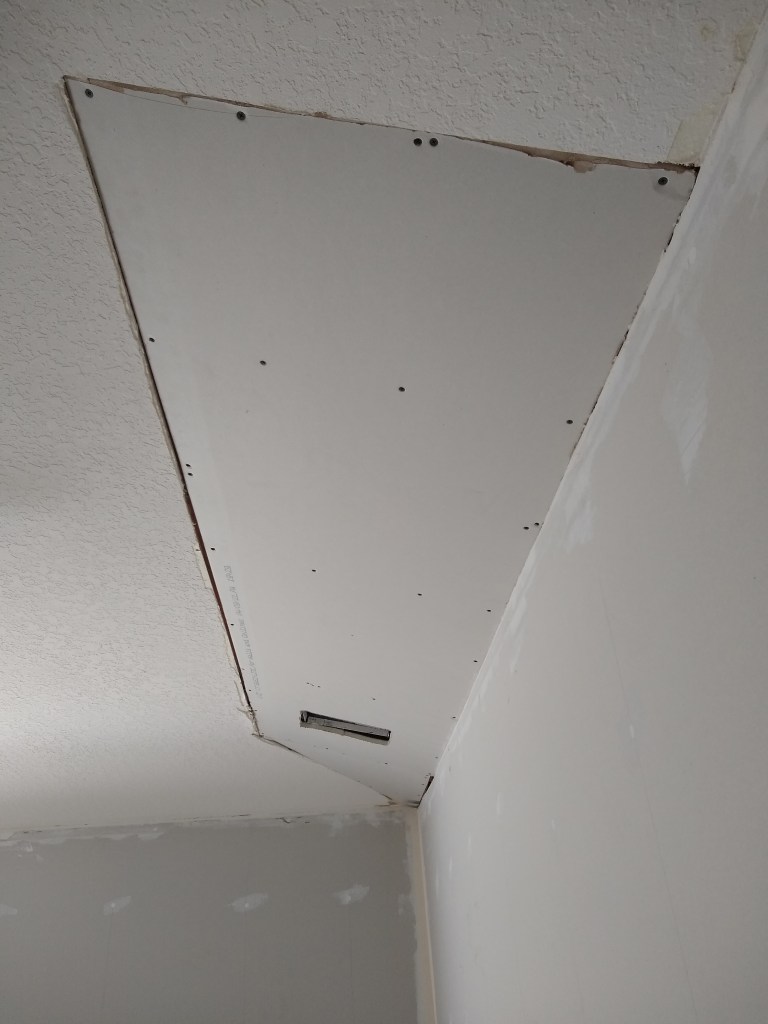

By straightening the ceiling (it no longer swoops up to meet the adjacent part), the corner piece is a bit lower that the adjacent part of the ceiling it meets. I could not improve upon that without major surgery, so I will make the adjustments using mud (what they call “mud framing”). The patch looks kind of ugly right now, but it will be fine when I tape, mud, and finish it. You can already get a sense of it after prefilling the gaps.
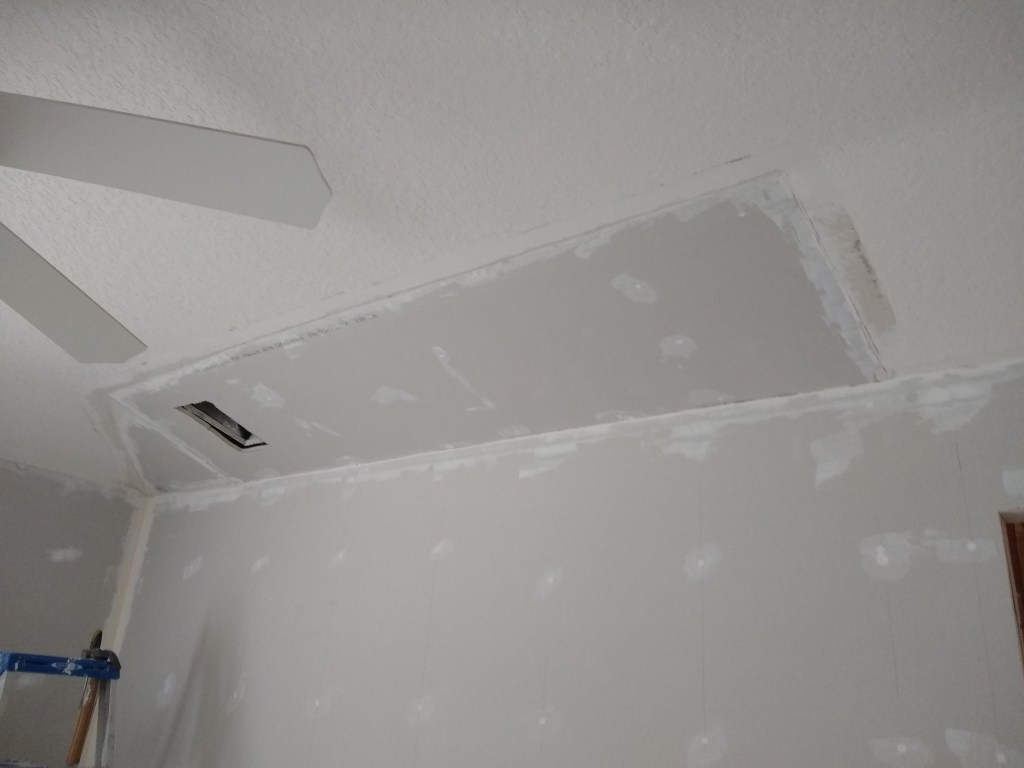
After that dried, I started taping it.
After taping I applied my first cover coat.

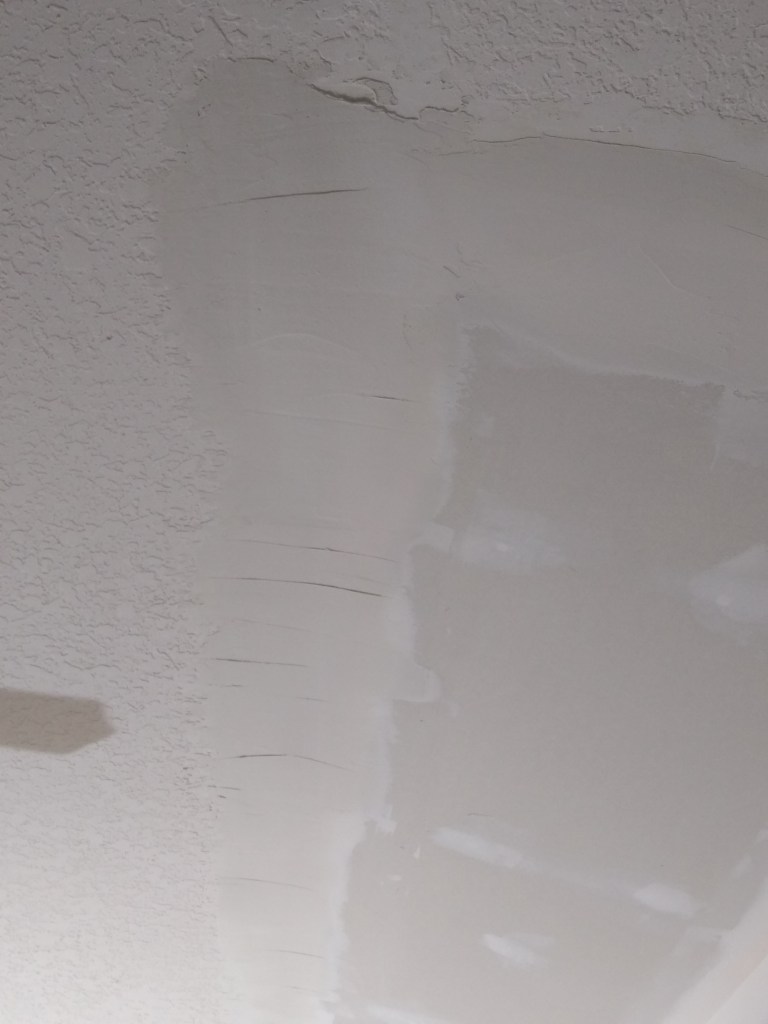
One of the advantages of addressing the ceiling patch first, was that it gave me an opportunity to try taping and mudding in an area that will likely be covered by a texture (knockdown or skip trowel) and therefore more forgiving. After doing this I felt ready to start taping and mudding the rest of the seams in the guest bedroom, which will be less forgiving. Here are several shots of the result after applying my first cover coat. Note that while doing this I continued to add additional coats to the ceiling patch as I went along to smooth it out (more required, though).


One of the most difficult parts of this was the work required to tape the corners between the new drywall and the ceiling. This required that I scrape and remove the tape that was under the finished surface of the ceiling to make room for the new tape. I used a wet sponge to soften the dry knockdown texture covering the tape on the ceiling, then started picking away at it. Sometimes I would get a nice long strip to come off, but mostly it involved pulling bits and pieces. In the end I was successful and was able to apply new tape to the corners. It turned out well, but I’m not looking forward to doing this in the other rooms. I’ll search for a more efficient method when I get to that again.
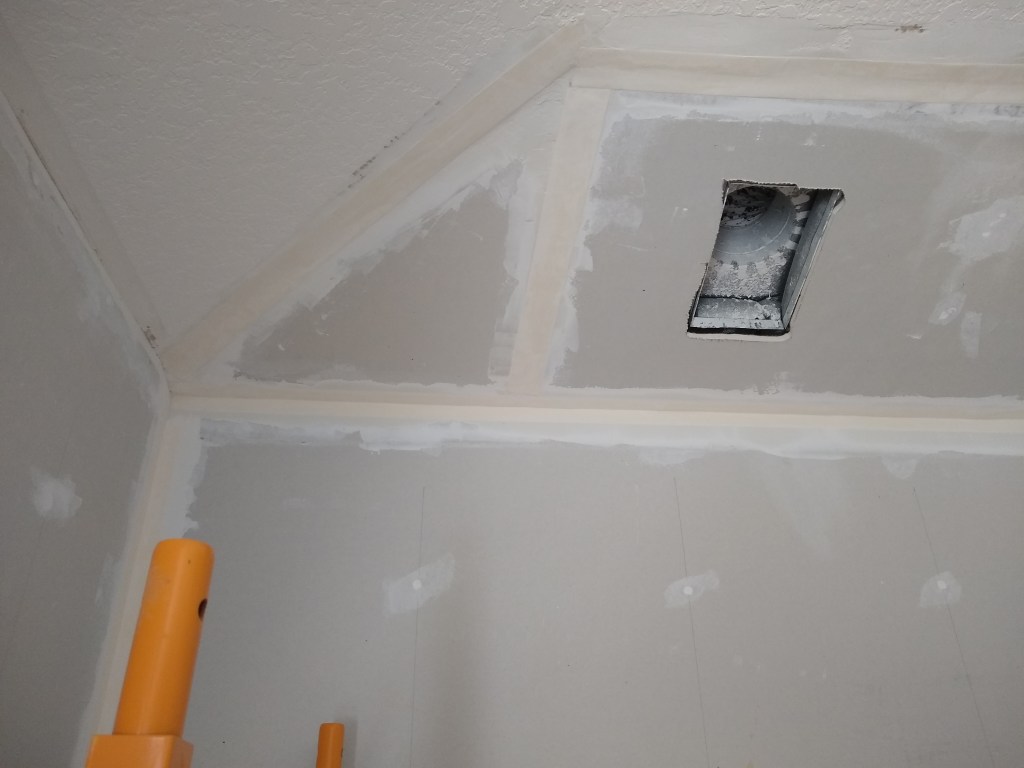
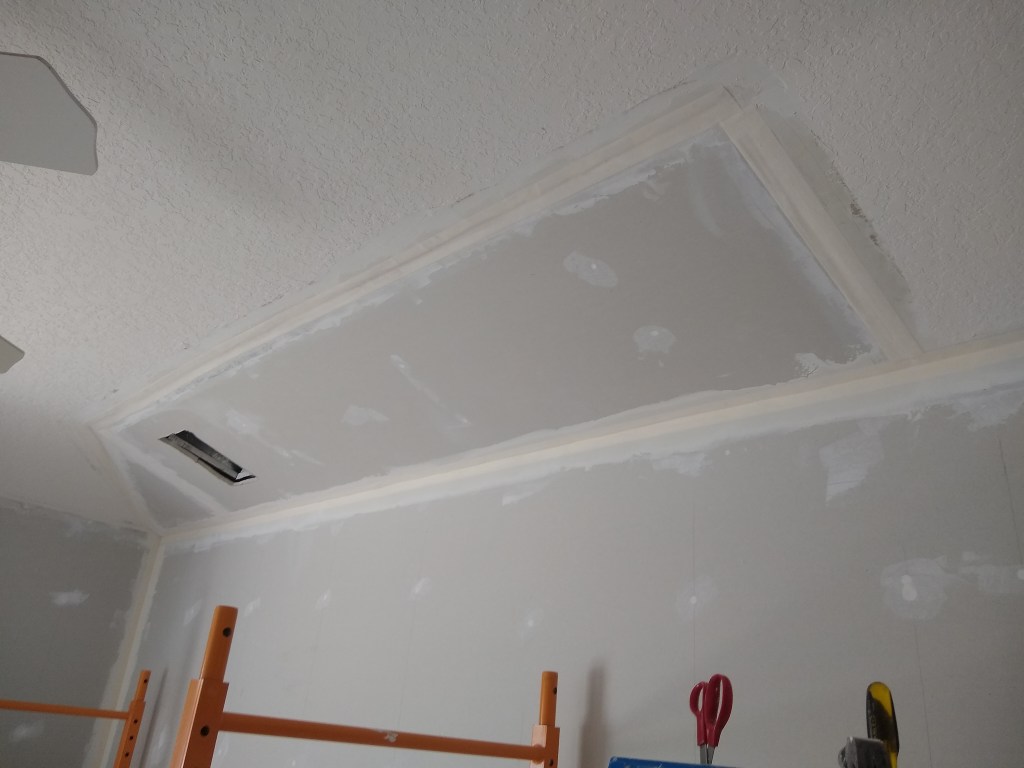
To bring the walls to level 4, I required a second coat of mud. I did this in stages, applying the mud to one side of the inside corners first, then the other side the next day. I did some light sanding in between to get rid of any obvious imperfections and tool marks.


As usual, I added more coats to the ceiling patch. It’s just about where I want it now.
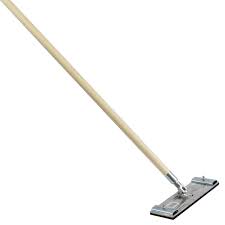
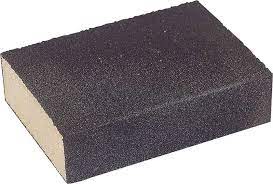
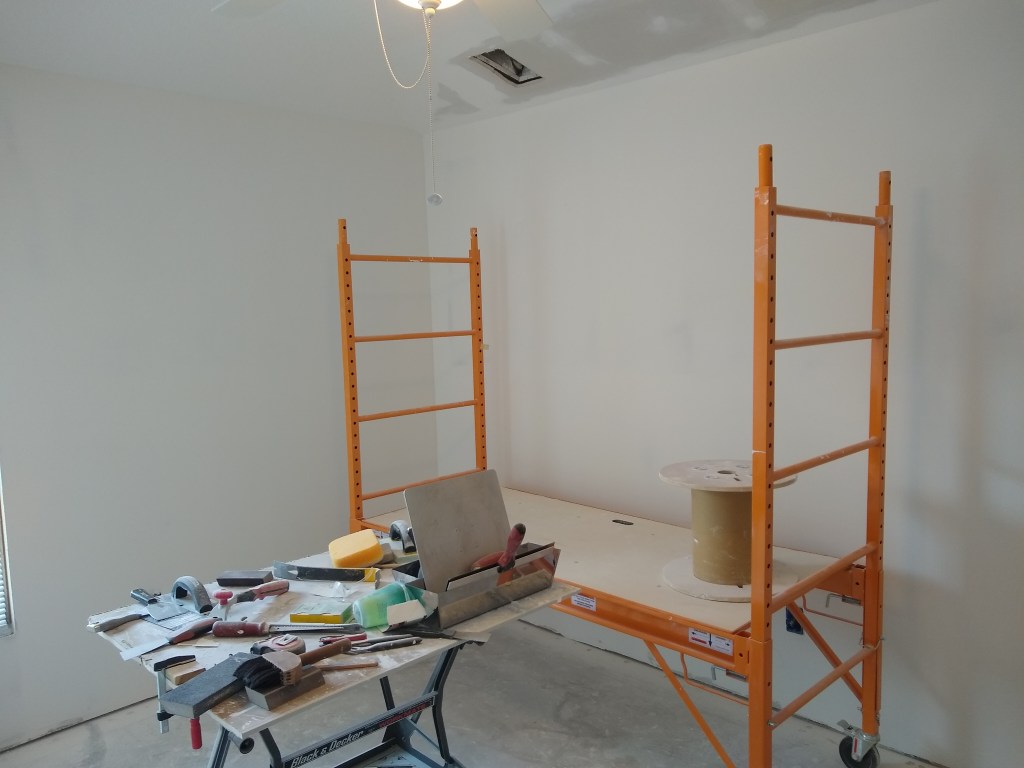
After applying the second coat and allowing ample time to dry, it was time to give it a good sanding in preparation for the skim coat (which would take it to level 5). To do this I used a pole sander and a hand held sanding sponge.
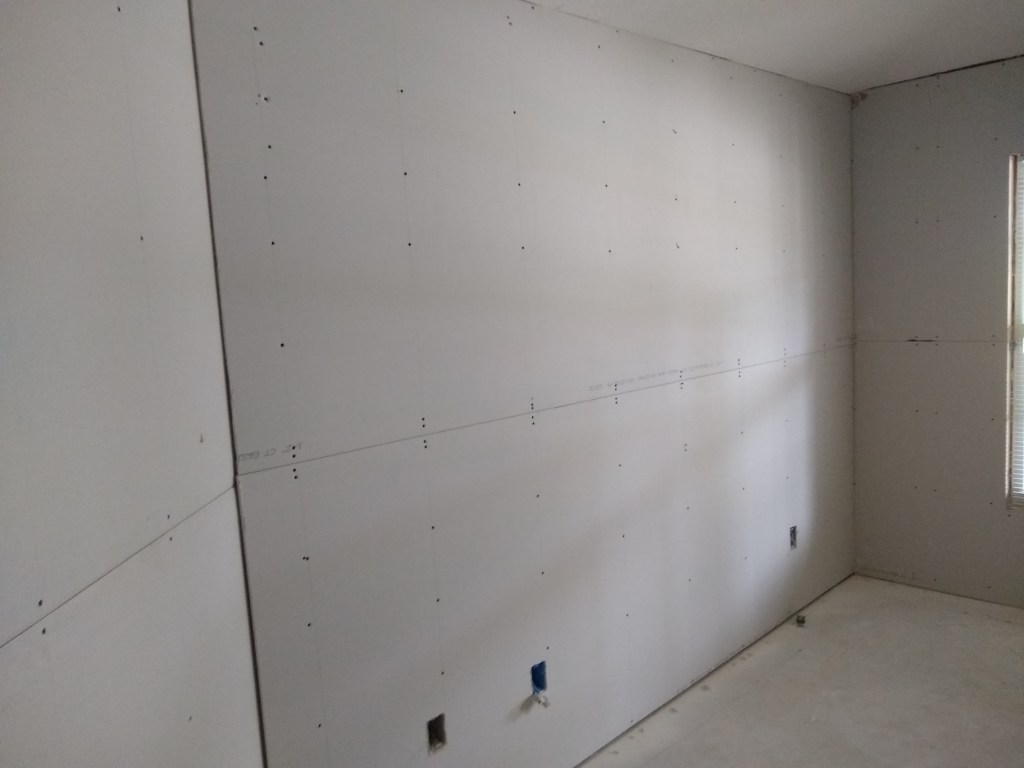
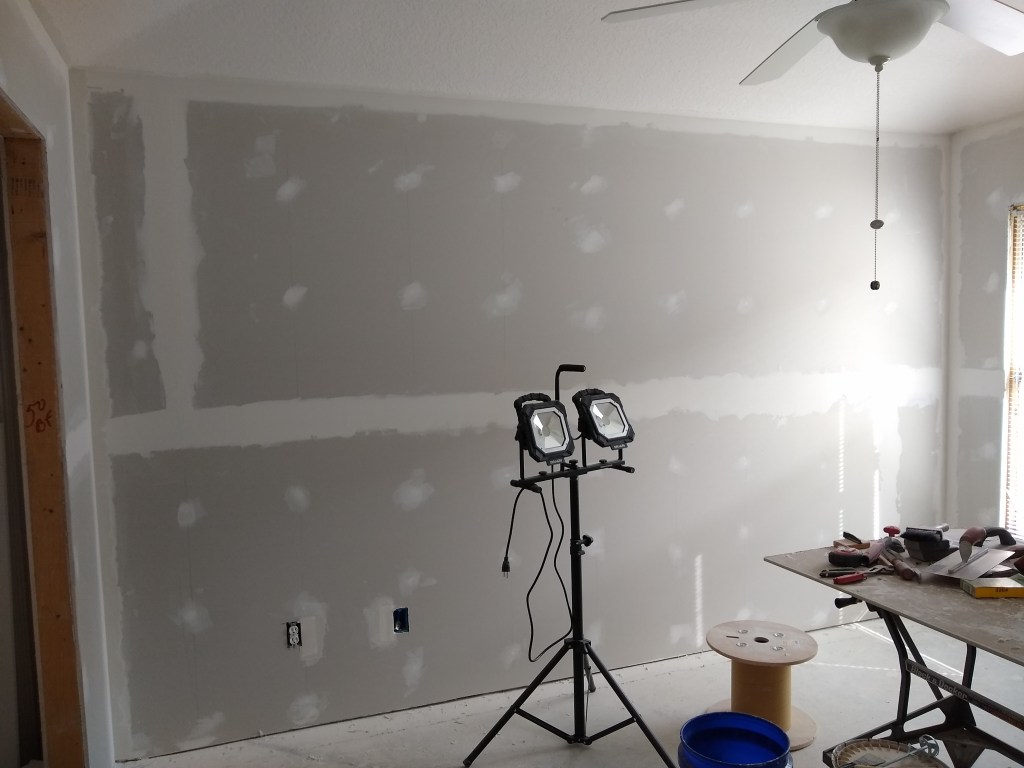
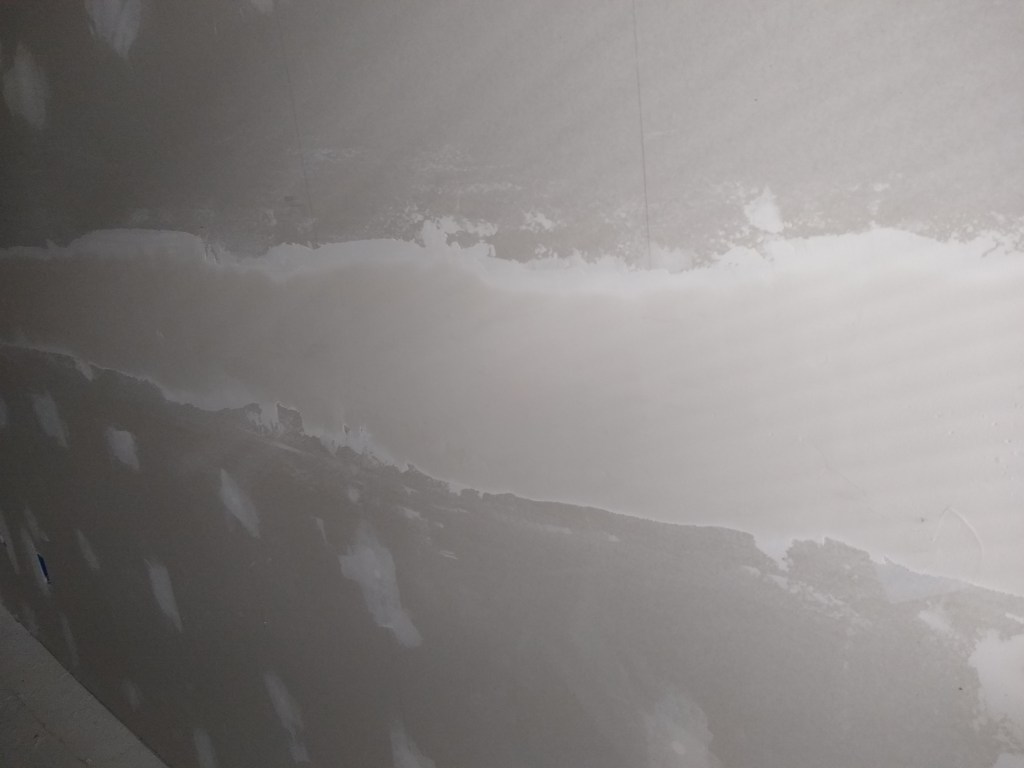
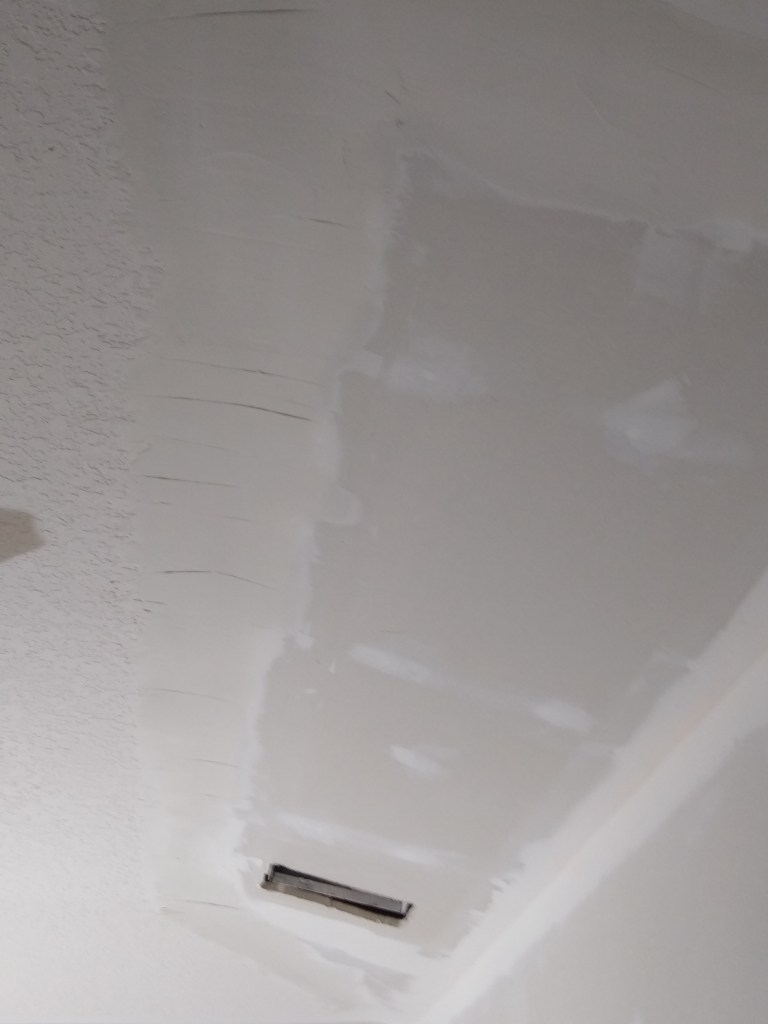
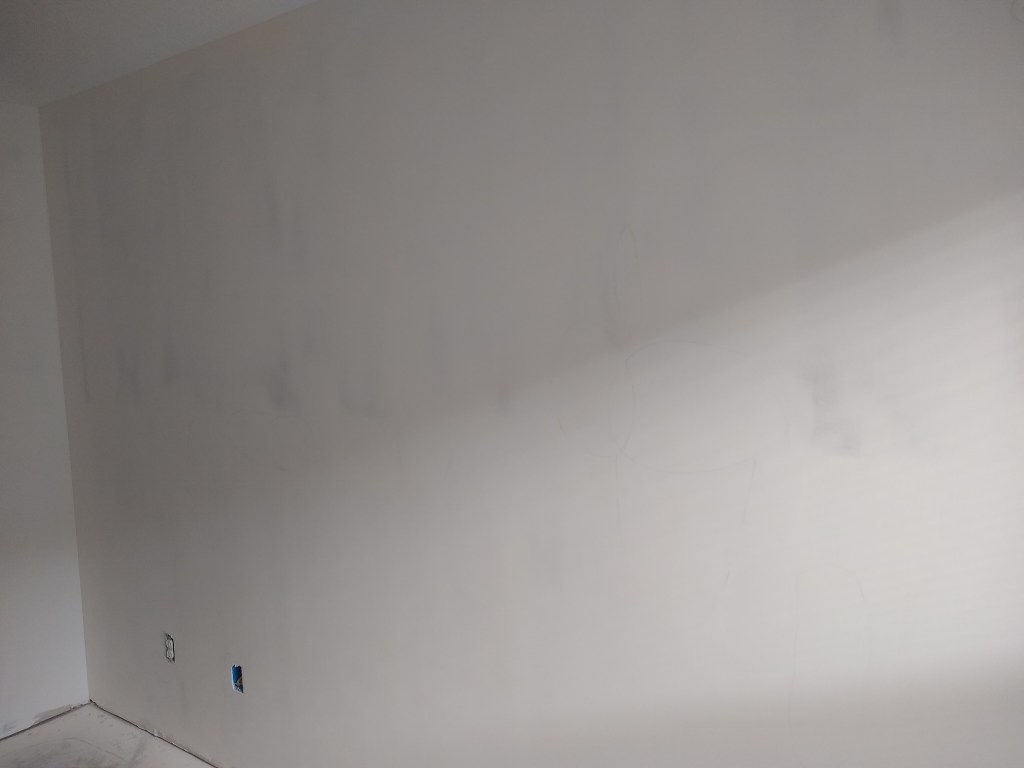
Here are some images of the result after sanding (level 4).

For skim coating, I tried a few different methods. I found another YouTube channel I liked (Paul Peck Drywall) that showed how he used a paint roller to apply the mud before using a 14″ knife to remove it. So I experimented a bit. I first tried using the trowel to both apply and remove the mud. Then I tried the paint roller and the 14″ knife. I did a bit of back and forth between the two before finally settling on the roller/knife approach. You can only use the paint roller when skim coating, because the mud is thinned down enough to make the roller work. When cover coating, you will not thin the mud (or only slightly), so applying it with a roller is not practical. I found that applying the mud for skim coating with the roller was faster and easier, so that became my preferred method. Perhaps I’ll change my mind some day, but at my current skill level, this works well.


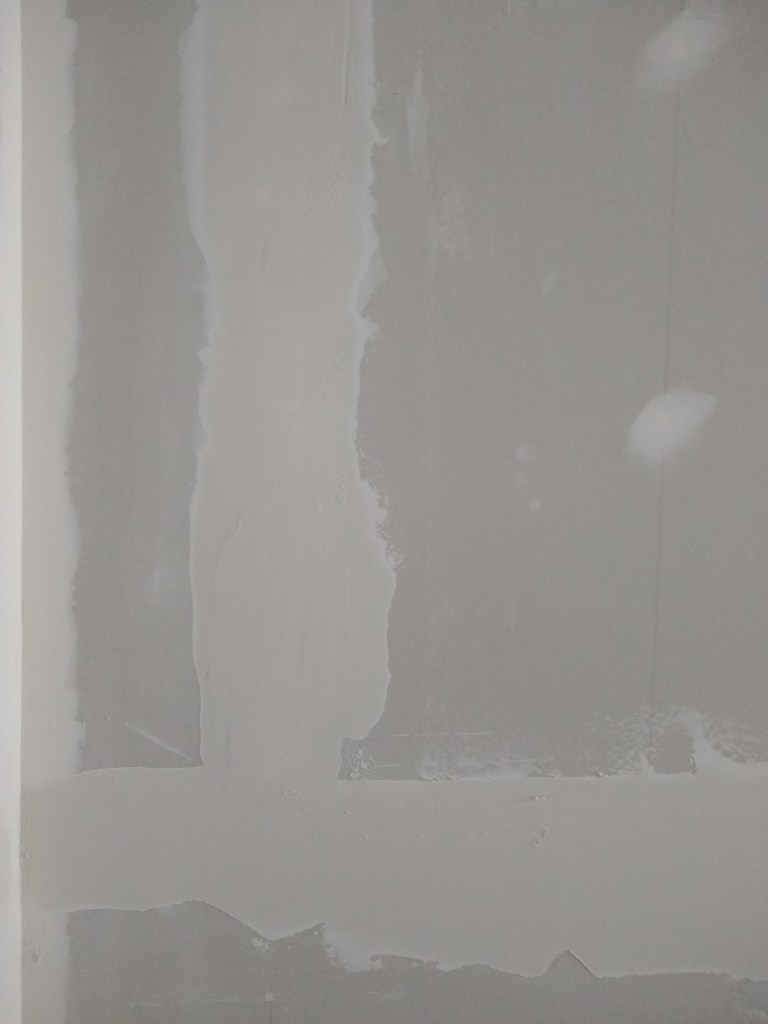
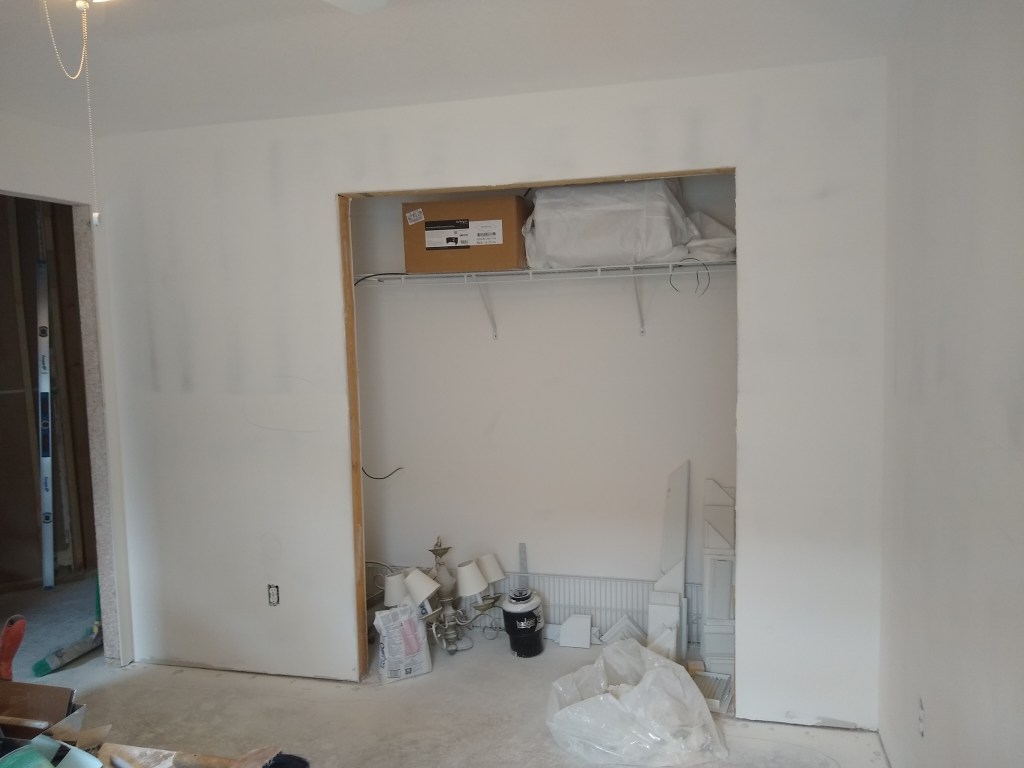
I did this for all walls over several days, then started on a second skim coat for all walls. Between coats I did a bit of sanding, but after the second skim coat, I paid more attention to the sanding and finish. The second skim coat would be the final one before paint primer, so I spent a lot of time looking for imperfections and sanded them as needed. I also identified areas that needed a bit more mud and touched them up before the final sanding. Here is the result.
I’m happy with this. The real test will be how the walls look after the primer and paint are applied, but that won’t happen until I get the ceiling done, which is my next task and the topic of the next post. So until then…
