As mentioned in the last post, I will be replacing my windows and doors with ones that are impact resistant. Additionally, I will be replacing the double window in the bay area of the kitchen with french doors that open out to the lanai. To start the process I selected three vendors and had them come by to measure and provide estimates. During that process I learned that vinyl windows were a bit less expensive, but that the vinyl frame is wider than the aluminum (what I currently have) and therefore reduces the glass area. So I have decided to take on the extra expense and go with the aluminum. Maximizing the glass area is more important to me than the cost difference.
I selected a vendor and will have to prepare an application to the Architectural Review Board (ARB) to make my homeowner’s association aware of what I am doing. Once the windows and doors have been ordered, it will be a couple of months before they are installed, so the final result will not appear on this site for a while. However, in preparation for that, I had to do some more demolition (yay!). The original window jambs were done using drywall, with a cultured marble stool (most people call it a sill, but stool is the correct term). I plan to replace this with wood and also have a nice casing around it all. So the existing jambs and stools had to go.


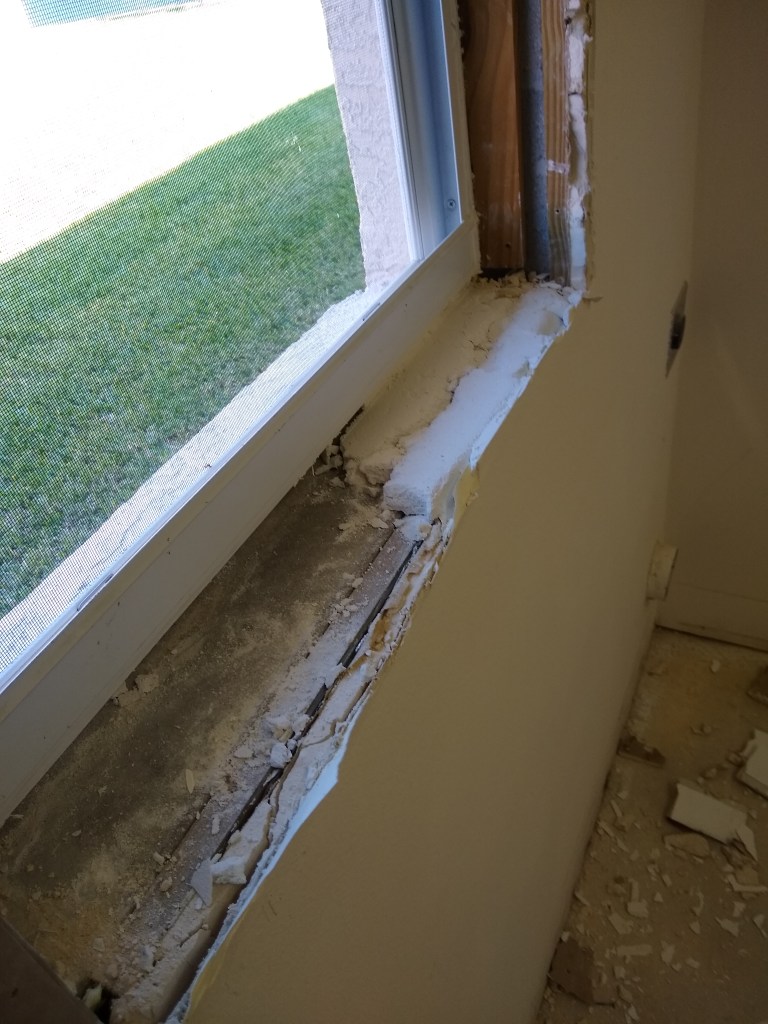
The above pictures are of the small window in the laundry room. You can see the drywall jambs and the marble stool. The removal of the drywall was pretty simple. The marble stool was a bit more tricky since it was put in place using mortar. After removing the marble slab, I had to remove the mortar by chipping away at it with a chisel and hammer. The image below shows the mortar remaining after having removed about half of it. Some of the mortar came away with the marble, but the bulk of it had to be chipped away.
And here is what it looked like after I had removed it all.
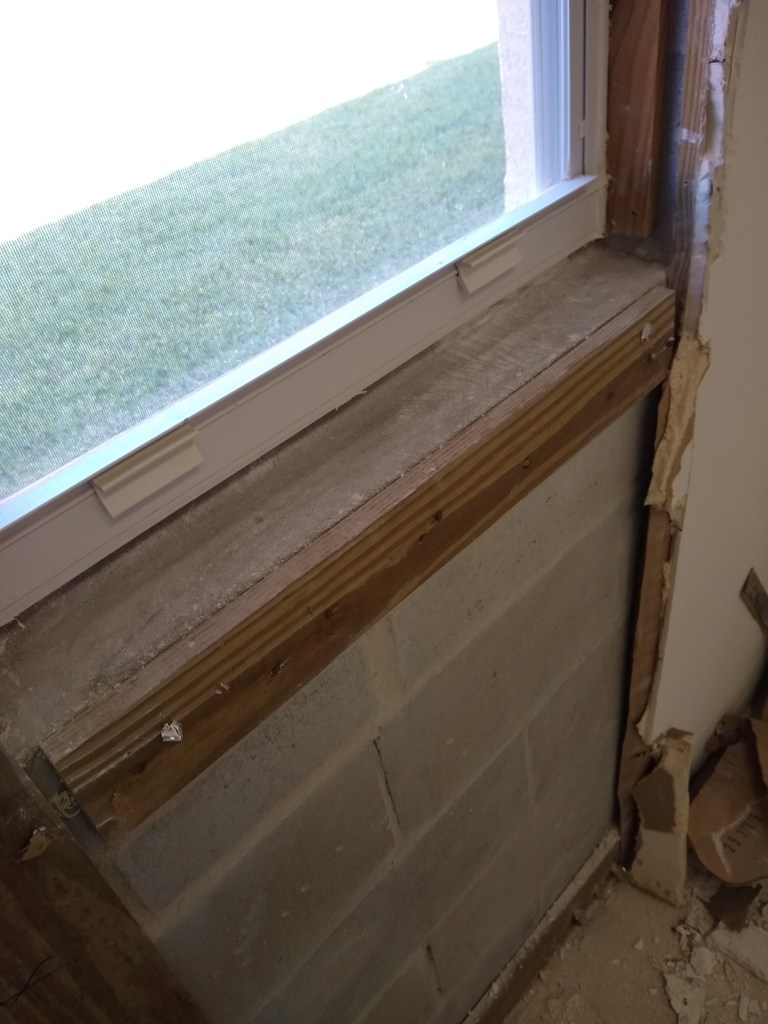
As you can see, I removed some more of the drywall below. The laundry room is the one room where some of the original drywall remains (for now). This image gives you a good idea of what is behind the curtain, so to speak. The concrete block of the exterior wall is visible and you can see how there are furring strips attached to it, onto which the drywall is fixed using screws. This is very unlike what I was used to up north, where the outside walls were framed using wood. You can also see that the sill (proper use of that word) is just concrete on top of the blocks. When I attach a wooden stool, I will have to either limit myself to the edge of the furring strip, or add another furring strip on top of the sill to serve as a nailer. I’ll figure that out in time.
I performed this operation for all the windows, the sliding glass door to the lanai, and to the door from the master to the lanai. With that job done, I now wait for the installation, currently expected to be some time in July. In the meantime, I decided to tackle the cracks in the concrete slab.
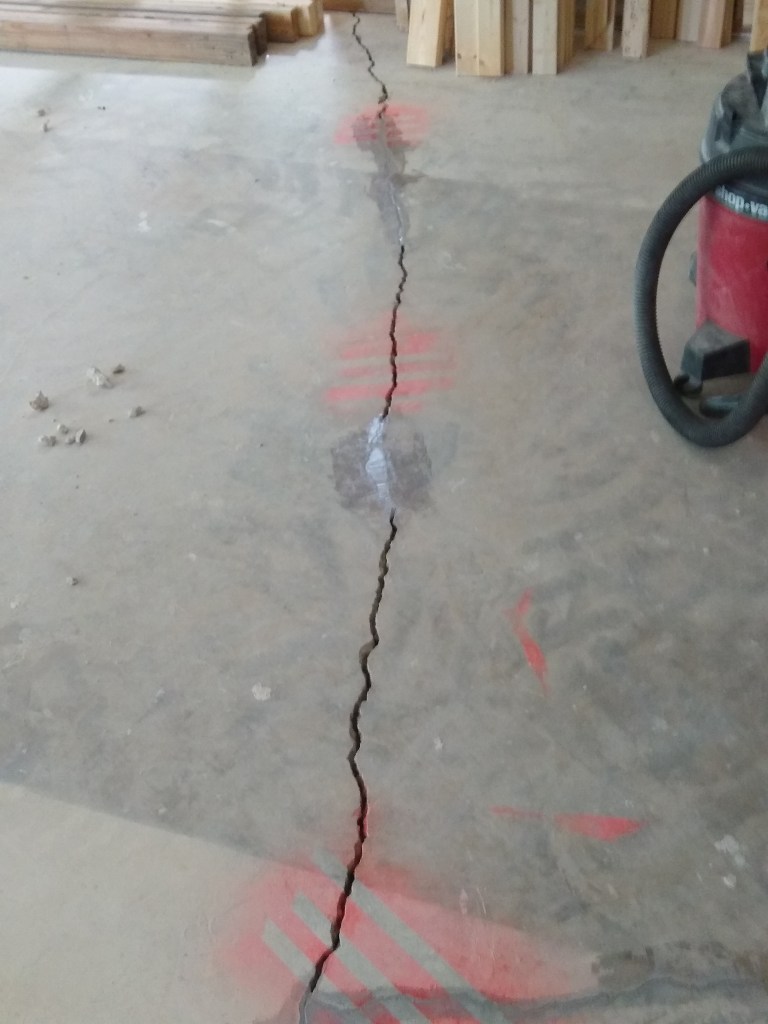
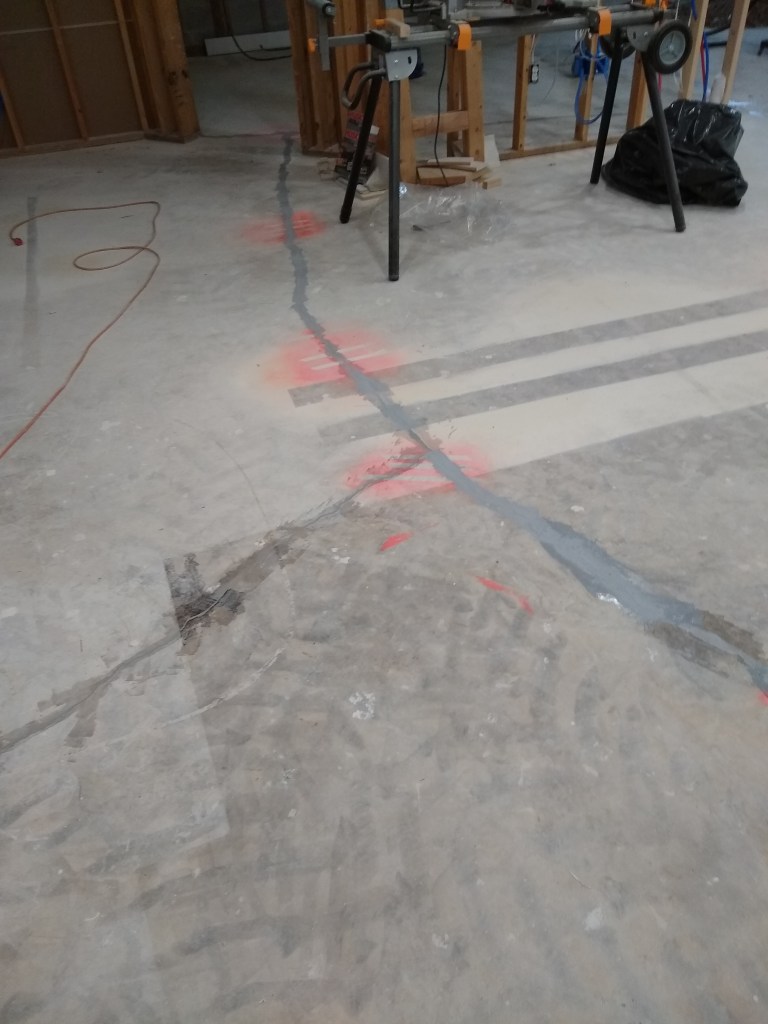
Recall from one of the earlier posts that significant cracks were revealed when we pulled up the original carpet and tile. We marked them with paint so we could monitor them for movement. In the year since we did that, there has been no observable change, so they are stable and I am comfortable filling them in.

The objective of filling in the gaps is simply to block any moisture that can arise from below. It is not to provide any real structural benefit. I intend to put a layer of material between the tile and the slab to separate the tile from the concrete. This will greatly reduce the risk of the tile being impacted should any further slab movement occur. As such, it is debatable whether these cracks needed to be filled at all. Nevertheless, I decided to do it.
I used an epoxy bonding product called Miracle Bond. It came in a tube and was dispensed using a caulking gun. Before applying this product, the cracks needed to be cleaned out. I did this using my Shop Vac and a carpet knife to pull out the loose bits. In the above image, you can see that where I had already applied it in the crack leading to the big crack.
During the process of cleaning out the cracks, I would occasionally pull up large chunks of concrete making the area a bit too large to fill in with the epoxy from the tube. In such cases I used a premixed concrete patch material. This is shown below.
I then applied the patching material and epoxy where needed for the rest of it.
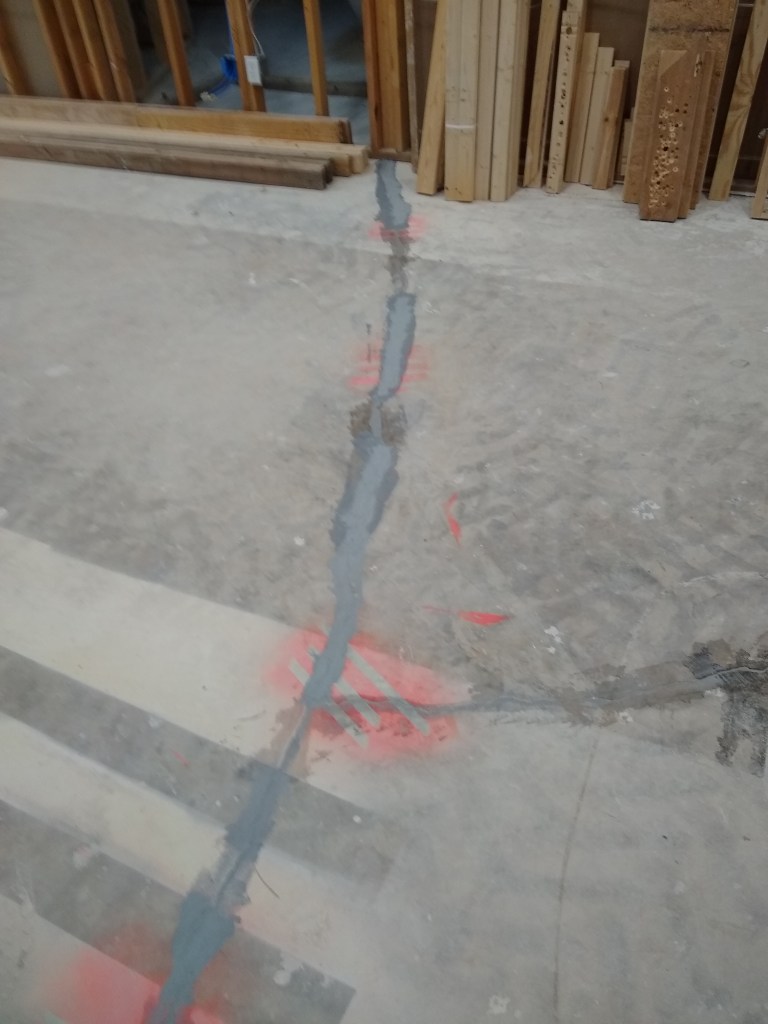
Here it is in the other direction.
Here is an image of the crack in the workshop before and after filling.
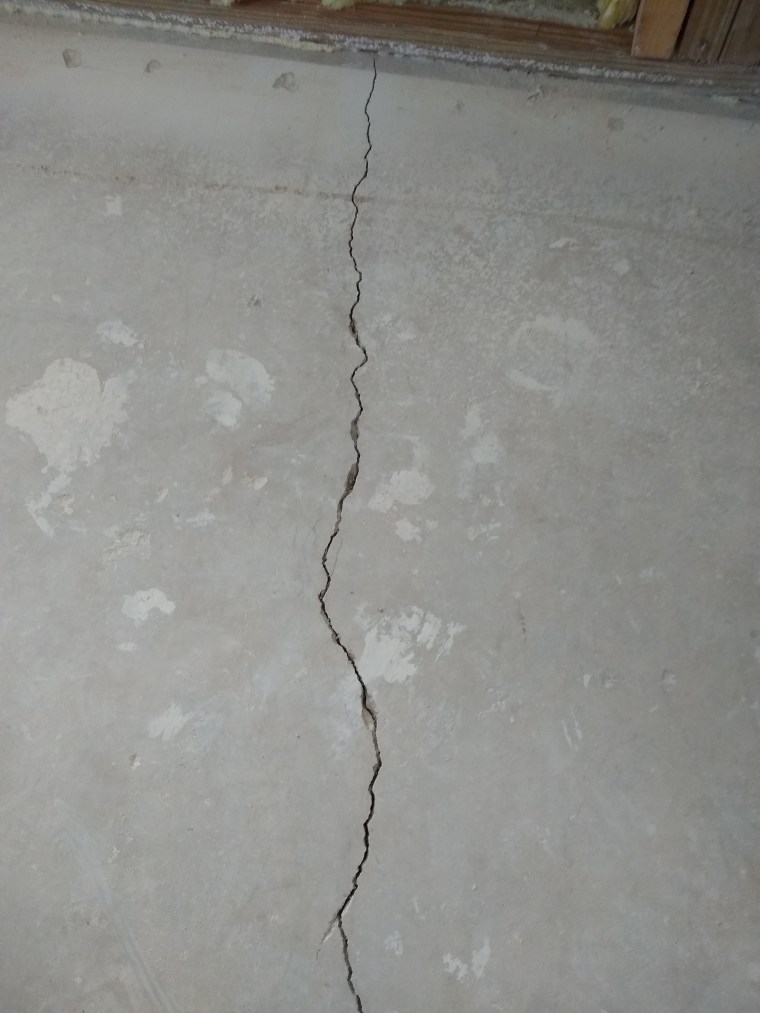

In this case I used only the epoxy filler since there were no overly large areas that required special attention. For the cracks in other areas/rooms, I was able to get by with just the epoxy, which was my preference. None of this pretty, but it is sealed, which is what I care about.
That is all for this post. Next, I think it might be time to start putting up drywall, at least on the interior walls. I’ve been in no hurry to do that because I want to be sure I’ve put everything in place before closing up the walls. At the moment, I believe I have. Sound proofing material will be sandwiched between the drywall sheets, so that will be done in parallel. Therefore, unless I think of something else, I will be turning my attention to drywall.
