To accommodate the intended kitchen and master bathroom changes, some significant changes needed to be made to the plumbing. This included, moving the drain and water supply lines in the kitchen over several feet to where the new island will go. In the master bath, the drain for the bathtub would have to be moved and a new drain added for the vanity. The toilet in the master bath would also be relocated, so the stack for it would need to be moved. All of this required that we cut into the concrete slab to expose the existing pipes and cut new trenches to route them to their new locations. This was a job I was not going to attempt on my own.
I arranged to have Chris join me for a couple of days (November 21 and 22) and show me the way. That gave me a couple of weeks to take care of some other bits and pieces and prepare for the messy work of trenching. This included more demolition and wiring.

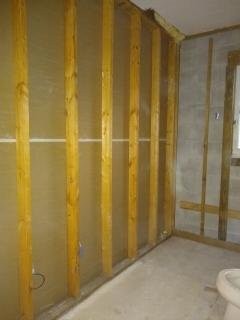
It is my intention to add sound insulation and Ethernet connections throughout the house (even the bathrooms!), so I will need to get behind most walls. Also, the existing drywall is textured and I want to replace it with smooth walls, so I will likely be pulling down all the drywall as I move along. I may leave it up in rooms where I am less concerned about the look, such as the front bedroom that will be my woodworking space. But I may change my mind about that too. One common theme that permeates this entire renovation is that I want options. I want to always be able to change my mind, so I’ve tried to make choices that will not limit me. One could never get away with this if you hired the work out, so that is a major benefit of DIY.
Below you can see that the remaining drywall in the kitchen and great room has been removed.

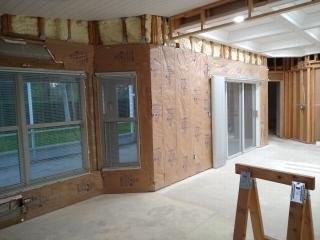
After the demo I had to rearrange things so that there was plenty of room to get at the areas where we would begin the messy job of cutting into the slab, which would start a week later.
After a bit of confusion about the proper tool for the cutting, we got our hands on what we needed and proceeded to start cutting into the slab. We started with the kitchen, since it was the easiest.


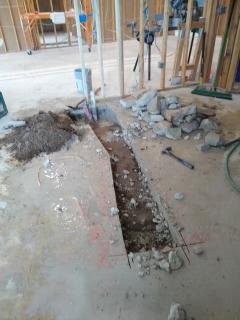
Chris started the process then had me try my hand at it. Chris made a video of me doing this that I will add here once he sends it to me. It was very interesting. I’d never done that before and was surprised at how well the saw cut. It was really not that difficult. It ran on gasoline, so a respirator mask was required. But it cut well and didn’t take too long to open up the area we wanted.
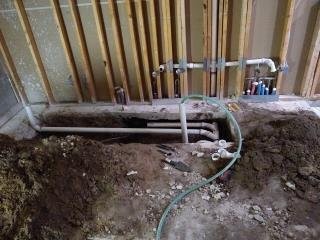
Since we wanted to limit the rental time for the saw, we moved on to the master bath next before doing anything with the area we’d just cut in the kitchen. Below are images of the cuts made for the drains for the bathtub and vanity. These shots were taken after the dirt had been removed and the pipes installed. The hose shown in the picture on the right is for testing. We ran water down the new pipes to verify they were leak free.

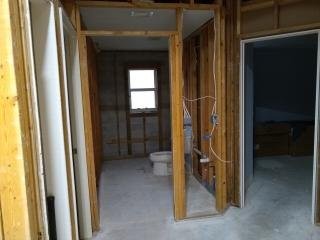
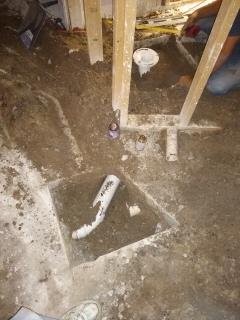
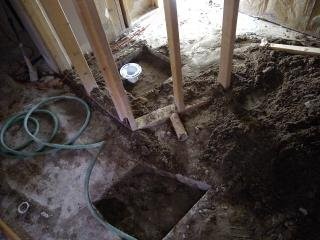
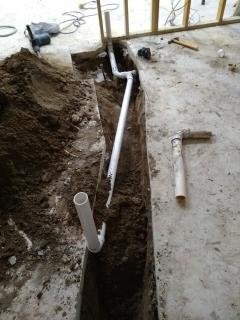
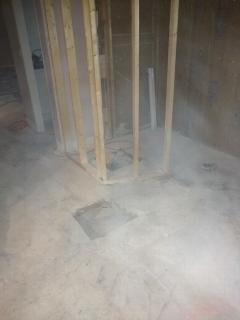
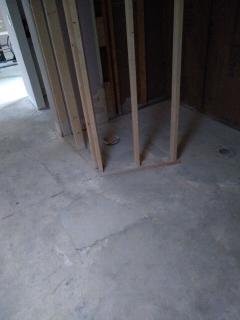
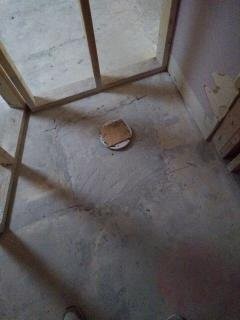
The pics below show the openings required to route the stack for the toilet. The first pic shows the hole required to hook into the existing line. The second and third pics show the new location of the toilet and how it connects to the existing line. The fourth pic is of Chris making sure the toilet flange is properly positioned relative to the walls that will enclose it.


Back in the kitchen, I removed the dirt required to start putting in the drain and supply lines.


After getting the kitchen drain installed, Chris left, leaving me to close the patient and do the suturing.


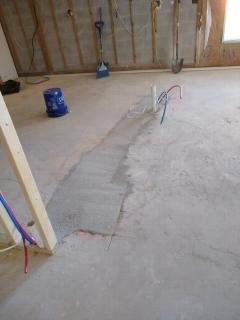
In the first picture above, you see the blue and red PEX supply lines coming up by the drain (we’ll be talking a lot more about PEX in the next post). Not clear in that picture is that I also ran an electrical line so the island will have power. Time for concrete.
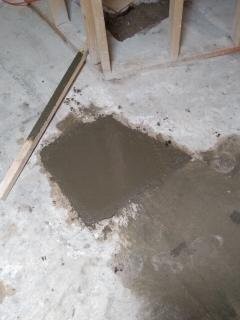
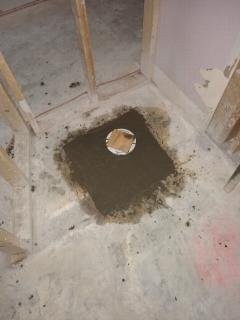
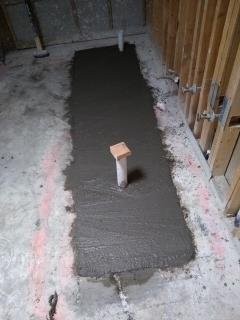
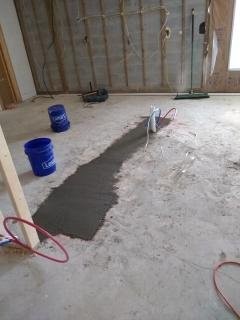

The job of filling in the holes was hard work. I rented a pickup truck to haul the concrete mixer and 13 80lb bags of concrete. It was a messy business and I was very tired when done. I spent a lot of time in a squatted position as I worked a makeshift 2×2 board (float) along to level the wet concrete. But I was satisfied with the results. Below are pics of the same areas a few days later.

I was very happy to have this job completed. Thank you to Chris for his work and guidance.
