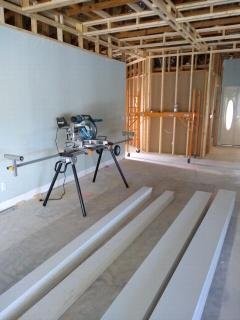
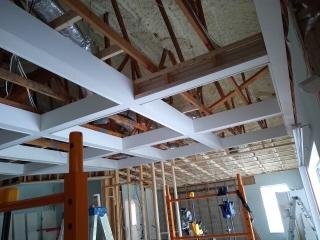
The new finger pine boards arrived, and to deal with them I needed a pretty decent sliding miter saw and stand. I also picked up a scaffold, which you can see in the back if you look closely. With all the overhead work, a scaffold was a must.
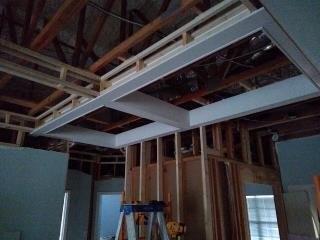
I started putting the horizontal pieces in place first, near the front of the room. I used a 1/4″ thick piece of plywood to serve as a template for the reveal (the part of the vertical piece that hangs below the horizontal piece). Seeing the boards go up was very exciting, as it gave me a real sense of how it would look.

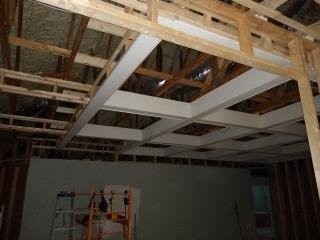
From there it was a matter of moving forward bit by bit.

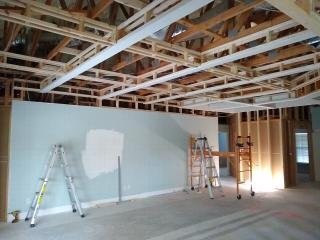
And further still. Now it is really starting to take shape. I’m happy with the results so far.

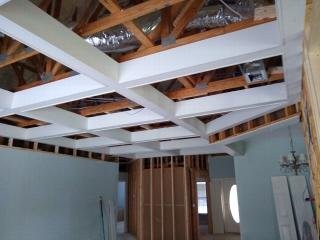
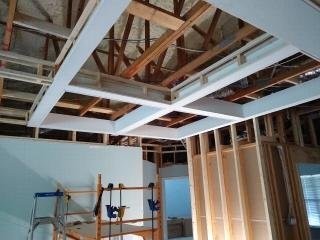
Reaching the end of the room.

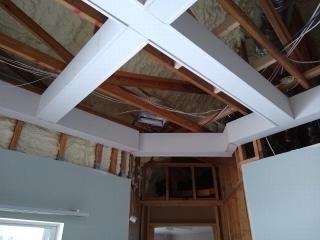
Here are a few details of the entrance to the master bedroom and the hallway by the guest bath. The brown stuff you see on the wood on the right image is wood filler. Later I decided not to use that brand; not because of the color, but it was a bit more difficult to work with.

The next step was to fill in the coffers with tongue and groove. We’ll get into that in the next post.
