Guest Bathroom Tiling – January 2025
Before leaving on vacation in mid December of 2024, I took advantage of a few days I had available and set and grouted the mosaic tiles in the shower. I started by dry fitting them in order to determine the cuts needed to accommodate the drain opening.
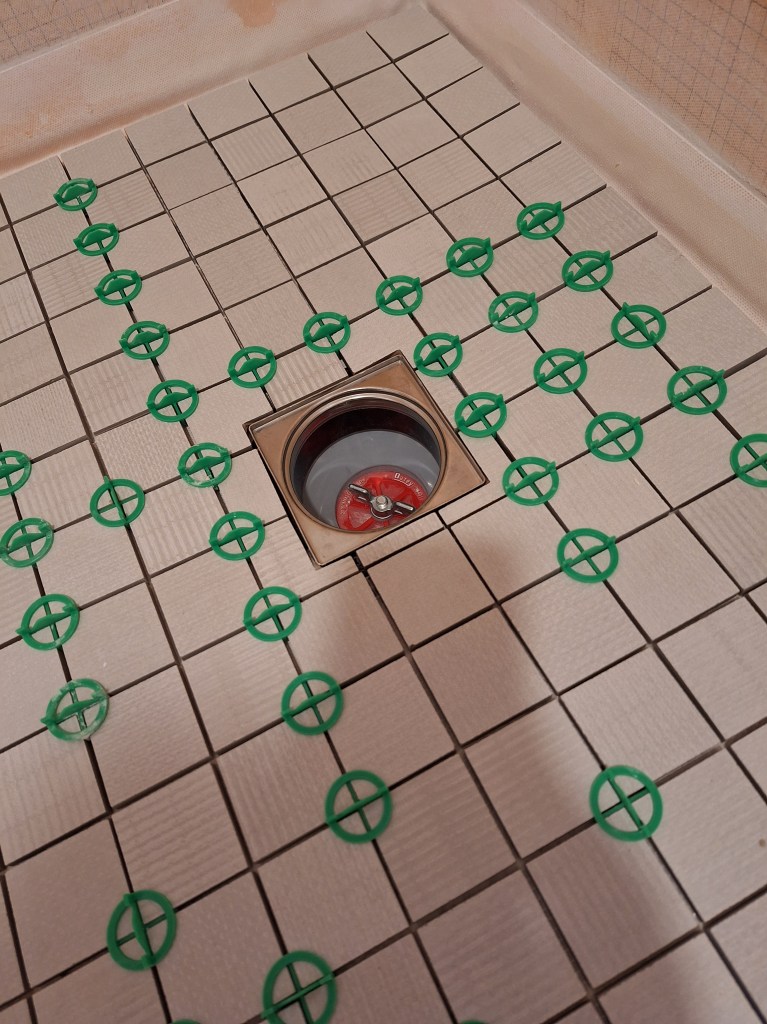
Then it was time to actually set the tiles, which is shown below.
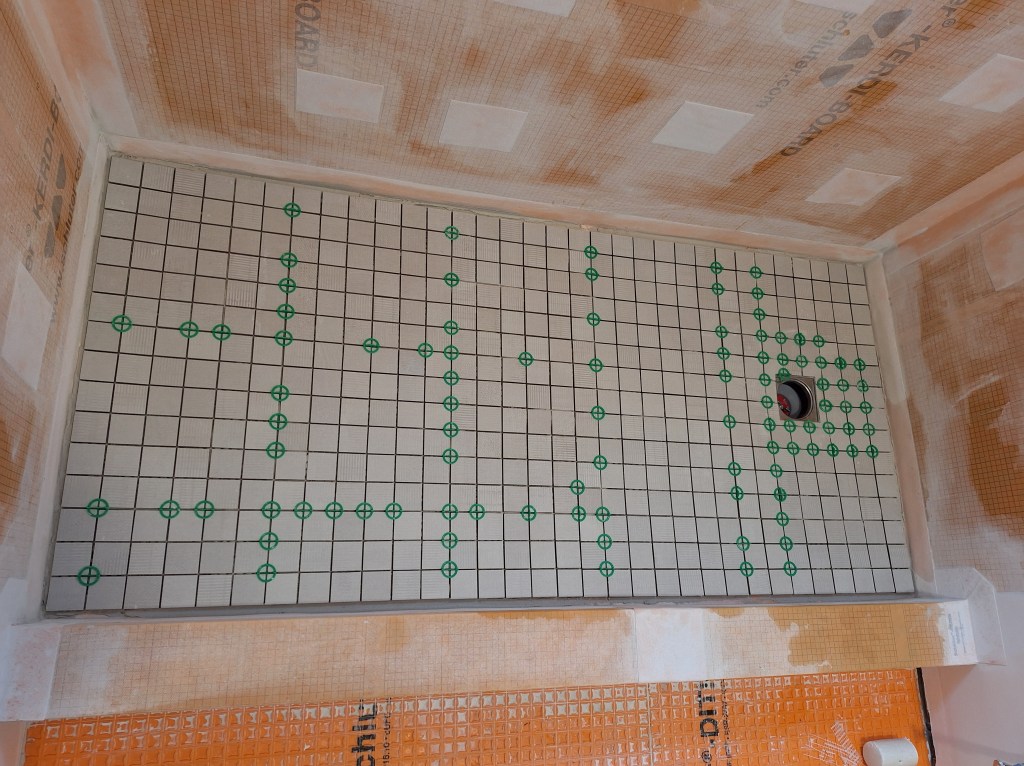
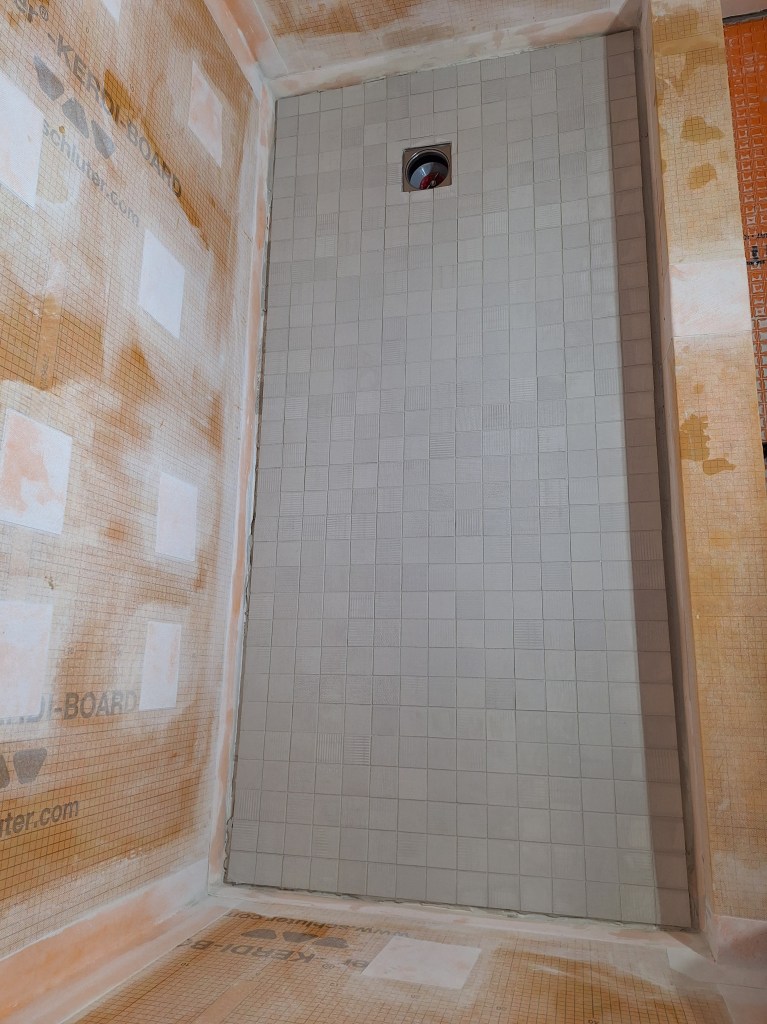
The next day I removed the spacers and cleaned out any excess thin-set between the joints before applying the grout. Here is the finished product.
With that done, I went on vacation for several weeks. After I returned, I covered the shower floor with cardboard to protect it as I tackled the shower walls. I started by setting the two small horizontal pieces on the bottom part of the window frame (the stool). I then began tiling the window wall of the guest shower, thinking I could put the trim piece in and work toward the floor. That was a mistake, as the mortar was not strong enough to prevent the tiles from sliding down due to gravity (duh! In retrospect). So I pulled off the trim, along with the two tiles I had already set on the wall, and cleaned them up. I also wiped up the thin-set I had applied to the wall, then put a ledger board in place using a strip of leftover Kerdi board. I did my best to make sure it was placed at a height where a full tile would meet up with the trim piece, once I got up to the bottom of the window. I started setting the tiles and, fortunately, my calculations worked out and the tiles met up nicely with the trim piece. I tiled up to the bottom of the window before finishing for the day.
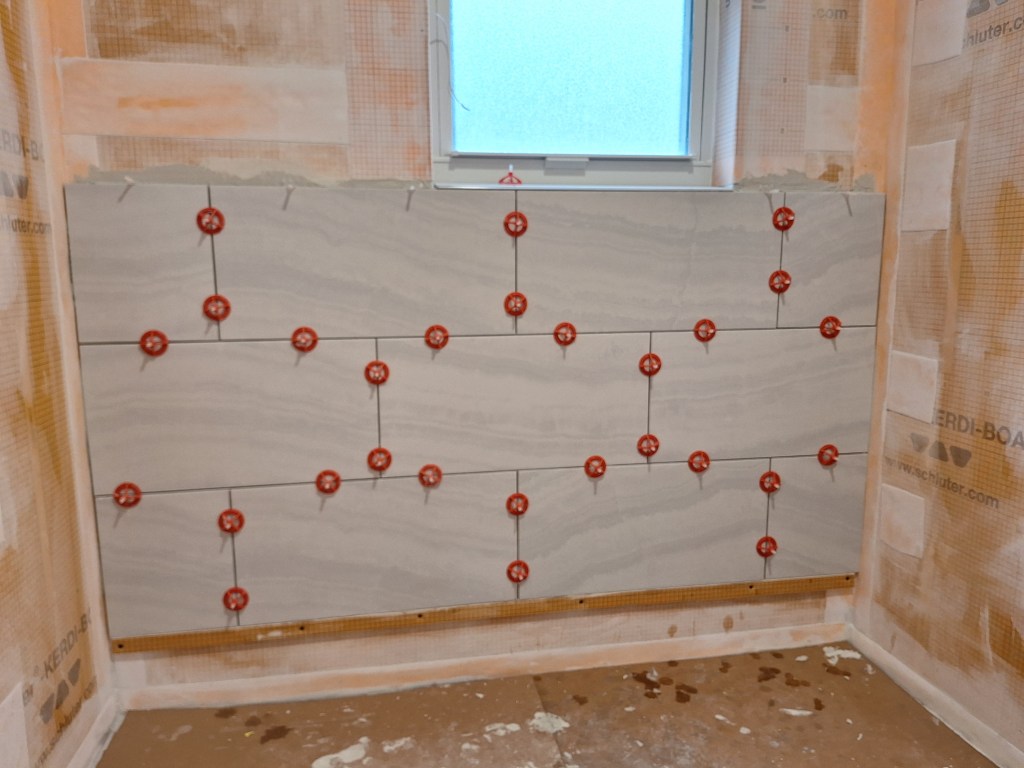
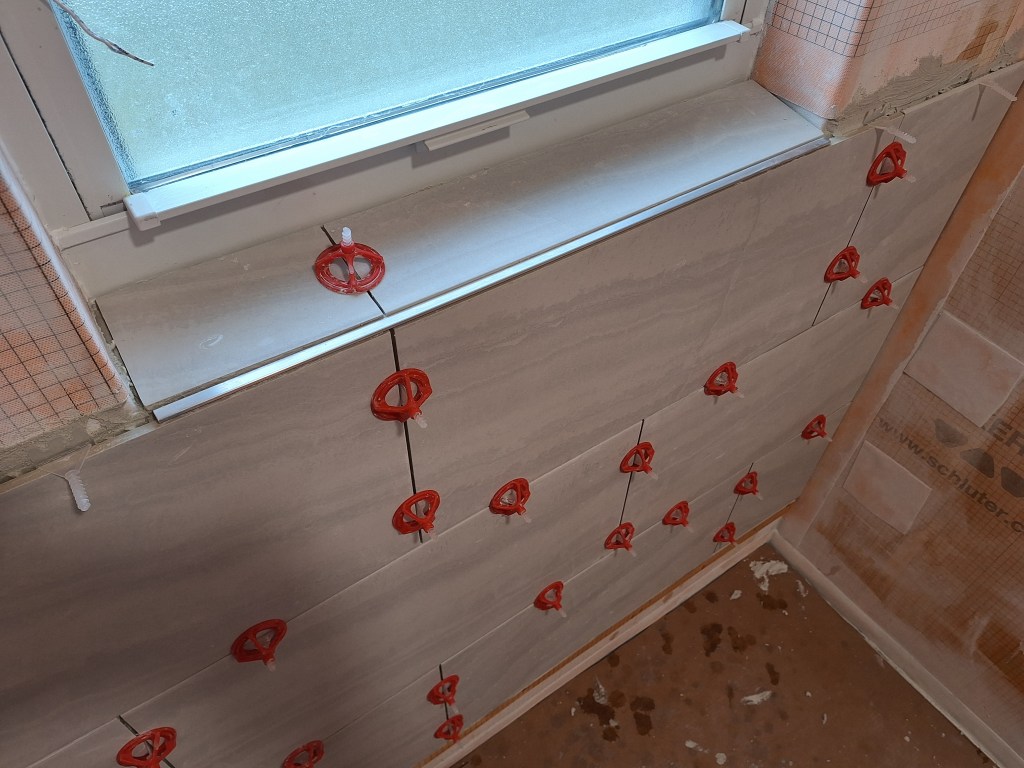
The next day I added the remaining pieces around the window frame. This turned out to be far more fiddly than I was expecting and was all I accomplished that afternoon, which was just as well, as I preferred to have them set up before I started on the remainder of the back wall.


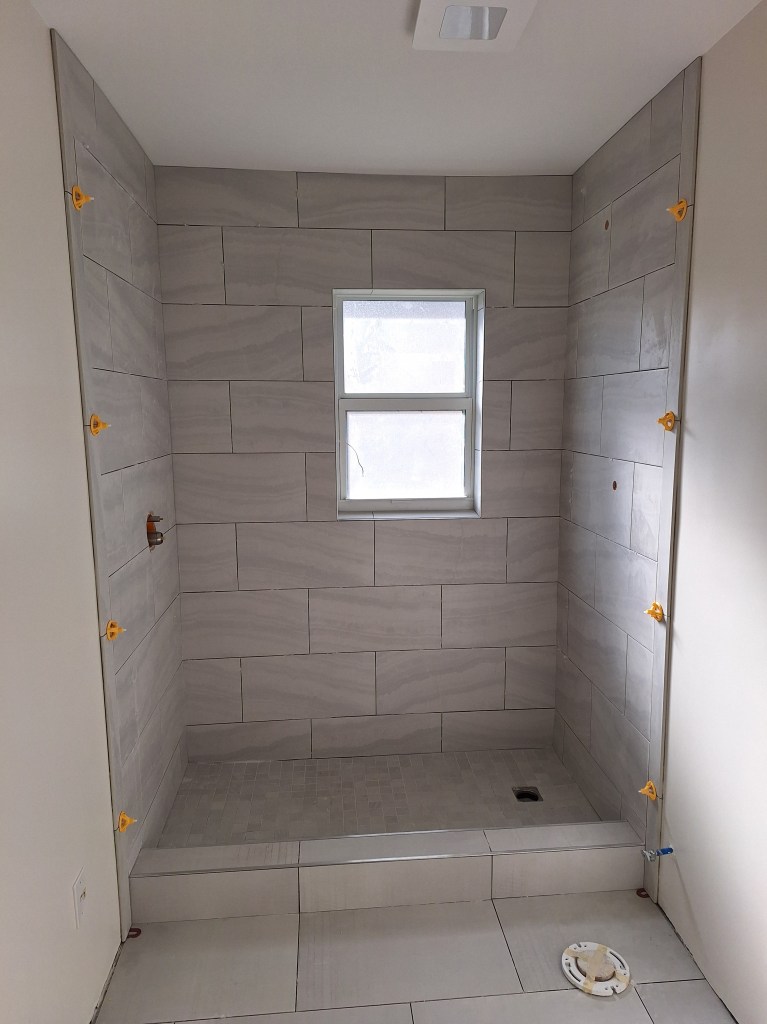
After that, I set the tiles on the remainder of the back wall, excluding the top and bottom rows, which will need to be scribed. I will leave all the scribing work until the end.
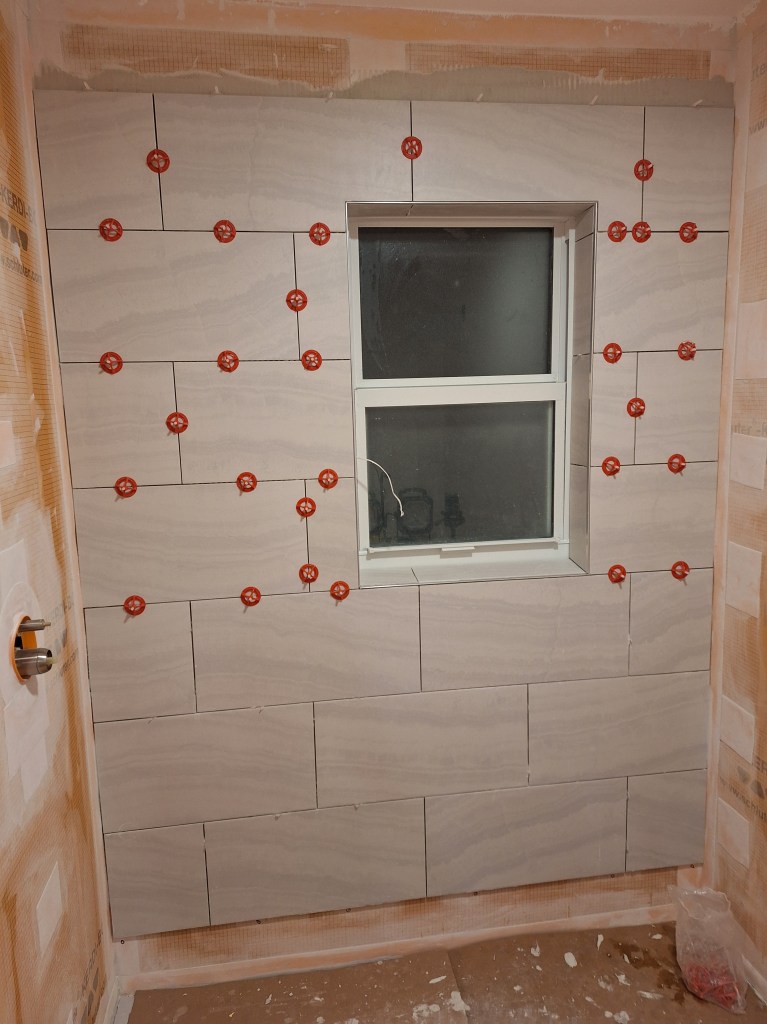
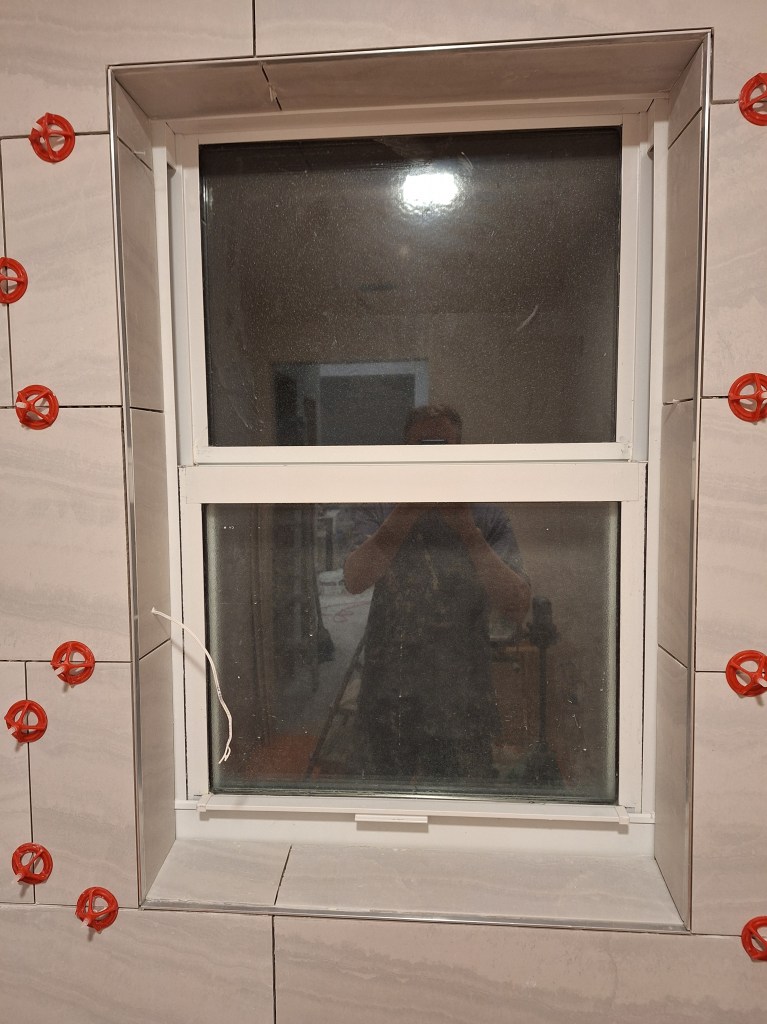
I made one small mistake when setting the tiles around the window. If you look closely at the grout line at the top of the window frame you’ll notice that it doesn’t line up exactly with the grout line of the tile on the wall. It’s close, but not quite right. When cutting that tile, I was focused on aligning the trim and everything else except that part. It’s a shame because I could have easily gotten it right. It was just an oversight. Fortunately it wasn’t far off and is in a location where it is unlikely to be noticed, so I am not sweating it.
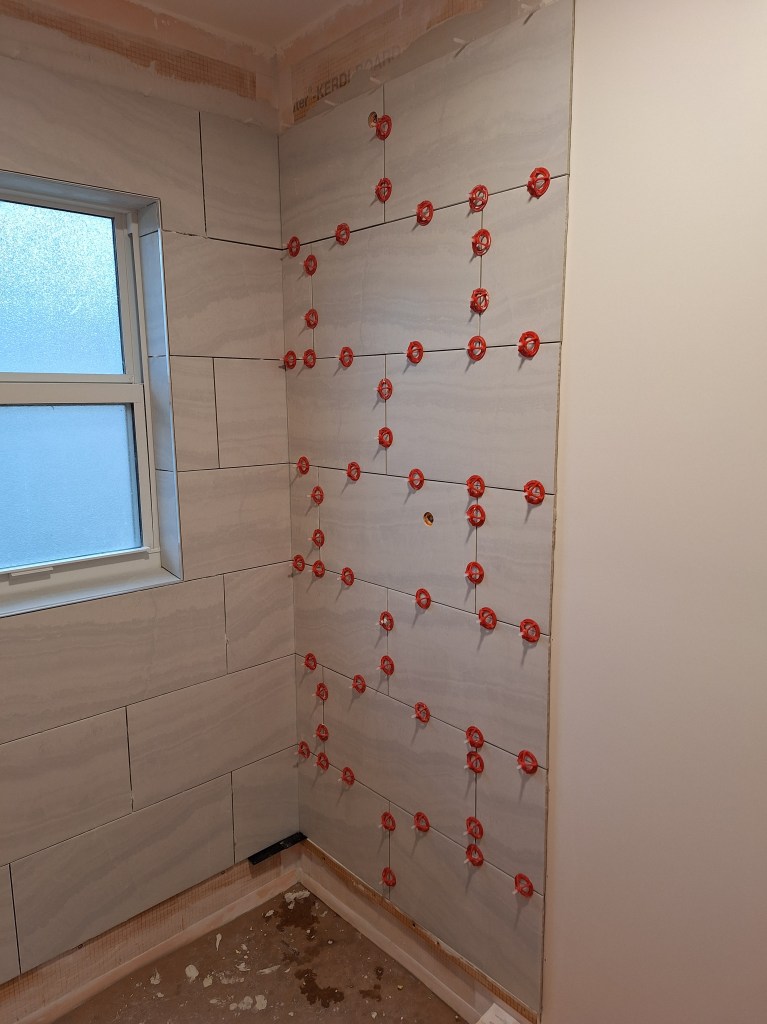
I worked on the shower head wall next. This was relatively simple compared to the back wall.
This wall required that I cut two round holes to accommodate the shower arm and wand. When I cut the hole for the shower arm in the master shower, I did it freehand, which resulted in the drill bit wandering somewhat, leaving a scar that was covered by the escutcheon plate. To prevent this from happening, I cut a hole in a piece of wood into which the 1-14″ diamond cutting bit would fit snugly. I set the wooden “guide” on top of the tile and fed the drill bit into it. It worked very well, keeping the drill bit in position throughout the cut. Consequently, both holes were flawless. The only thing left was to ensure they were positioned correctly, which, after careful measuring, they were.
Another little thing I had to contend with when setting the tiles on this wall was where to end them. They are supposed to extend from the back wall to the outside edge of the curb where bull-nose tile will provide a nice clean transition to the painted wall. However, I had not yet tiled the curb, so the outside edge had to be estimated. I did this by using a scrap piece of the tile I will use on the curb and a 1/8″ spacer to account for the thin-set. I then used my laser level to shine a light up the wall from where I estimated the outside edge of the curb will be and marked it with pen. It would have been safer to tile the curb first, but I wanted to work my way from the back of the bathroom to the door so that I was not carting and potentially spilling thin-set over my newly placed tile. Perhaps I should have set the floor tile and curb first, then covered them to protect them from spills.
After writing that last sentence, I stopped work on the shower walls and decided to set the floor tiles and curb. Although I had already tiled the shower head wall, estimating where to end, I thought it best to not try the same thing on the valve wall. If my estimate was off on the shower head wall, any misalignment would not be very visible because it would be behind the toilet. On the valve wall, it would be completely exposed, so I didn’t want to risk it. So I got to work on the floor.
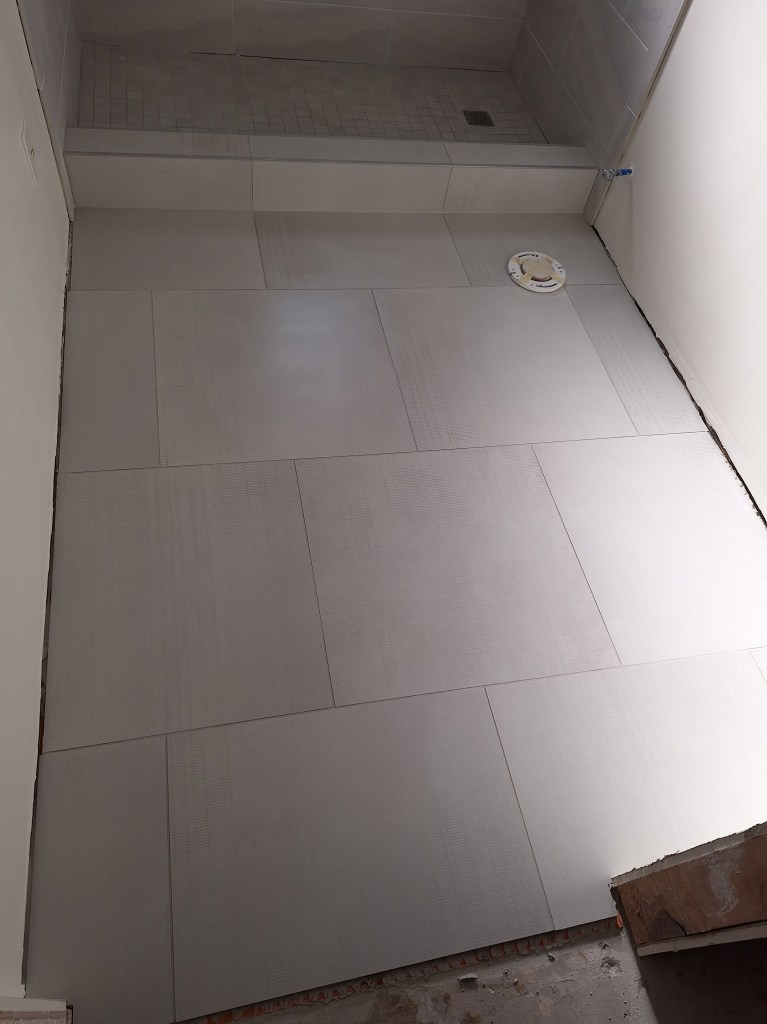
I started by cutting and dry fitting the pieces.
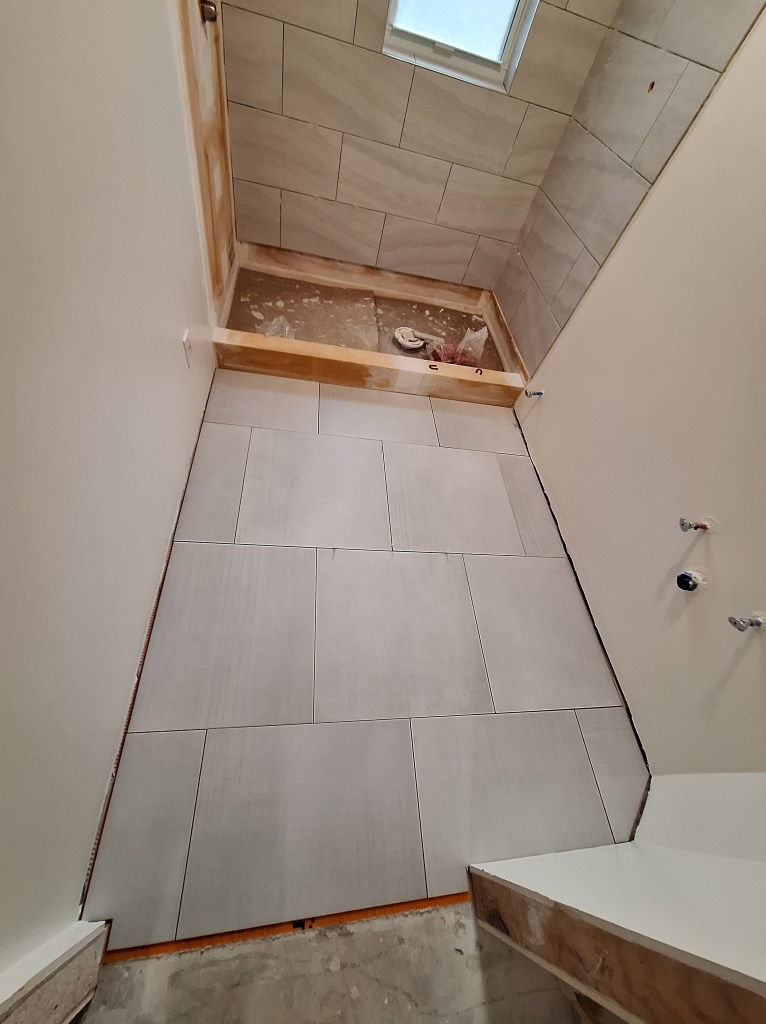
I then set them.

After the floor tiles were ready to walk on, I started on the curb, setting the horizontal pieces first, so that I had a target to aim for when setting the vertical pieces and the trim.
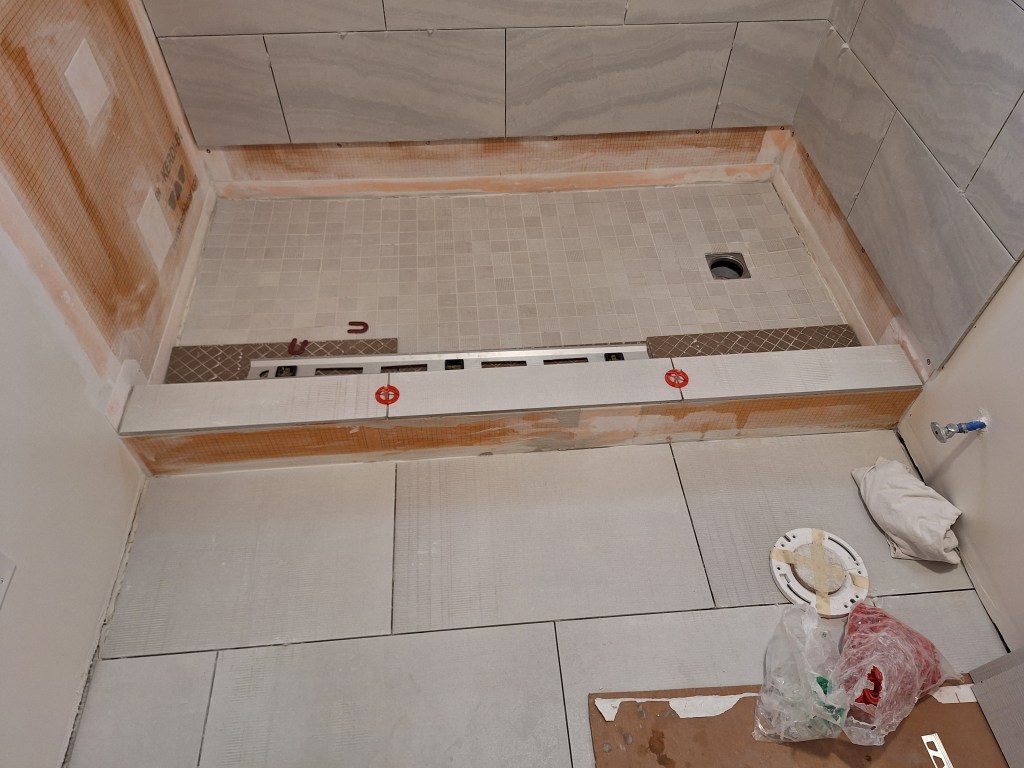
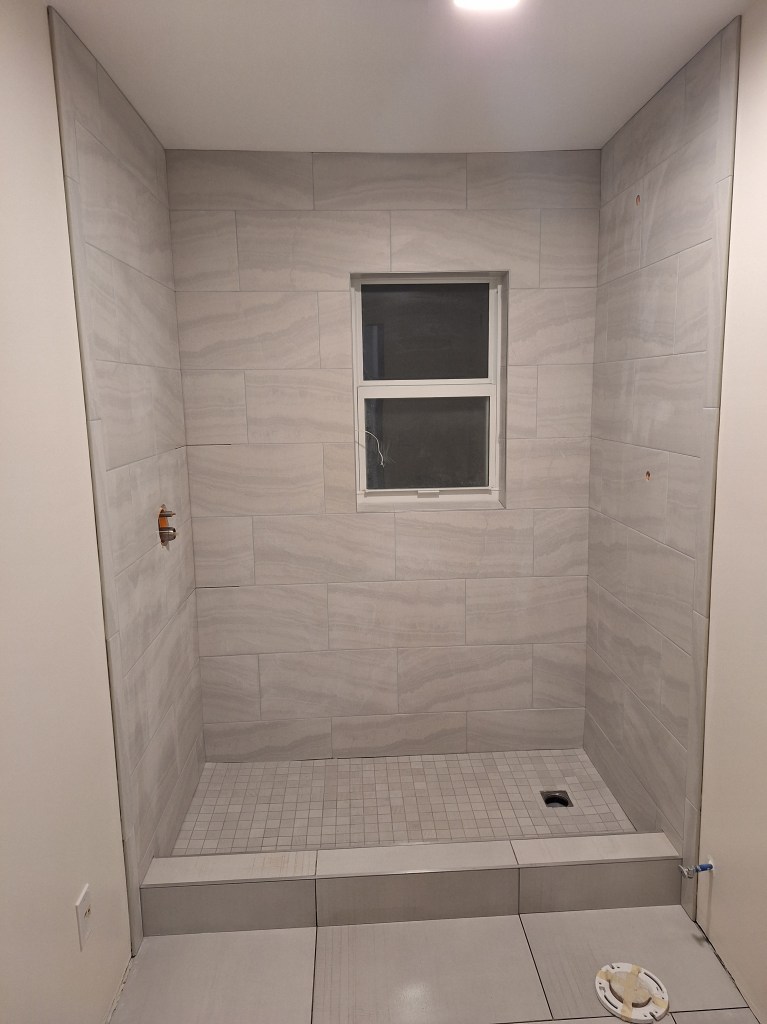
With that done, I was pleased to discover that the wall tiles for the shower head wall lined up nicely with the outside of the curb, so my estimate was correct. I then started setting the tile for the valve wall, where I could directly reference the outside of the tiled curb to determine where to stop.

This went well, except for the opening around the valve. I really messed that up, as you can see below.

That is embarrassingly ugly. The reason it is so bad, is because I marked the three tiles separately. I started with the tile on the lower right, which is acceptable. The next one was the tile on the lower left, which is really bad. Finally, I marked out the opening on the tile above, which was also really bad. These cuts were made freehand using an angle grinder, which I was able to manage quite well. The problem was that my markings were off. In retrospect this could have been avoided if I had laid all three tiles on the floor with the appropriate spacing in between, then marked the opening all at once, giving myself about half an inch of play to account for any small measuring errors. So this was just a really bad job. Fortunately it will be covered by the escutcheon plate, so it will not be seen. But one day, if someone removes that plate, they’ll be in for a surprise.
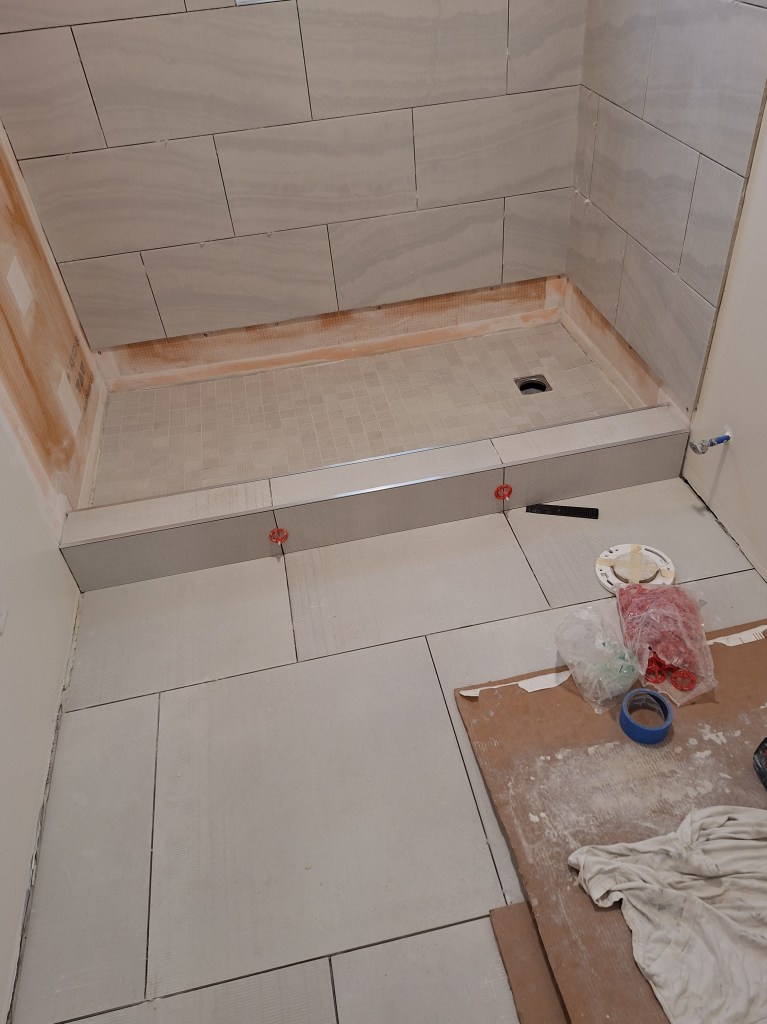
Here is an overview of the state of things after the valve wall was set.

The next step was to set the top and bottom row of wall tiles, which had to be individually cut to fit against the ceiling and floor, respectively.
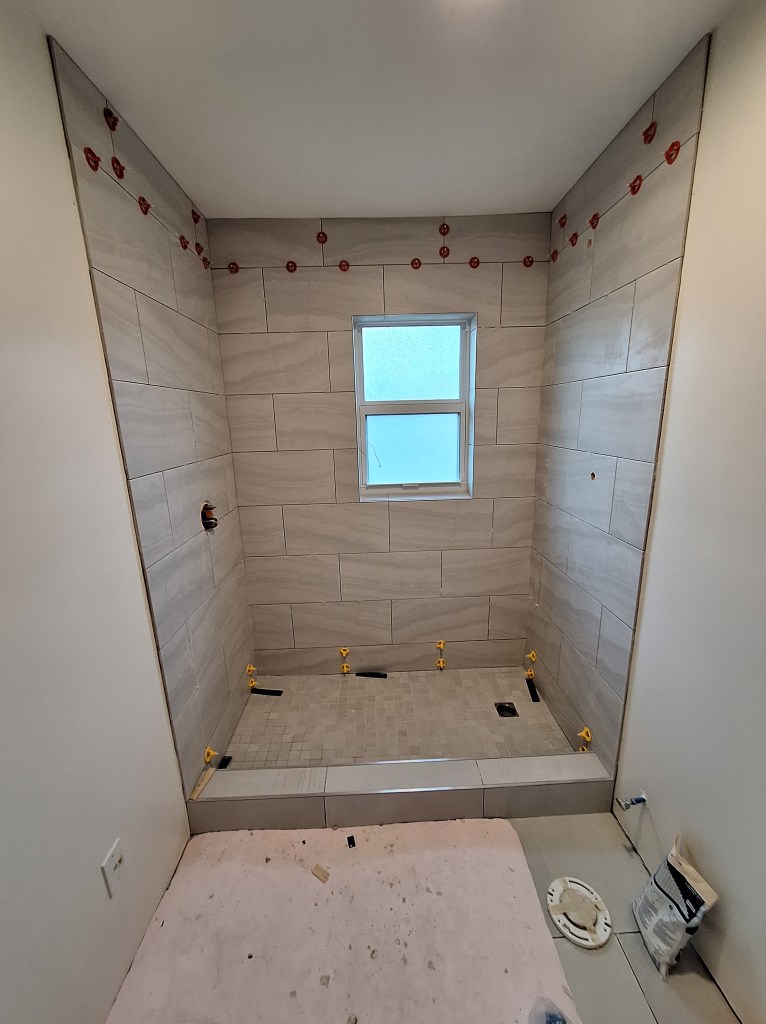
You’ll notice that I ran out of the red tile levelers after setting the top row. You would normally just purchase new bases and reuse the red caps, but the bases were not available. I tried to get bases from a different manufacturer, but they did not fit the caps I had. Reluctantly, I opted to purchase a new set of cap and bases from the different manufacturer. What I discovered after using the new ones was how much better they were. The original levelers (red ones) frequently did not break off cleanly, leaving me with the non-trivial task of having to cut out the parts of the plastic base that remained between the tiles. The new levelers (yellow caps) all broke off cleanly, leaving me with no additional work once they were removed. I wish I’d known this long ago and saved myself a lot of work.
After the top and bottom row tiles were set, I added the bull-nose tiles to finish the tile setting for this room.
Next up was grouting. To prepare for that, I had to remove the remnants of the leveling clips I mentioned a moment ago and vacuum out any other debris that might prevent the grout from getting between the tile. Once that was done, I grouted the shower wall tiles first, leaving clear the two areas where the corner shelves would be placed (between the valve wall and the back wall).
After the grout had dried on the wall tiles, I grouted the large format bathroom floor tiles and the curb.
With this done, all the messy work was complete. I still had to caulk the edges and corners in the shower, but this would not involve mixing and carrying thin-set or anything messy like that. Consequently, I decided to halt work on this bathroom for now and turn my attention to getting the house ready for the wood flooring installation, which is more pressing, as I’ll describe in the next post. I can return to this bathroom anytime, now that the remaining work will not risk damaging the wood floors.
