Dining Room – August/September 2023
As described at the end of the last post, I decided to put the work on the master bathroom on hold and work on the dining room so that I could use it to store my wood flooring. The flooring will take up a fair bit of space, and since it will not be installed for a very long time, that space will not be very accessible during that time. Consequently, it made sense for me to finish that area before filling it up with the flooring material.
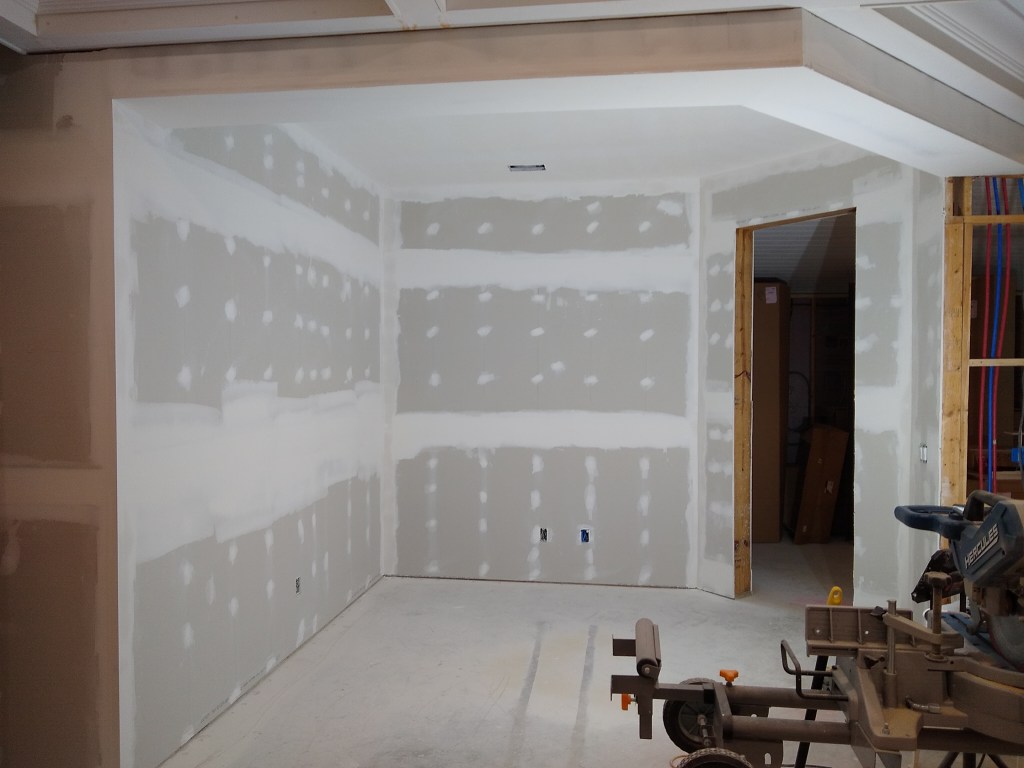
Since I had already prefilled, as mentioned in the last post, the next step was taping. Here are the results.
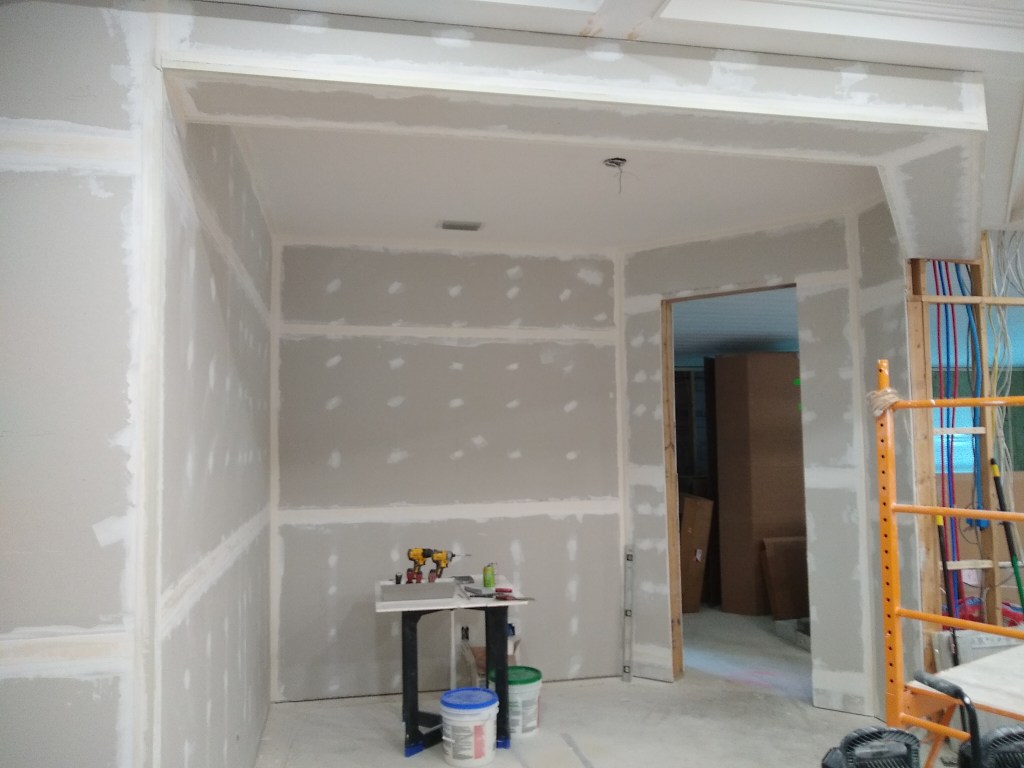

Notice that the east wall of the foyer was also taped. I did this because I prefer to put the corner beads on last, wanting them to lie on top of the other tape. Since this wall intersects the north wall of the dining room, where a corner bead was going to go, taping that wall was a prerequisite.
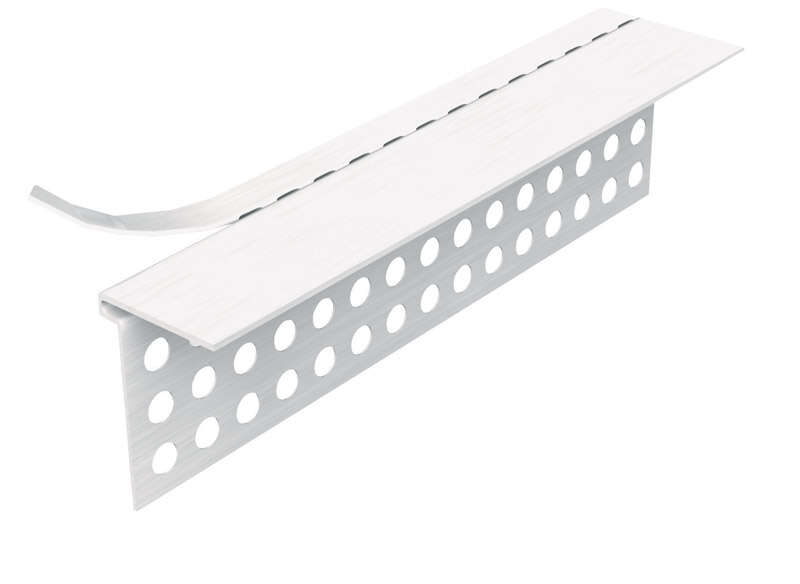
Also notice the bulkhead that separates the dining room from the living/great room. There is a small gap between the drywall and the coffered ceiling. I haven’t decided yet how I’m going to address that interface. I have two ideas. The first involves simply putting up a modest trim piece; something that will close the gap between the drywall and the wood of the ceiling. Alternatively, I could use a “tear-away bead”. This required that I leave a small gap between the two materials (which is why the gap is there) into which a section of this bead will be inserted. The bead will butt up against the ceiling but leaving a small lip, allowing me to apply mud without getting it on the ceiling. After the drywall is finished, the small lip can be torn away, leaving a nice clean edge.
I’ll probably explore the trim option first to see how it looks. The tear-away bead could look very nice, but I think it will be a challenge to get it just right. But I don’t have to make the decision for a long time, so it will remain on the back burner.
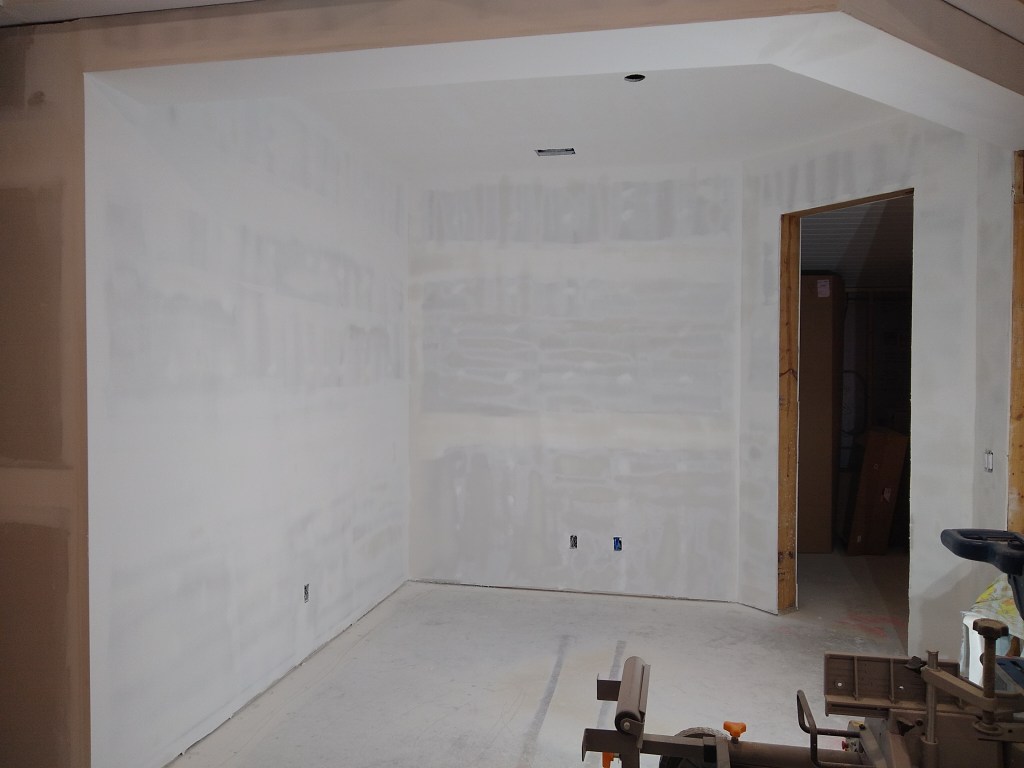
As usual, the next step was covering the tape. I will do two cover coats. Here is the result of the first one.

I also coated the ceiling, as it will be changed from knock-down texture to no texture (smooth). For the first cover coat over the tape, I used topping mud. For the first cover coat over the knock-down texture, I used the heavier all-purpose mud. Unlike topping mud, all-purpose mud has a stronger adhesion, which is required when covering a painted surface. For subsequent coats I used topping mud.
I took a couple of weeks off in August to visit friends and family. When I returned I started the second cover coat. I also skimmed the ceiling; kind of a second cover coat. Here are some shots of that.

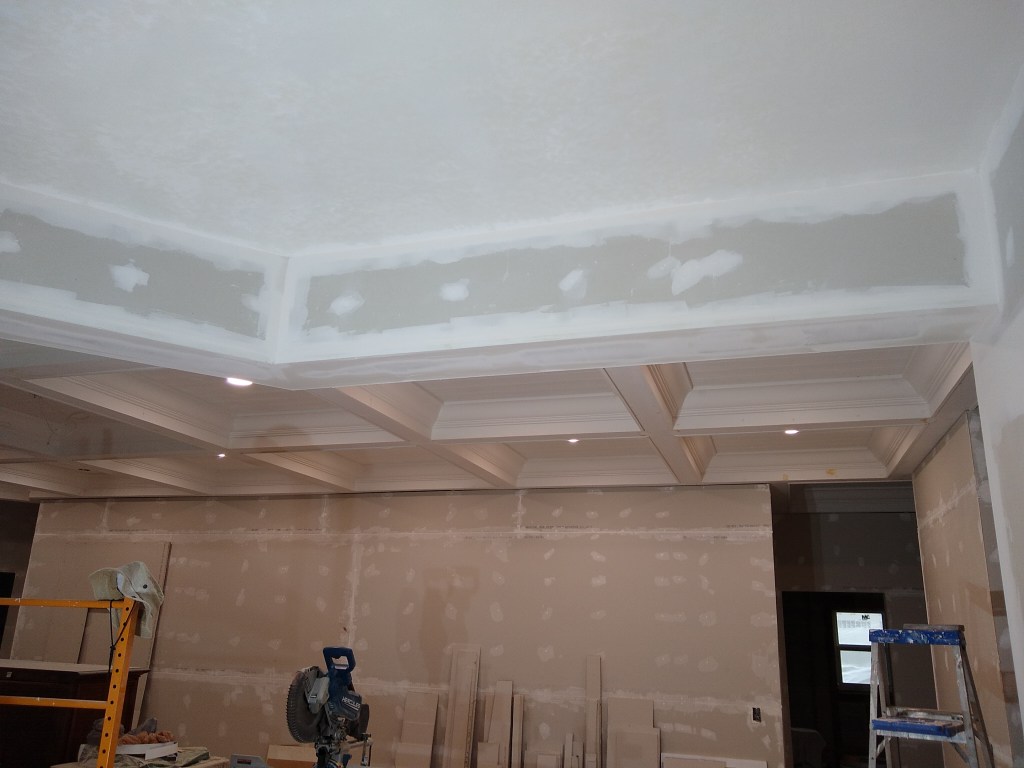
For the bulkhead, I actually did a rather heavy cover coat over the entire underside. It was a bit concave, so I wanted to flatten it out some. I’ll do more of that with the skim coats that will follow.
Also, notice how much wider the coating is for the lower joint versus the upper one along the long wall. I started the second cover coat with the lower joint along that wall and stacked two passes using my 14″ blade. This is normally how you would do it for a butt joint, where there is a need to spread the joint compound out over a wider area to lessen the hump. However, since this was not a butt joint (both edges at this joint are beveled), I overdid it. I decided it added no value, so I simply did a single pass with the 14″ blade on subsequent joints.
After a bit of sanding, I started the first of two skim coats. I covered all surfaces within the dining room, including the bulkhead and ceiling, but decided not to do the adjoining surfaces outside the dining room space, which included the great room side of the bulkhead, and the adjoining wall in the foyer. Although they were taped and a single cover coat was applied, I will address them fully when those areas are my focus.
After the first skim coat I did a light sanding then applied the second skim coat. In the end, the ceiling got two cover coats and two skim coats, or, arguably, one cover coat and three skim coats. I originally planned to do just a single cover coat of the ceiling followed by two skim coats, but added one more skim coat just to make it perfect, and I was glad I did.
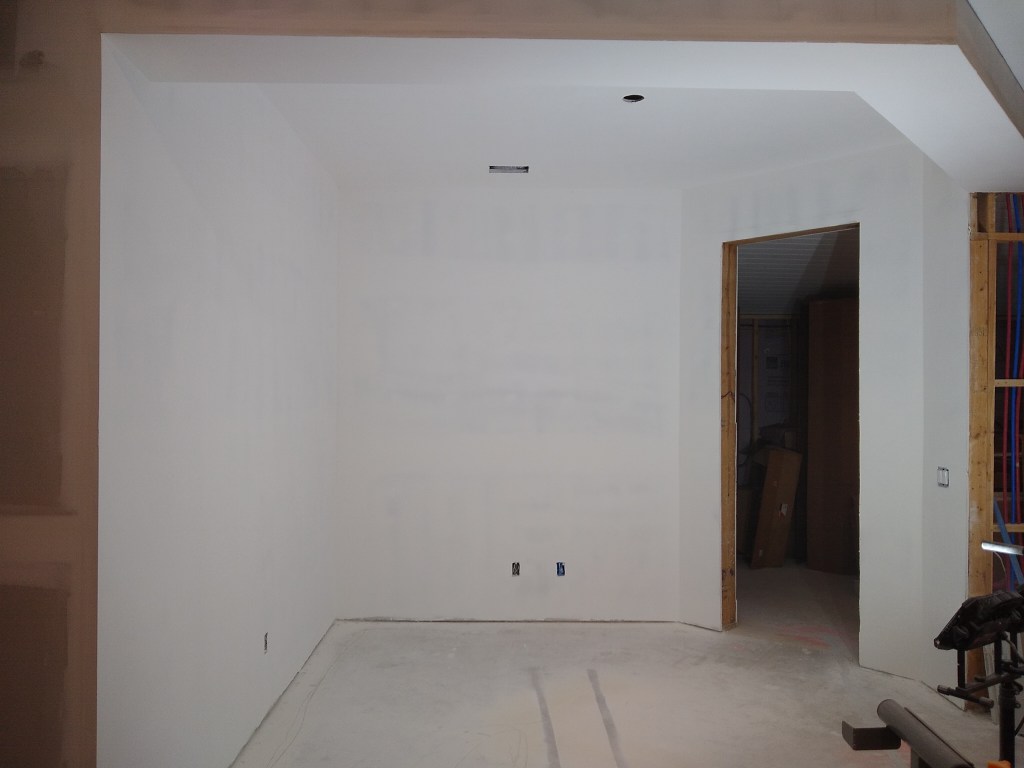
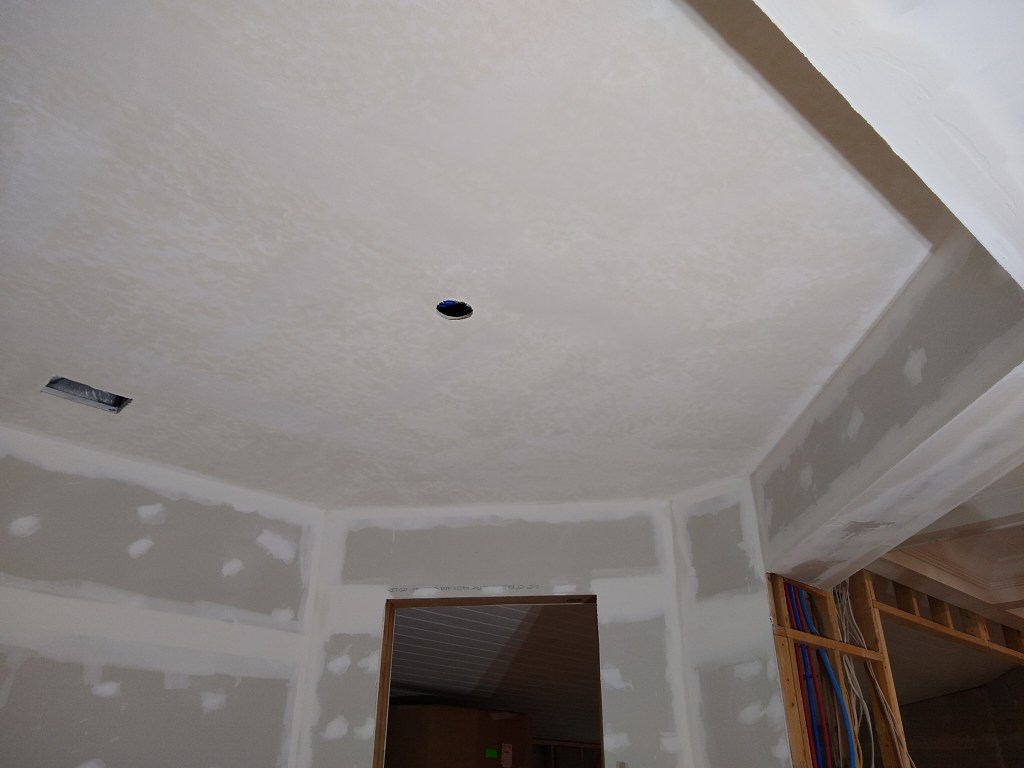
After the second skim coating was dry, I spent quite some time sanding in preparation for painting (primer). I was very happy with the results. It almost looks like it has been painted. Here are a couple of other shots.


Although it was ready for primer, I still had to add the crown molding. That was next. However, before I started on that I decided to pickup my wood flooring. Recall that it was the need for storage space for my wood flooring that motivated me to work on the dining room area. While working on it, I changed my mind about where I would store the flooring. Instead I decided to store it in the master bedroom. The walls and ceiling in that room were already primed and/or painted, so I would not need access to those areas for some time. Consequently, I decided to retrieve the wood flooring from where I purchased it before they started getting fed up holding it for me.
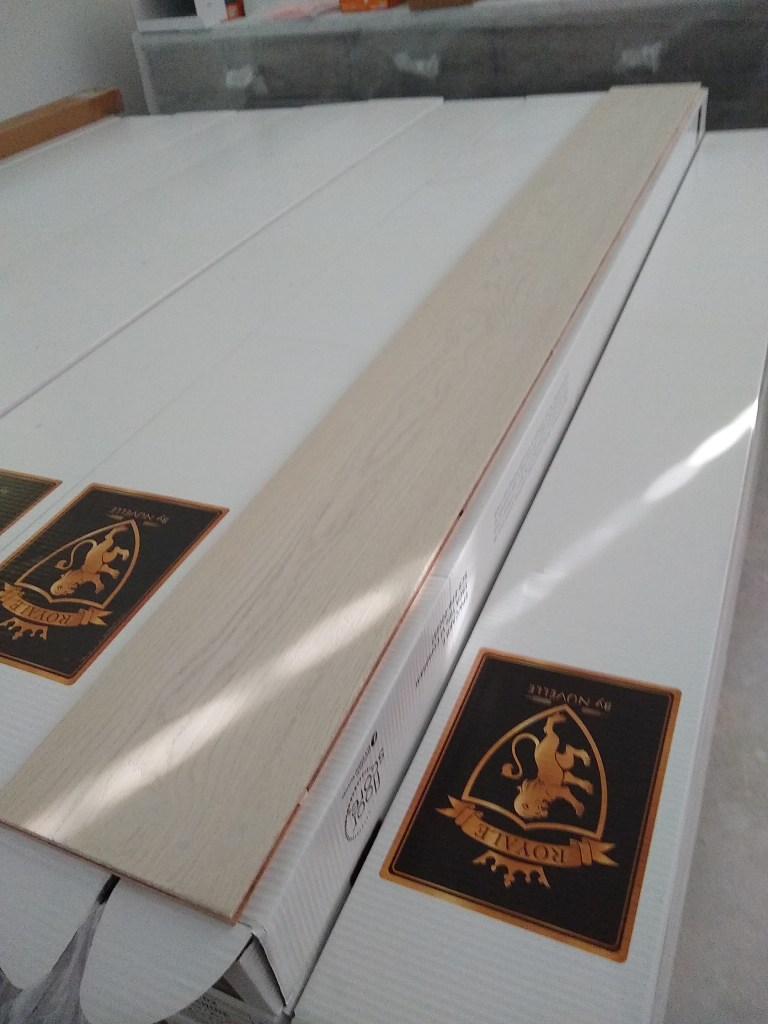
Rather than have the retailer deliver it to me, I decided to rent a truck and do it myself. Not only would it be less expensive, but there would be no need to schedule/wait on a delivery. So I drove over to HomeDepot and rented their flatbed truck. The retailer loaded the truck using a fork lift. There were two pallets. A total of 79 fifty pound boxes. I drove the truck home slowly because it was carrying a lot of weight. The clock was running on the truck rental, so I unloaded the boxes into the garage, and then returned the truck. When I returned, I moved the boxes from the garage to the master bedroom, where they will sit for a long time.
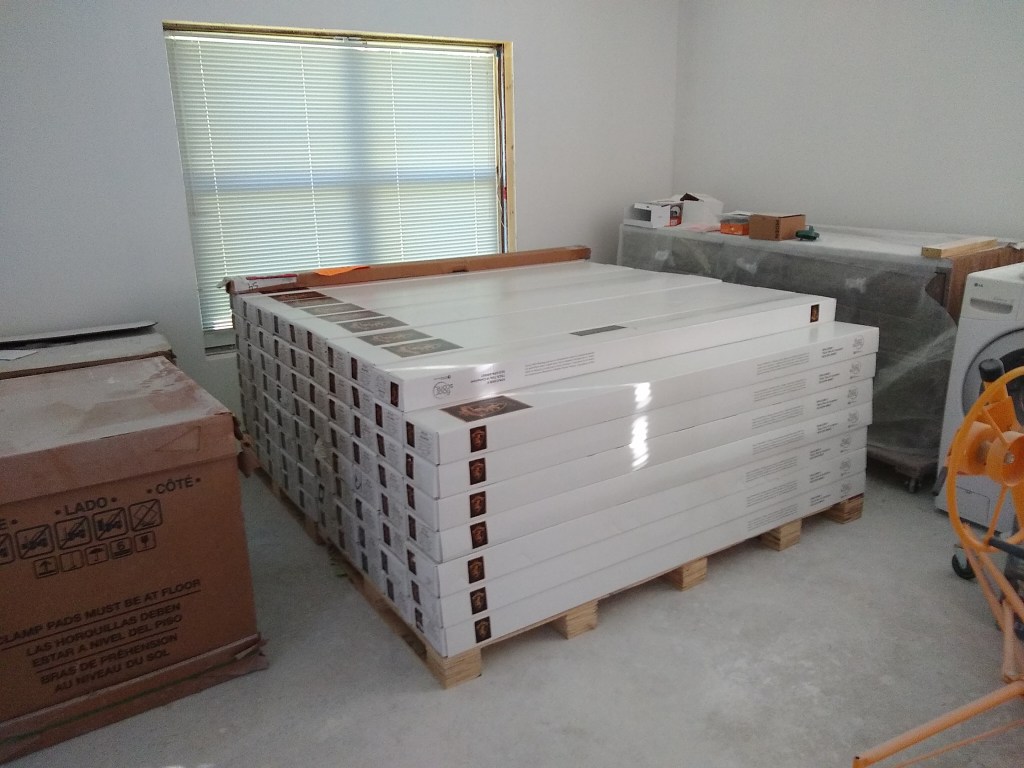
So I moved close to 4000 pounds, twice! I was happy to be finished with that job. Here’s a shot of one of the boards. It’s an engineered wood, white oak, that will be glued to the concrete slab.
With that job out of the way I returned to the dining room and installed the crown molding. That was a bit of a job on my own. I ended up using the lift to get the first piece in place along the long wall. My joints were not as well done as the crown I put up in the coffers in the great room. That was because the spans were longer and I had mostly odd angles to work with. However, it turned out just fine after some lipstick was applied. Here are some shots of the dining room after the crown was installed and primer applied to all surfaces.
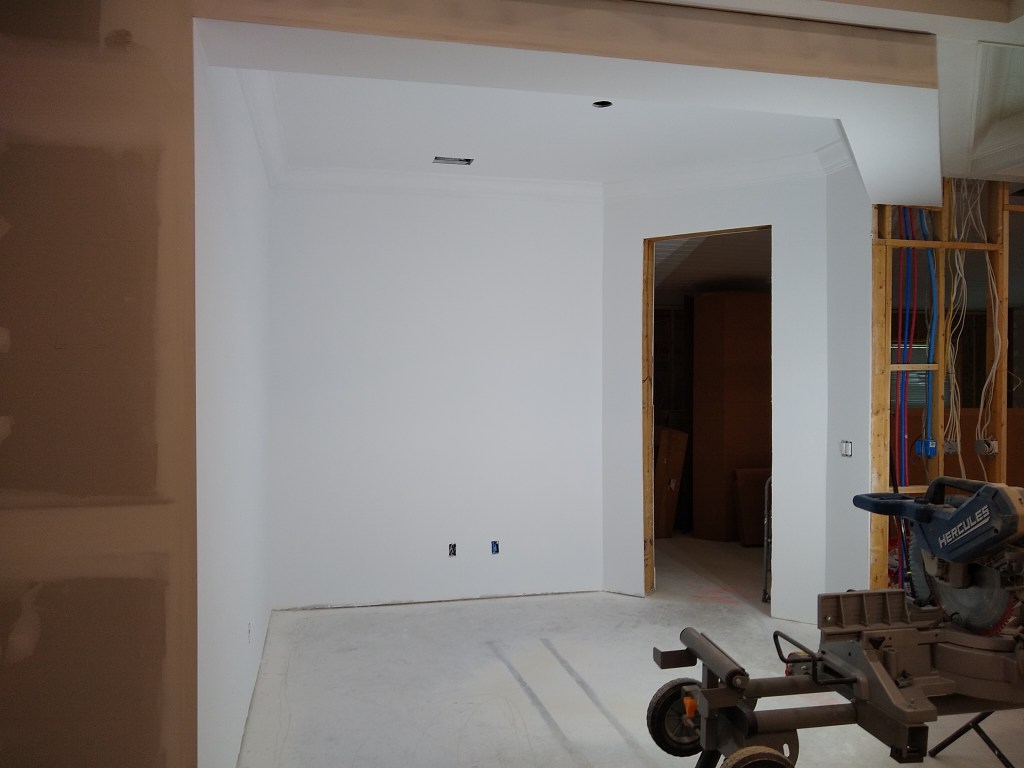

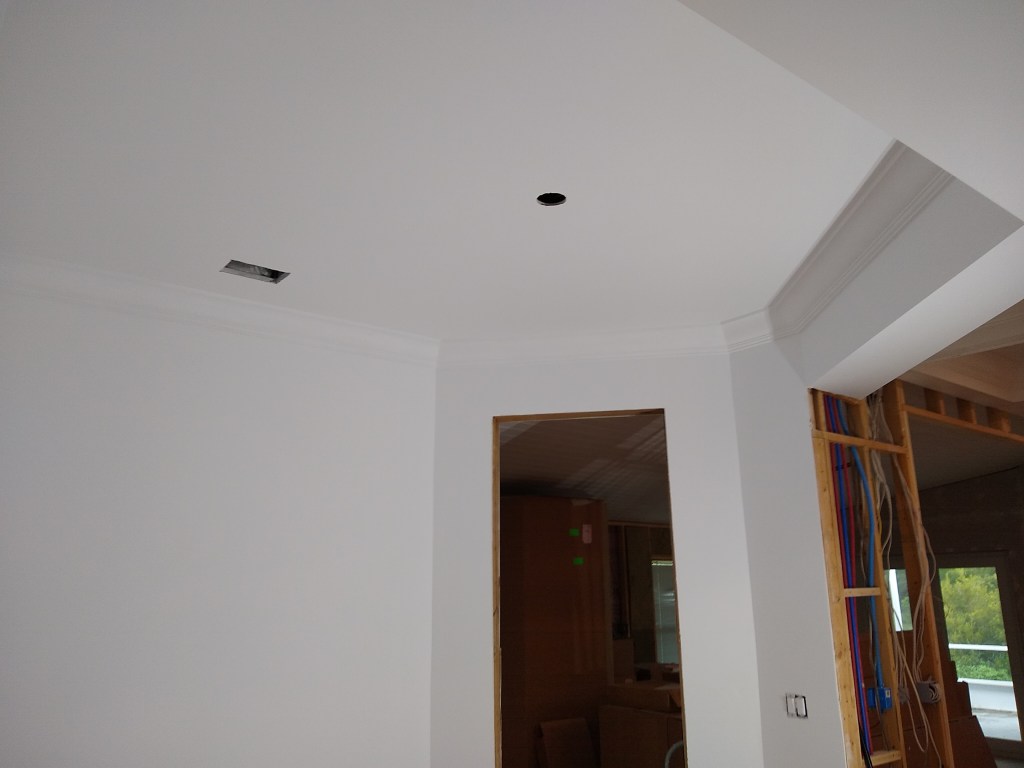

The last two images show off the crown a little better than the first two images. I don’t intend to keep the walls white and the ceiling will probably be a off-white. I haven’t settled on that yet. What you’re seeing now is just the color of the primer. Still, I think it looks quite nice. This is where I will leave it for now.
Although this was a diversion from the work on the master bathroom, I do not intend to return there for a while. I have a pressing need that requires I turn my attention to the kitchen, which I’ll discuss in the next post.
