Office Drywall Finishing – February 2024
Similar to the workshop, I had a lot of things to clear out of the front bedroom I intend to use as an office. This took a couple of days and required the help of a friend to move a very large armoire that had been placed there by the movers. Thanks Paul! I put the armoire on a couple of dollies, where it will remain until I place it in its final location.
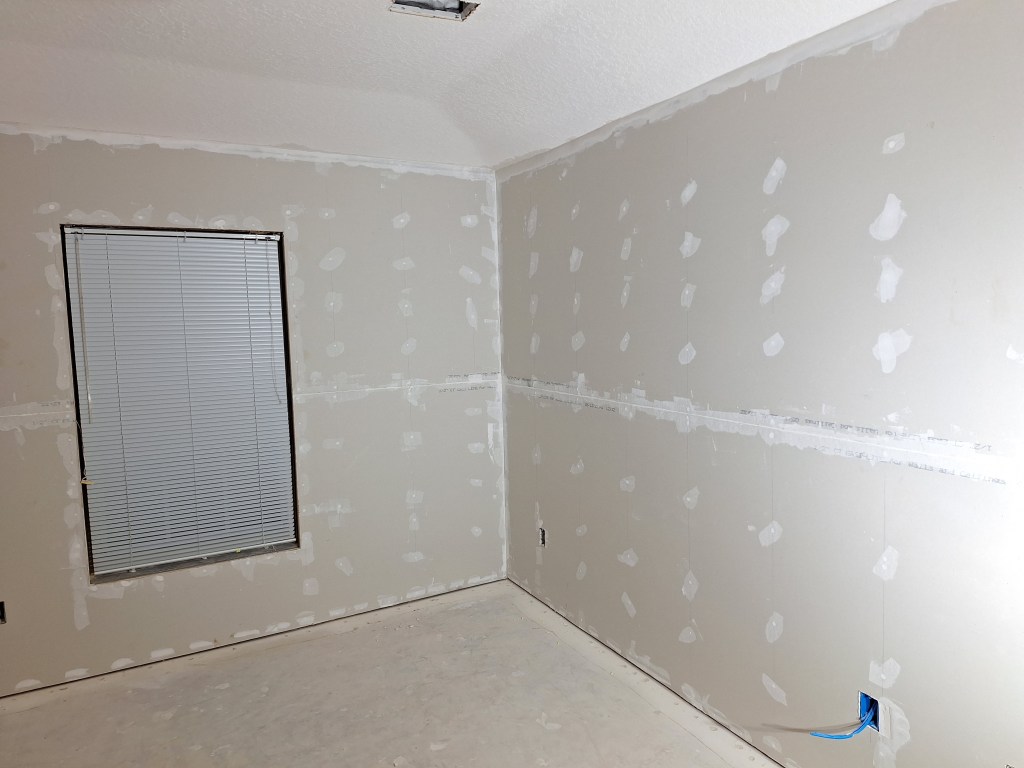
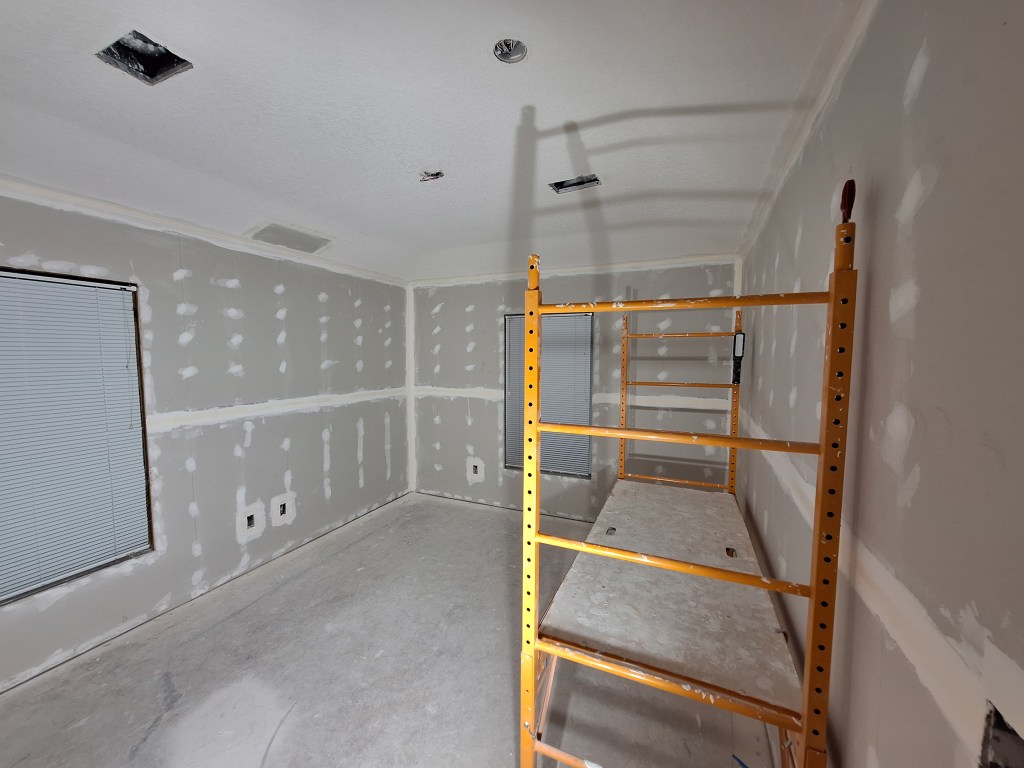
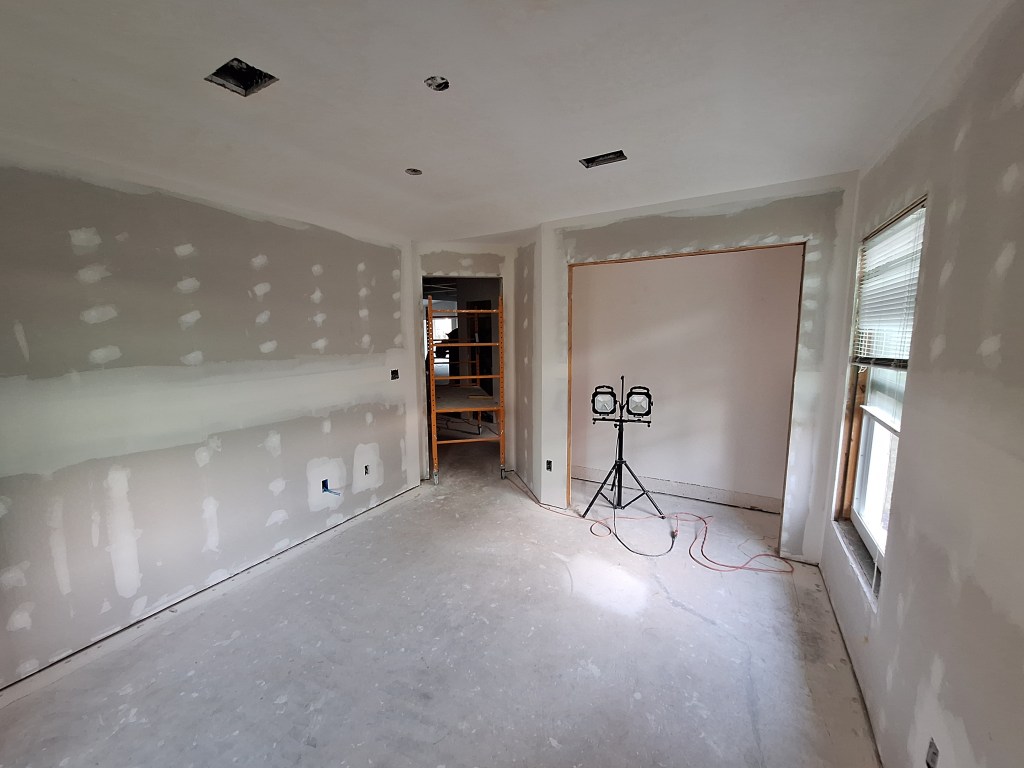
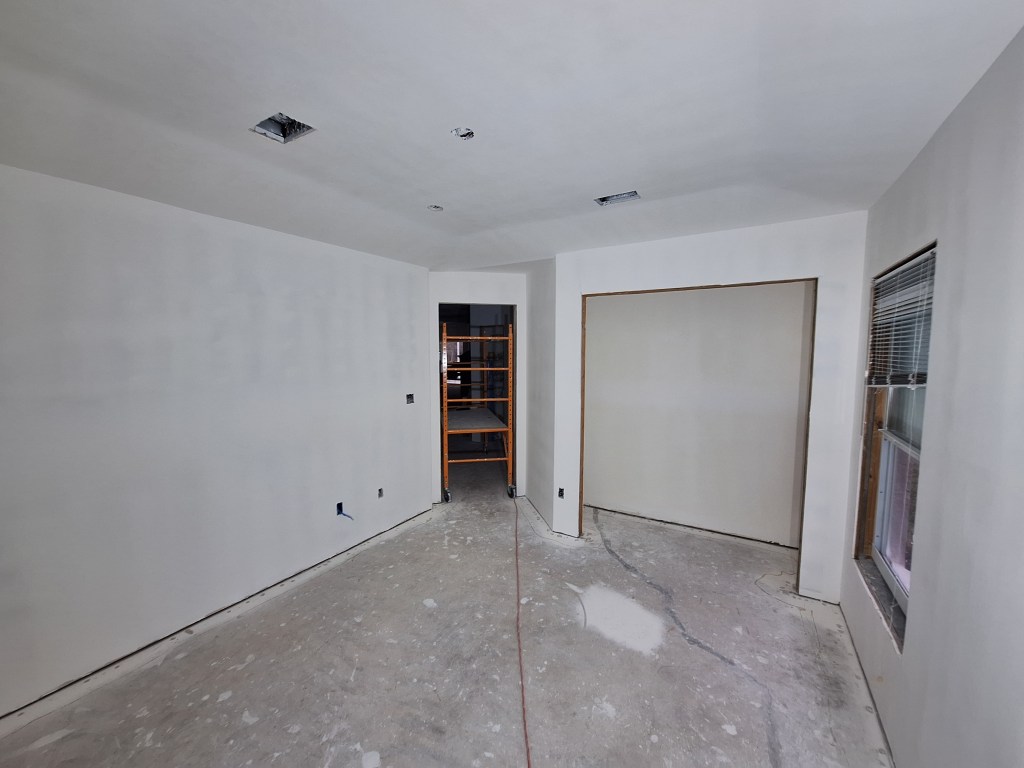
Once the office was cleared out, the first order of business was to get the drywall ready for the inspection required before I can commence taping and finishing. I’d already hung the drywall long ago and even did some of the prefilling. In fact, it was the second room after my first attempt at hanging drywall (the guest bedroom). So the drywall was up, but it needed more screws than what I originally used – something I subsequently learned once inspections became part of the process. So I started with that. I had also cut a rough opening in the ceiling to allow for the Ethernet cables to run down an exterior wall. That opening needed to be enlarged so that it extended from one ceiling joist to the other. This was necessary so that the patch piece I would fit into it had something to screw into.

Also notice the screws in the wall in the image above. Some are prefilled (covered in white mud) and others are not. The screws not prefilled are the additional screws I referred to earlier.
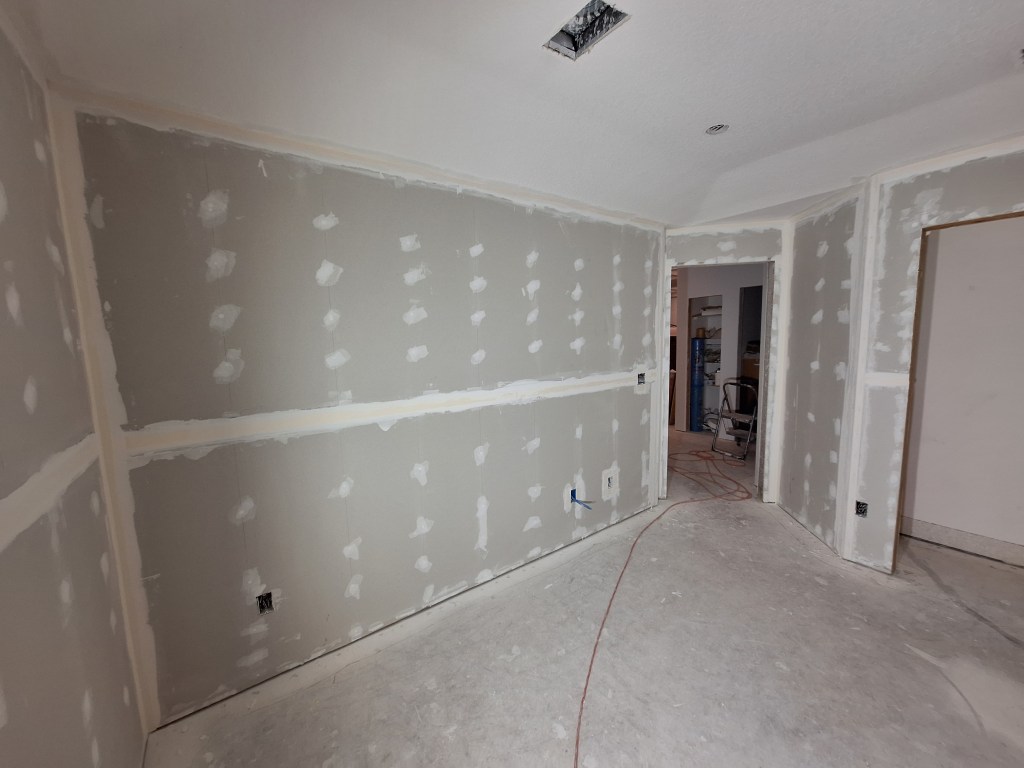
Below I show the drywall piece installed to patch the opening. I added a nailer between the joists so that I had something else to secure it to. Although I did not take a picture of it, you can see where it was placed by the series of screws that run horizontally. This patch is well secured in place.

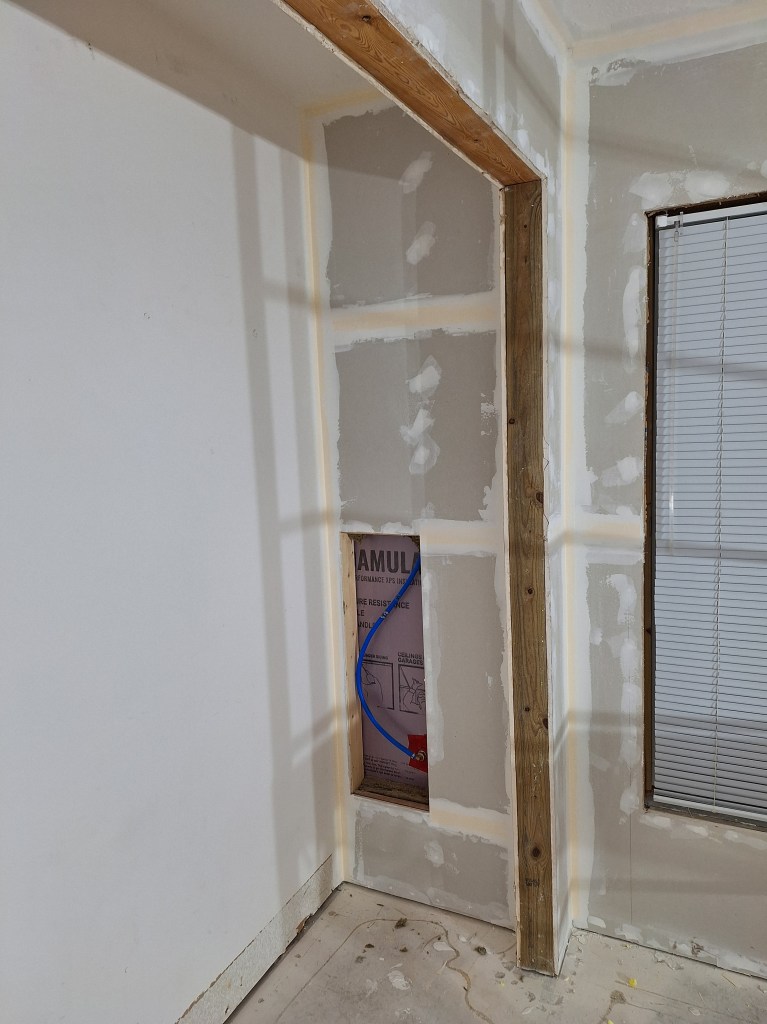
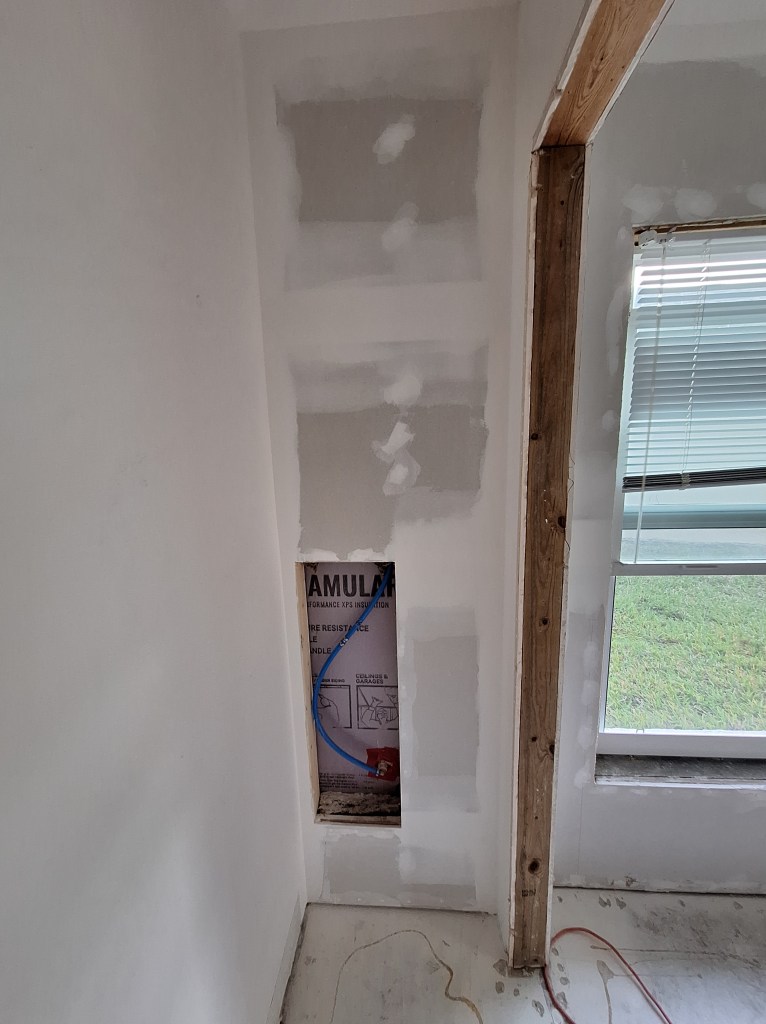
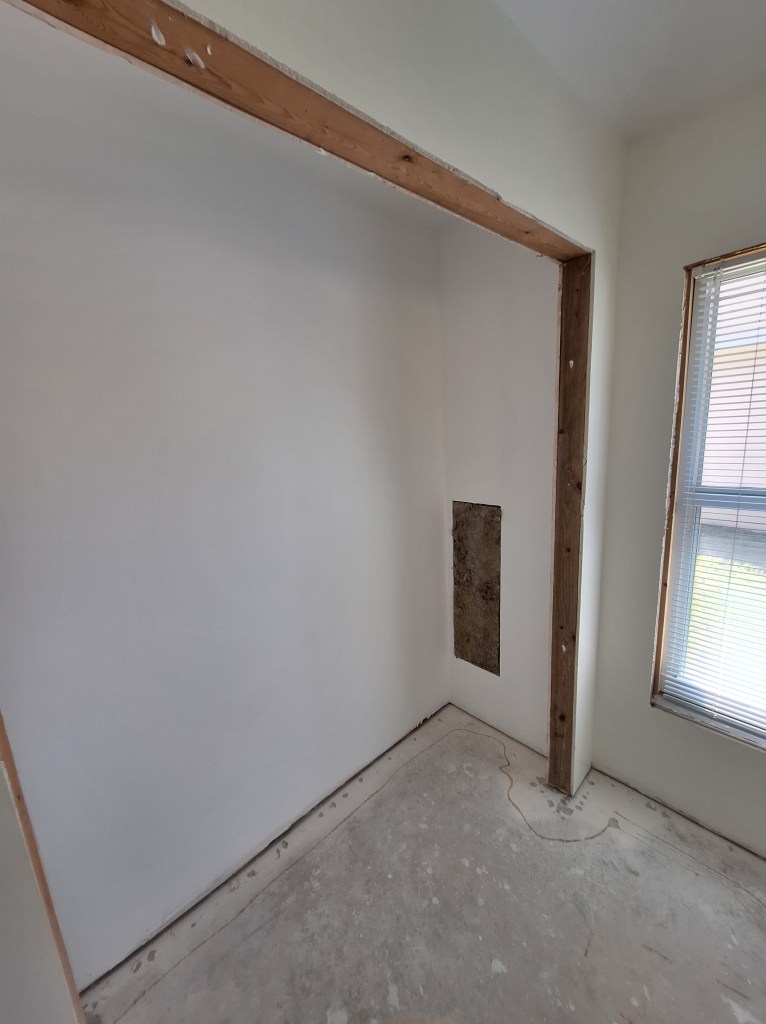
The closet also required some preparatory work. The exterior wall had be opened up so that I could run a water line to the spigot on the exterior of the west wall. After that was done, I framed that area but had yet to insulate and hang drywall. Here it is before the insulation and drywall were added.
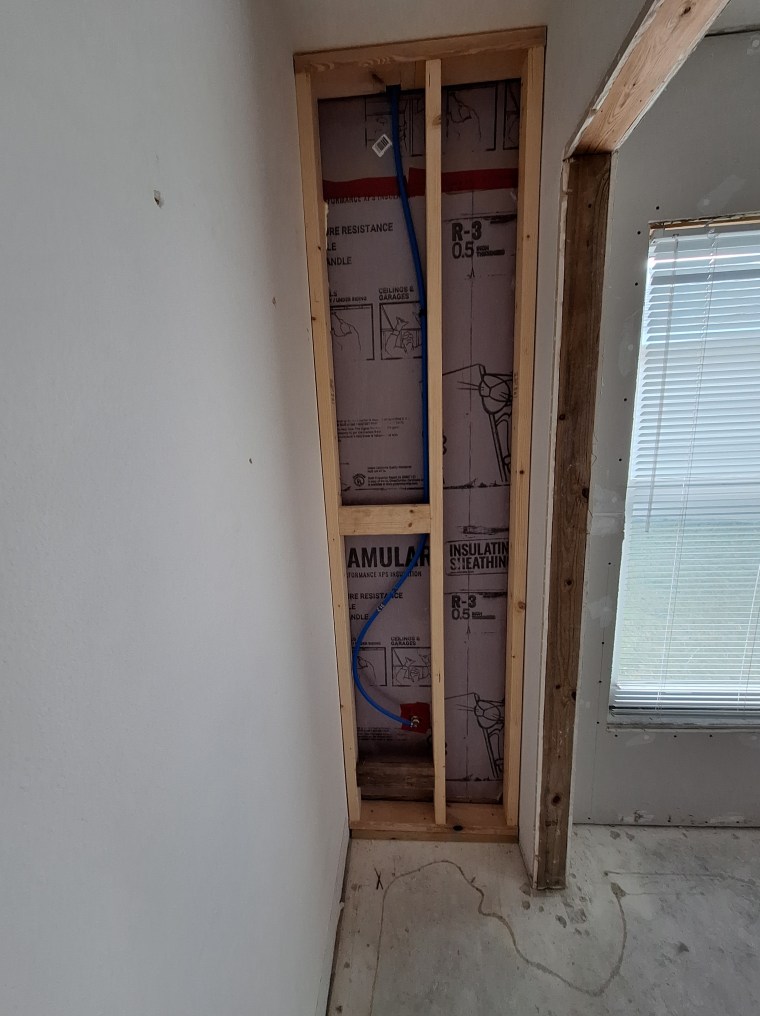
Above and below the opening to the spigot, I added some blocking because I intend to keep this area accessible by putting in a door.

I then added the required insulation.

The drywall was hung, leaving an opening for a door that will eventually be installed.
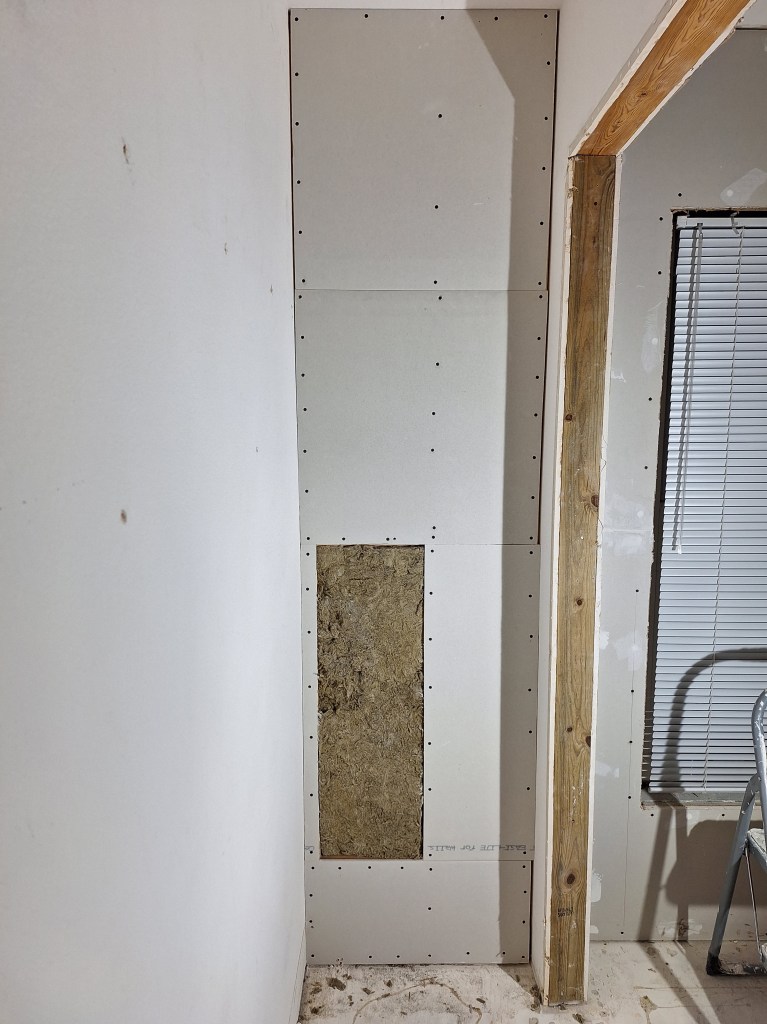
I used off-cuts for this area. I have so many off-cuts that I was happy to be able to use some of them. Using off-cuts will mean I have more taping to do, but I’m happy to do it to avoid waste. Also of note, the insulation you see in the opening is one piece, so should I need to get access to the water line, I can simply pull out that piece of insulation without it impacting the other parts.
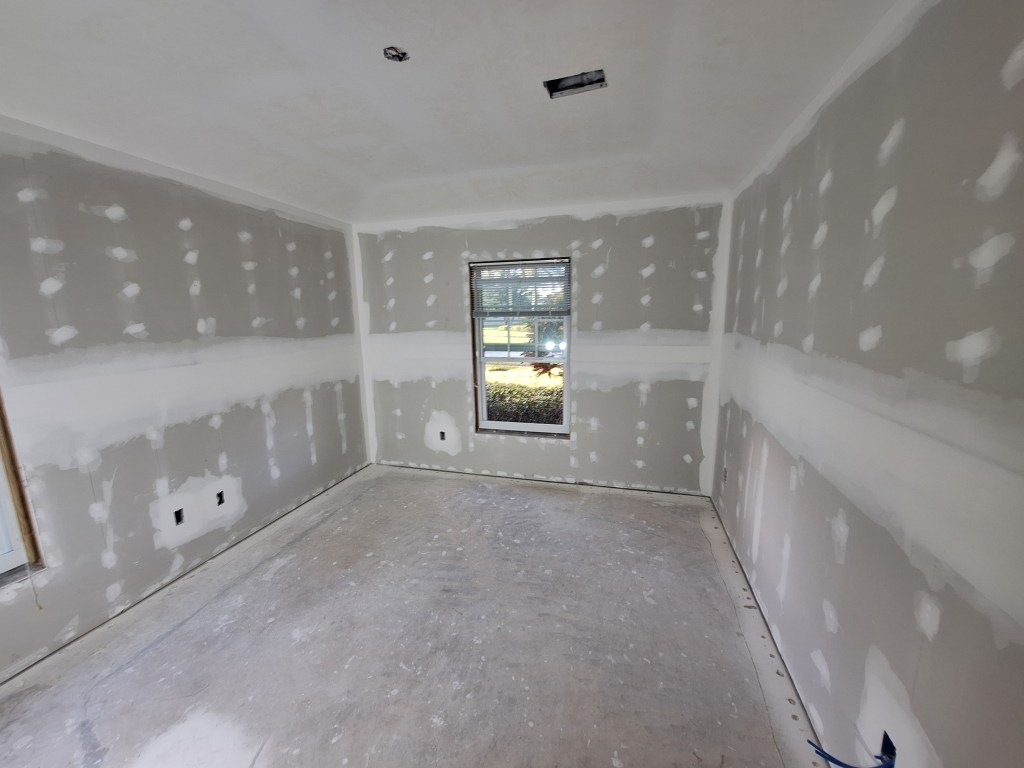
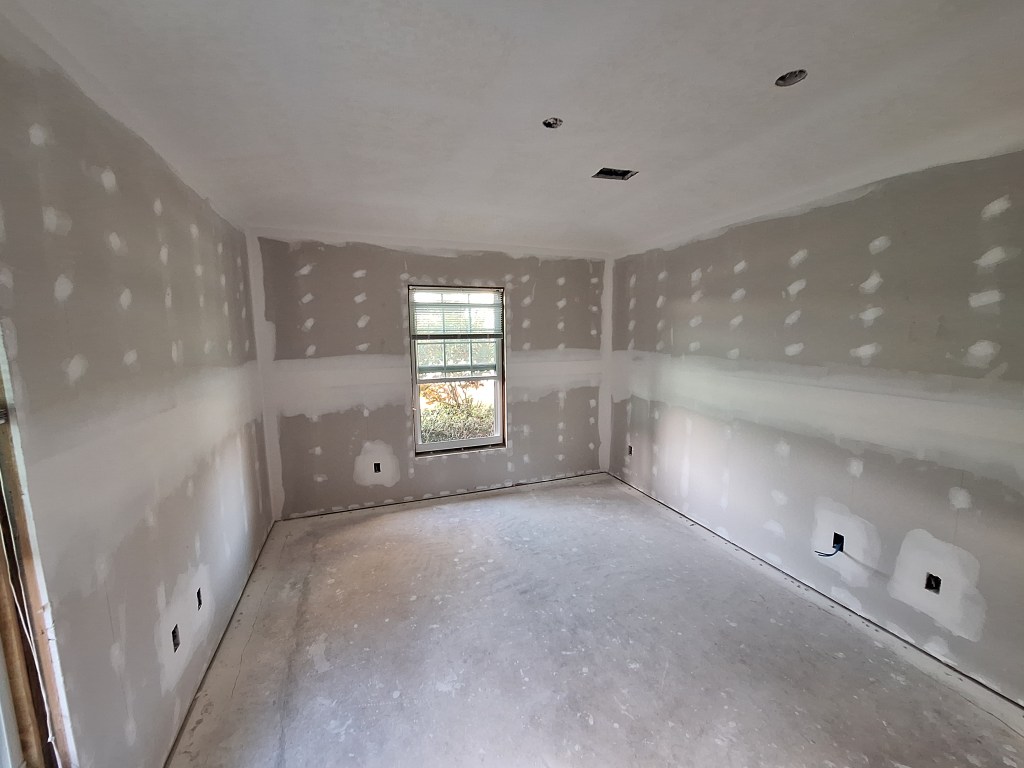
As expected, the inspection went without issue, so it was time to finish the prefilling I started long ago. Here are the pics.
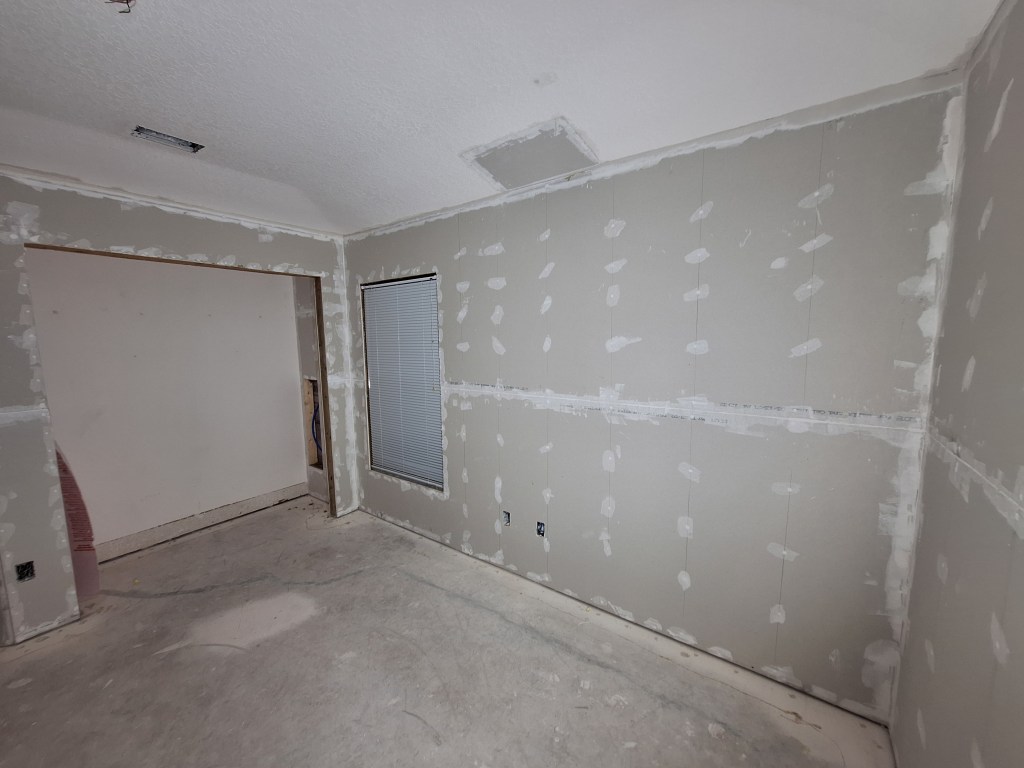

After prefill comes taping.
Note that I also taped around most of the outlet boxes. I did this to tighten them up a bit. In the workshop I didn’t do this, so there was one where the face plate only just covered the opening.

After a relatively quick sanding, I applied the first cover coat over the tape. I used the lightweight Plus-3 mud for the walls, but used the heavier all-purpose mud for the first coating of the ceiling. Since the first coating of the ceiling is over painted knockdown texture, the heavier mud provides greater adhesion. In subsequent coats of the ceiling, I switch to the lightweight mud.


Here is a closeup of the ceiling patch. It won’t be long before it is no longer visible.

After sanding the first cover coat, I applied the second one, extending the coverage a bit more.
Notice how you can’t really make out the ceiling patch anymore. In fact, I forgot about it while I was sanding in preparation for the first skim coating.
In case you were wondering about the exterior wall in the closet, here it is after the second cover coat.
After the requisite sanding, I applied the first of two skim coats. I started with the ceiling. This was the third coating of the ceiling (initial cover coat, followed by two skims), so it was the last one for it, but the first skim coating of the walls.
I also skimmed the back wall of the closet. The closet walls are textured (orange peel) and I wasn’t originally going to do anything to them, but I decided to skim the back wall since it is seen and adjacent to the exterior wall which I am also skimming. The other walls in the closet were left alone. I saw no benefit it skimming them to cover up the texture since they will never be seen. They will, however, be painted.


After another sanding, I applied the second skim coat.


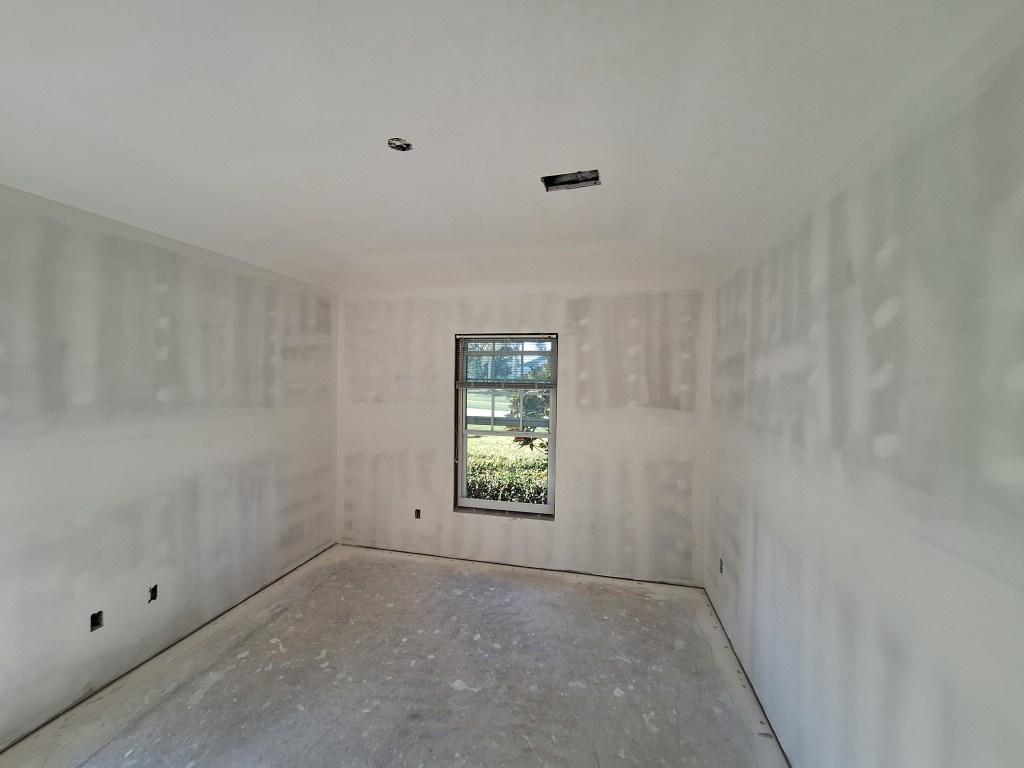
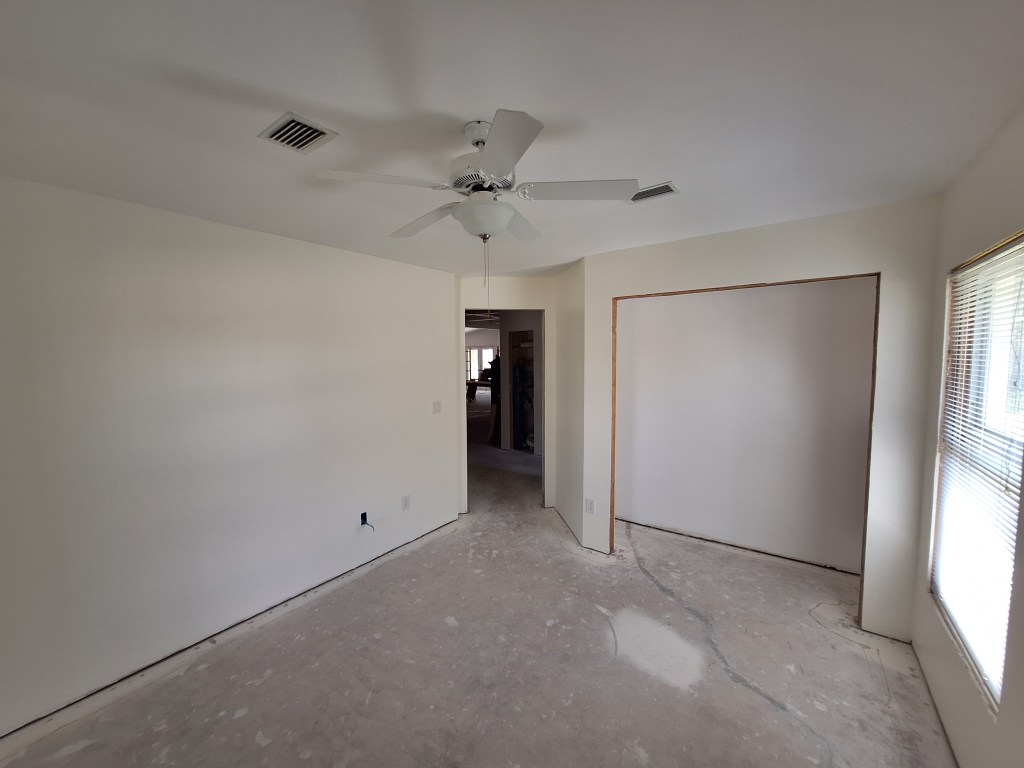
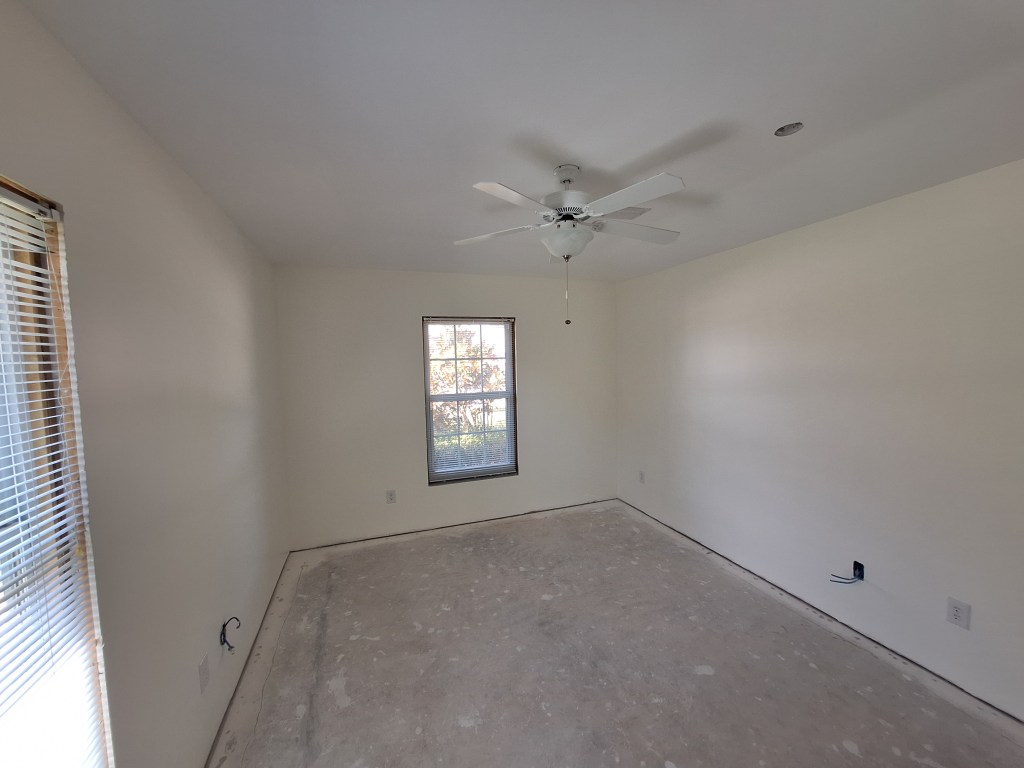
After yet another sanding it was finally time to paint. As usual I start with a coat of primer to all surfaces before tackling the ceiling, which I paint with two coats of white ceiling paint. After that I applied two coats of Behr Dynasty – Beach House paint. As with the workshop (previous post) I was experimenting with the paint color. I felt the workshop was not quite what I wanted, so I went for something that was a bit more creamy. The Beach House paint was okay, but had a more yellow tones than I wanted. It’s amazing how difficult it is to pick a color using only the small swatches you get. I think it will be fine for this room, and I may use it again in the master bathroom, but I’ll be trying something else when I paint the guest bedroom (next post). Here are the results.

I painted the closet using the same paint I used for the ceiling.
As you can see, I also added the outlets, switches, the light/fan, and the A/C grates. I did not do anything with the Ethernet lines. That is something I’ll get to when I ready to hook all that up. So I’m done with this room for now. Next, I will move the contents from the guest bedroom into this room so that I can paint it. I’ll cover that in the next post.
