Moving In – October/November 2025

Following the installation of the stainless steel backsplash in the kitchen, the house was in a state where I could move in. Obviously there was still a lot to do, but all the things I needed to function were in place. I would spend most of my time preparing for the move. This meant a ton of sorting and purging, and eventually cleaning in preparation for moving the furniture from my apartment. In this post, I do not intend to cover that part of the process. Instead I will focus on the other things I attended to in between those activities.

One of the first things I did was to acquire a vanity for the guest bathroom.

Vanity Set in Place
Vanity Set in Place

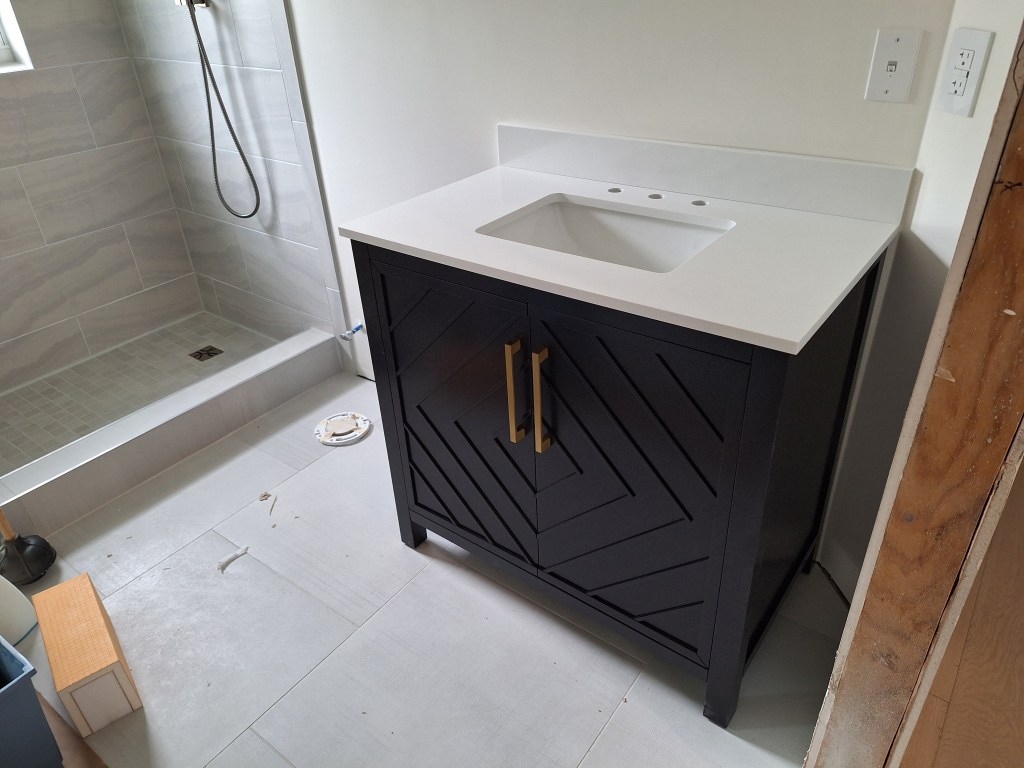
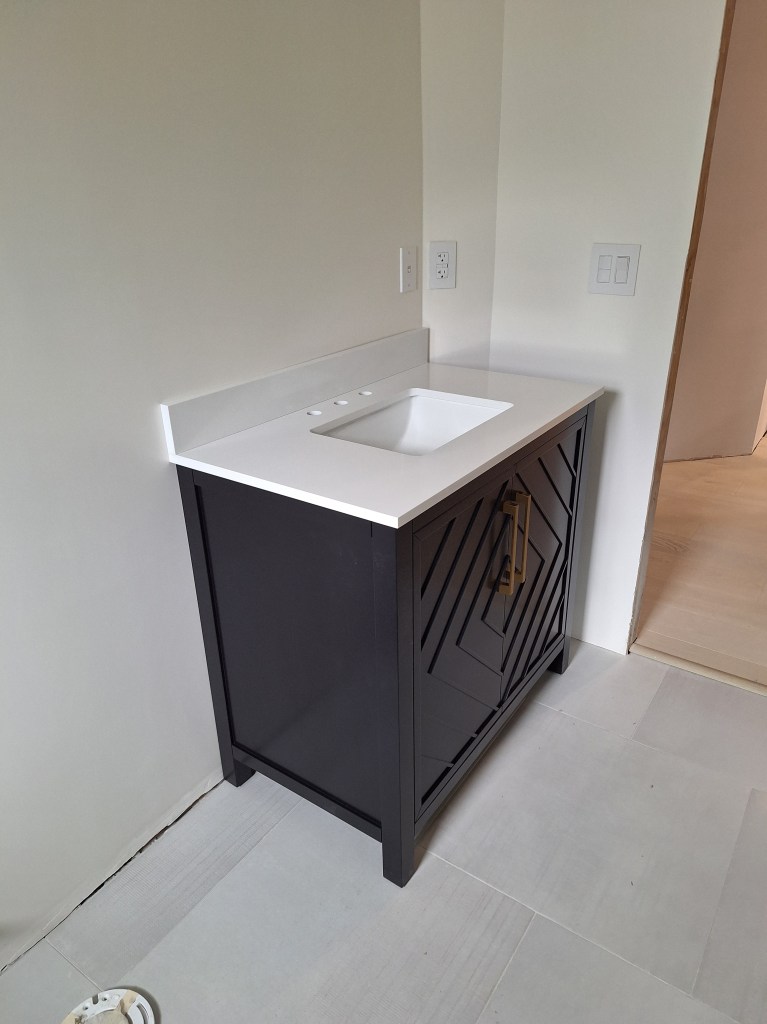
As you can see, I opted for a free standing unit. The vanity you see above is simply placed where I want it. It has not been secured in these pictures because other things in the bathroom need to be installed before I secure it (like the baseboards). I will be replacing the door handles on the vanity to match the other hardware in this room. These handles are what came with the unit.

Another thing I attended to was getting a console table for the foyer. I found something online that I thought looked pretty good, so I ordered it and assembled it.

Console Table for Foyer (first attempt)

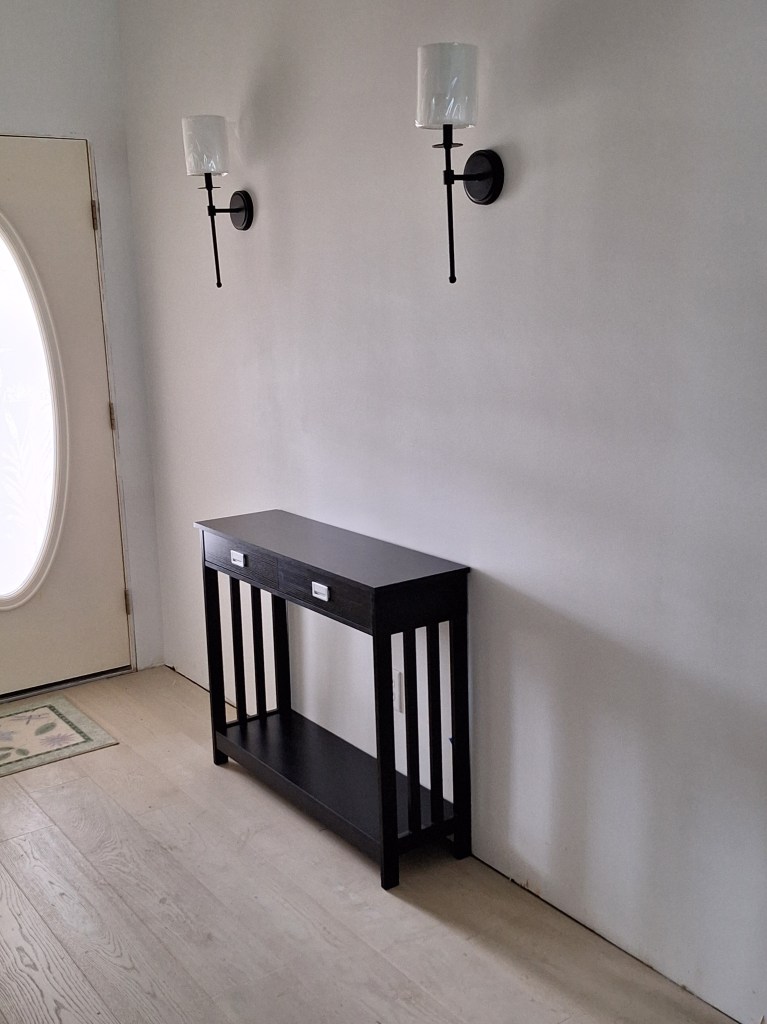
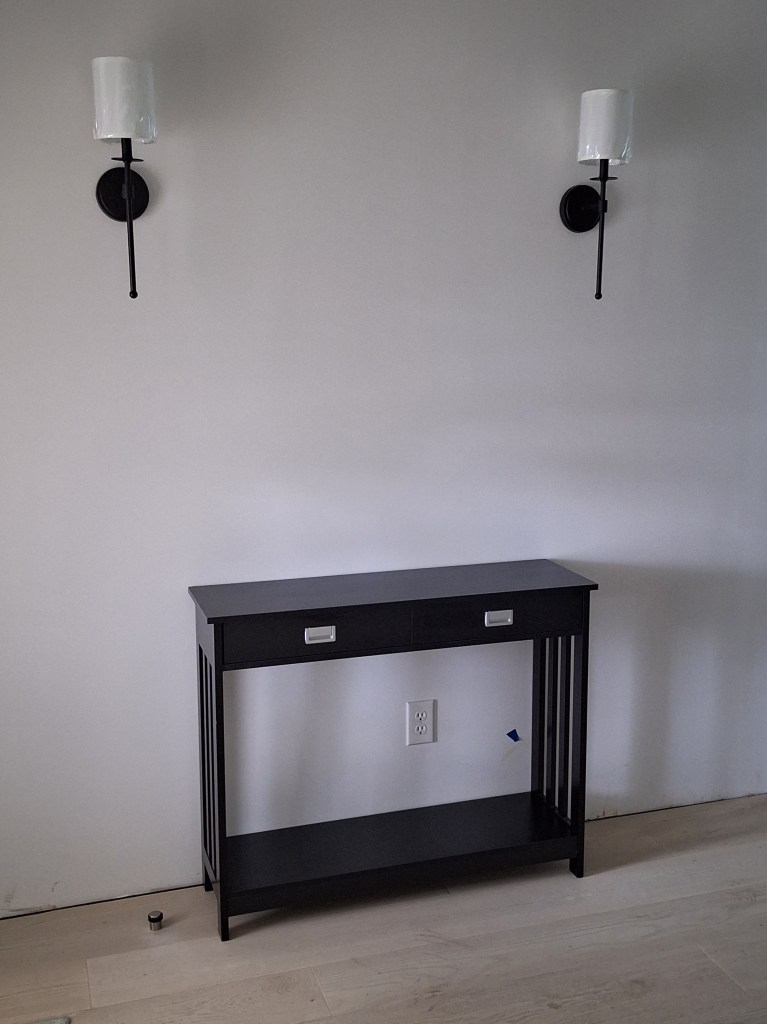
Although I liked the style, I thought it looked a bit small for the space, so decided not to use it there. However, I got the idea that it might work well in the kitchen at the end of the island as you enter from the garage.

Console Table in Kitchen
Console Table in Kitchen – drawer open.
Console Table in Kitchen

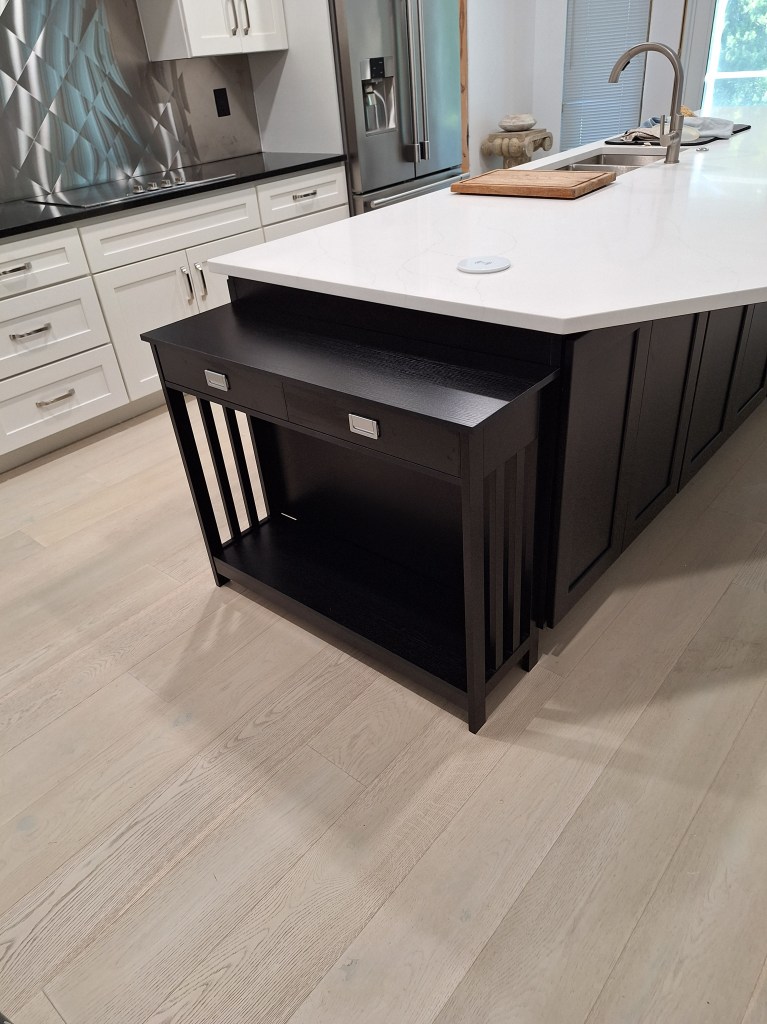
I was very pleased with this arrangement. I will be entering the house mainly from the garage, so when I do this will be where my keys will go, along with any other things that one typically places on the counter as you come and go. This provides a very nice landing zone, keeping the counter free.

Of course, I still needed something for the foyer. Then it occurred to me that I could use the table I’d previously used as a sofa table. I moved it into position and was immediately pleased with how it looked.

Console Table for Foyer (second attempt)

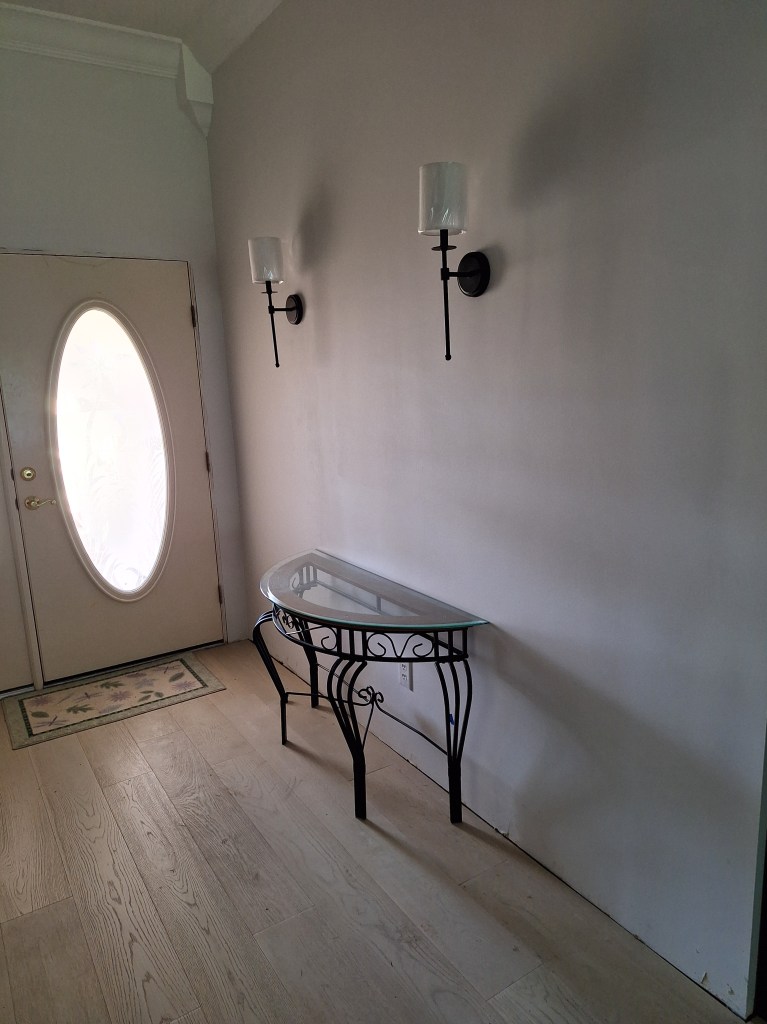
This is a bit more substantial and I like the combination of metal, wood, and glass. I added a mirror to complete it.

Foyer Mirror

The screening that encloses the lanai out back was in need of replacement. A couple of the screens had been missing for some time, so I decided to attend to that. I chose to outsource this work to make it quick, but I had to prepare for that first, which meant removing the existing screening so that I could wipe down the aluminum cage, which had a lot of mold built up on it from neglect. I also pressure washed the floor, which cleaned it up, but it needs a lot more attention and I have yet to decide what I am going to do there.

Removing the Old Screens

Here is a shot of the lanai after the old screens had been removed.

Original Screens Removed

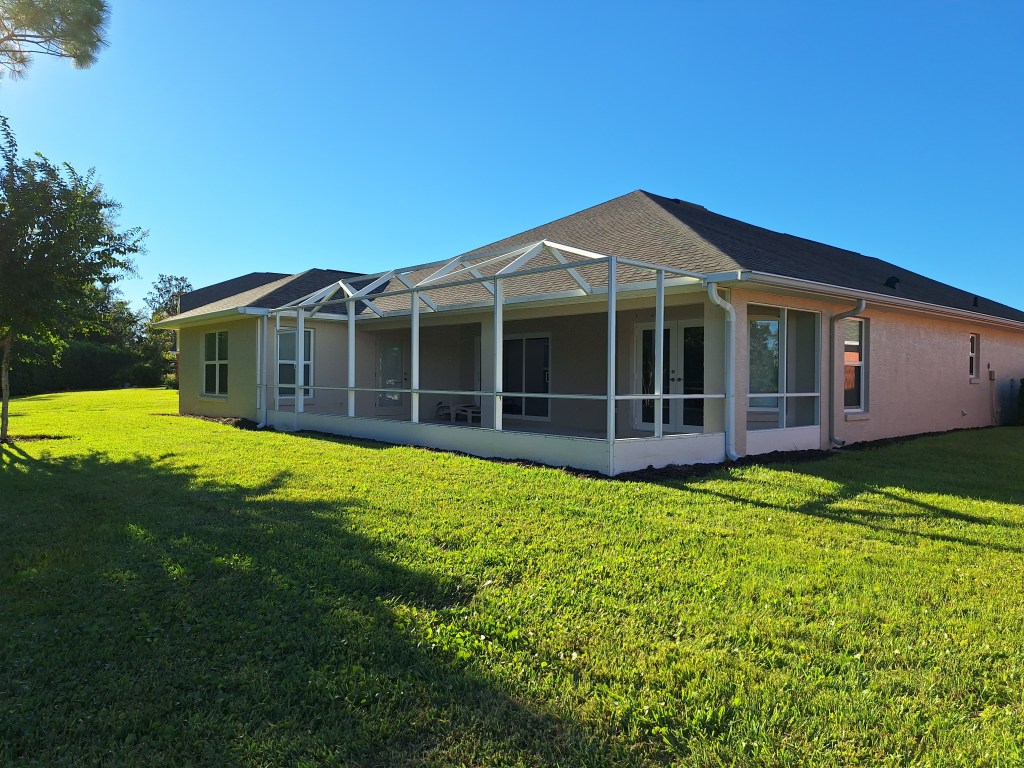
And here is a shot from the same angle with the new screens in place.

New Screens Installed

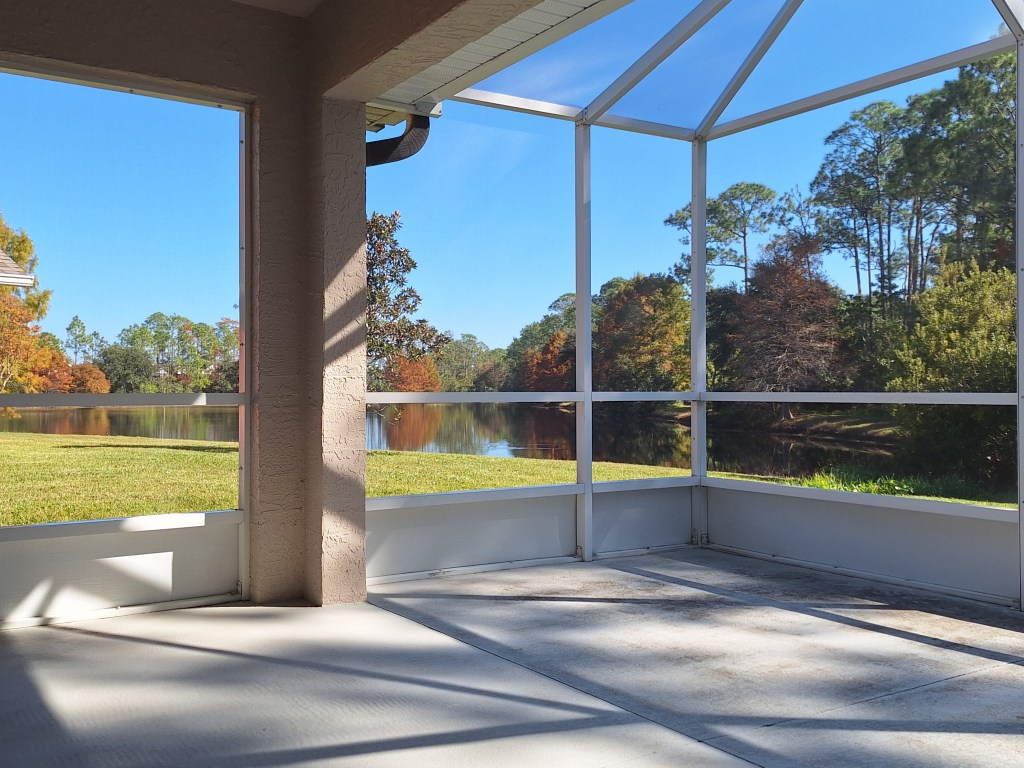
The new screening has smaller openings than the previous screening. This is supposed to keep out the tiniest of bugs (often called “no-see-ums”). It was a bit more expensive, but I thought it was worth it. I want to be able to keep the doors from the house to the lanai open during nice weather and don’t want to have to worry about bugs getting into the house. Another thing I did along this line was to use spray foam to fill voids at the joints in the aluminum framing. Even with the previous screening in tact, the little lizards had a way of getting in. Although they are harmless, I prefer they stay outside. Since doing this, I’ve not seen a single lizard, so I think it has been a success. And what a nice view I have.

View on a Sunny Day

I also put up my wind chimes, which have been sitting patiently collecting dust for years.

Wind Chimes Hung

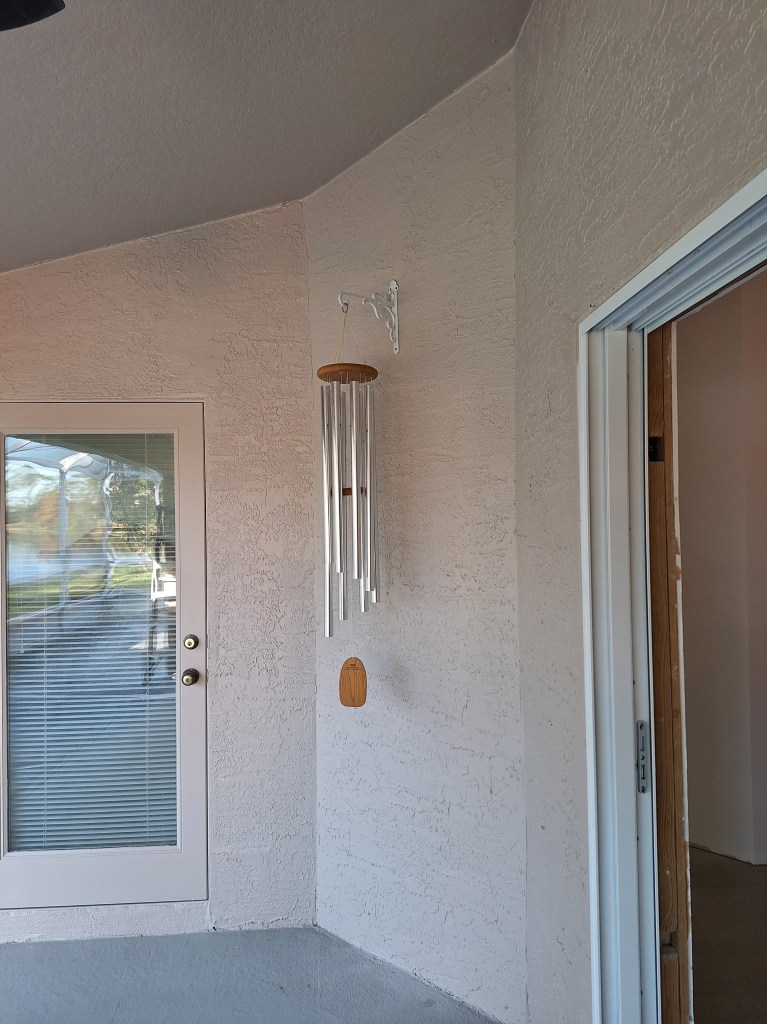
I like the look of the chimes, but positioned them in a protected location because they can get loud and I don’t want to disturb the neighbors.

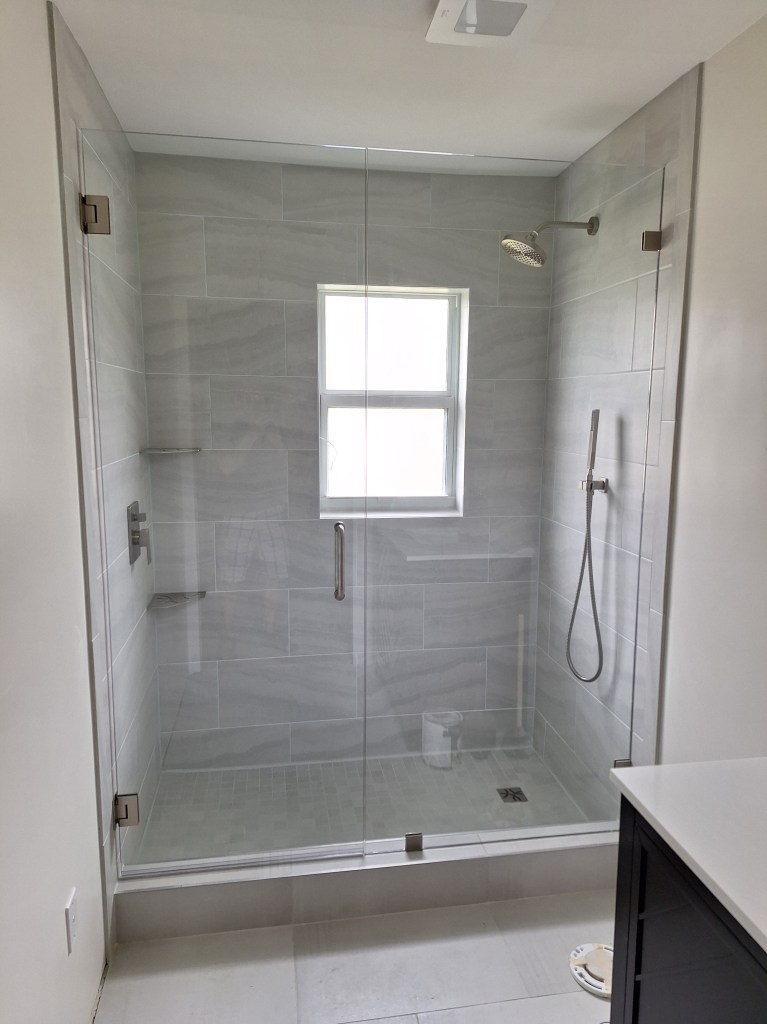
Although the guest bathroom won’t be fully functional until after I get the baseboards down (a prerequisite for the toilet and vanity installation), nothing was stopping me from getting the glass shower enclosure installed. I hired the same people that did the glass wall for the master shower. For this installation, though, I added a door, since the area is much smaller. I was happy with the result.

Glass Shower Enclosure

Another chore I attended to just before the movers arrived, was replacing the two overhead lights at the front entry to the house.

New Overhead Lights

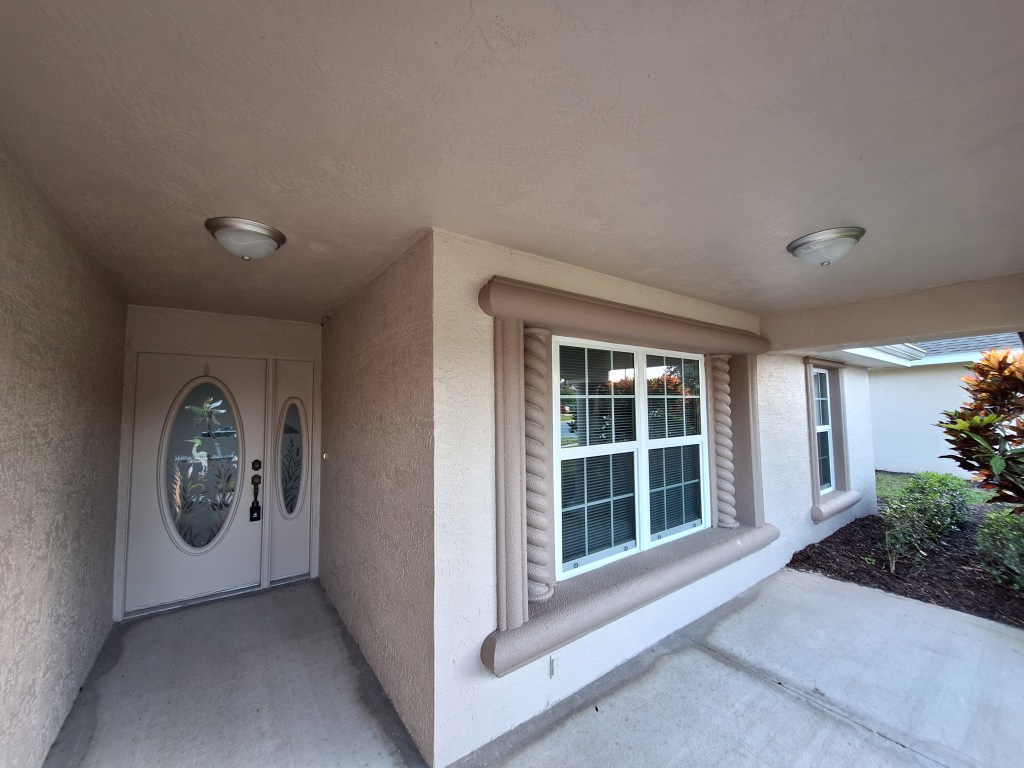
These fixtures are pretty simple. The original ones were looking a bit ragged, and I think these clean up the entryway nicely. Like the flooring in the lanai, I’ll do something with the entryway here. The bare concrete is not very nice.

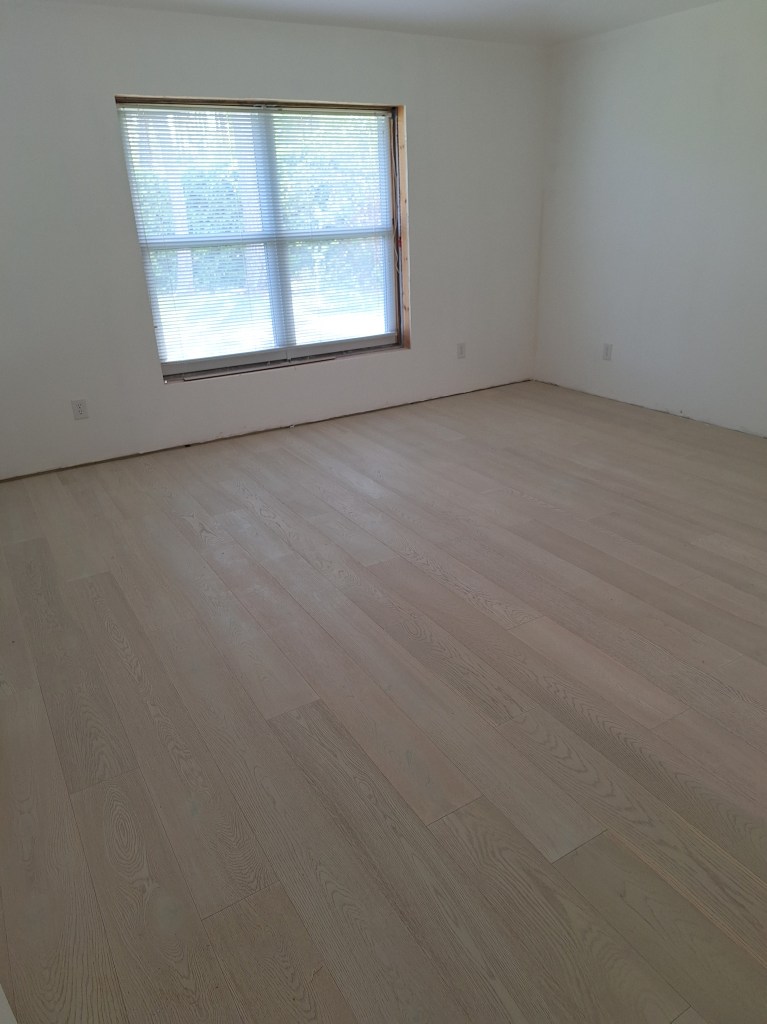
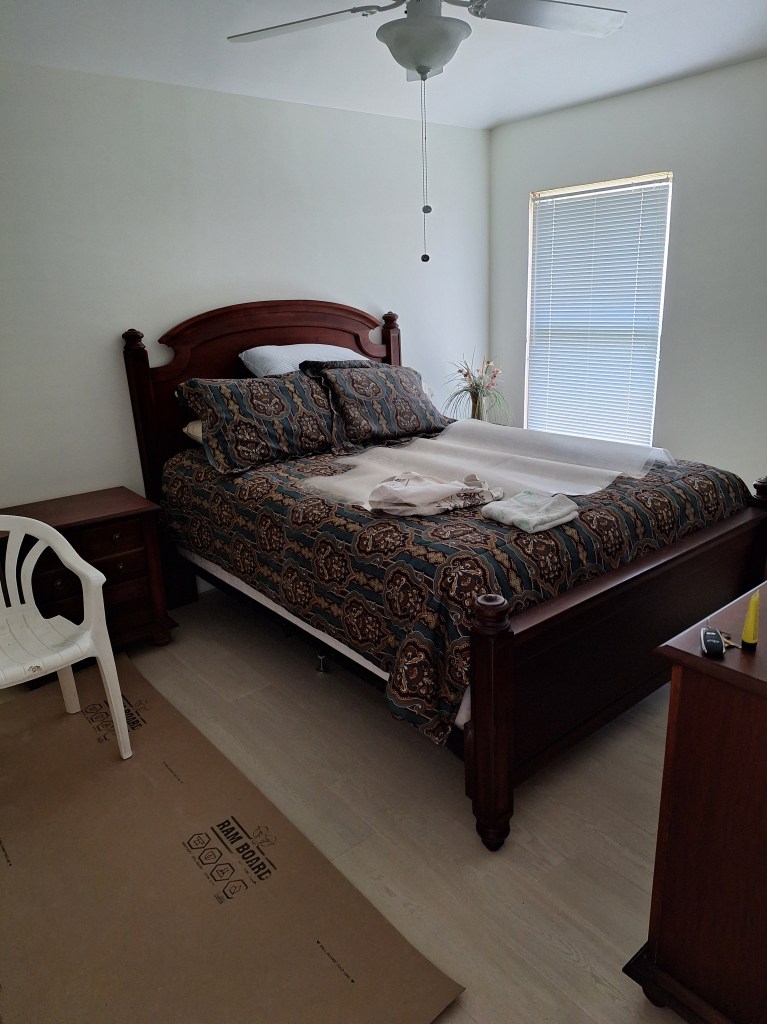
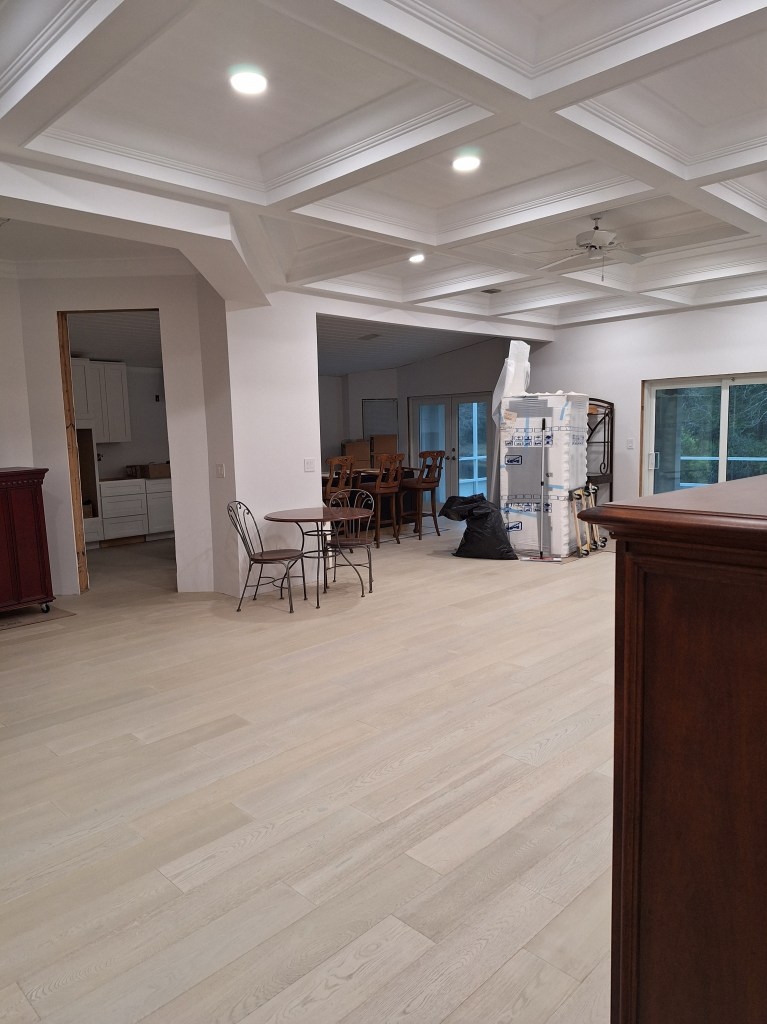
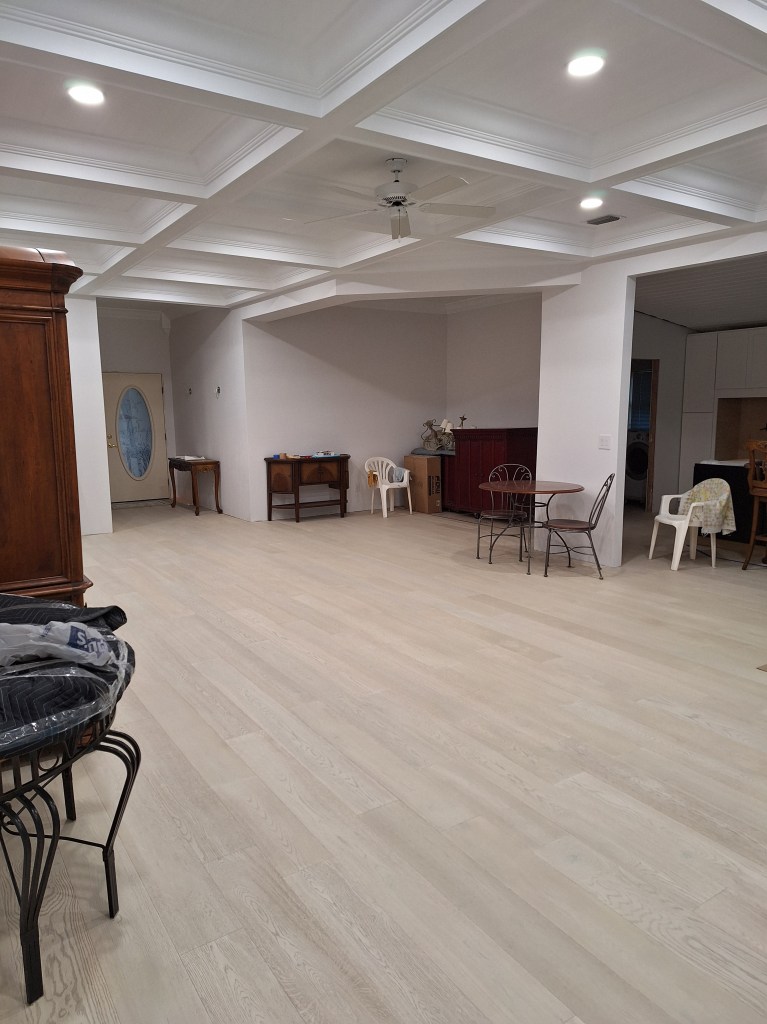
The actual move took place on November 10th. The weather was perfect. The movers were great and made quick work of it, leaving me to arrange things the way I wanted them. This is what I settled on.

From Master Bedroom
From Kitchen
Looking North
From Foyer

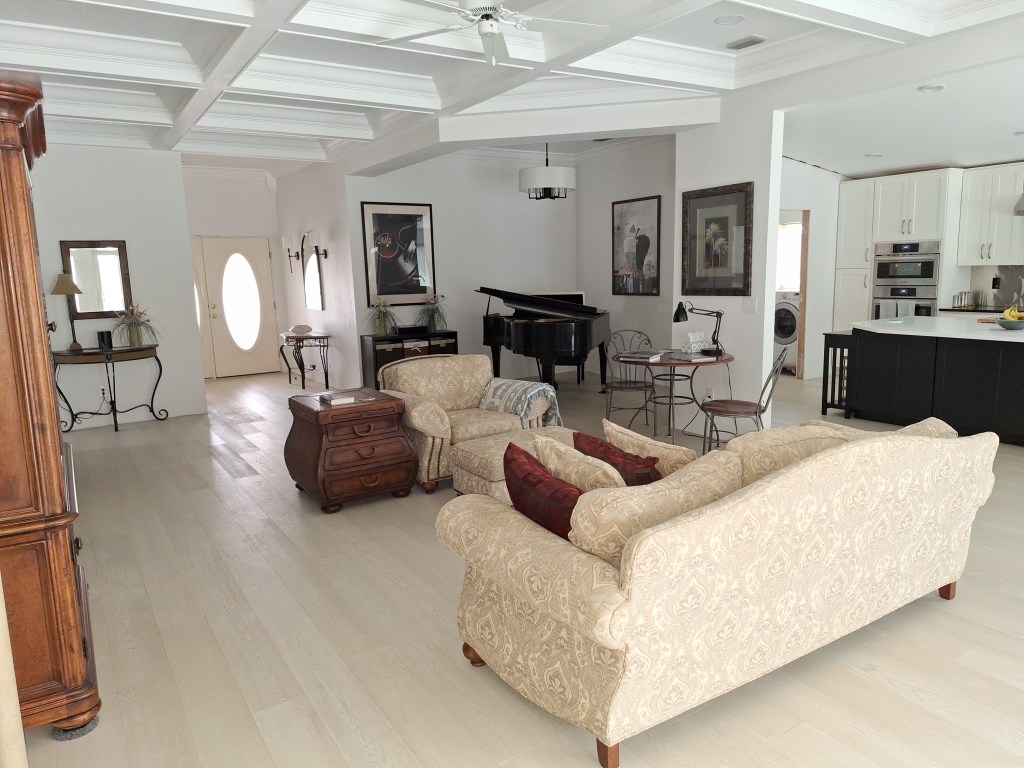
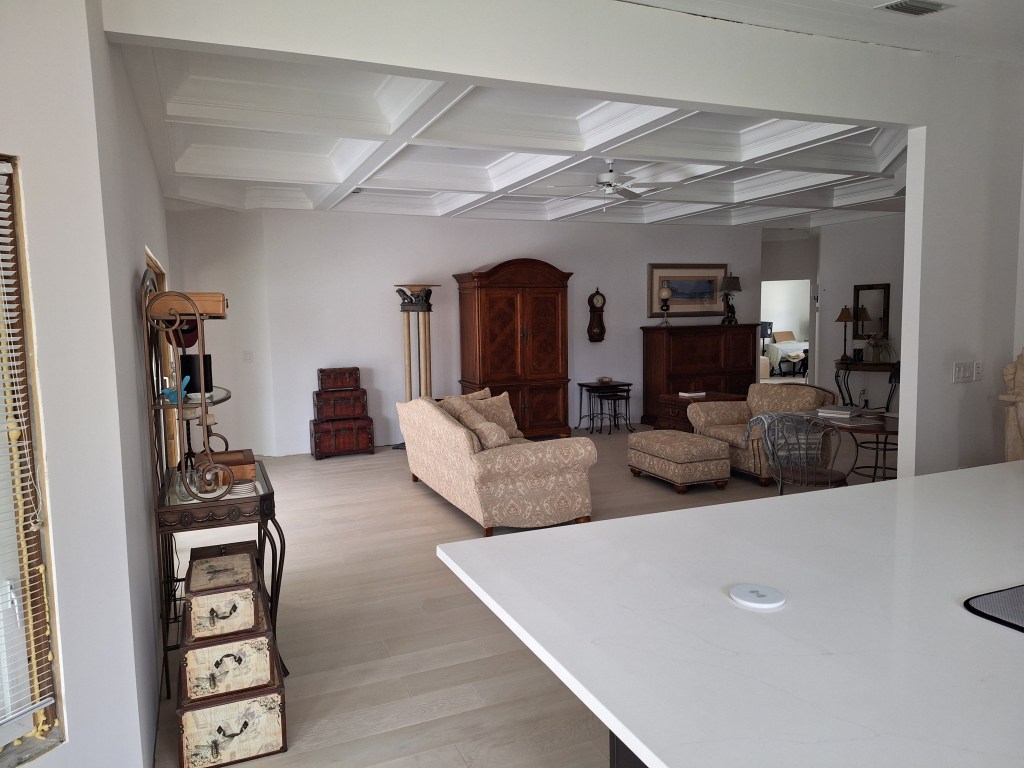
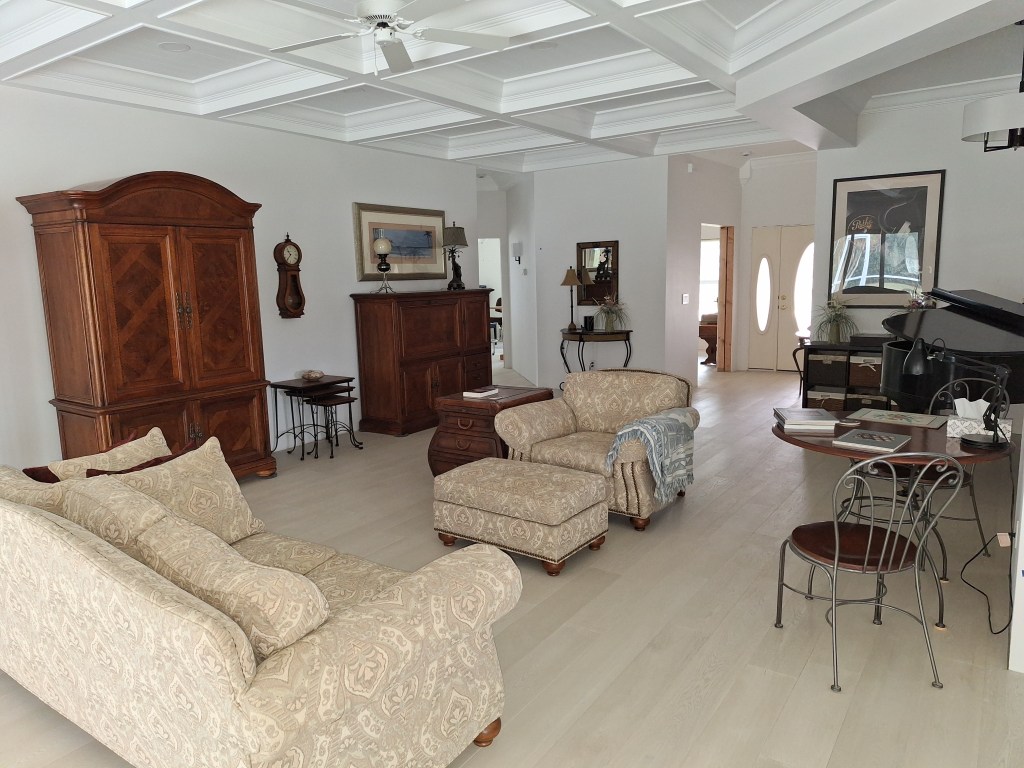
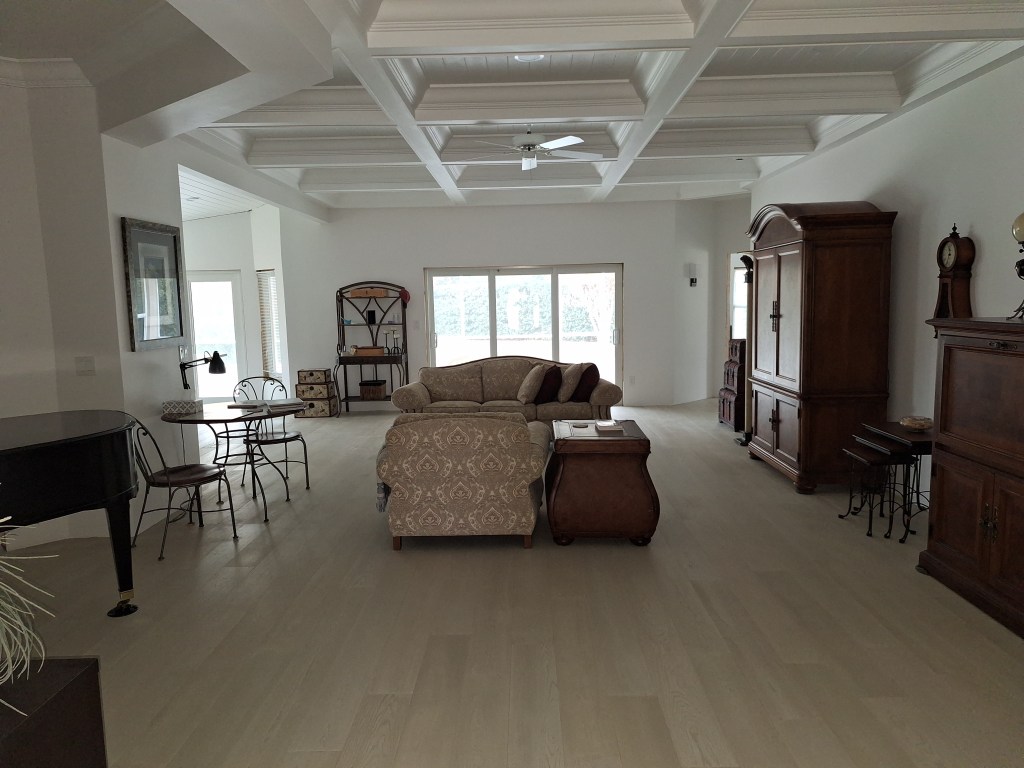
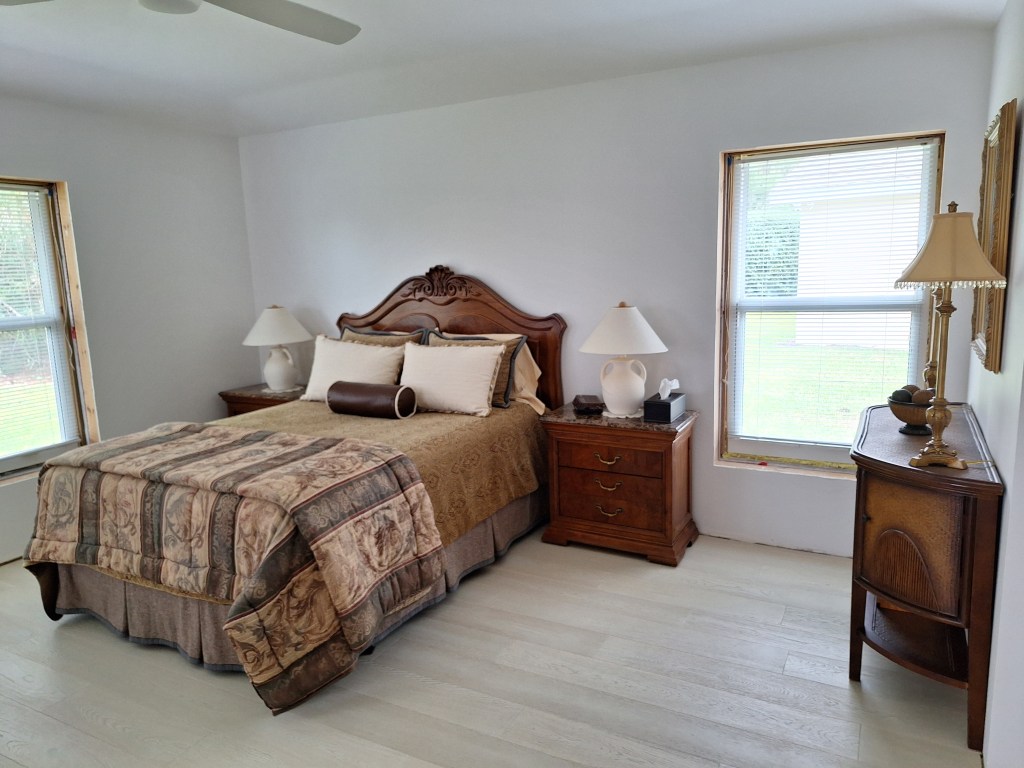
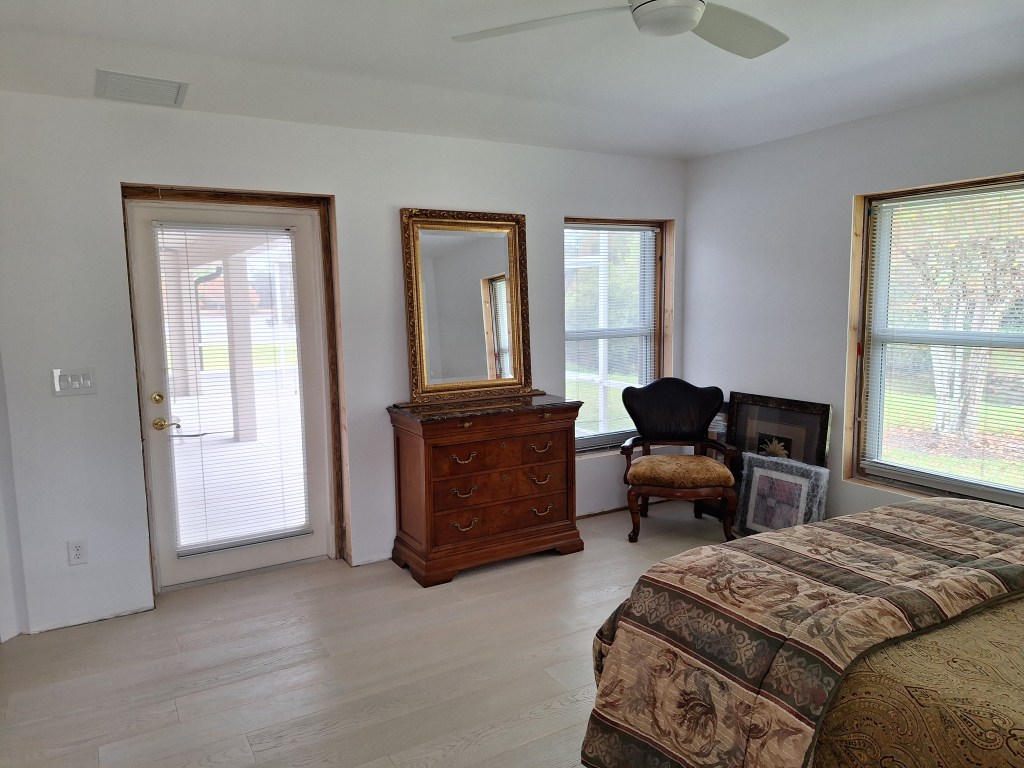
I was surprised with how my traditional furniture worked in this room. It was my plan to replace all this and move toward a more modern look, but after setting it up, I was pleasantly surprised with the look. I really like it, so will be keeping my existing furniture. I already intended to keep the bedroom set. I bought it ages ago and have always liked it.
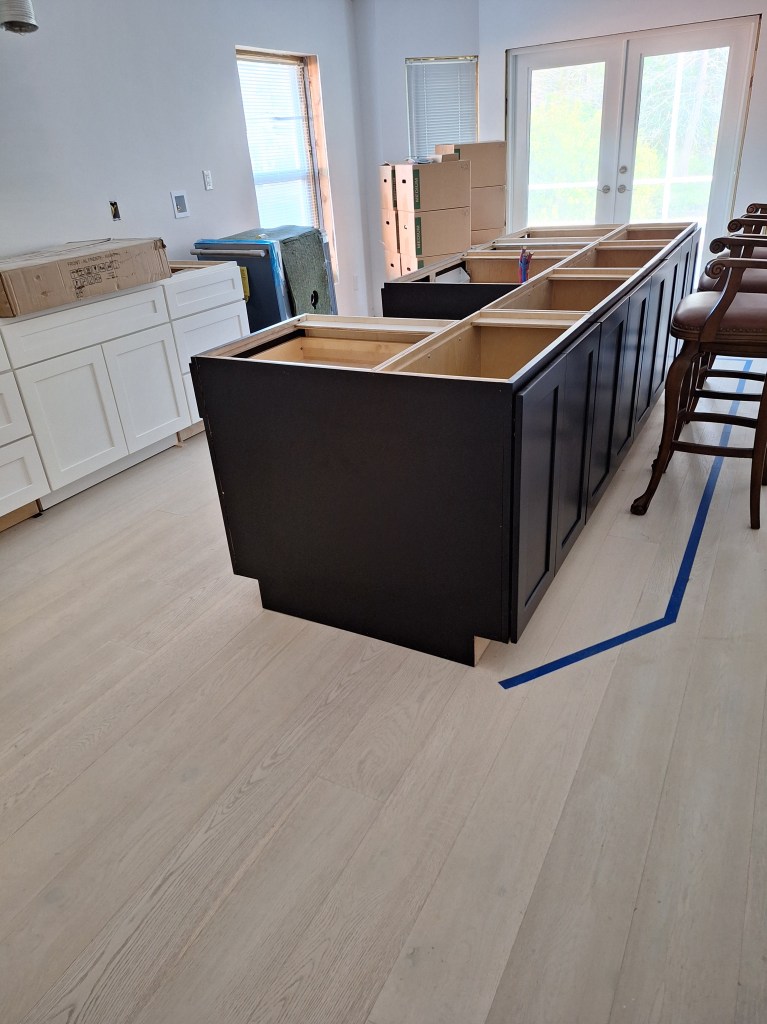
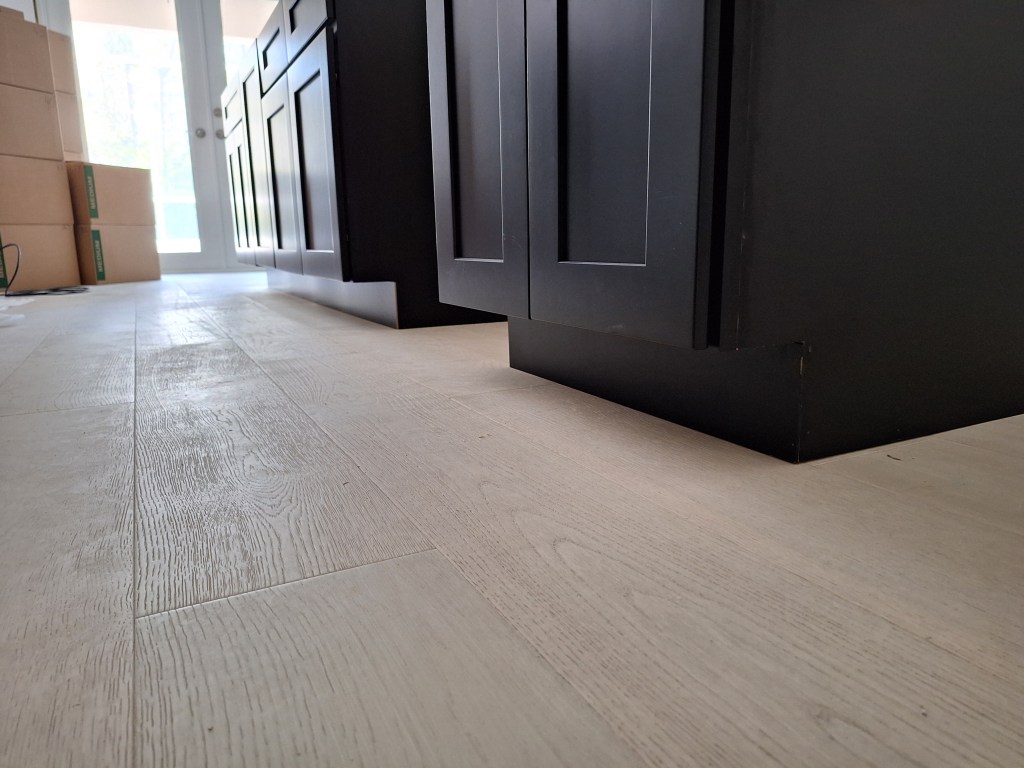
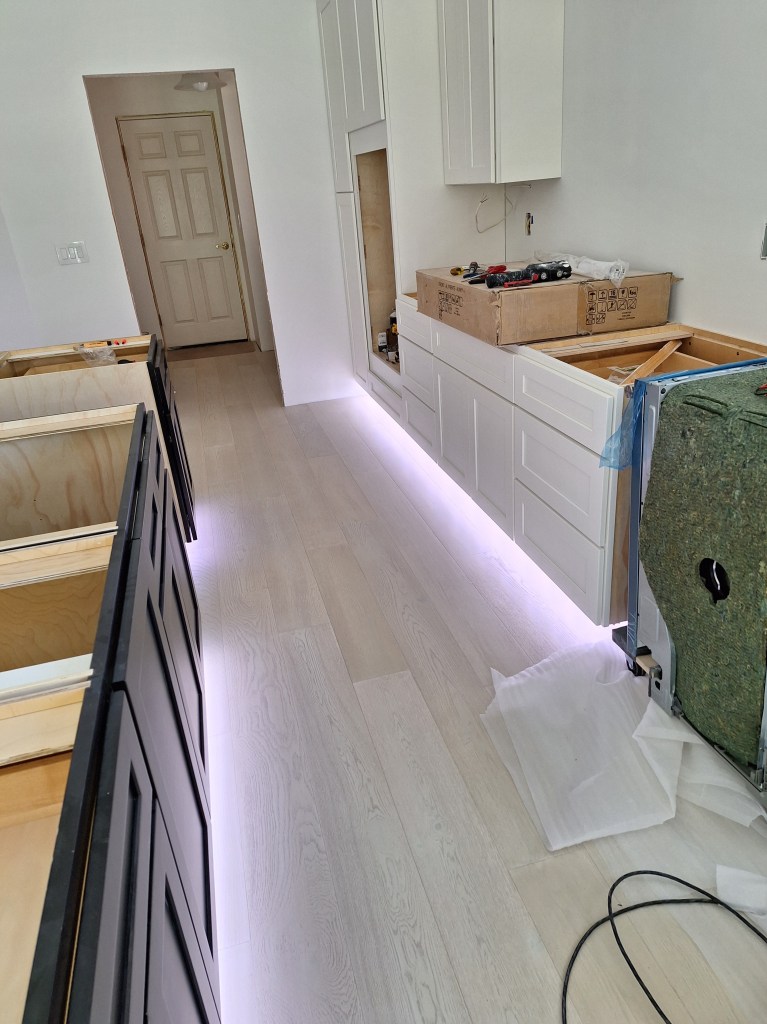
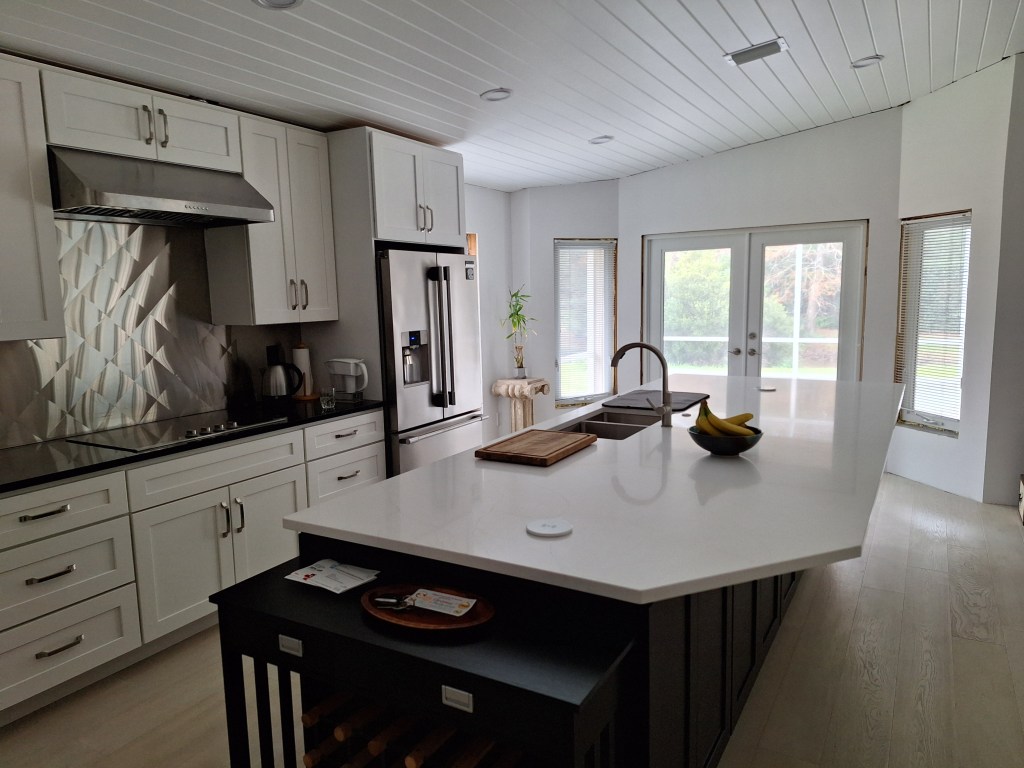
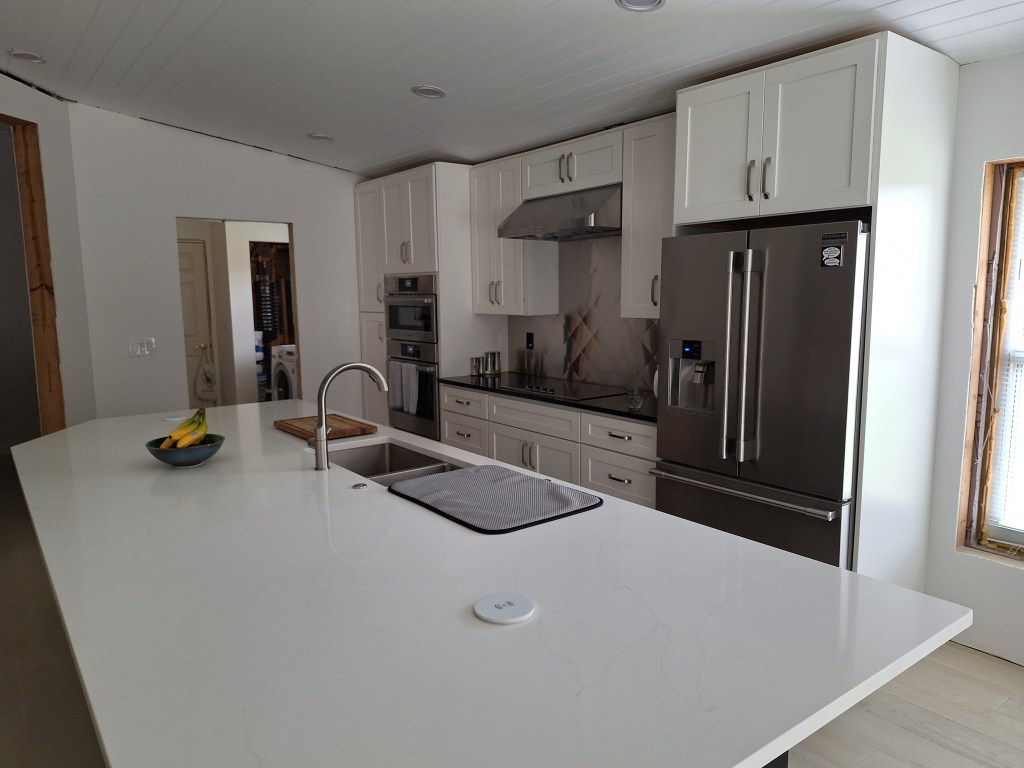
From Entry
Toward Lanai
Toward Great Room

Here’s the kitchen.

Toward Lanai
Toward Laundry Room

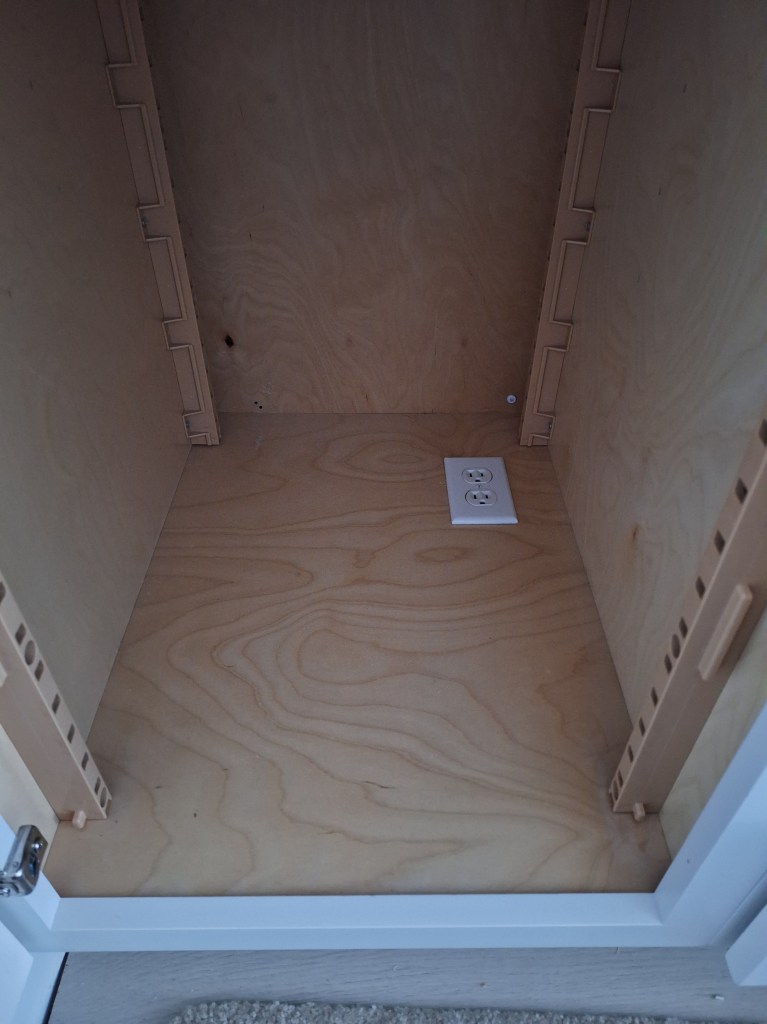
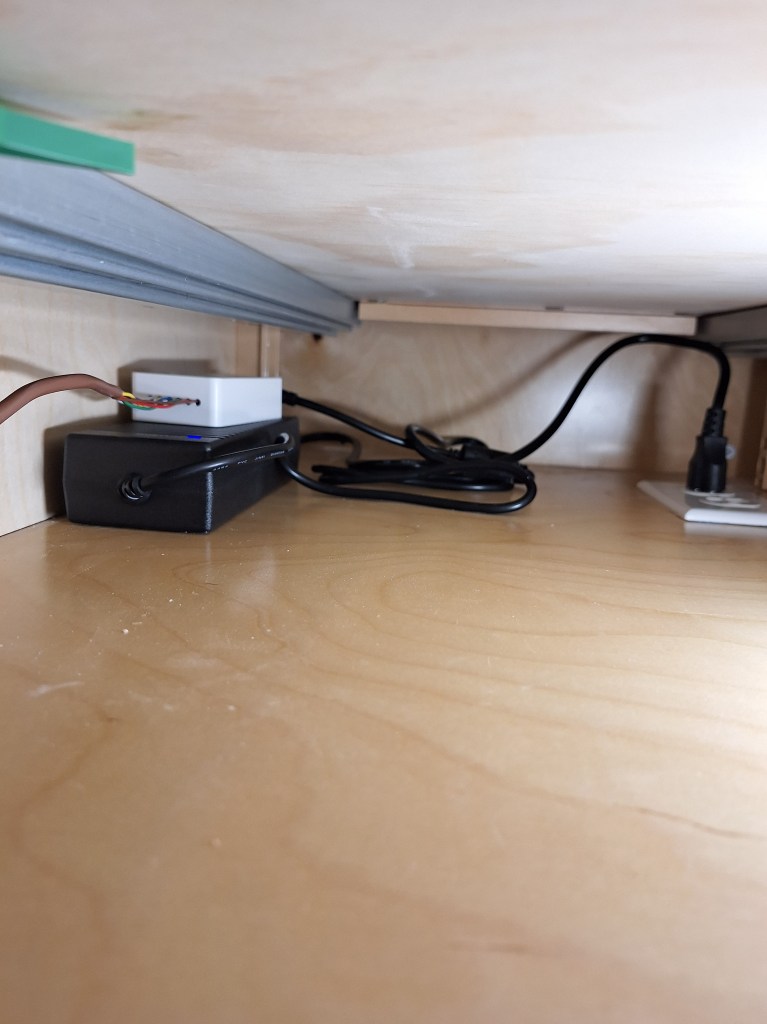
In my previous post, I showed a picture of the temporary rack I put in the laundry room to serve as storage until I built in cabinets and a bench. Here’s a reminder.

Temporary Rack – take 1

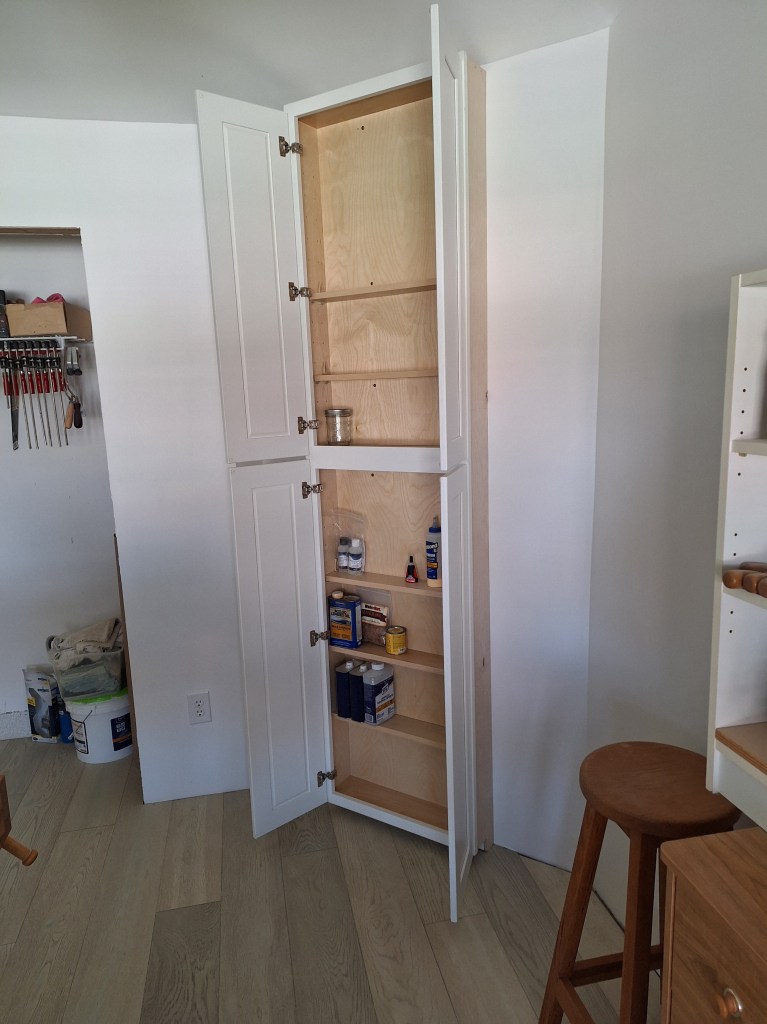
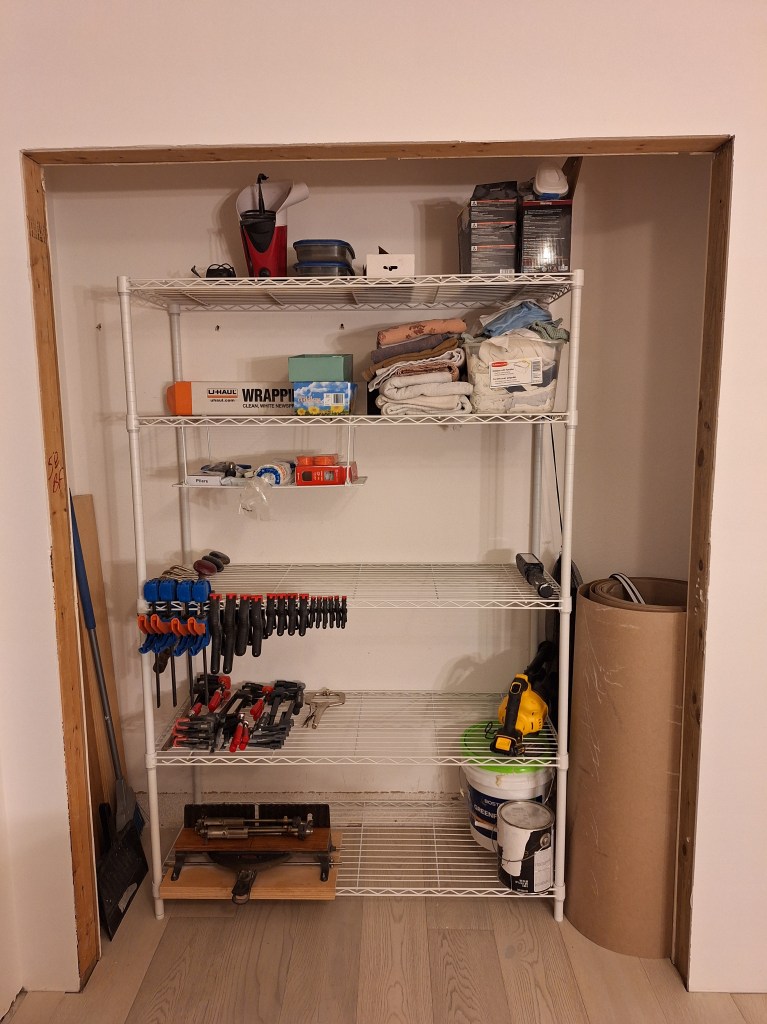
One evening while I was sitting peacefully in the living room, I heard a loud crash. I jumped up to investigate and discovered it was the shelf in the closet of the workshop. It came crashing down. I had been storing a lot of things on that shelf, including many clamps. I don’t have a proper picture of it, either before nor after, but here is one that will give you a small peek of it before it fell.

Peek at Closet Shelf on the Left

Fortunately, there was no real damage. I noticed a small ding in the flooring, but you had to really look to see it. After this, I decided that rather than put the shelf back up and ensure it was suitably secured, I would move the 5-tier rack from the laundry room into this space. I contemplated doing this when I first got the rack, thinking it would fit nicely here until I properly built out the closet, but decided it wasn’t needed. Ironic, eh?

5-tier Metal Rack Moved to Workshop Closet

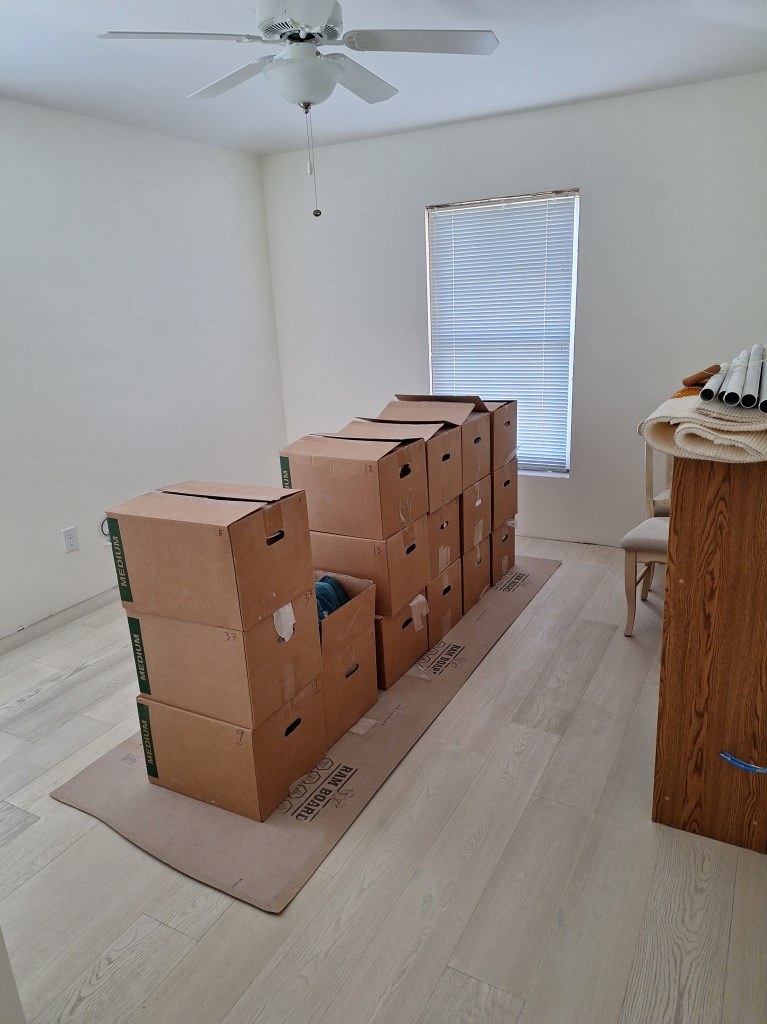
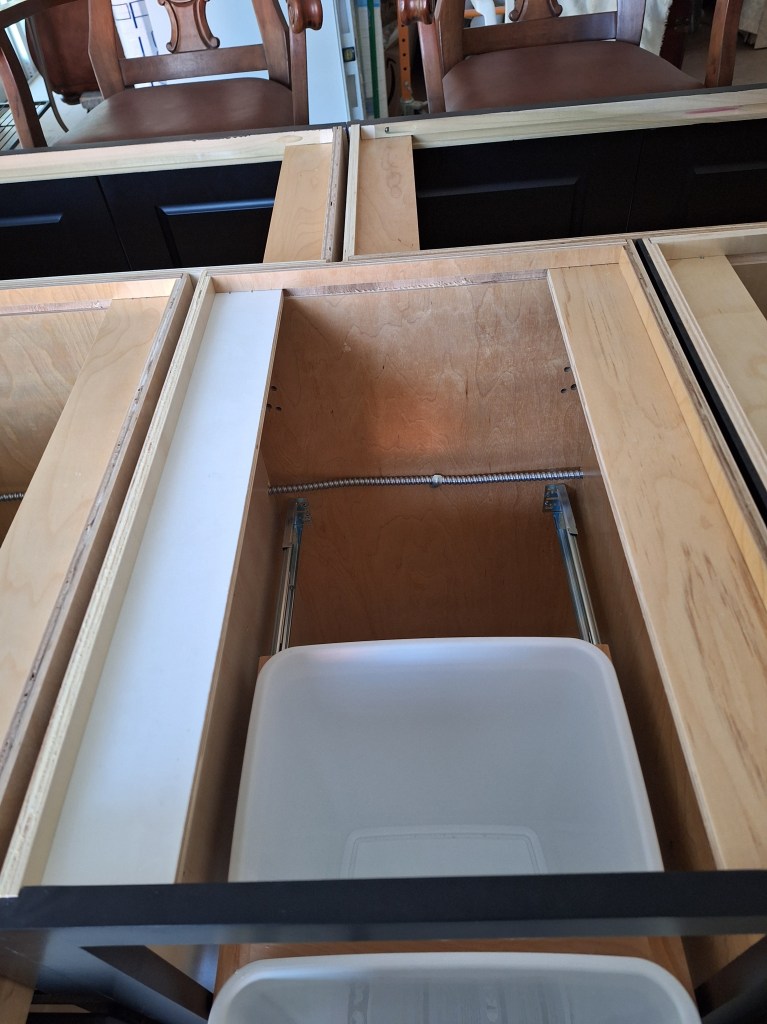
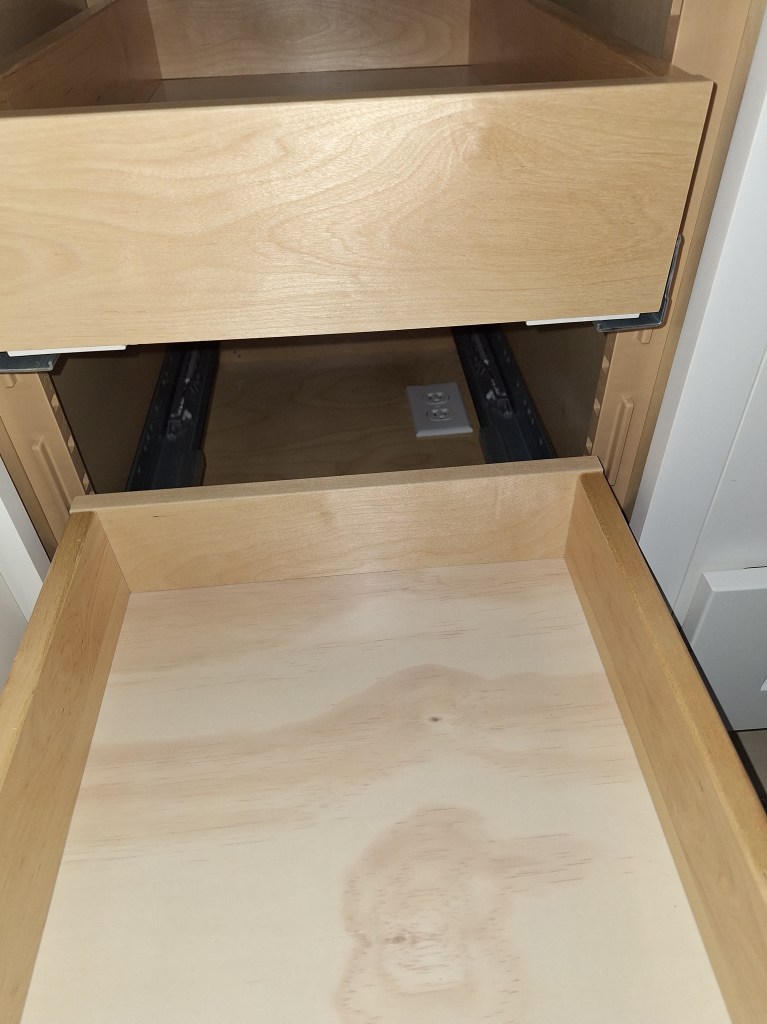
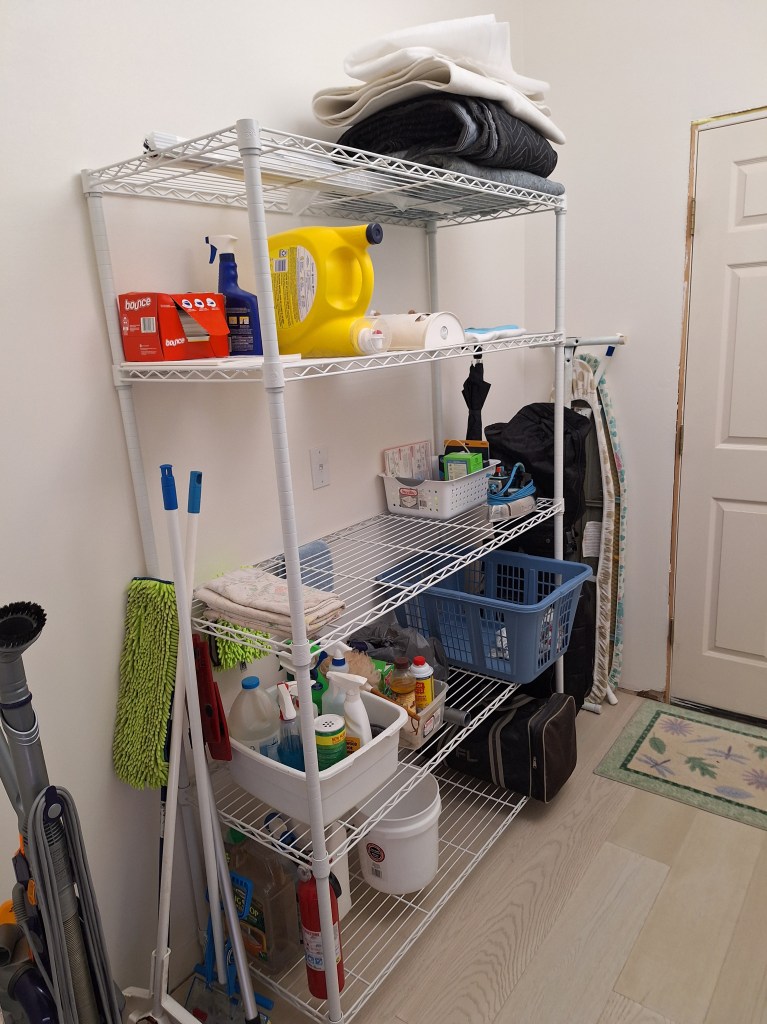
As you can see, I have plenty of extra storage space available, so that is a nice benefit. The rack in the laundry room was replaced with a slightly smaller one since I didn’t really need all the space the larger rack provided. This one is made of plastic rather than metal, which is fine since it would not be supporting anything very heavy. Here it is loaded up with what I had before.

New Rack for Laundry Room

I am now living comfortably in my new home and am really happy about that. It’s really pleasant, which is aided by the beautiful weather we’ve had since I moved in, allowing me to keep the slider in the living room open most of the day.

There is still a lot to do. None of the trim work is done. There are no interior doors, and the crown molding in the kitchen has yet to be done. I’m contemplating hiring out some of that work, but will decide on that later. With the holidays approaching, I’ll be doing quite of bit of traveling, so until the New Year I am just going to enjoy my new home and take it easy. I’ll get back to work next year.

To end this post I’ll leave you with a picture I took the morning of November 25th from the lanai. I don’t usually get up so early, but that day I woke up as the sun was about to make an appearance, so I captured it.

Sun Coming Up

Until next year…

Flooring Continued, Kitchen Electrical Work, and Painting the Master Bedroom – March 2025

At the end of the last post, the flooring installation was paused as I waited for the extra material to arrive so they could finish the job. Before that, they finished the master bedroom, which took two days, and then started on the office. I forgot to show a picture of the master bedroom before the pause, so here it is now.

End of Day 7, Master Bedroom – from Entrance.
End of Day 7, Master Bedroom – toward Bathroom.

In the image above, notice how on the wall near the window I used two different primers, hence the color difference. I mention this because later I will show the bedroom after I painted it and it is hard to distinguish between the primer and the paint. This was just to provide evidence that the room wasn’t painted before the flooring was installed.

While I was waiting for the additional flooring to arrive, I started cleaning up and organizing the place. Now that most of the flooring was in, I could begin dusting the contents that had been moved out of the bedrooms into the great room. Most things were caked with dust from the many drywall sandings that had taken place. Since that part of the renovation was behind me, dusting the furniture and other items was no longer pointless. It would be nice to work in a relatively clean environment for a change. Also, since I had the time, I cleared the workshop of its contents and scraped the floor in preparation for the return of the installers.

Great Room, after some dusting and reorganizing.

Once the wood arrived, I notified the installers and they showed up a couple of days later to finish the office and workshop.

End of Day 8, Office – from Entrance.
End of Day 8, Office – toward Entrance.

Notice how there is a bit of variation in the wood. The left side was done using the original order, and from about the middle of the room toward the right is where the newer flooring was introduced. This is even more evident when you look at the workshop, which was the last room they did.

End of Day 9, Workshop – from Entrance.
End of Day 9, Workshop – toward Entrance.

The flooring in these two rooms is far more patchy than the rest of the house. This possibility was taken into account when it became clear that additional flooring would be needed, which is why I asked them to use the remaining material in the master bedroom. Under normal circumstances they would have continued from the guest bedroom and hallway into the office and then the workshop, finishing up in the master bedroom. Knowing that the new material may vary somewhat from the original, if there was going to be any variation, I wanted it to be in these two rooms.

With the flooring installed, I could start to move the things I had dusted back into the rooms, where they would remain dust free, apart from the usual dust one gets.

Guest Bedroom – adding furniture after flooring laid.
Office – returning contents after flooring laid.
Workshop – returning contents after flooring laid.

In the workshop, I decided to re-purpose the cabinet that was supposed to be placed on the far side of the refrigerator. Unfortunately, I miscalculated the room I had along the east wall of the kitchen, and this nice little cabinet would not fit. So here is its new home.

Cabinet added to Workshop
New Cabinet with Doors open.

In the kitchen, this would have been great for spices, but here it will serve nicely as a place to store glues, finishes, and maybe screws and other fasteners.

Wiring the kitchen island was my next priority. After completing this I would be able to request another inspection to trigger an extension of my permit expiration date.

The island has three lines coming into it from under the slab. In the picture below, the wire on the left is tied to the general 15 amp circuit for the kitchen, and will be used for kick lighting. The one in the middle is for the 20 amp GFCI outlets. The one on the right is on a dedicated 20 amp circuit for the dishwasher.

Junction Box in Sink Base Cabinet

Because these wires are located inside cabinets, they will be subject to damage as items will be moved in and out of them. Consequently, they need to be protected. This is done by using Metal Cased (MC) cable, instead of the usual Romex that is run behind the walls.

Wiring under Sink Base Cabinet

The outlet on the far left is where the power adapter for the kick lighting will plug into. The one just above it is the GFCI outlet. The in-sink garbage disposal will plug into this. It branches out on either side to the two ends of the island where counter top pop-up outlets will connect. The outlet on the right is where the dishwasher will connect. The inside of the junction box on the bottom of the cabinet looks like this inside:

Junction Box Wiring

Below I provide a series of pics to show how it all fits together.

Outlet in North End Cabinet to supply power for Counter top Pop-Up Outlets

An MC cable extends from the outlet shown above heading south behind where the dishwasher will go and into the sink base cabinet, connecting to the GFCI wire inside the outlet box, shown below.

Sink Base Cabinet Outlets

At the other side of the GFCI outlet, another MC cable extends southward behind the cabinet where the garbage pales reside.

MC Cable running behind Garbage Cabinet

This cable terminates at the second outlet that is in the south end cabinet. It will provide power for another set of counter top pop-up outlets.

Outlet in South End Cabinet to supply power for Counter top Pop-Up Outlets

I also installed an outlet at the bottom of the pantry for the kick lighting along the east wall of cabinets.

Pantry Cabinet with new Outlet for Kick lighting.
Pantry Cabinet – new Outlet for Kick lighting, with drawers re-installed.

The inspection was performed shortly after, and it was successful. Thus, my permit expiration date is now extended to September.

Since the ends of the island cabinets do not match the color of the cabinets, a 4’x8′ sheet of 1/4″ material is provided so that it can cover those areas. So I cut and shaped it and attached it to both ends. Here is one of the ends.

Kitchen Island – Side Panel added.

That looks much better. I’ll do the same for the kicks, but only after I understand how I will run the lighting for that area.

I spent some time researching how to install the kick lighting. After feeling like I understood it and deciding on the approach I would take, I ordered the various pieces. That would take some time to arrive, so I decided to clear out the contents of the great room, which had been holding the contents of the various bedrooms while the flooring was being installed. It was nice to clear that area. With the flooring in and the great room mostly cleared, it made the place look less like a constructions site.

Great Room – from Foyer, after Clearing stored Contents.
Great Room – from Guest Hallway, after Clearing stored Contents.
Great Room – from entrance to Master Bedroom, after Clearing stored Contents.

I have a number of items I no longer need and will attempt to sell. I’ve temporarily stored them in the dining room area. The keen observer will notice that I installed the ceiling fan, too. That’s the original one. I think it looks pretty good, so I might just leave it. It will depend on how I intend to decorate the place, which will be a very long way off.

While still waiting for the kick lighting parts to arrive, I painted the master bedroom. The final room to be painted. The ceiling in that room was painted long ago, but the walls had only been primed, so I would give it two coats of the same paint I used for the great room.

Master Bedroom Painting Complete – From Northwest Corner
Master Bedroom Painting Complete – From Entrance

I hope you noticed the new fan/light I installed. I was going to install the original fan, which didn’t have a light. I wanted to have an overhead light in this room, so I opted for this. I really like it. It is controlled by a remote control, which allows me to vary the fan speed and dim the light. Very nice! I may replace the others with this style, but that is a very low priority so it won’t happen anytime soon.

The parts for the kick lighting arrived around the time I finished painting the master bedroom, so I got to work on that. The first thing I did, was install the kick plates. Below I am showing the back of the island from the north side. The gap between the cabinets is where the dishwasher will go. Keep this in mind as I discuss the sequence of runs of kick lights I will install.

Kick Plates installed along Back of Island

Below I show the kick under the front of the island from the south end.

Kick Plates installed along Front of Island

The kick lighting is controlled by a switched outlet under the sink. Since the LED lights require 12 volts DC, a power adapter (the black box) is required to convert from 120 volts AC to 12 volts DC. A controller (the little white box) is plugged into the power adapter to control the LED lights, which can produce a whole spectrum of colors. This controller is WiFi enabled, so at some point I will be able to modify the colors using an app on my phone. The power adapter and controller for the kick lights will be located in the sink cabinet, which is on the back side of the island to the left of where the dishwasher will go. I ran the wires from it to the front of the cabinet and down a hole I drilled to the kick area.

Kick Lighting Power Adapter and Controller in Sink Cabinet
Closeup of Power Adapter (black) and Controller (white).

The brown wire that is connected to the controller interfaces with the LED strip under the kick, which I will show later.

The LED lights come in a roll and can be cut at designated areas where it can be terminated or connected to other runs. The light strips have an adhesive backing and are inserted into channels I attach to the underside of the kick space.

Lights in Channel

The light strip is covered by a diffuser, as shown below.

Diffuser that covers the Light Strip inside the Channel

To support these channels, small clips are used.

Mounting Clip on Back of Channel
Mounting Clip as it appears on Front of Channel

The mounting clips for the channel can be screwed into the bottom of the cabinet wall panels, but in order to hide the channels from sight when looking at the island from north and south ends, I added blocks a few inches in from each end.

Additional Blocking for Channel Attachment

I attached these small blocks using a combination of super glue and wood glue. The wood glue provides the strongest hold, but takes some time to cure. So I used the super glue to get an immediate hold, serving as a clamp, so to speak, as the wood glue cures. Six of these blocks were required in total. Below I show one of the clips attached. I used double sided tape to put it in place before securing it with a screw. The small piece of wood you see on the floor was used as a spacer to make sure each clip was positioned the same distance from the kick plate. It was a chore installing these things. I had to use a very short screwdriver as I lay on my side trying to work the screw into the wood.

Channel Clip Secured

Here is the channel in place.

Channels Attached

And below is how the lights within the channel are connected to the controller under the sink.

Connection Under Sink Cabinet

To add the lighting I wanted around the island would require three separate runs, each connected by wires I would feed through the cabinets connecting the runs on the back of the island to the front. The first run would start from the sink cabinet and terminate at the south end of the island. The second run would pick up from the first at the south end of the island, but on the other/front side (facing the great room) and run the entire span of the island. Below I show the wire that is connected to the end of the first run and through the back of the end cabinet.

Wire to connect First Run to Second Run

It emerges at the back of the end cabinet at the front of the island, where it dives down into the kick area underneath and is connected to the second run in the same way the first run was connected to the controller (shown above).

Wire from Back Cabinet to Front Cabinet

The third run would be a short one, starting on the north end and terminating where the dishwasher will go. The second run is connected to the third run in the same way we connected the first and second runs. Essentially, I am wrapping around the island from one side of the dishwasher and terminating on the other side of the dishwasher.

Here are the various runs illuminated.

First Run Complete
Second Run Complete
Third and Final Run Complete

I think this looks pretty good. I still have some work to do to secure and protect the wiring in the cabinets. I have some ideas about how to do that, but will get to it when it suits me. Next I tackled the kick lighting under the white cabinets.

The kick lighting for the cabinets along the east wall of the kitchen was much simpler, as it consisted of only a single straight run. The power adapter and controller were placed at the bottom of the pantry cabinet.

Adapter and Controller in Pantry Cabinet – Drawer Removed
Adapter and Controller in Pantry Cabinet – Drawer Returned

Here is the final result.

Kick Lights Illuminated along East Wall Cabinets

During this time, I ordered another cabinet that will go above the cook-top and support the exhaust fan. After some thought, that seemed to be the best approach, which I’ll discuss when I show it. I also ordered an additional refrigerator side panel since that nice little cabinet I put in the workshop would not fit. Those items are supposed to arrive in mid to late April. Once they are in, I can start to take steps toward getting the counter tops. More on that in the next post.